
Introduction

Dismantling and Recycling Centre (DRZ)
Katharina Lenz, Vienna / Austria
Health & Safety
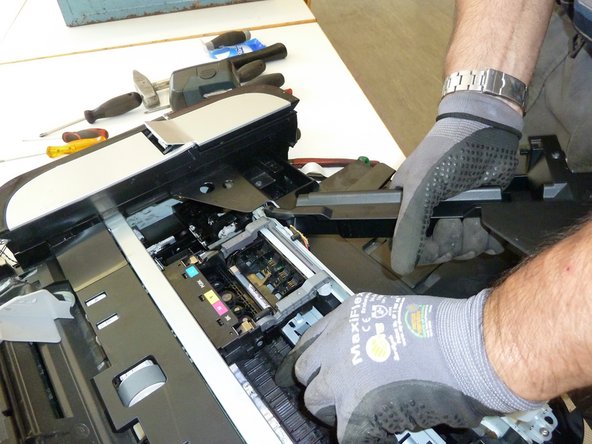
Dismantling doesn't include any harmful steps. Nonetheless workers should wear personal protection equipment like gloves, goggles, apron and robust shoes.
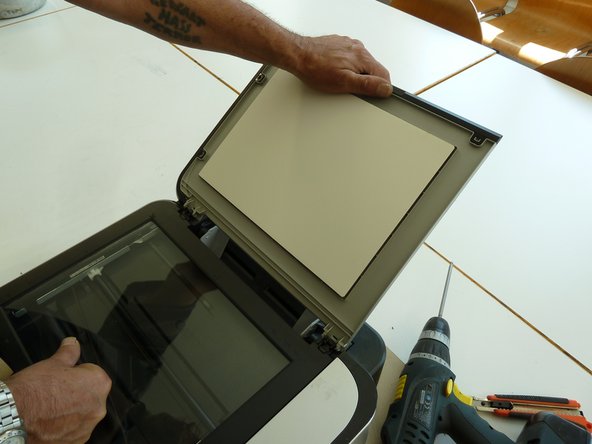
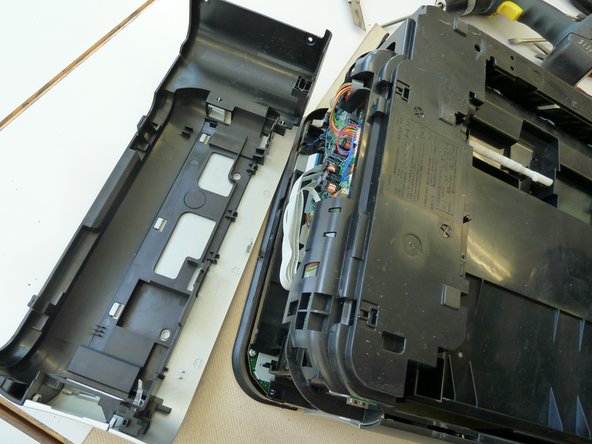
Note: This is a general guide for most all-in-one printer-scanners. As the construction can differ, the dismantling steps mentioned below can vary in their order. However, the described steps show what parts the removal should focus on.
What you need
-
-
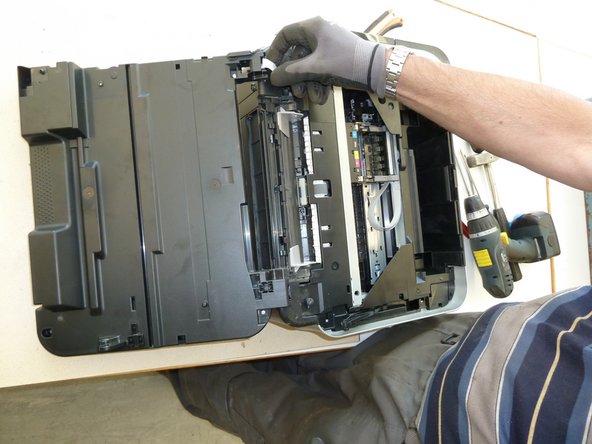
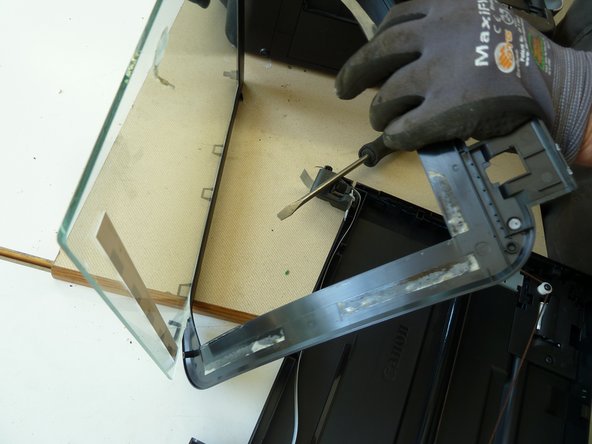
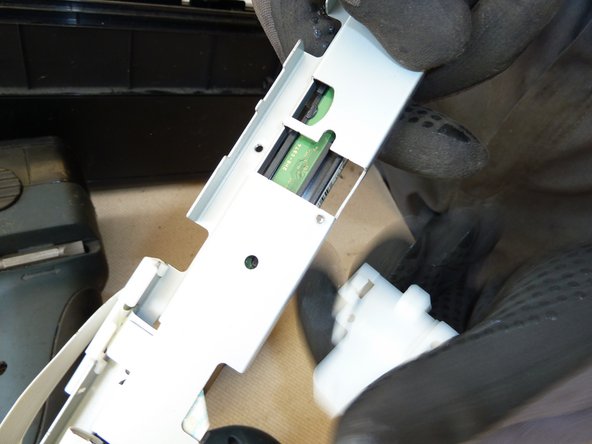
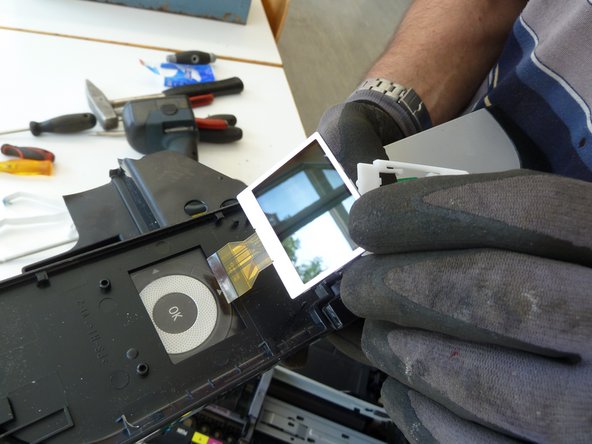
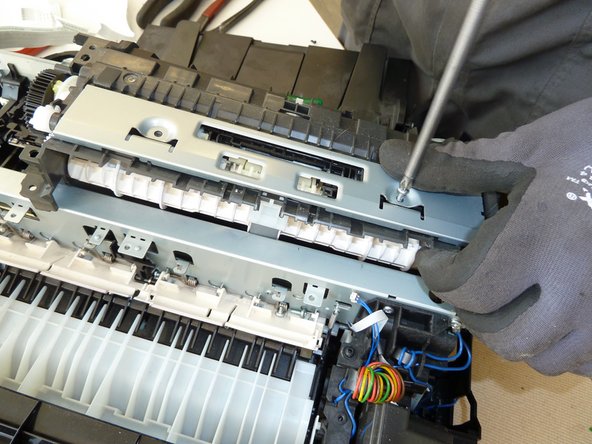
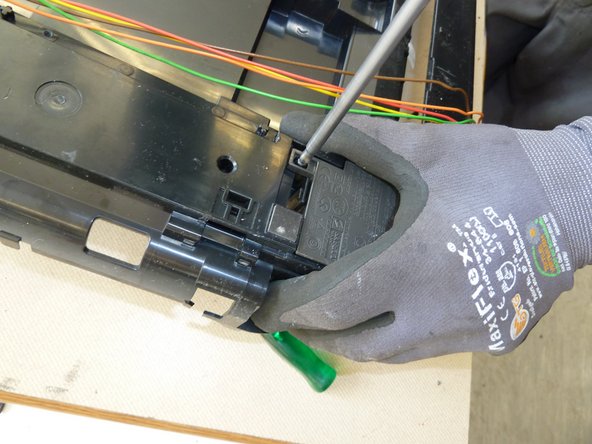
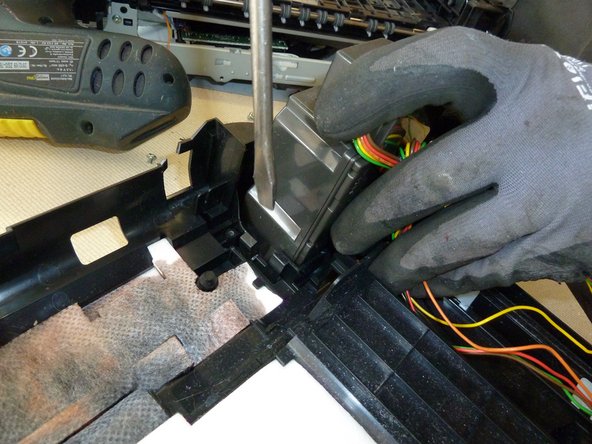
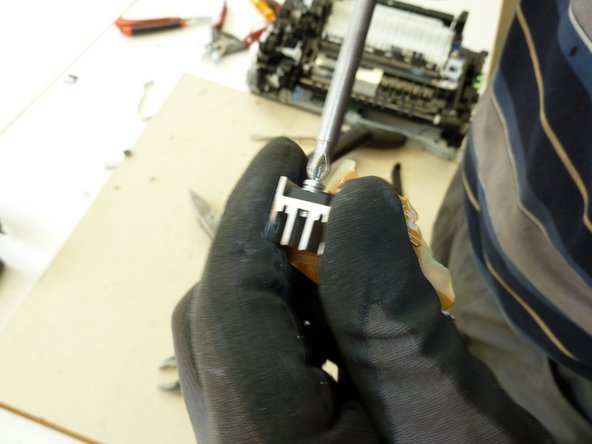
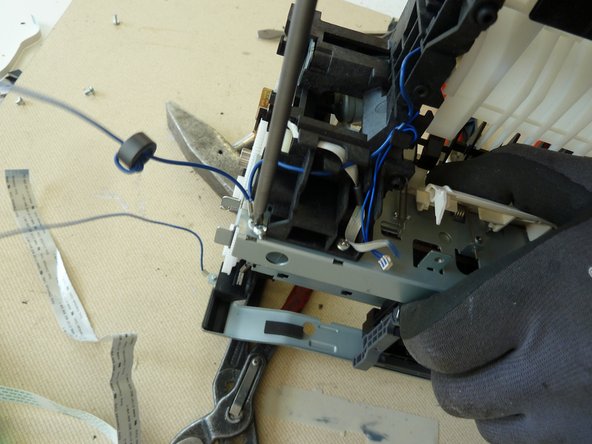
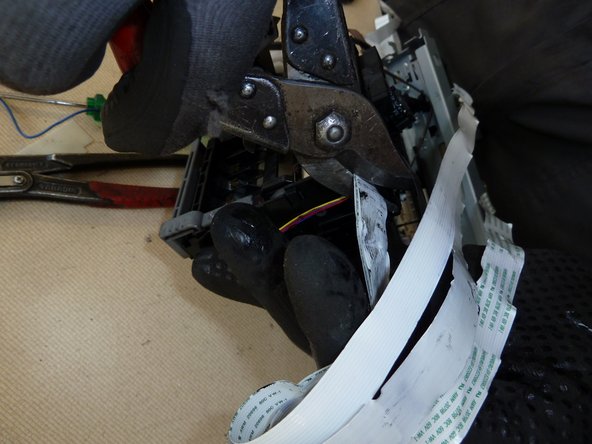
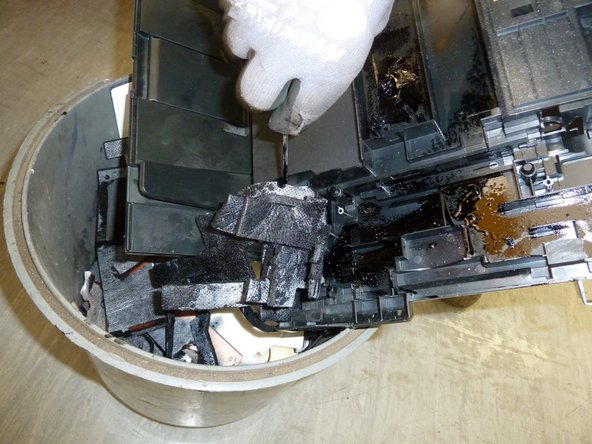
Remove the lamp fixture.
-
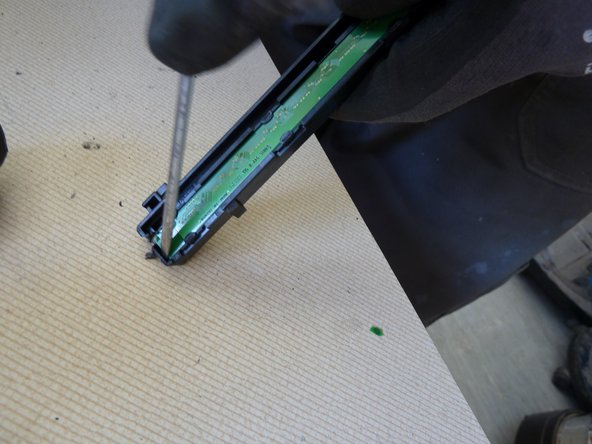
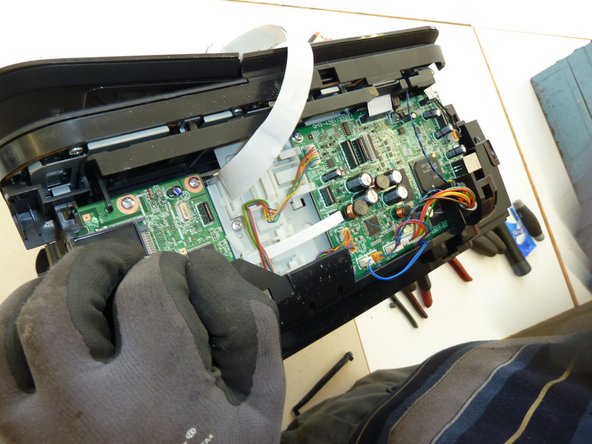
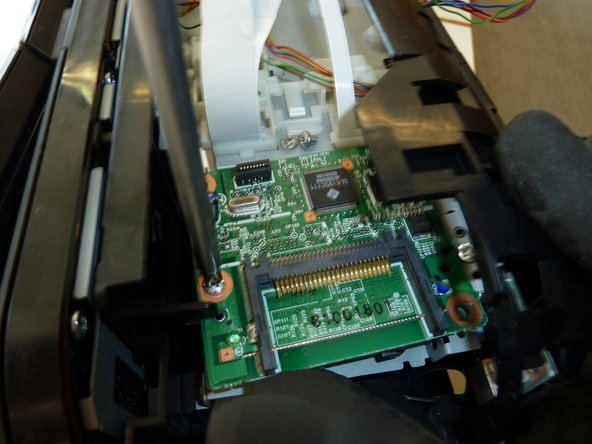
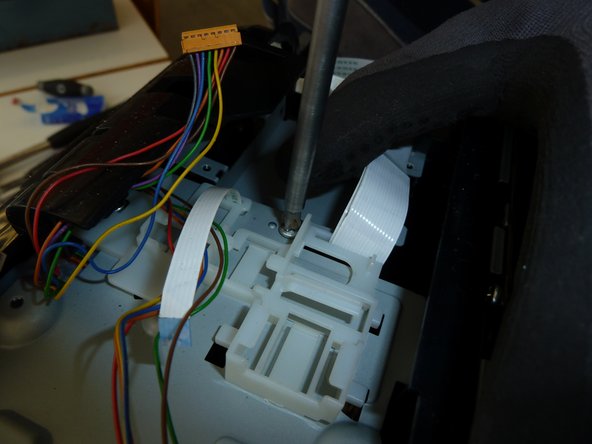
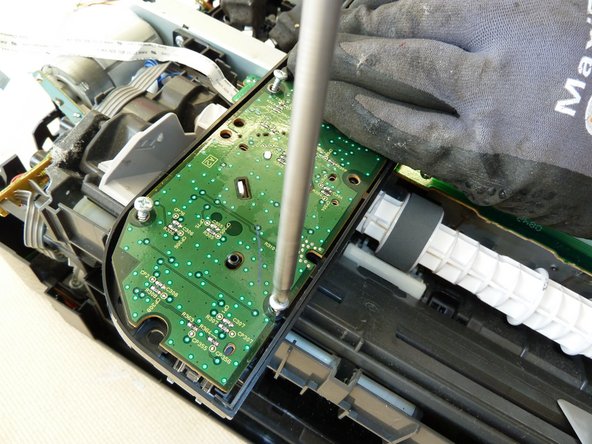
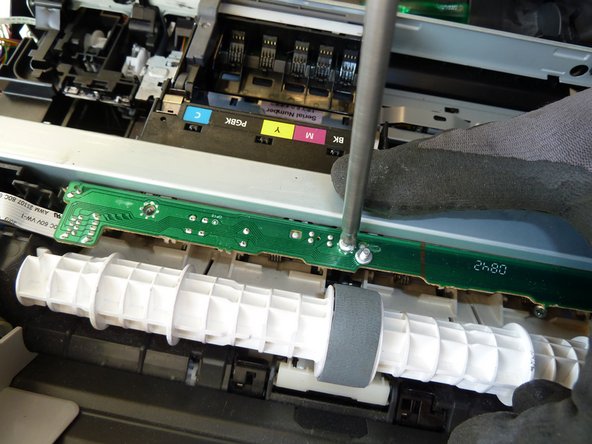
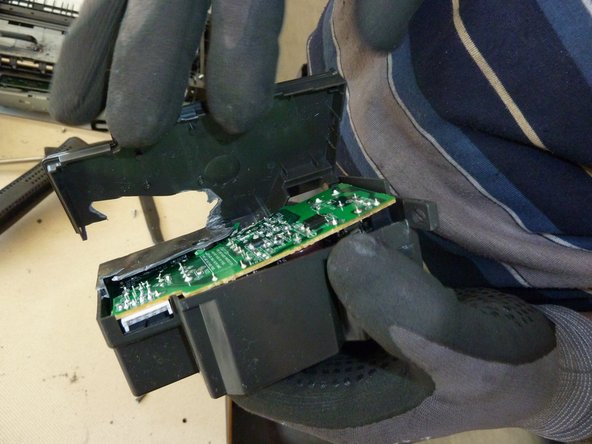
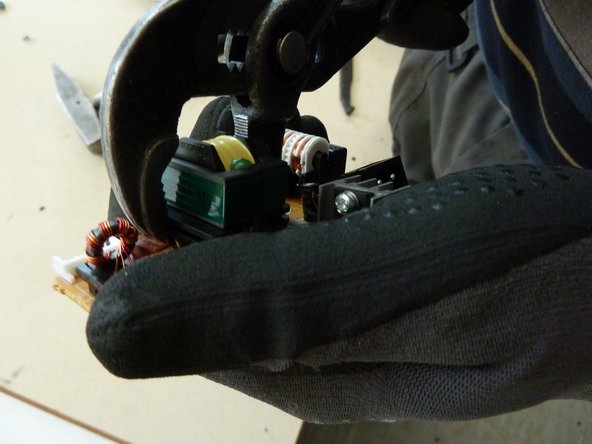
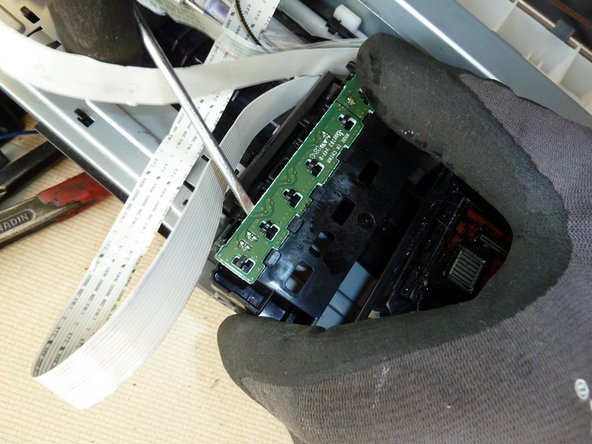
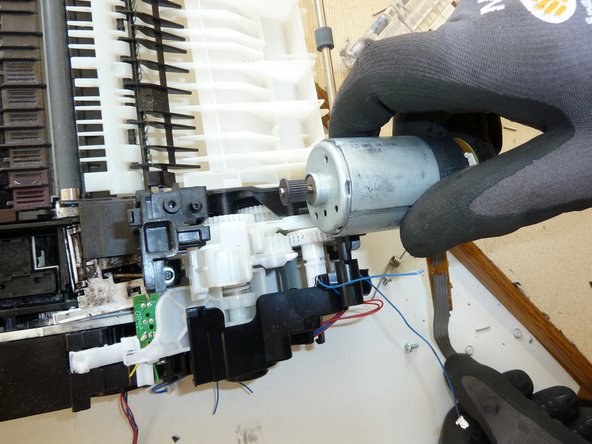
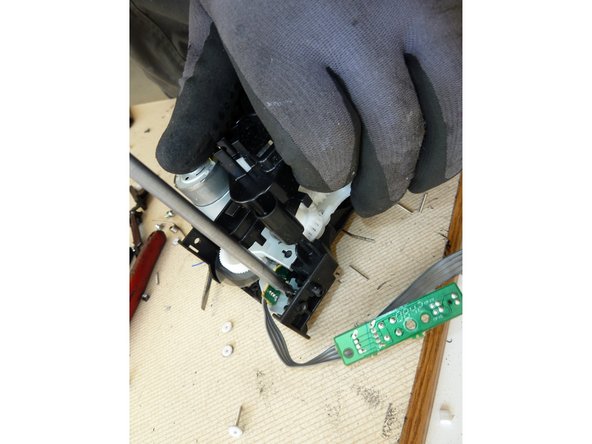
Remove the printed wiring board (PWB) connected to the lamp.
-
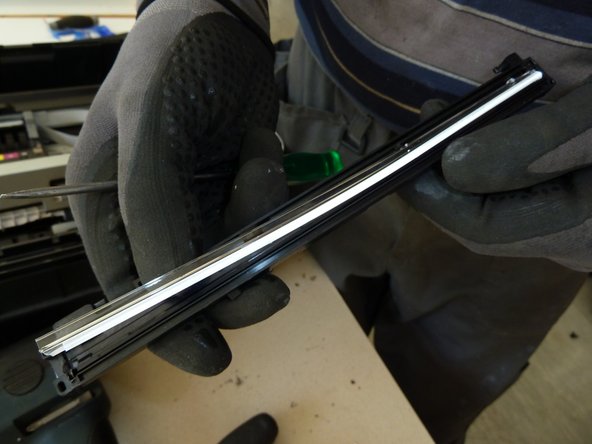
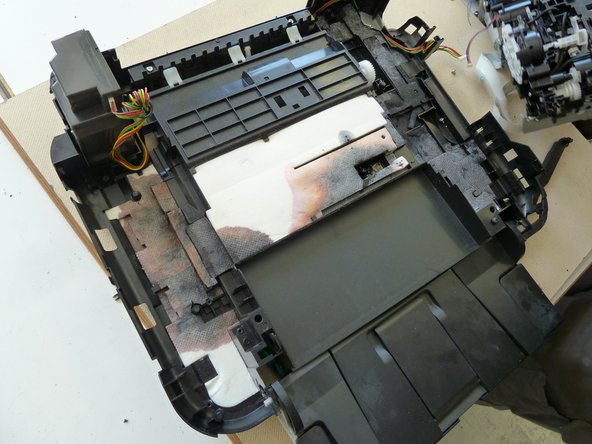
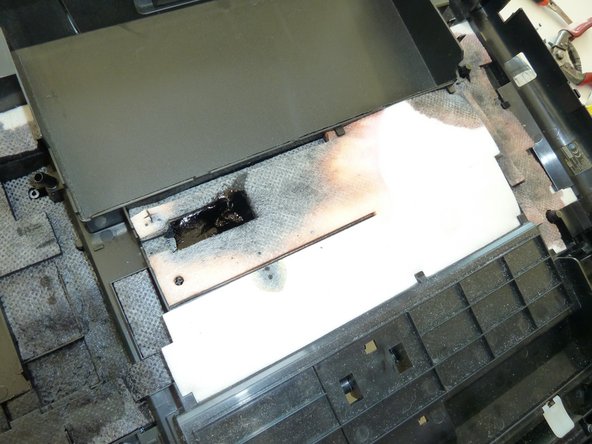
Carefully remove the lamp itself.
-
-
-
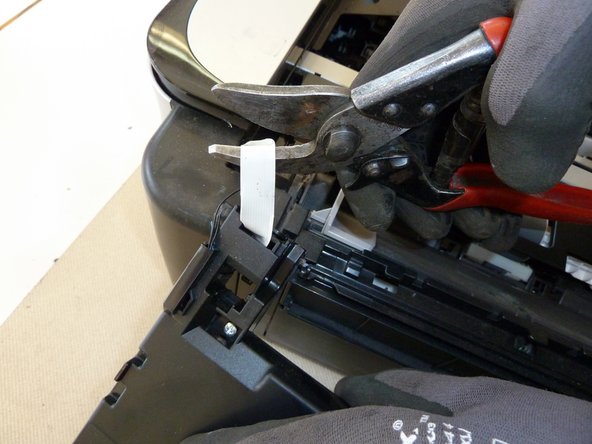
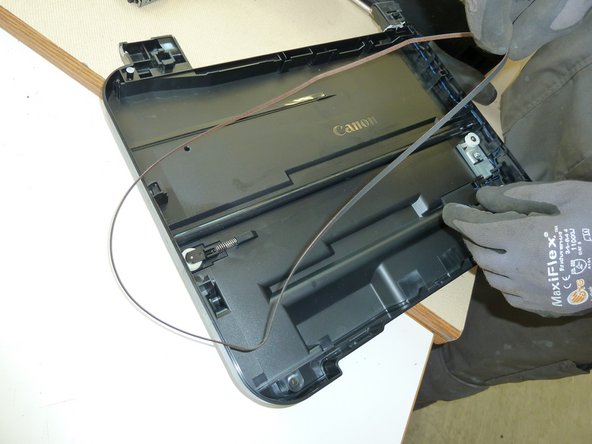
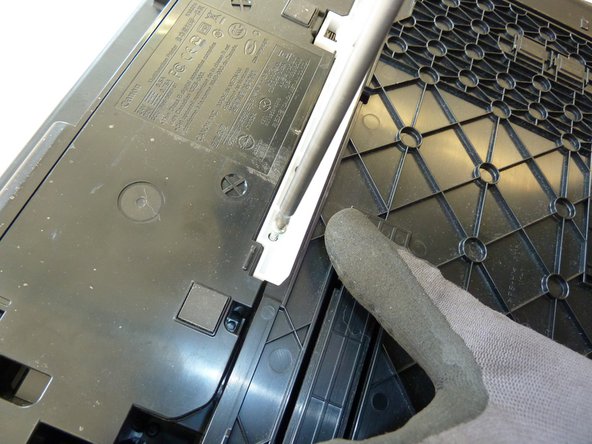
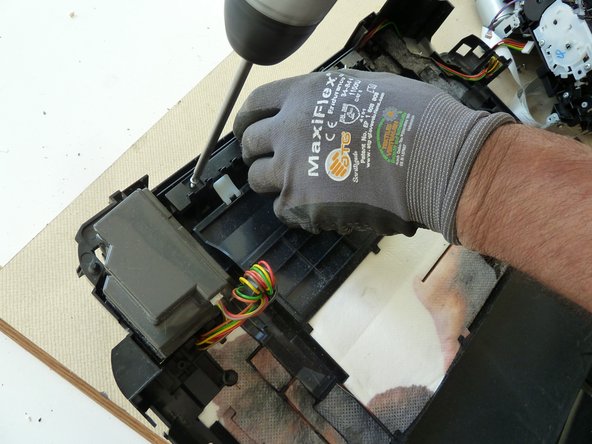
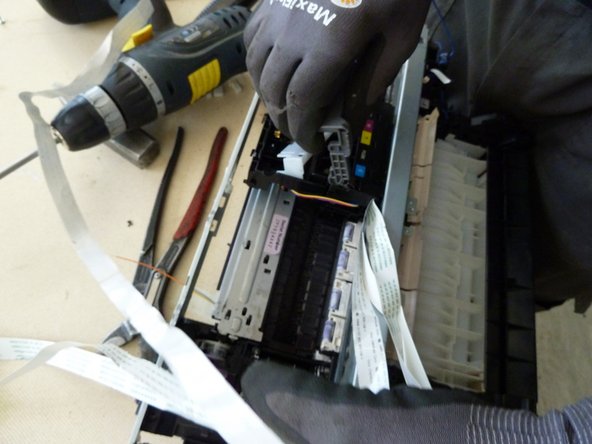
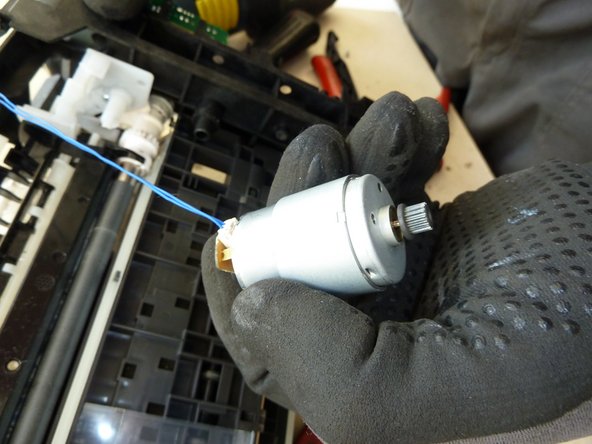
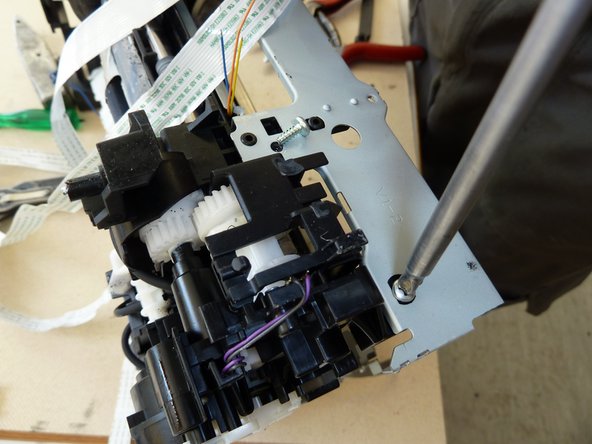
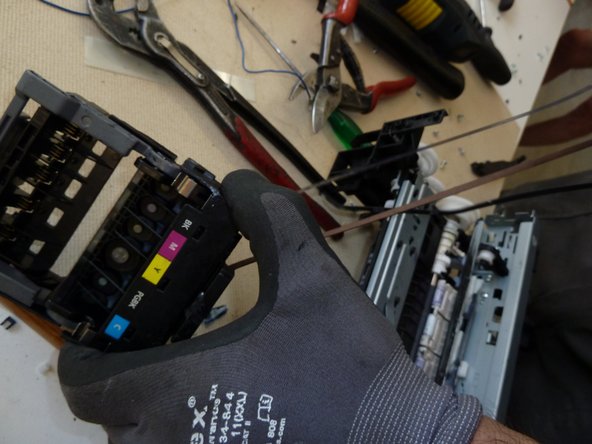
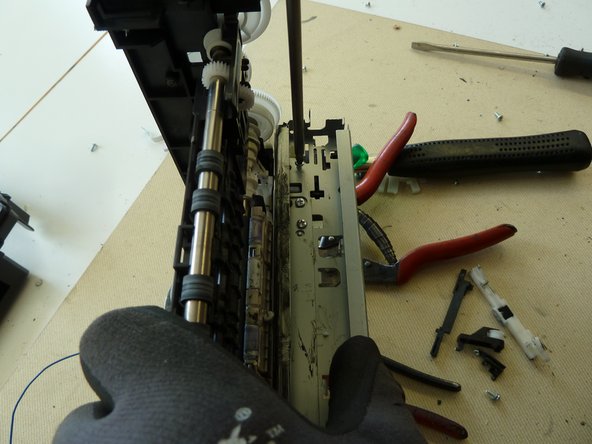
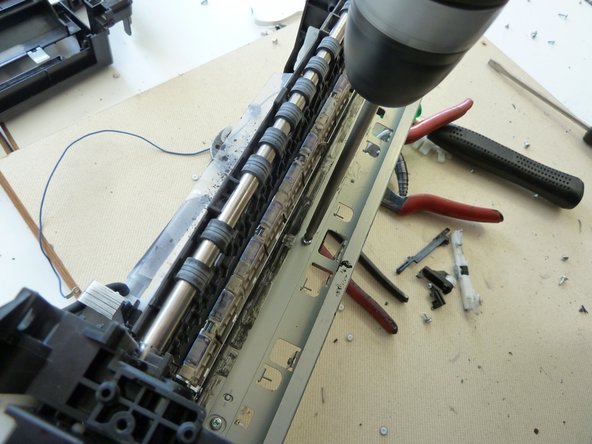
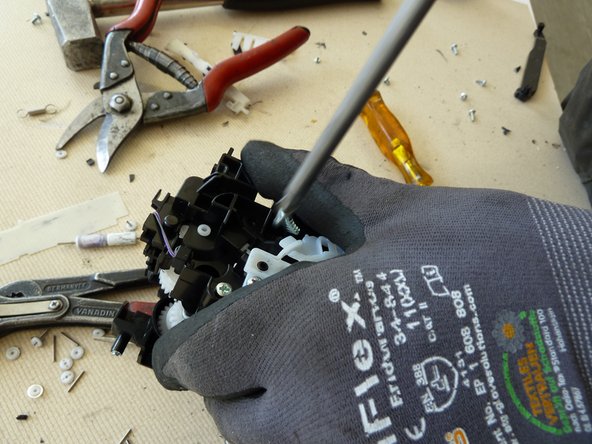
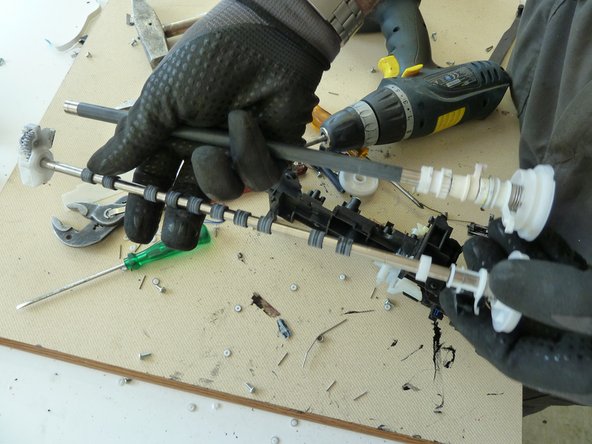
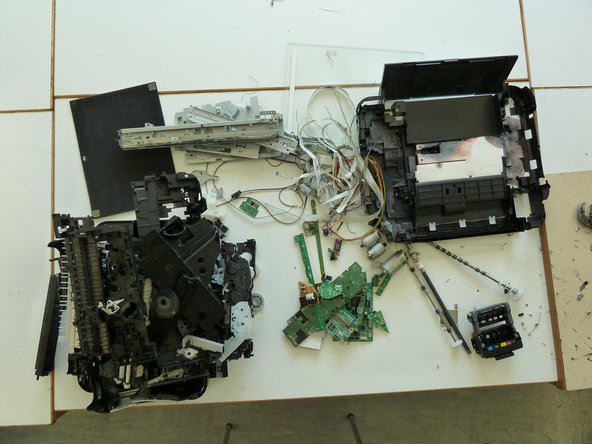
Separate the remaining materials according to their type and go on with the appropriate data sheet (e.g. aluminium, ferrous metals, plastic, further PWBs, etc.).
-
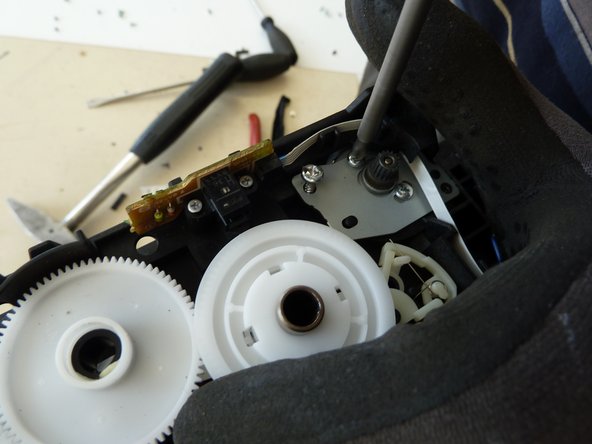
Make sure the plastic parts are completely free of metal pieces.
-


Team
Core content creation team (iFixit + DRZ + IZM) Member of Core content creation team (iFixit + DRZ + IZM)
Community
5 Members
35 Guides authored