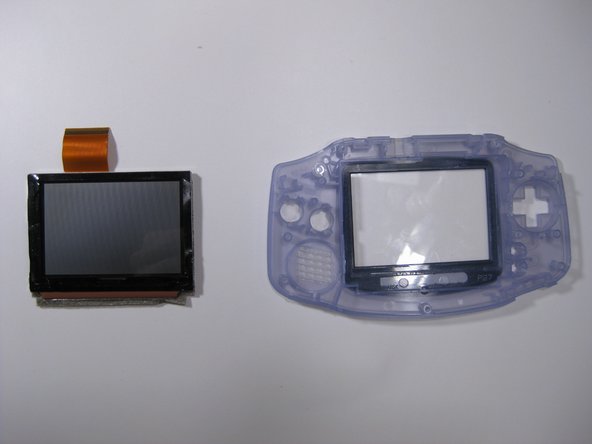
/

Game Boy Advance LCD Screen Replacement

What you need

  1. Game Boy Advance LCD Screen Replacement, Game Boy Advance LCD Screen Replacement: step 1, image 1 of 3 Game Boy Advance LCD Screen Replacement, Game Boy Advance LCD Screen Replacement: step 1, image 2 of 3 Game Boy Advance LCD Screen Replacement, Game Boy Advance LCD Screen Replacement: step 1, image 3 of 3
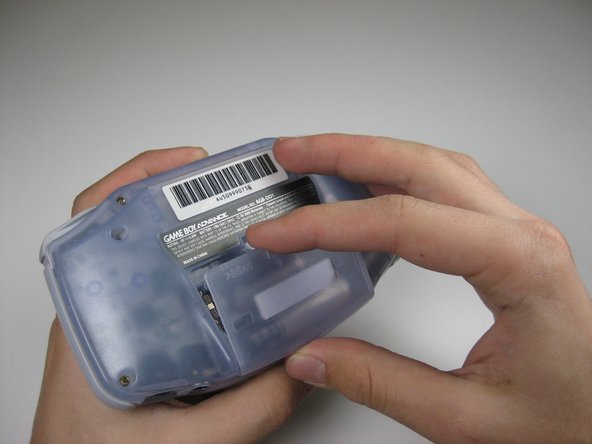
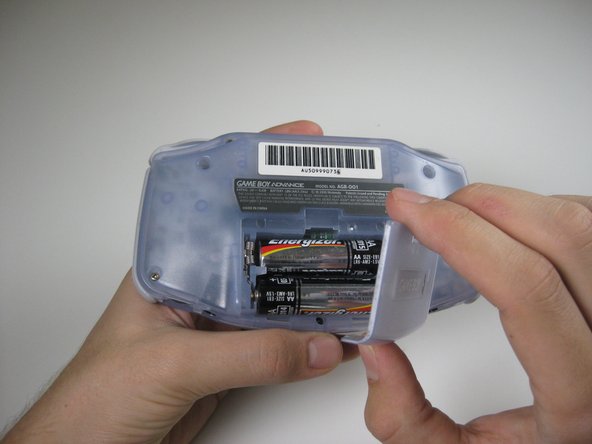
    • Take the battery cover off by releasing the locking tab and hinging the cover away.

  2. Game Boy Advance LCD Screen Replacement: step 2, image 1 of 1
    • Remove the six back panel screws using a Tri-wing Screwdriver.

  3. Game Boy Advance LCD Screen Replacement: step 3, image 1 of 1
    • Remove bottom back panel screw with a Phillips #1 screw driver.

  4. Game Boy Advance LCD Screen Replacement: step 4, image 1 of 1
    • Remove the back panel by pulling away with one hand and the front secured in the other hand.

    • Removal of the back panel may cause shoulder buttons and side panels to come loose and fall off.

  5. Game Boy Advance LCD Screen Replacement: step 5, image 1 of 2 Game Boy Advance LCD Screen Replacement: step 5, image 2 of 2
    • Remove left and right triggers by lifting and pulling them away from the system.

    • Do the same for side panels

    • For finicky or jammed triggers only. Adjust and correct triggers and reassemble. Most jammed triggers are caused by buttons misplaced or jammed in its enclosure.

  6. Game Boy Advance LCD Screen Replacement: step 6, image 1 of 1
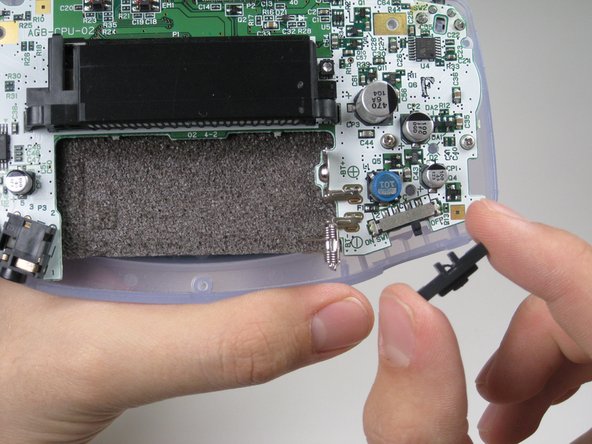
    • Remove the gray On/Off Switch by pulling up and away from the unit. Replace with another switch if necessary.

  7. Game Boy Advance LCD Screen Replacement: step 7, image 1 of 1
    • Remove the three screws on the circuit board with a Phillips #1 screw driver.

  8. Game Boy Advance LCD Screen Replacement: step 8, image 1 of 2 Game Boy Advance LCD Screen Replacement: step 8, image 2 of 2
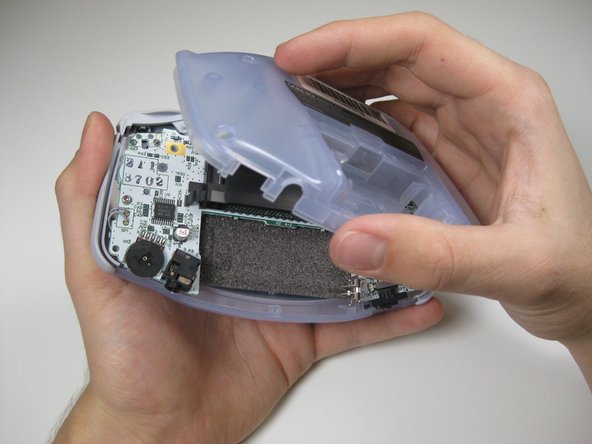
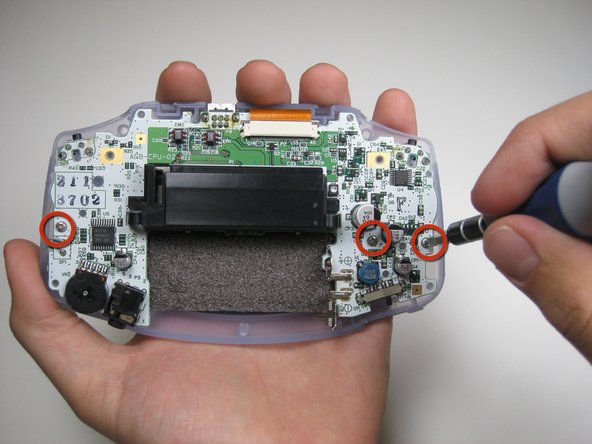
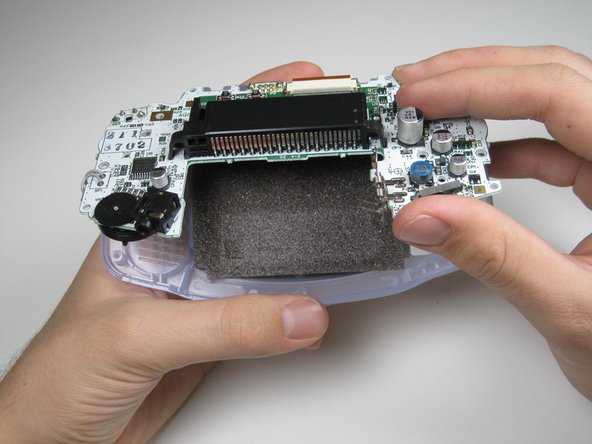
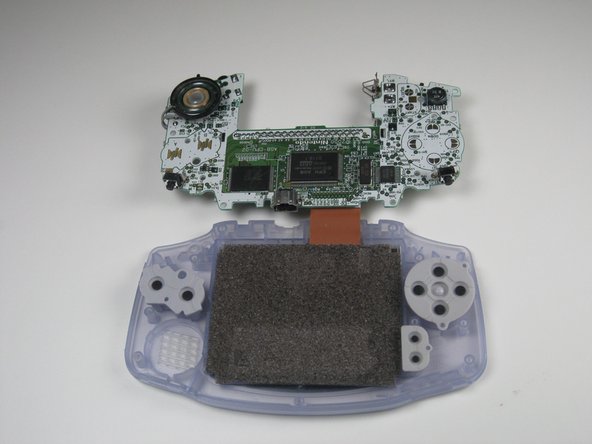
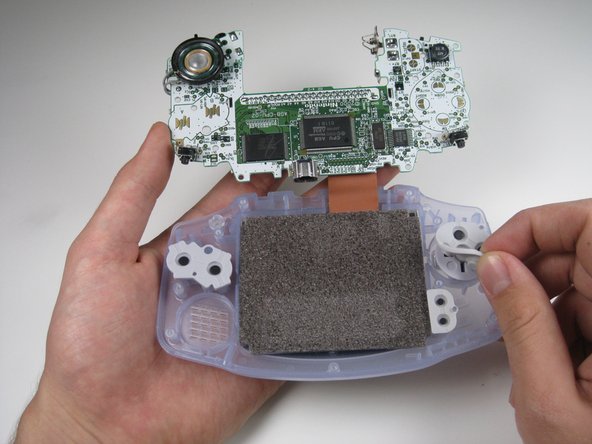
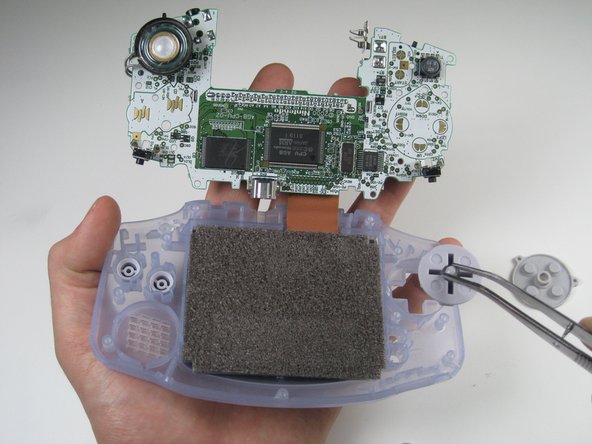
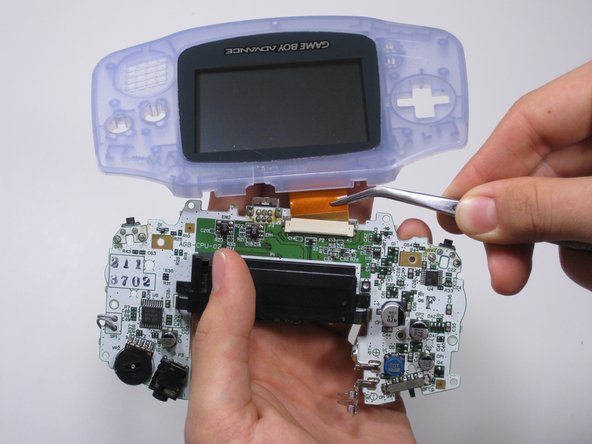
    • Pull circuit board away from the front panel by pulling up at the bottom of the circuit board, keeping the top ribbon still connected.

    • Handle with care! The ribbon connecting the circuit board to the LCD screen can easily be damaged and will require replacement if broken.

  9. Game Boy Advance LCD Screen Replacement: step 9, image 1 of 3 Game Boy Advance LCD Screen Replacement: step 9, image 2 of 3 Game Boy Advance LCD Screen Replacement: step 9, image 3 of 3
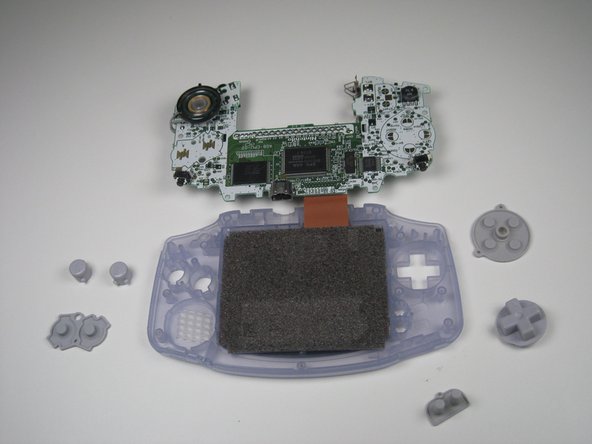
    • Remove the rubber button pads from their pockets.

    • Remove the plastic buttons and the D-pad from beneath the rubber pads with tweezers or by hand.

  10. Game Boy Advance LCD Screen Replacement: step 10, image 1 of 3 Game Boy Advance LCD Screen Replacement: step 10, image 2 of 3 Game Boy Advance LCD Screen Replacement: step 10, image 3 of 3
    • Carefully note the brown colored locking bar that shims the ribbon cable in it's housing so it cannot slip.

    • Using a nylon stick (or some other ESD safe probe) gently push both sides of the locking bar up.

    • Now the ribbon cable should move freely. A careful prod using your nylon spudger should be able to free the cable. This should barely require any force at all. Otherwise, check that the locking bar is fully disengaged.

  11. Game Boy Advance LCD Screen Replacement: step 11, image 1 of 3 Game Boy Advance LCD Screen Replacement: step 11, image 2 of 3 Game Boy Advance LCD Screen Replacement: step 11, image 3 of 3
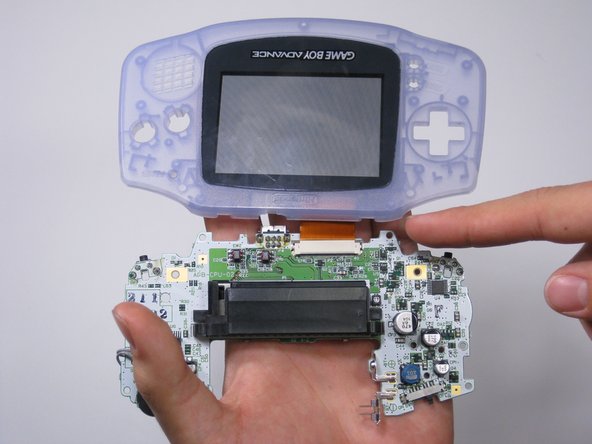
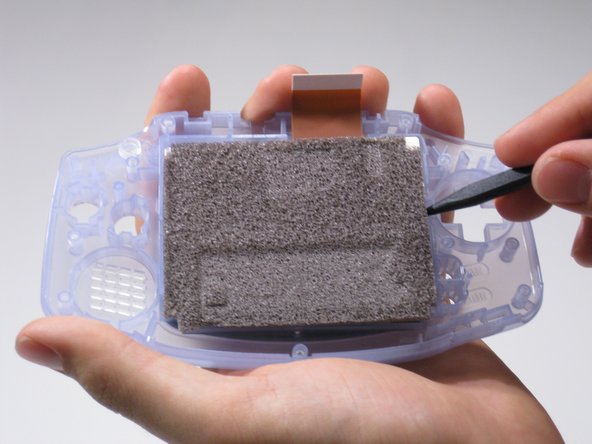
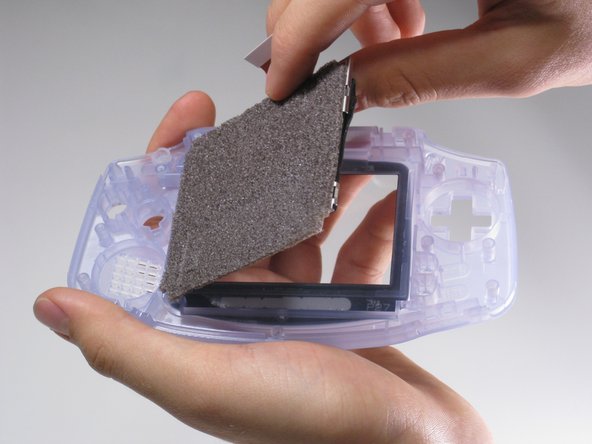
    • Use the spudger to lift the screen from the front panel. Place the spudger in the space directly left of the D-pad.

    • The screen and the front panel is connected by a black tape that could rip if not removed carefully.

Conclusion

To reassemble your device, follow these instructions in reverse order.

System

Member since: 09/24/09

2,562 Guides authored

0 Comments

Add Comment

View Statistics:

Past 24 Hours: 0

Past 7 Days: 0

Past 30 Days: 0

All Time: 0