/

Philips 40PFK4509/12 TV set

What you need

  1. Philips 40PFK4509/12 TV set, Opening: step 1, image 1 of 2 Philips 40PFK4509/12 TV set, Opening: step 1, image 2 of 2
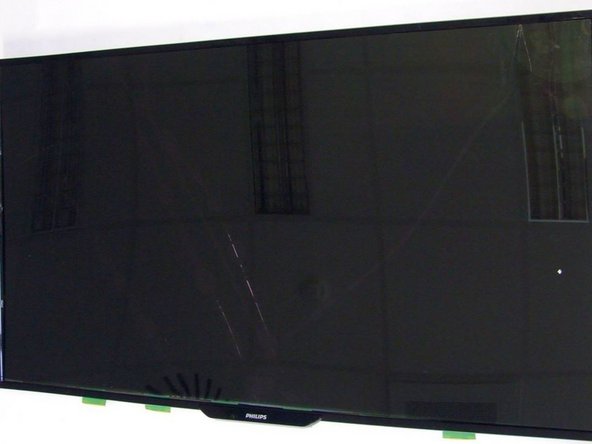
    • Start the TV opening from the back side.

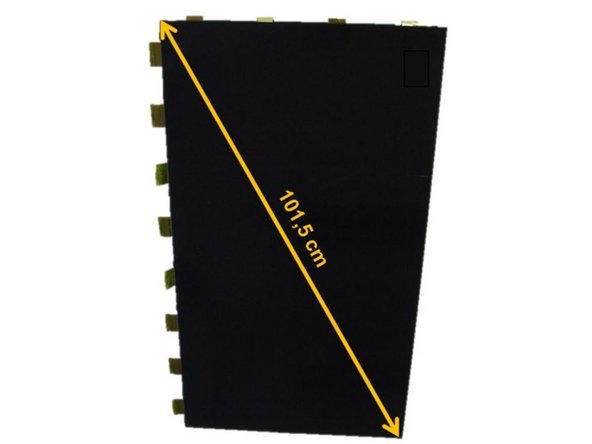
    • The back cover is fastened with sixteen Philips #2 screws (green marking).

    • Next, to obtain the plastic back cover, release manually fourty-two clips (no tools required).

  2. Philips 40PFK4509/12 TV set, Removal of Printed Circuit Boards (PCB): step 2, image 1 of 3 Philips 40PFK4509/12 TV set, Removal of Printed Circuit Boards (PCB): step 2, image 2 of 3 Philips 40PFK4509/12 TV set, Removal of Printed Circuit Boards (PCB): step 2, image 3 of 3
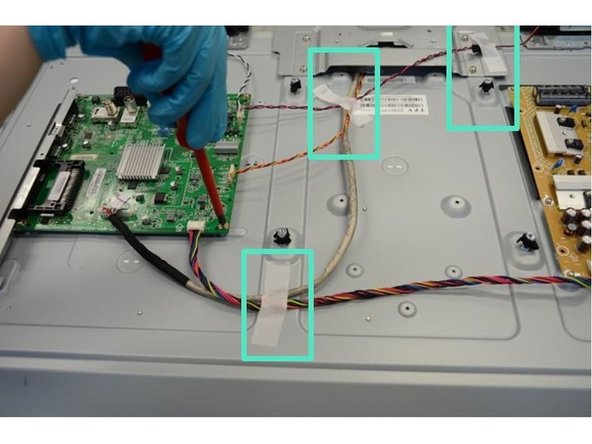
    • Detach all eight connectors (red boxes) and rip off the tapes used to fix the cables to the metal casing.

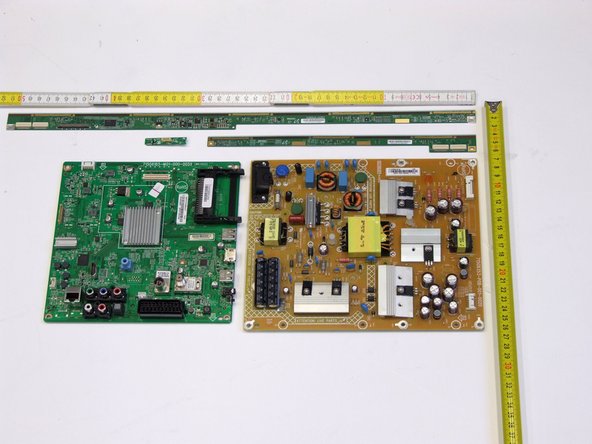
    • To remove the PCBs loose the thirteen PH#2 screws (green boxes).

    • Next, release the two clips (highlighted in blue boxes) and remove the PCBs.

  3. Philips 40PFK4509/12 TV set, Removal of Speakers: step 3, image 1 of 1
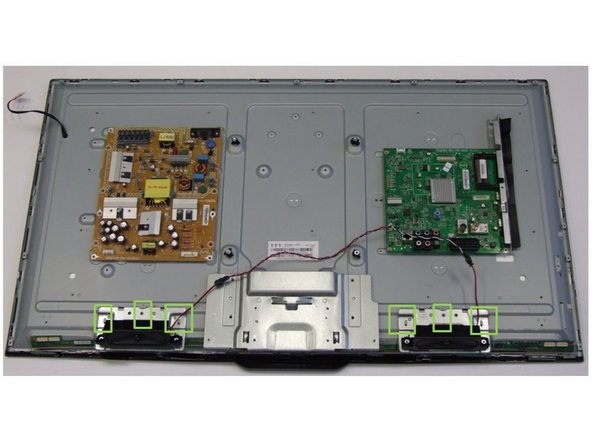
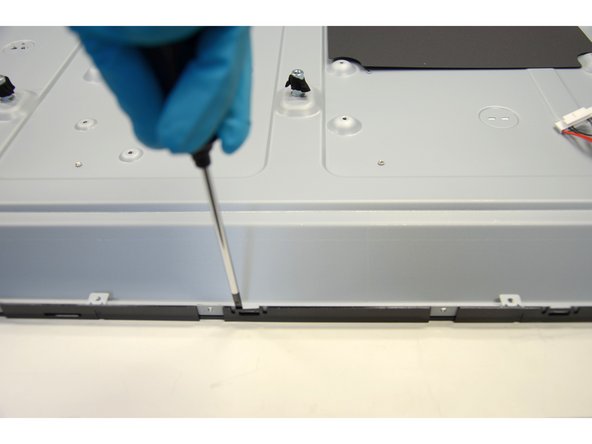
    • Using PH#2 screwdriver, loose six screws (green boxes).

    • Remove the Speakers.

  4. Philips 40PFK4509/12 TV set, Removal of Liquid Crystal Display (LCD): step 4, image 1 of 3 Philips 40PFK4509/12 TV set, Removal of Liquid Crystal Display (LCD): step 4, image 2 of 3 Philips 40PFK4509/12 TV set, Removal of Liquid Crystal Display (LCD): step 4, image 3 of 3
    • To remove the front frame, loose twenty-seven PH#2.

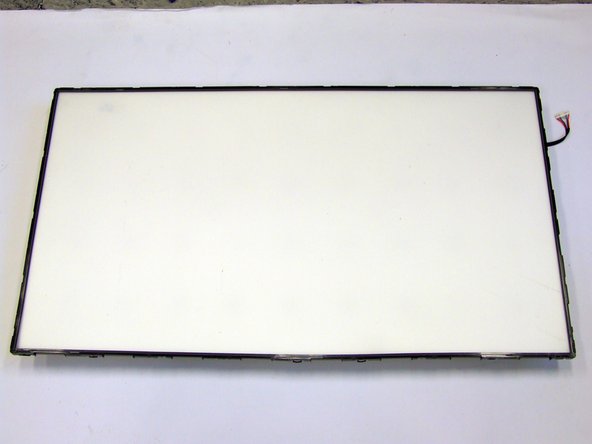
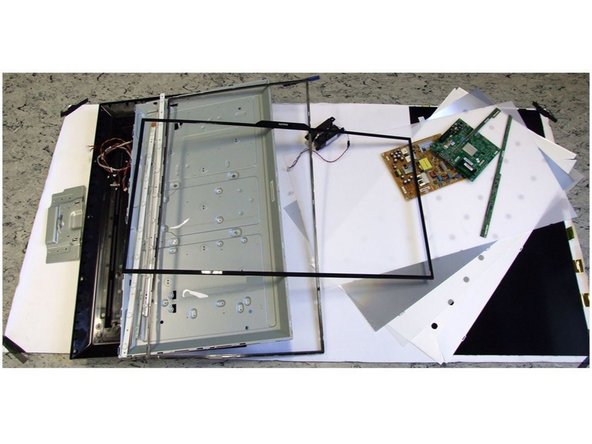
    • Remove the Liquid Crystal Display (LCD).

  5. Philips 40PFK4509/12 TV set, Removal of Polarized Foils: step 5, image 1 of 3 Philips 40PFK4509/12 TV set, Removal of Polarized Foils: step 5, image 2 of 3 Philips 40PFK4509/12 TV set, Removal of Polarized Foils: step 5, image 3 of 3
    • Using slotted screwdriver, begin to lever the twenty-three clips of the inner frame starting at the bottom of the TV.

    • Continue to work your way around the frame counterclockwise until you can pull the frame off.

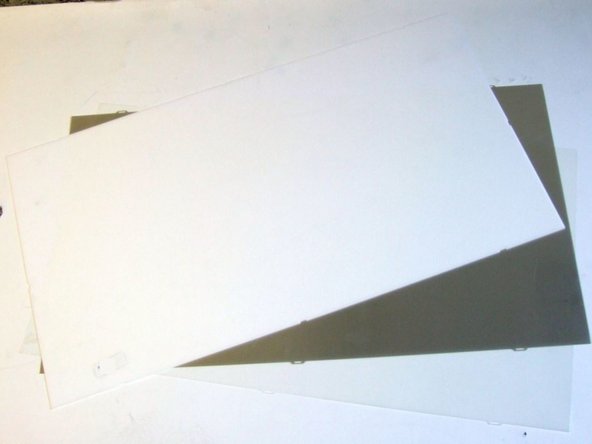
    • Remove the polarized foils.

  6. Philips 40PFK4509/12 TV set, Removal of Backlights (LED): step 6, image 1 of 3 Philips 40PFK4509/12 TV set, Removal of Backlights (LED): step 6, image 2 of 3 Philips 40PFK4509/12 TV set, Removal of Backlights (LED): step 6, image 3 of 3
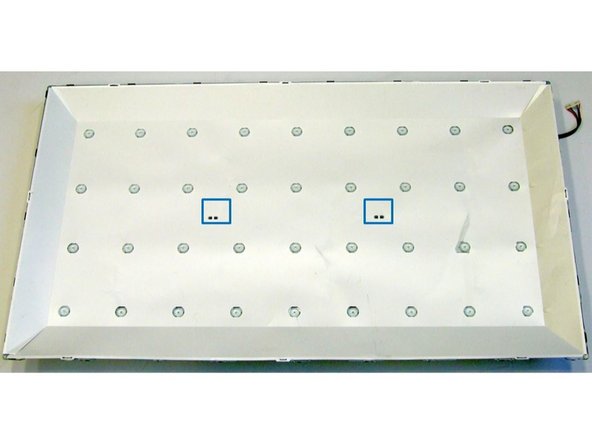
    • Using slotted screwdriver, loose the two clips (blue boxes). To access the backlight, remove the protective foil first.

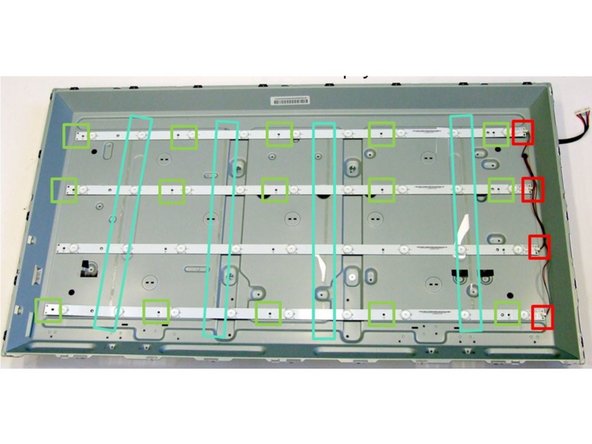
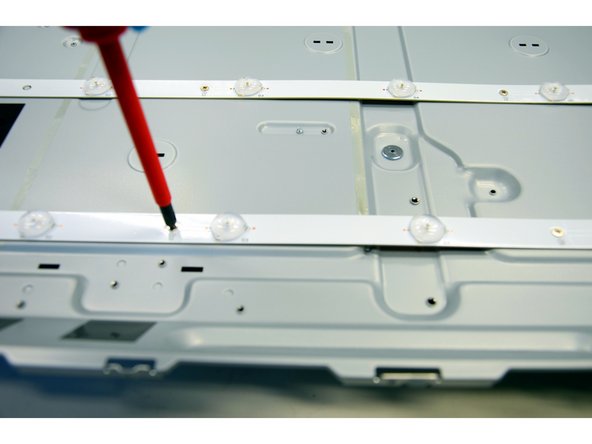
    • Using PH#2 screwdriver, loose five screws per LED stripe (green boxes).

    • Manually disconnect the four cable connectors (red boxes) and separate each PCB.

  7. Philips 40PFK4509/12 TV set, TV Dismantling Fractions: step 7, image 1 of 1
    • All fractions obtained after deep level TV dismantling.

Finish Line

Amaia

Member since: 03/23/16

11 Guides authored

0 Comments

Add Comment

View Statistics:

Past 24 Hours: 0

Past 7 Days: 0

Past 30 Days: 0

All Time: 50