/

Macintosh PowerBook 1400 Series CD-ROM Drive Replacement

  1. Macintosh PowerBook 1400 Series CD-ROM Drive Replacement, Macintosh PowerBook 1400 Series CD-ROM Drive Replacement: step 1, image 1 of 1
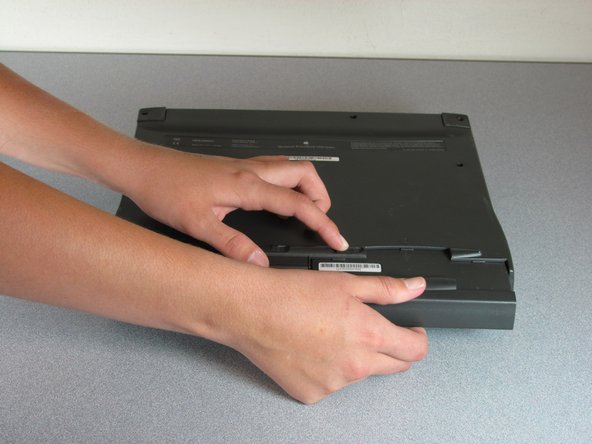
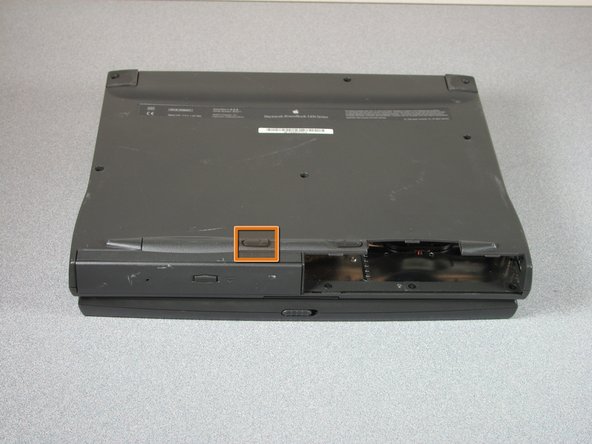
    • On the bottom of the device, locate the battery release latch near the front.

  2. Macintosh PowerBook 1400 Series CD-ROM Drive Replacement: step 2, image 1 of 1
    • In order to release the batter, slide the latch to the left.

  3. Macintosh PowerBook 1400 Series CD-ROM Drive Replacement: step 3, image 1 of 1
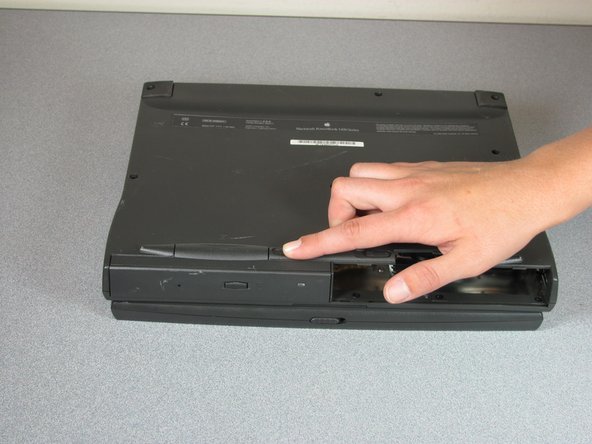
    • While still holding the latch, grasp the battery and gently pull on the battery enclosure until it begins to slide out from the front of the device.

    • Place the battery aside

  4. Macintosh PowerBook 1400 Series CD-ROM Drive Replacement: step 4, image 1 of 1
    • Once you remove the battery, identify CD-ROM Drive latch.

  5. Macintosh PowerBook 1400 Series CD-ROM Drive Replacement: step 5, image 1 of 1
    • Pull latch to the right.

  6. Macintosh PowerBook 1400 Series CD-ROM Drive Replacement: step 6, image 1 of 1
    • While still pulling the latch, pull the CD-ROM Drive out.

    • You have now removed the CD-ROM Drive.

Conclusion

To reassemble your device, follow these instructions in reverse order.

System

Member since: 09/24/09

2,562 Guides authored

0 Comments

Add Comment

View Statistics:

Past 24 Hours: 0

Past 7 Days: 0

Past 30 Days: 0

All Time: 11