
Introduction
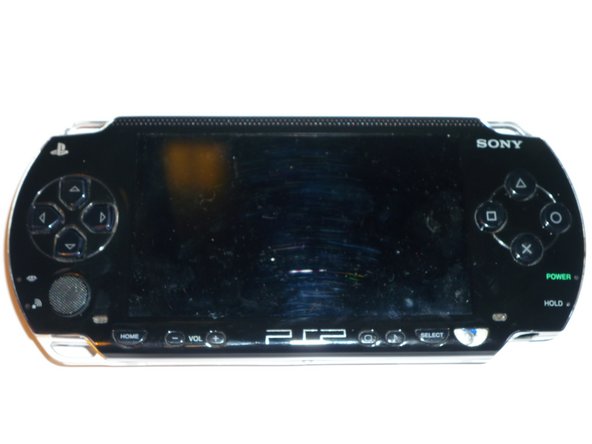
The PSP's buttons may become jammed or may not function properly. This guide will show how to access the buttons for repair, cleaning, or replacement.
What you need
-
-
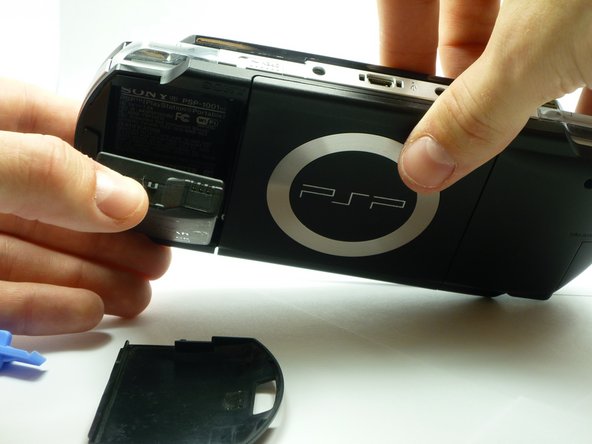
Locate the battery casing button on the rear-left side of the PSP.
-
Press down the button and remove the battery cover.
-
-
-
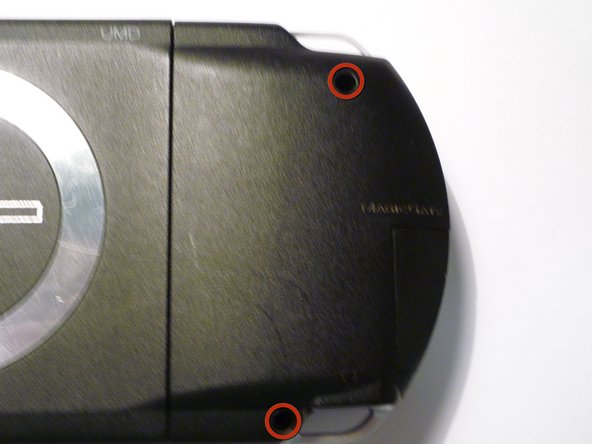
Remove the 4 screws, with a phillips #00 screwdriver, shown. (one screw not highlighted is in lower left corner)
-
-
-
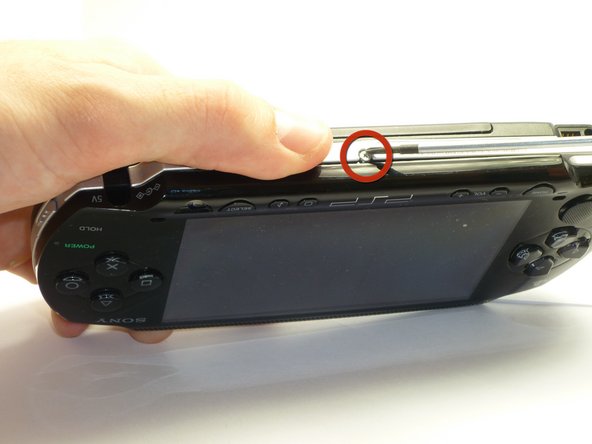
Remove the screw from the bottom side of the PSP. Keep it separated from the rest of the screws.
-
Remove screws from back righthand side within the holes.
-
-
-
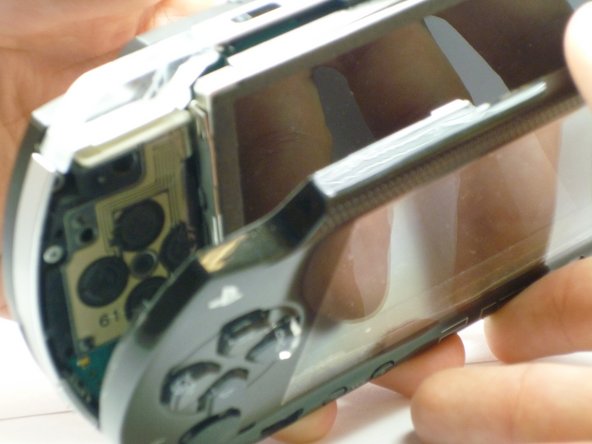
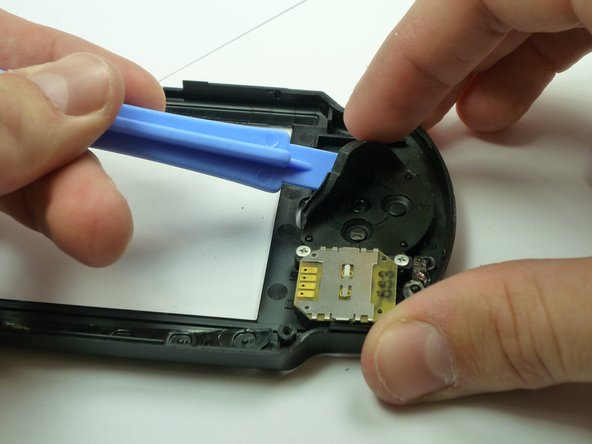
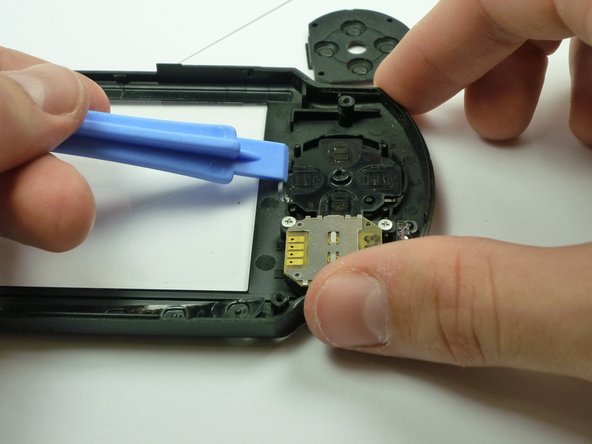
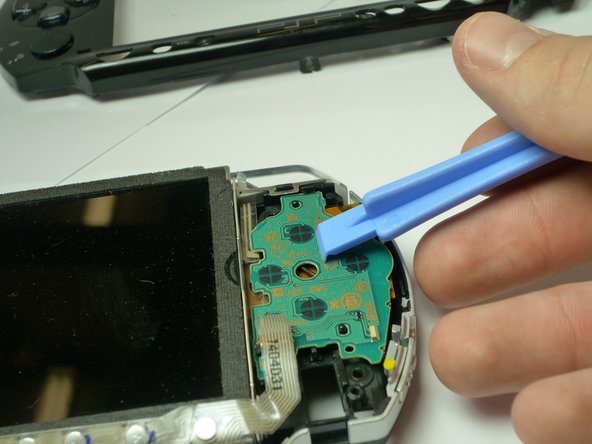
If the Arrow Buttons are not functioning properly, flip over the outer casing and locate the inside of the buttons, as shown
-
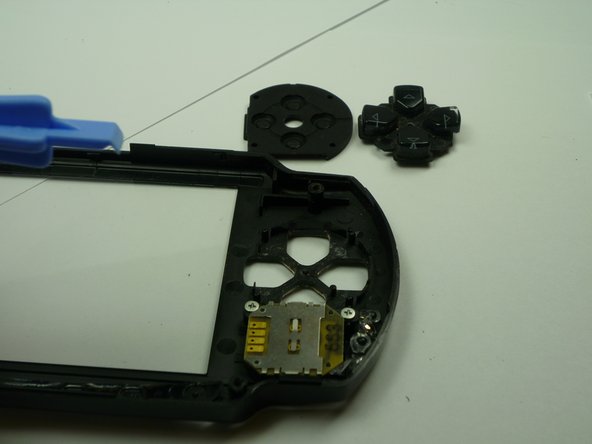
Carefully remove the black rubber backing off of the buttons.
-
Clean the inside of the rubber and the outside of the buttons with a cloth.
-
-
-
If needed, replace the old buttons with a new set (which can be purchased from Sony or other electronics stores).
-
Gently re-apply the back rubber to the back of the buttons.
-
-
-
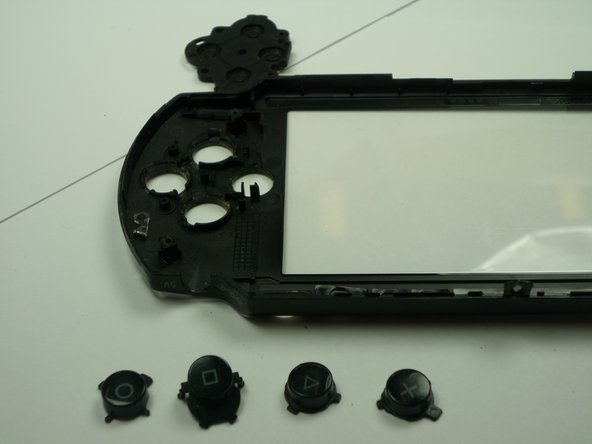
If function buttons (x, square, circle, triangle) need to be replaced, find the corresponding black rubber backing on the inside of the casing.
-
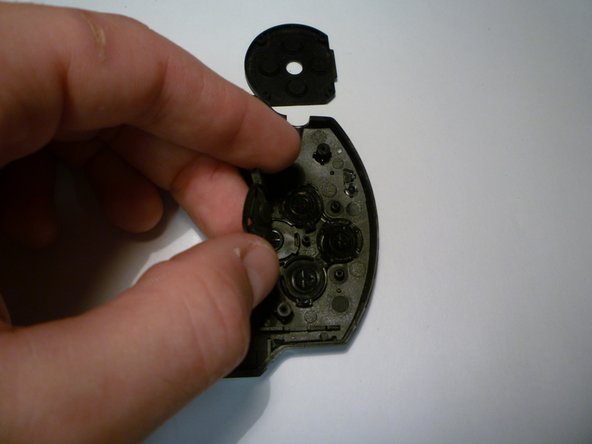
Carefully remove the back rubber to expose the rear side of the buttons as shown. (This can be done using your hands.)
-
-
-
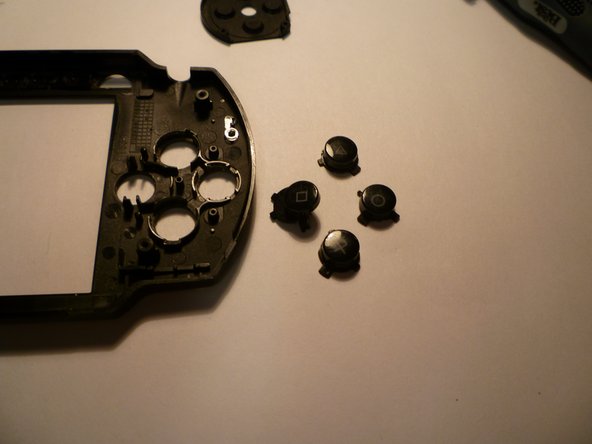
If the buttons are clearly damaged, then they need to be replaced.
-
Add the new ones in the form, with the correct button order. (The correct button order has the Triangle on the top, Square on the right, Circle on the left, and X on the bottom).
-
-
-
Once buttons are correctly replaced, the back rubbers are fit back onto the buttons, refer back to Replacing the Housing to reattach the casing.
-


To reassemble your device, follow these instructions in reverse order.
To reassemble your device, follow these instructions in reverse order.
