
Introduction
A common issue for the PSP is the UMD door becoming shaky or loose. This guide will show you how to maintain or repair the UMD door.
What you need
-
-
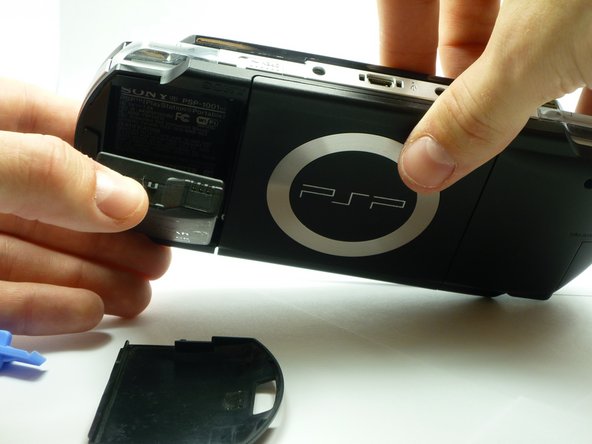
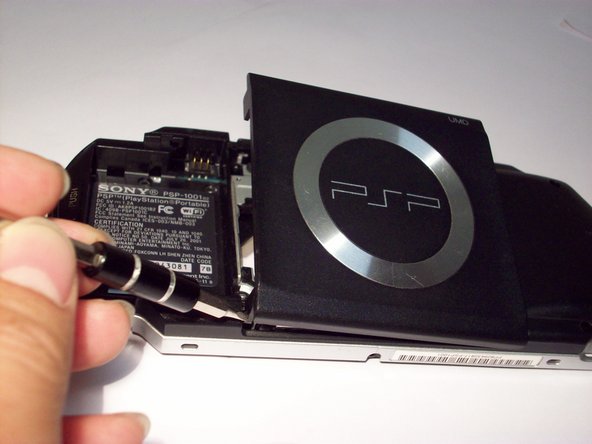
Locate the battery casing button on the rear-left side of the PSP.
-
Press down the button and remove the battery cover.
-
-
-
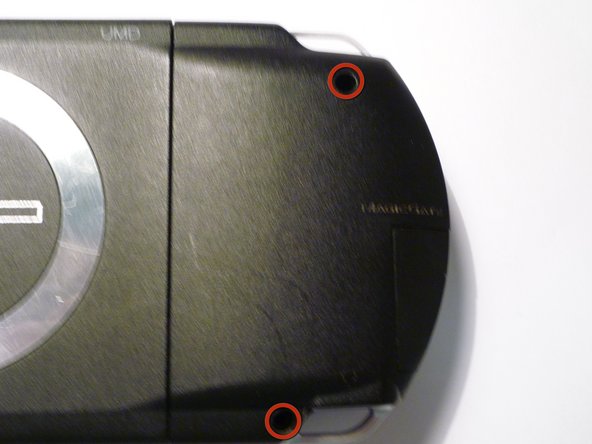
Remove the 4 screws, with a phillips #00 screwdriver, shown. (one screw not highlighted is in lower left corner)
-
-
-
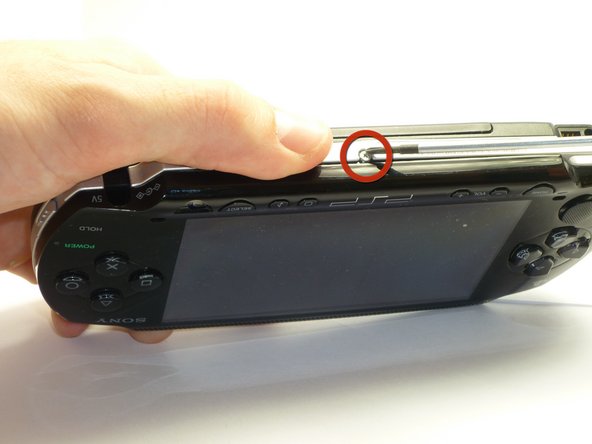
Remove the screw from the bottom side of the PSP. Keep it separated from the rest of the screws.
-
Remove screws from back righthand side within the holes.
-
-
-
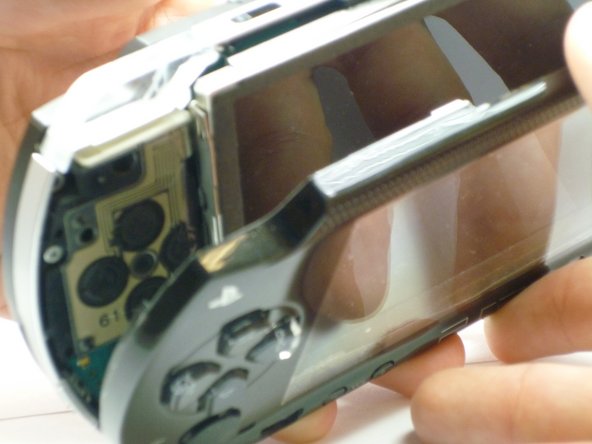
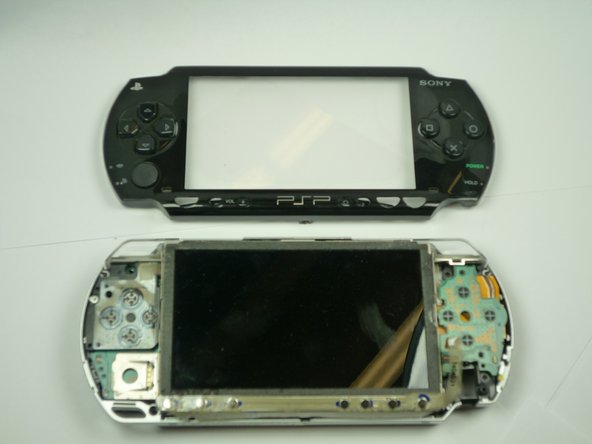
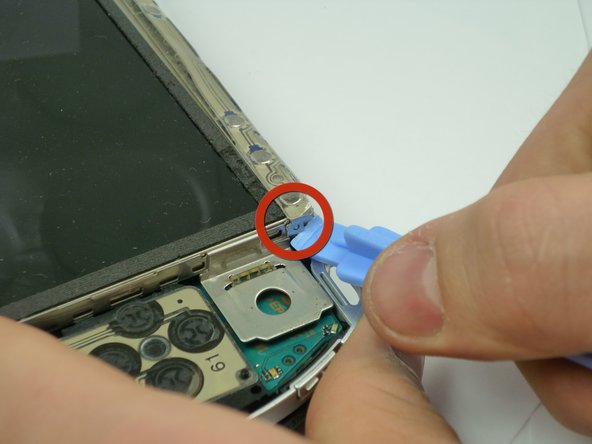
The Button Board, at the base of the LCD Screen, is held by two clips.
-
Pry these clips over the nubs using a PSP opening tool. This will release the clips.
-
-
-
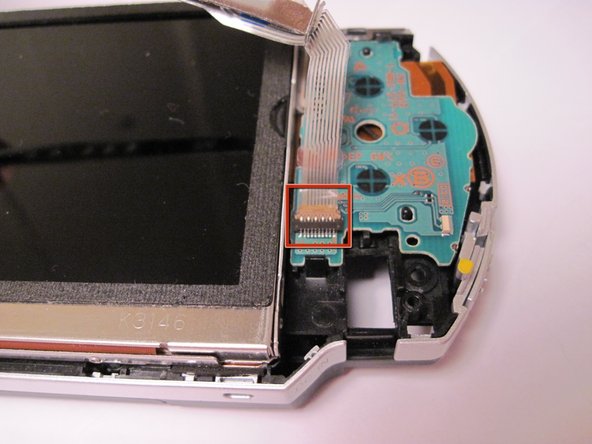
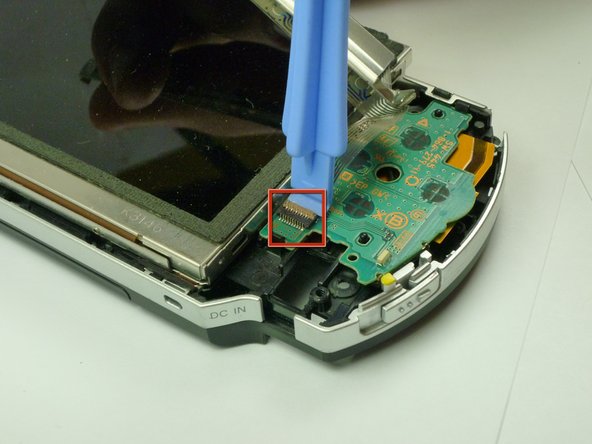
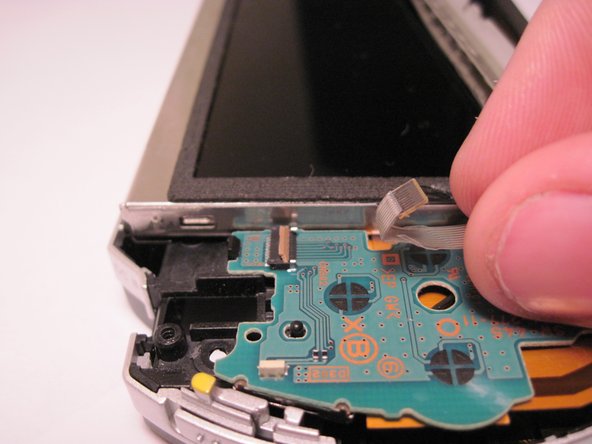
The Button Board Ribbon Cable is held down with a latch. Lift the latch open, away from the ribbon cable.
-
Pull the cable away from the latch.
-
-
-
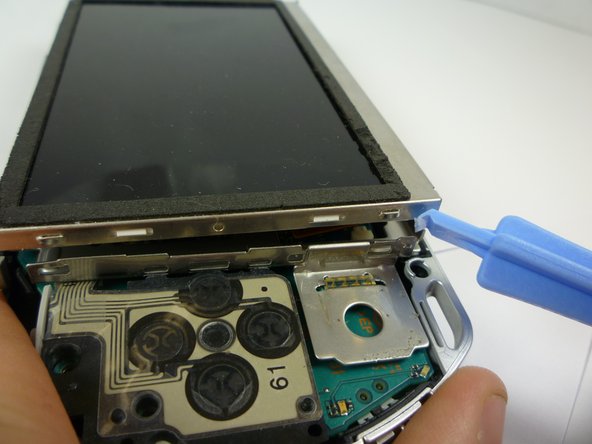
The LCD Screen is held by the LCD Frame with similar clips. Slide a thin tool between the clip and the screen and gently pry them apart while beginning to lift the screen.
-
-
-
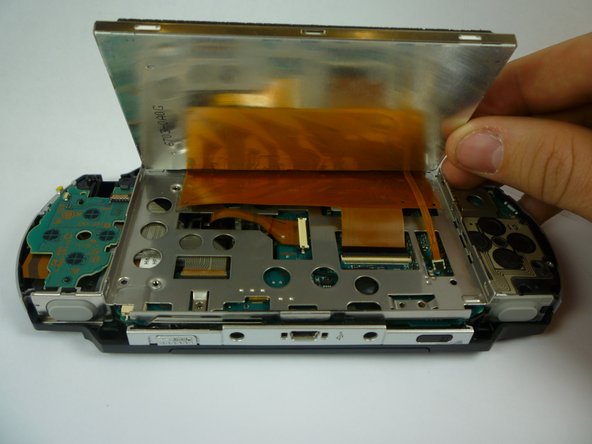
The LCD screen is still attached with ribbon cables. Gently lift up the LCD screen so you do not break them.
-
-
-
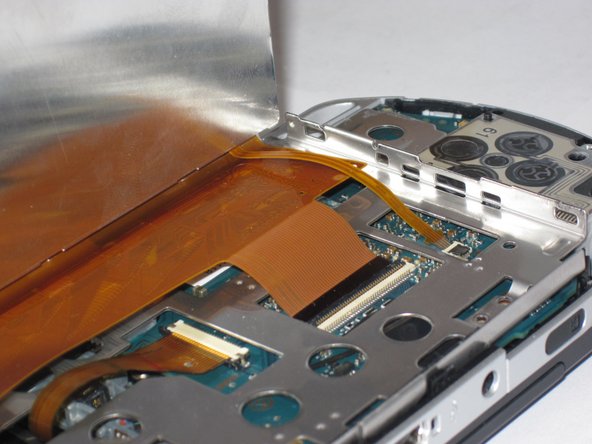
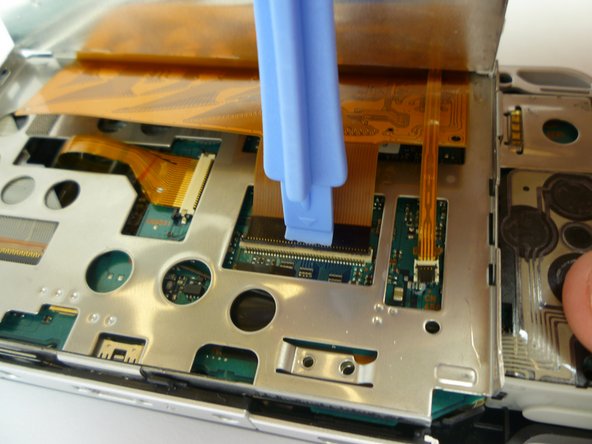
The thin Ribbon Cable opens from the opposite side in which the Ribbon Cable enters. Open up the latch towards the Ribbon Cable. The latch will pull up and release the ribbon cable. Put your tool behind the black part, then pry up the black piece of plastic.
-
The wide Ribbon Cable opens from the same side in which the Ribbon Cable attatches, and opens away from the cable.
-
Both of these latches are the black pieces.
-
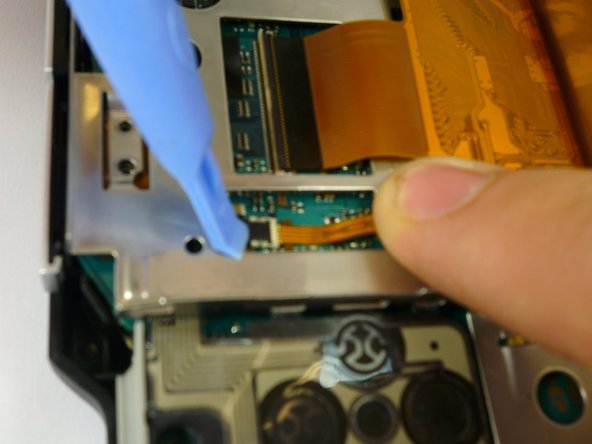
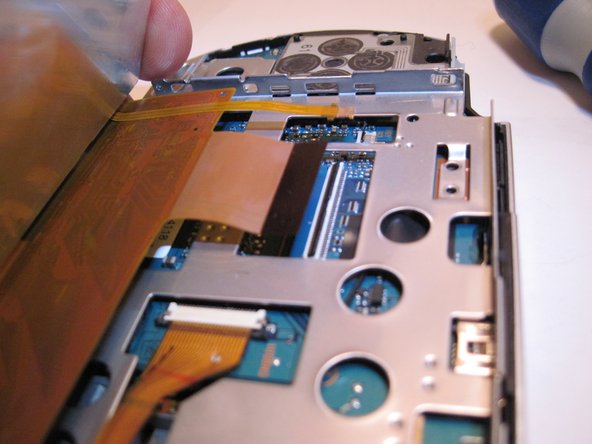
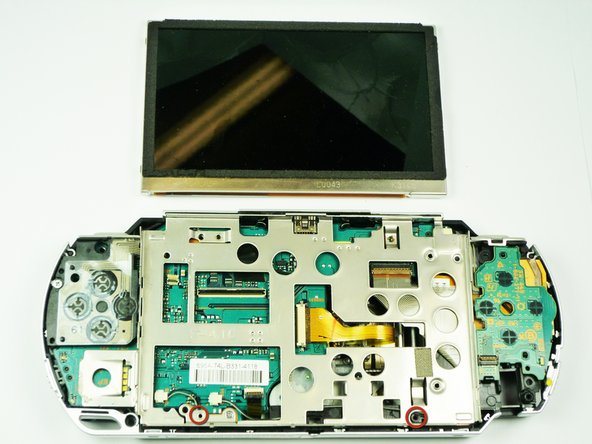
Gently pull the ribbon cables away from the latches. The LCD screen can now be removed.
-
-
-
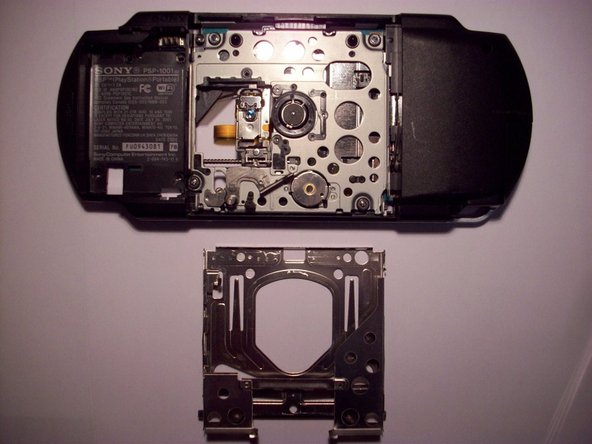
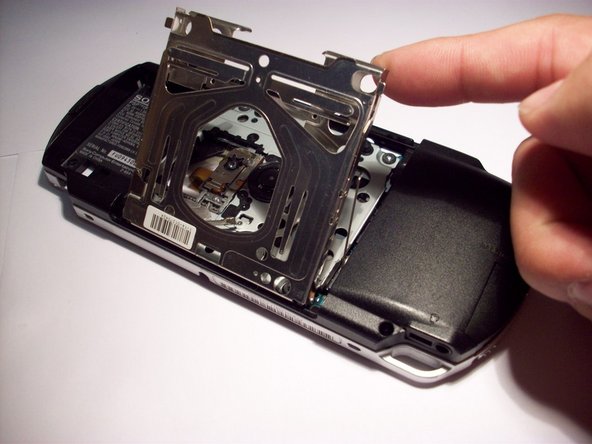
First Start by turning the PSP over, UMD Drive up.
-
Then using a small flat-head, Pry the lower left corner up.
-
The right side will come out after the left latch is free. Some jiggle work might be needed, no excessive force.
-
-
-
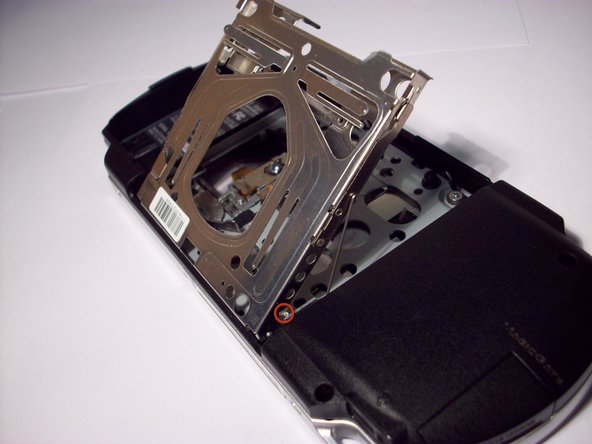
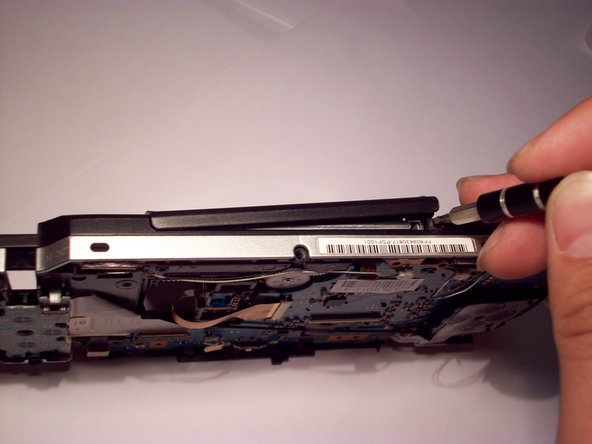
FIRST, with the psp facing up, unscrew the black screw on the bottom right hand of the umd door adjacent to the right side speaker for easier prying of the umd door in the next step.
-
-
-
Because the problem was that the door was loose, clean all parts of dirt or debris.
-
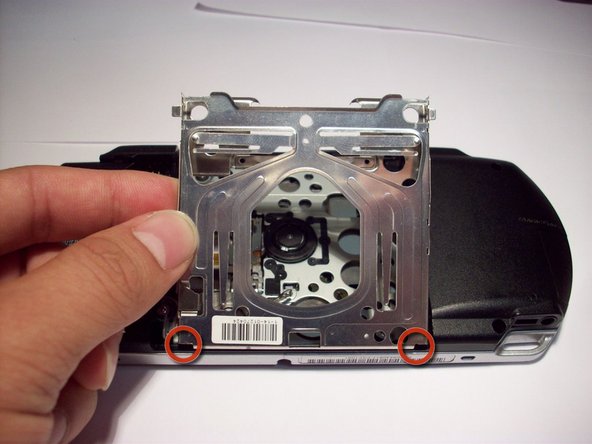
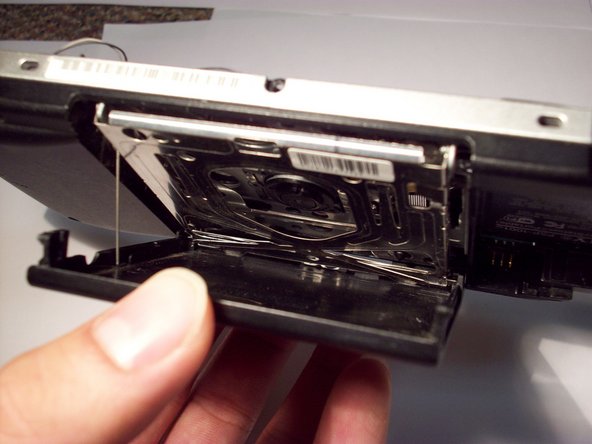
Align the tray to the 2 hinges at the bottom and slide the tray to the left, back into place. The latch should still be above the UMD frame.
-
Apply light pressure to the left side while lowering the tray to its original position.
-
-
-
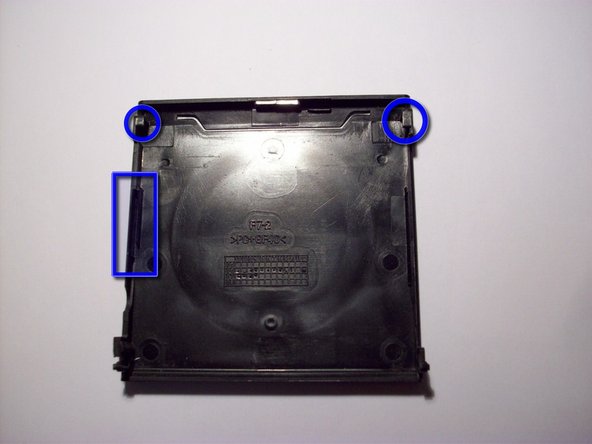
This next part is a bit tricky. Notice the slot for the spring arm and the slot for the UMD trayy in the the corners.
-
Turn the PSP upside-down, so that the bottom is now facing up.
-
First slide the UMD tray into the slots on the UMD cover. Once these are in, align the spring into its slot.
-
-
-
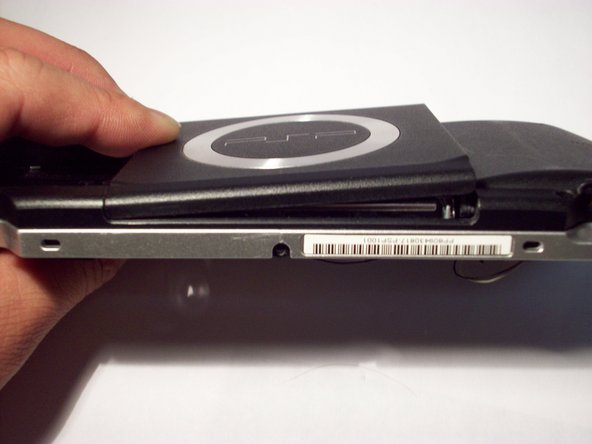
Carefully close the PSP door, keeping the UMD tray and spring in their slots.
-
Insert the left side of the door first, then the right hinge.
-
This can be done using either your hands or a flat-head.
-


To reassemble your device, follow these instructions in reverse order.
To reassemble your device, follow these instructions in reverse order.
