/

PowerBook 3400 M3553 Floppy Disk Drive Replacement

  1. PowerBook 3400 M3553 Floppy Disk Drive Replacement, PowerBook 3400 M3553 Floppy Disk Drive Replacement: step 1, image 1 of 1
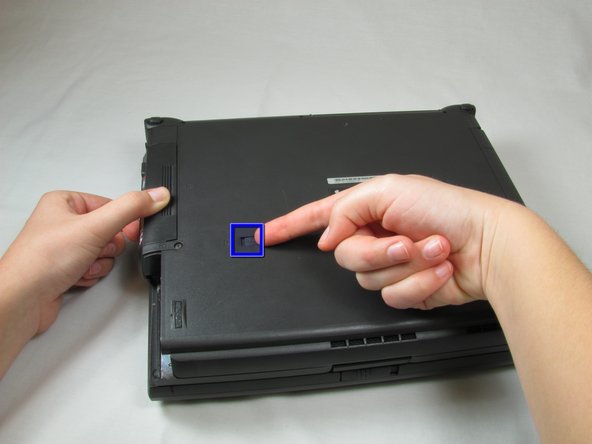
    • Close the screen and turn the PowerBook over. Orient the computer so the text of the label is right side up.

  2. PowerBook 3400 M3553 Floppy Disk Drive Replacement: step 2, image 1 of 2 PowerBook 3400 M3553 Floppy Disk Drive Replacement: step 2, image 2 of 2
    • Press and hold the button on the left of the front side and slide the battery out.

  3. PowerBook 3400 M3553 Floppy Disk Drive Replacement: step 3, image 1 of 2 PowerBook 3400 M3553 Floppy Disk Drive Replacement: step 3, image 2 of 2
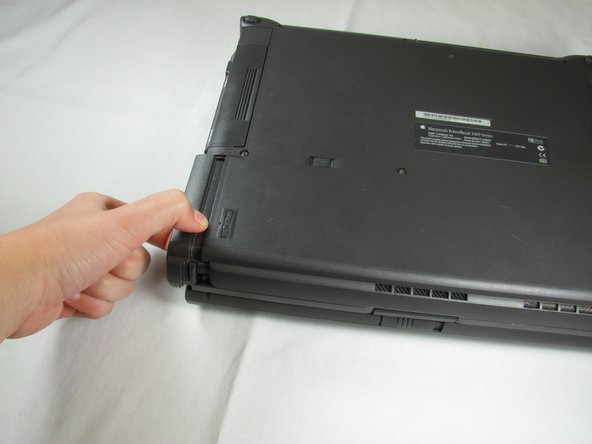
    • First, slide the switch on the back of the computer to the left.

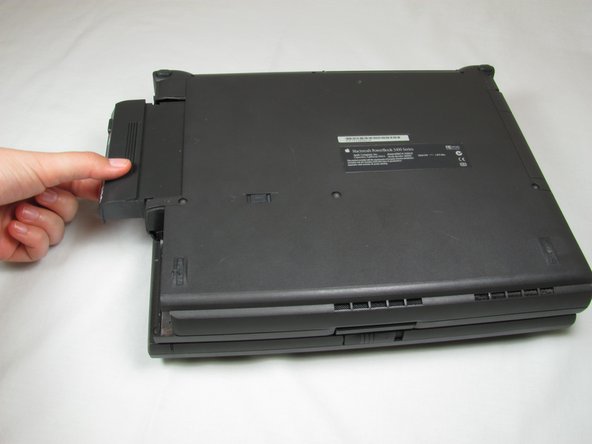
    • Then pull the floppy drive out of the computer.

Conclusion

To reassemble your device, follow these instructions in reverse order.

System

Member since: 09/24/09

2,562 Guides authored

0 Comments

Add Comment

View Statistics:

Past 24 Hours: 0

Past 7 Days: 0

Past 30 Days: 0

All Time: 2