/

Samsung Captivate Earpiece Replacement

What you need

  1. Samsung Captivate Earpiece Replacement, Samsung Captivate Earpiece Replacement: step 1, image 1 of 1
    • Remove the back cover by pressing on the bottom section of the phone and sliding the bottom piece downward.

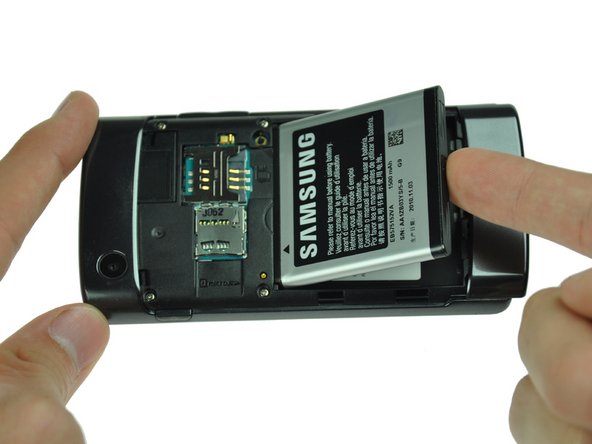
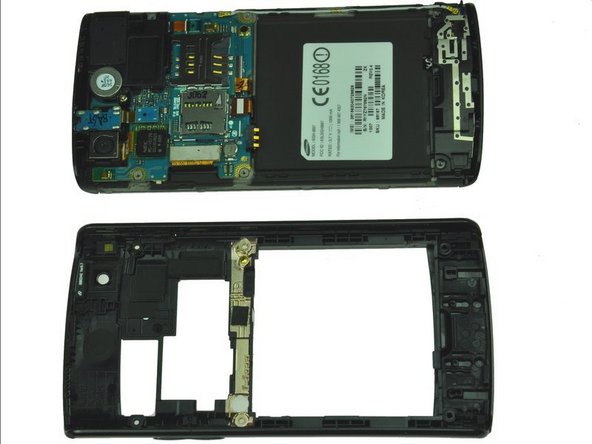
    • Lift up the back cover.

  2. Samsung Captivate Earpiece Replacement: step 2, image 1 of 1
    • Place your finger on the bottom of the battery and lift to remove.

  3. Samsung Captivate Earpiece Replacement: step 3, image 1 of 1
    • Replace the old battery with the new one.

  4. Samsung Captivate Earpiece Replacement: step 4, image 1 of 1
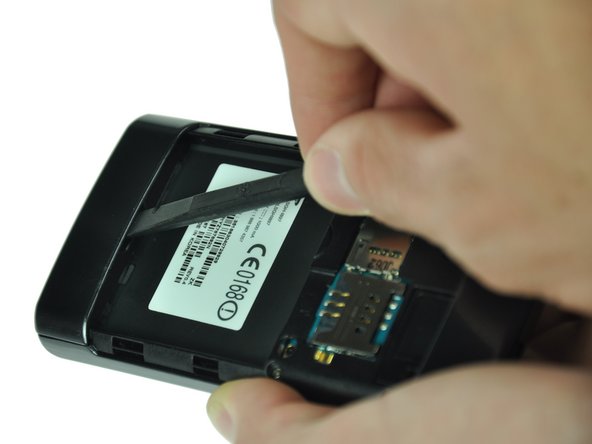
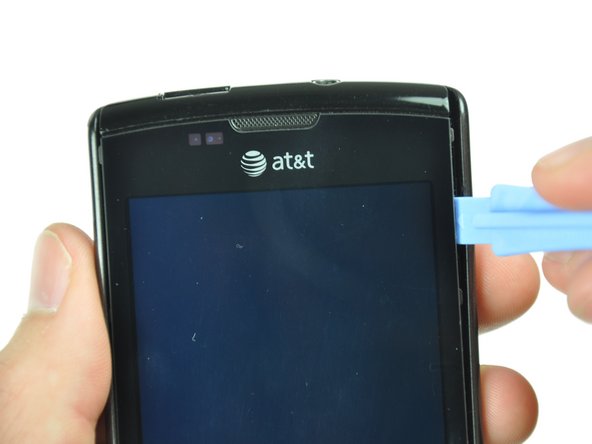
    • Insert the spudger underneath the bottom section of the phone.

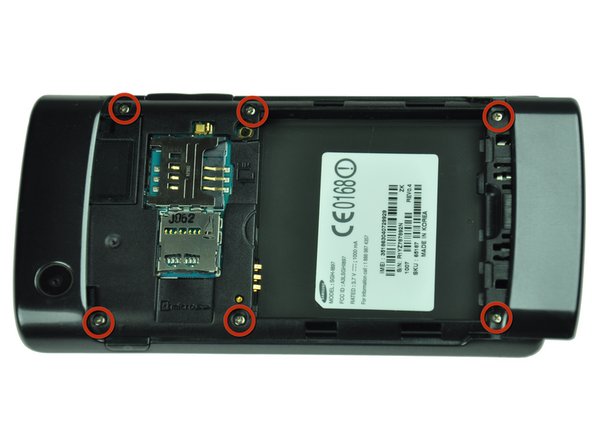
    • Gently lift and push the spudger to slide the bottom section down to reveal two hidden screws.

  5. Samsung Captivate Earpiece Replacement: step 5, image 1 of 1
    • Remove the six 4.5mm #000 Phillips screws.

  6. Samsung Captivate Earpiece Replacement: step 6, image 1 of 3 Samsung Captivate Earpiece Replacement: step 6, image 2 of 3 Samsung Captivate Earpiece Replacement: step 6, image 3 of 3
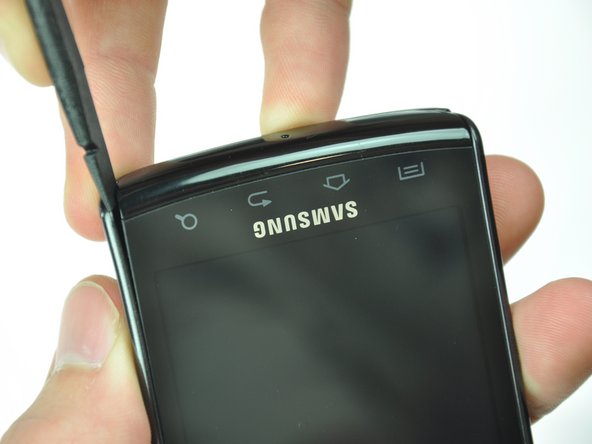
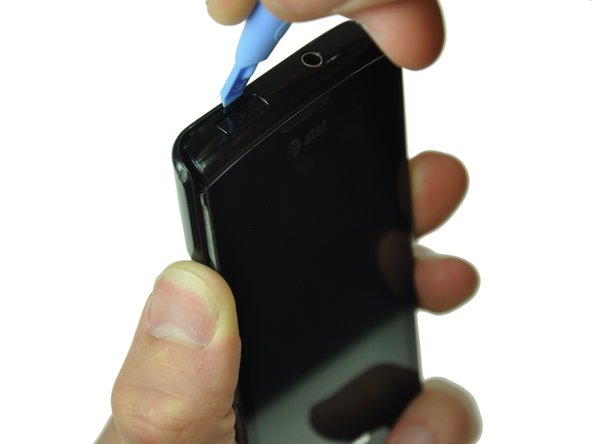
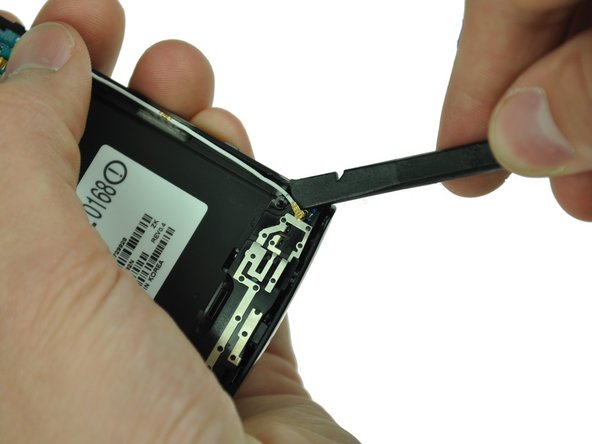
    • Starting at a bottom corner, use the spudger to separate the rear case from the front display.

    • Move the spudger towards the top on both sides. The plastic opening tool is easier to use for this step.

    • Be careful when detaching the top. Free each side, stopping short of the center of the cover. Apply backward pressure on both corners with a finger applying pressure on the center, and slide the whole back cover toward the bottom of the device. Note: forcing the cover can result in cracked plastic.

  7. Samsung Captivate Earpiece Replacement: step 7, image 1 of 1
    • Separate the rear case from the phone.

  8. Samsung Captivate Earpiece Replacement: step 8, image 1 of 2 Samsung Captivate Earpiece Replacement: step 8, image 2 of 2
    • Use a spudger tool to pry up the antenna cable from the connector on the motherboard.

    • Pry up the other end of the cable from the connector on the antenna array.

  9. Samsung Captivate Earpiece Replacement: step 9, image 1 of 1
    • Use the spudger tool to pry up the chip labeled "NEC." This releases the chip.

  10. Samsung Captivate Earpiece Replacement: step 10, image 1 of 1
    • Gently lift the camera assembly out of the plastic housing.

  11. Samsung Captivate Earpiece Replacement: step 11, image 1 of 3 Samsung Captivate Earpiece Replacement: step 11, image 2 of 3 Samsung Captivate Earpiece Replacement: step 11, image 3 of 3
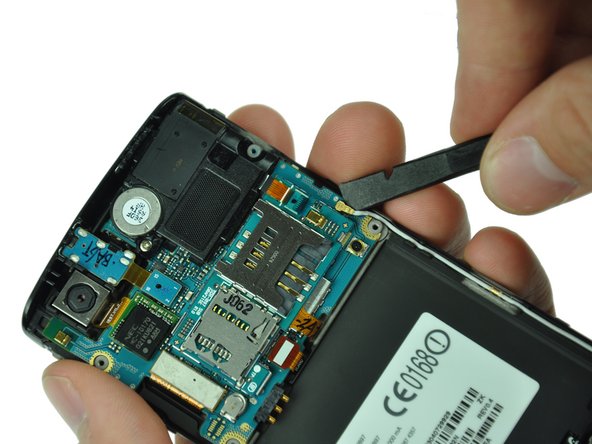
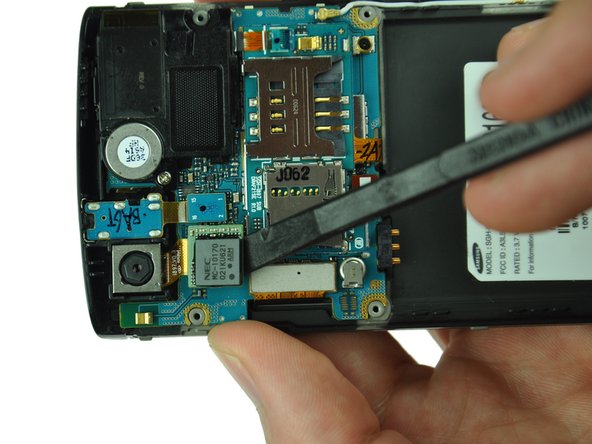
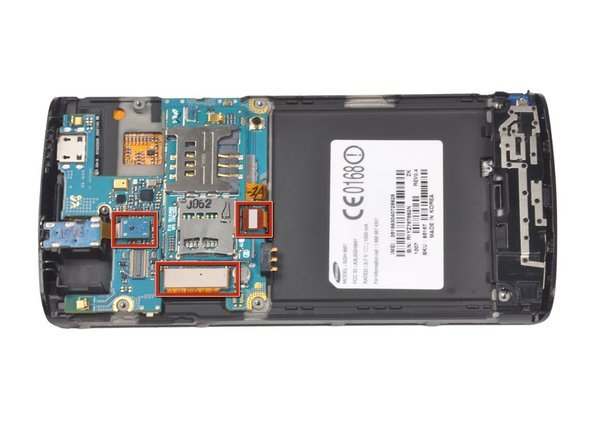
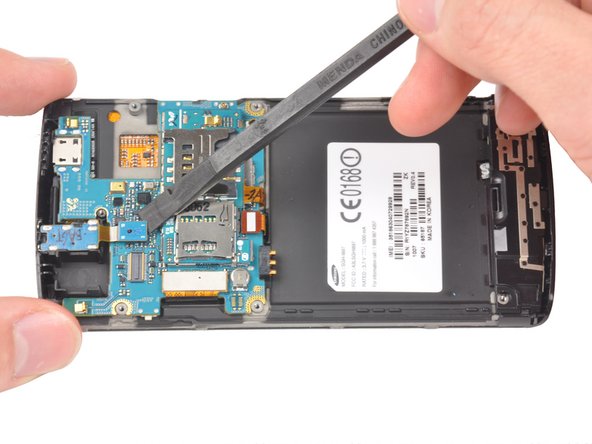
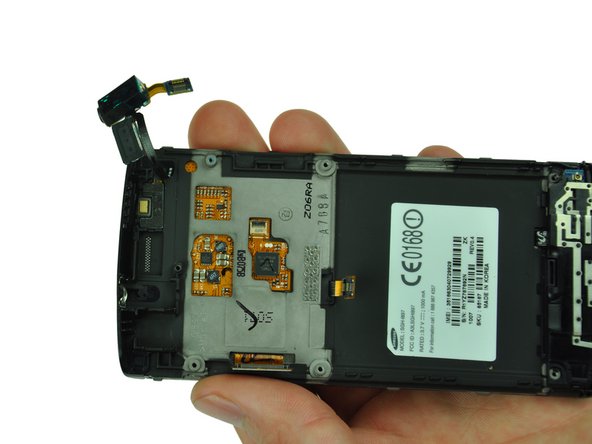
    • Use a spudger to disconnect the three highlighted connectors.

    • Pry straight up and be careful to pry against the connector, not the socket on the motherboard itself.

  12. Samsung Captivate Earpiece Replacement: step 12, image 1 of 1
    • Use your fingers to lift up the logic board from the assembly.

  13. Samsung Captivate Earpiece Replacement: step 13, image 1 of 2 Samsung Captivate Earpiece Replacement: step 13, image 2 of 2
    • Gently pull up on the audio jack, taking the attached ribbon cable with it.

    • There is a small amount of glue holding the ribbon cable that attaches the audio jack to the earpiece.

  14. Samsung Captivate Earpiece Replacement: step 14, image 1 of 1
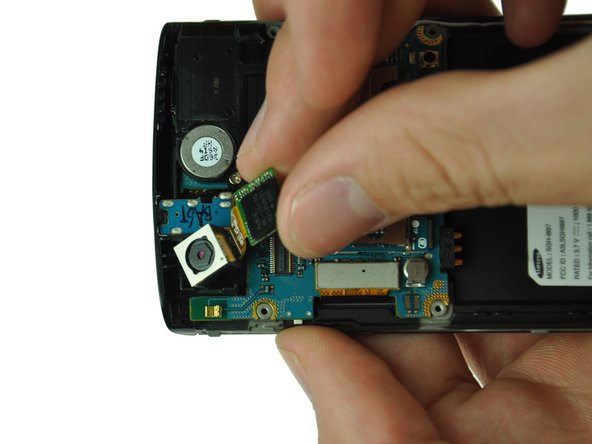
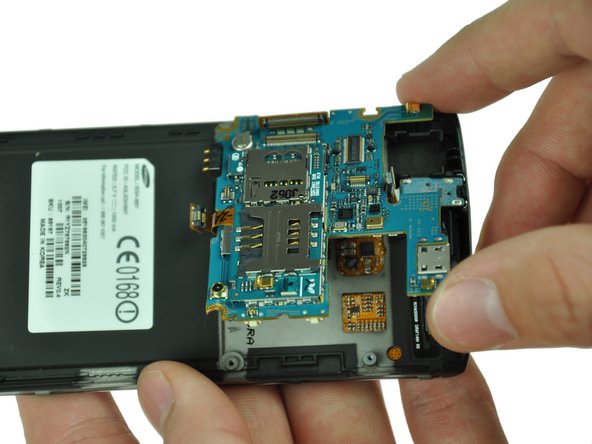
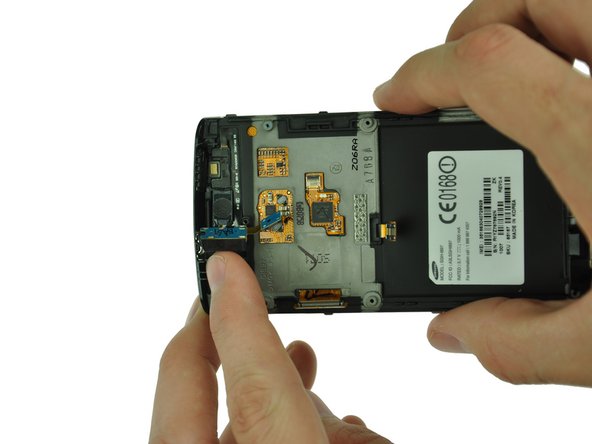
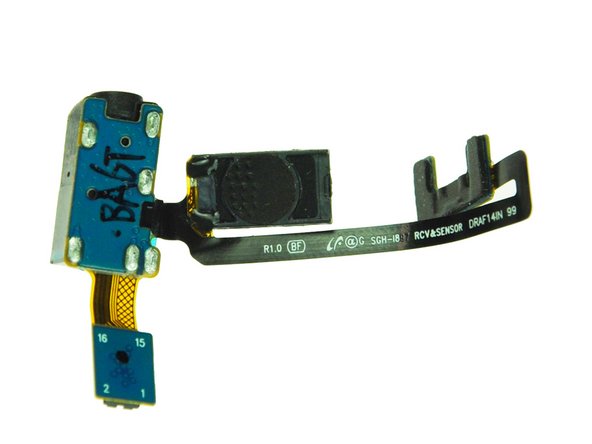
    • The earpiece is attached to the 3.5mm audio jack. You will need to replace the entire assembly.

Conclusion

To reassemble your device, follow these instructions in reverse order.

System

Member since: 09/24/09

2,562 Guides authored

0 Comments

Add Comment

View Statistics:

Past 24 Hours: 0

Past 7 Days: 0

Past 30 Days: 0

All Time: 1