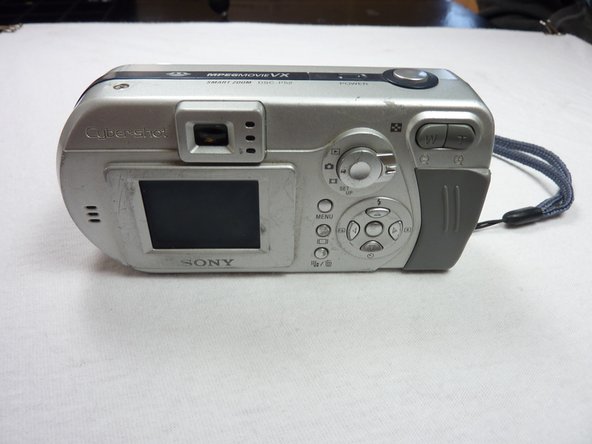
/

Sony Cyber-shot DSC-P52 LCD Replacement

What you need

  1. Sony Cyber-shot DSC-P52 LCD Replacement, Sony Cyber-shot DSC-P52 LCD Replacement: step 1, image 1 of 1
    • Open battery compartment and remove batteries.

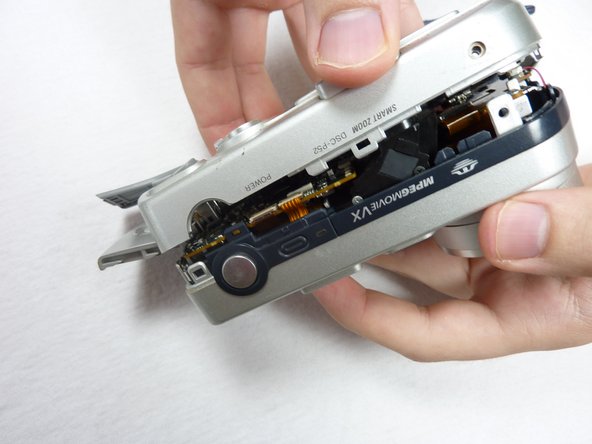
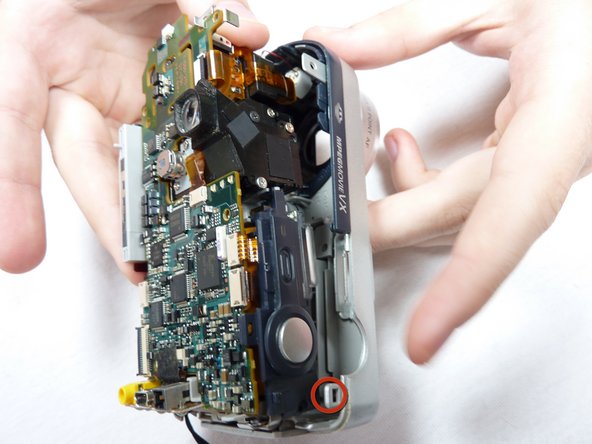
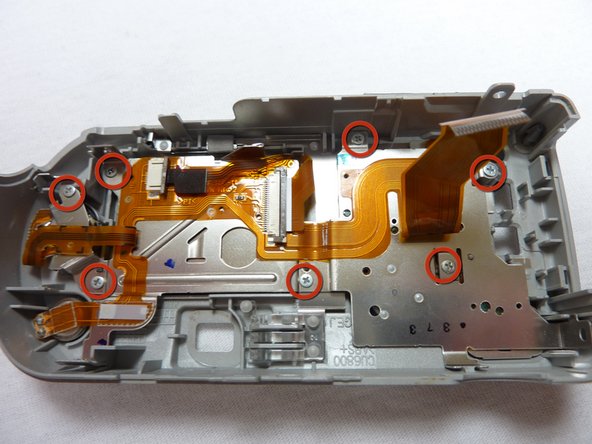
    • Remove all visible screws on the outside of the case.

    • There should be three of them that are all easily located.

  2. Sony Cyber-shot DSC-P52 LCD Replacement: step 2, image 1 of 1
    • Open the memory card compartment.

    • Remove the screw next to the memory card slot.

  3. Sony Cyber-shot DSC-P52 LCD Replacement: step 3, image 1 of 1
    • Pull apart front and back cover pieces carefully.

    • The front cover should come completely free with little effort.

    • The back cover will still be attached to the circuit board.

  4. Sony Cyber-shot DSC-P52 LCD Replacement: step 4, image 1 of 1
    • Unclip all of the clips holding in the circuitry simultaneously and remove the back case.

    • The circuitry will still be connected to the back case by ribbon cables.

  5. Sony Cyber-shot DSC-P52 LCD Replacement: step 5, image 1 of 1
    • Open case as shown.

  6. Sony Cyber-shot DSC-P52 LCD Replacement: step 6, image 1 of 1
    • Unclip the clip holding the ribbon cable in.

    • Other ribbon cables might not have a clips.

  7. Sony Cyber-shot DSC-P52 LCD Replacement: step 7, image 1 of 1
    • Pull the ribbon cable out.

  8. Sony Cyber-shot DSC-P52 LCD Replacement: step 8, image 1 of 1
    • Unclip the ribbon cable shown the in picture.

    • Some ribbon cables do not have a clip holding them in.

  9. Sony Cyber-shot DSC-P52 LCD Replacement: step 9, image 1 of 1
    • Pull the ribbon cable out.

  10. Sony Cyber-shot DSC-P52 LCD Replacement: step 10, image 1 of 1
    • Remove 7 Screws to remove plate and expose LCD screen.

  11. Sony Cyber-shot DSC-P52 LCD Replacement: step 11, image 1 of 1
    • Remove LCD plate to expose LCD components and ribbon cables

  12. Sony Cyber-shot DSC-P52 LCD Replacement: step 12, image 1 of 1
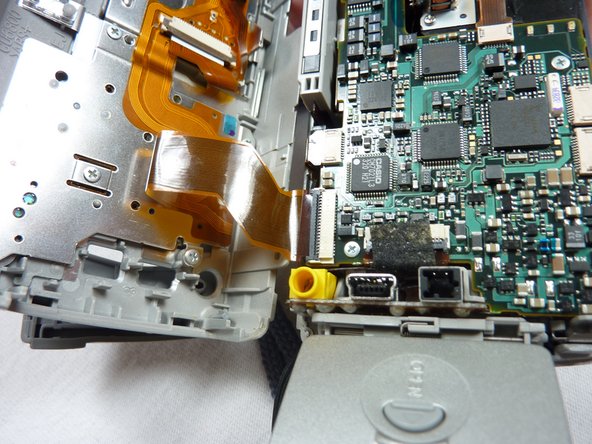
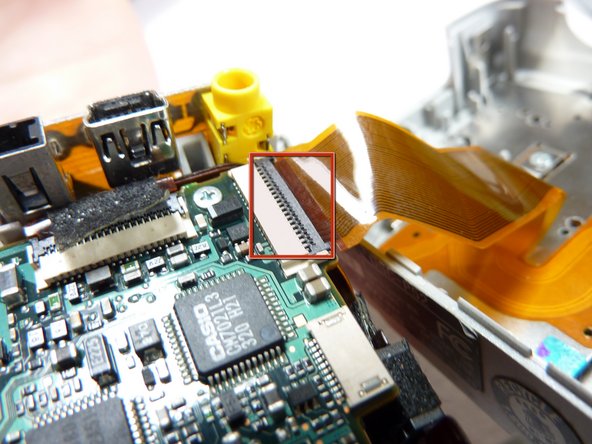
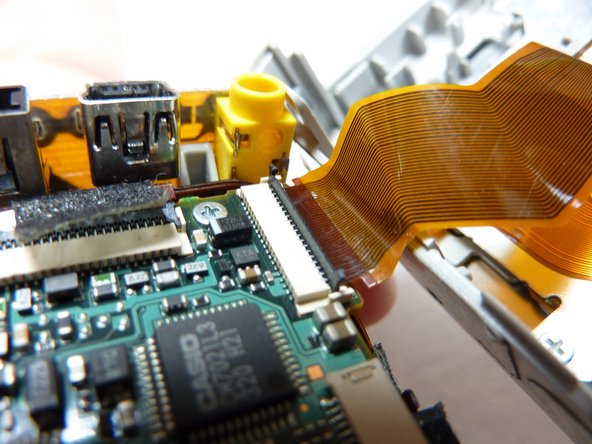
    • Check connection of LCD to cables

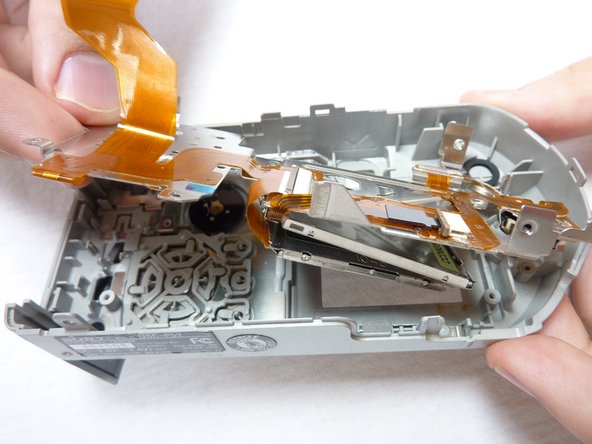
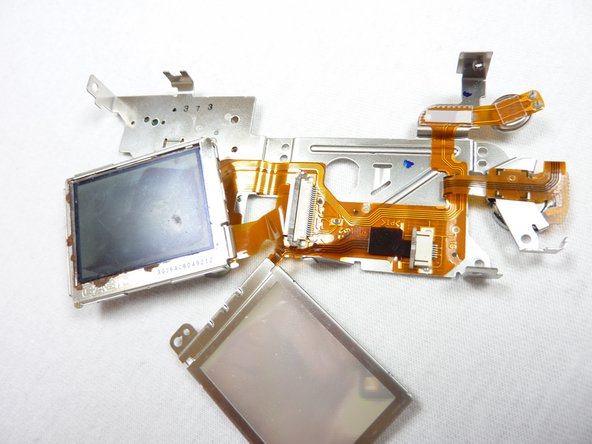
    • If cables are intact, disconnect cables and replace LCD with new part

  13. Sony Cyber-shot DSC-P52 LCD Replacement: step 13, image 1 of 1
    • Repeat steps in reverse order to reassemble the camera

Conclusion

To reassemble your device, follow these instructions in reverse order.

System

Member since: 09/24/09

2,562 Guides authored

0 Comments

Add Comment

View Statistics:

Past 24 Hours: 0

Past 7 Days: 0

Past 30 Days: 0

All Time: 4