
Introduction
Replace a broken fan for an Acer Aspire 5100 laptop.
What you need
-
-
Place the laptop upside down.
-
Although the battery is missing in this photo, it is not necessary to remove.
-
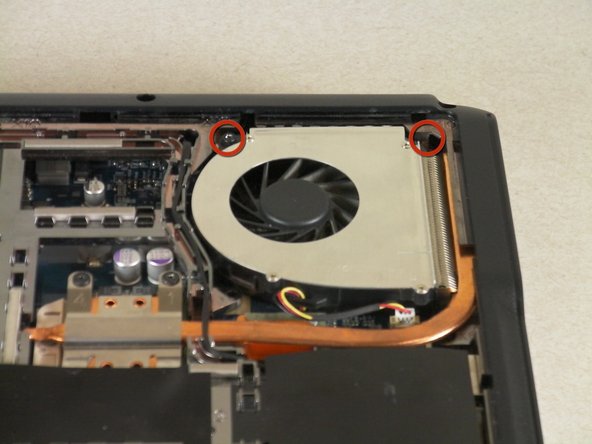
Locate the largest removable panel on the back and remove the four screws connecting it.
-
-
-
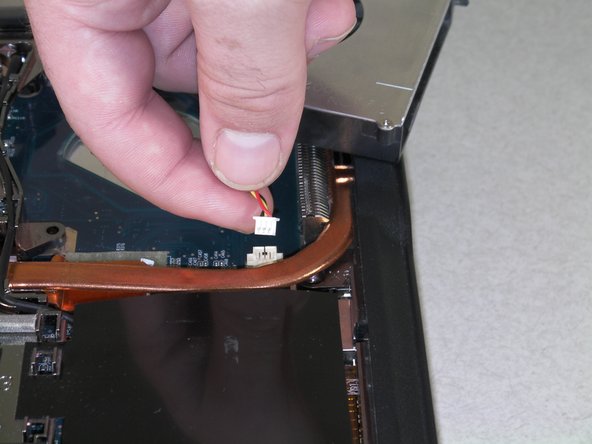
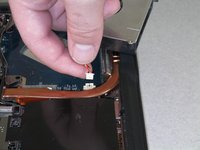
Lift out the fan CAREFULLY and detach the cable that connects the fan to the motherboard.
-
When detaching the cable, do not pull on the cable itself. Instead, use a small spudger to detach it at the white section that connects it to the motherboard.
-


Conclusion
To reassemble your device, follow these instructions in reverse order.
