
Introduction
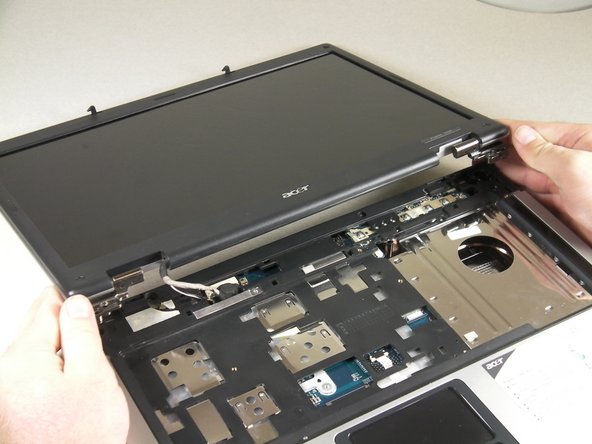
This guide will lead you through the steps of removing the LCD monitor and its enclosure.
What you need
-
-
Open and push the screen back all the way until it is horizontal with the rest of the laptop.
-
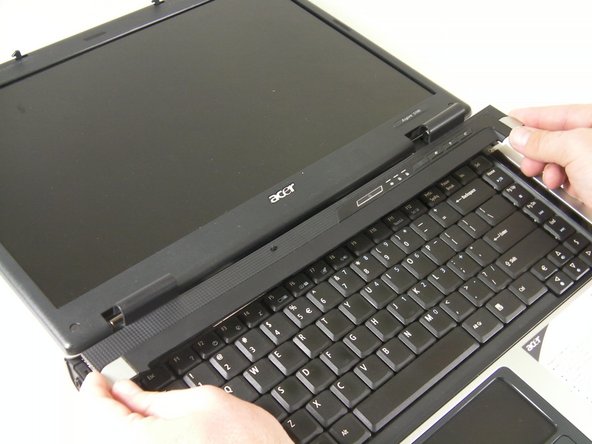
Locate the panel above the keyboard that has the power button on it.
-
Remove this panel by using a spudger to pry up the sides.
-
After you have used the spudger to release the tabs, lift up the panel.
-
-
-
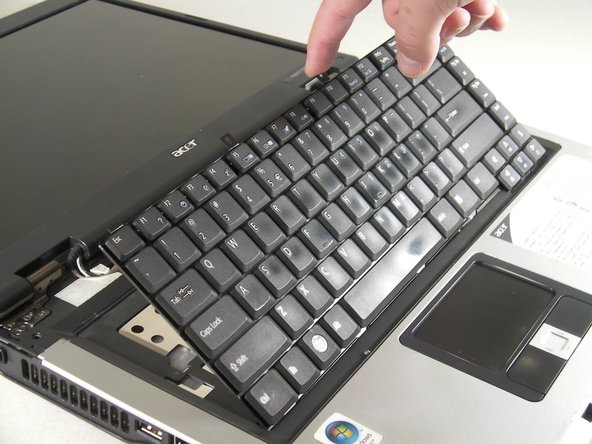
Under the panel, locate and remove the two screws that connect the keyboard to the laptop. One screw is located above the F5 button, and the other one is located above the F10 button.
-
-
-
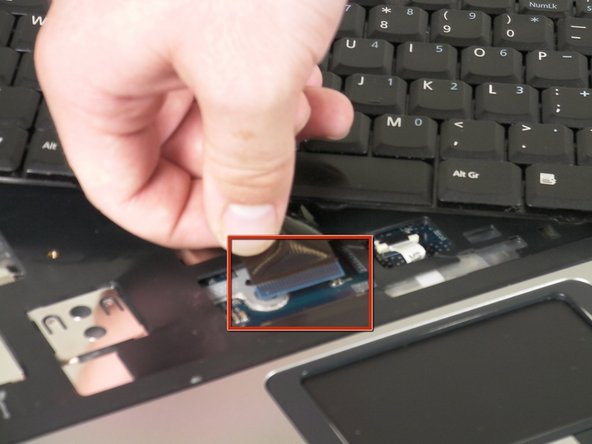
Release the catch on the ribbon socket, by sliding the two tabs toward the ribbon, then pull the ribbon, which is located under the keyboard, to detach it from the motherboard.
-
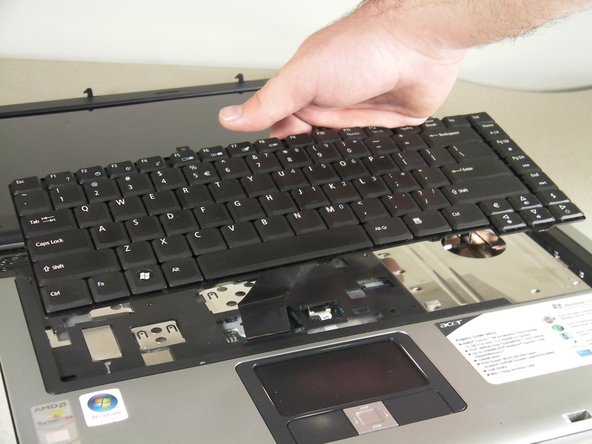
Remove the keyboard.
-
-
-
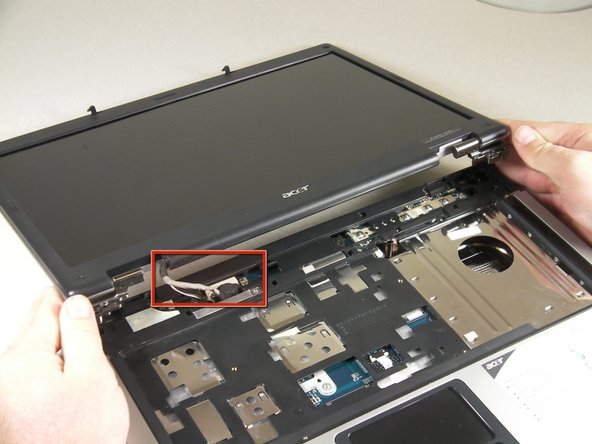
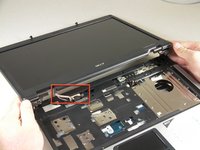
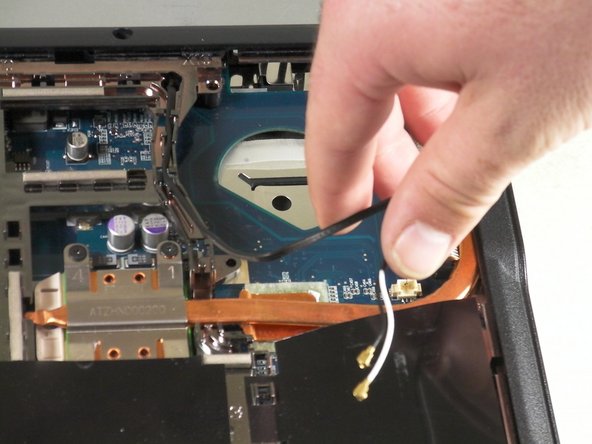
Locate the wire connecting the LCD screen to the motherboard.
-
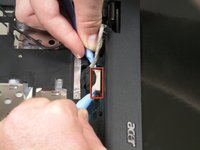
Detach the white rectangle located on the motherboard at the end of the wire.
-
-
-
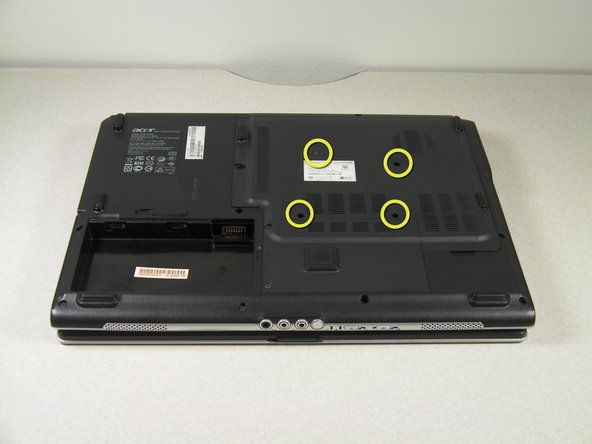
Place the laptop upside down.
-
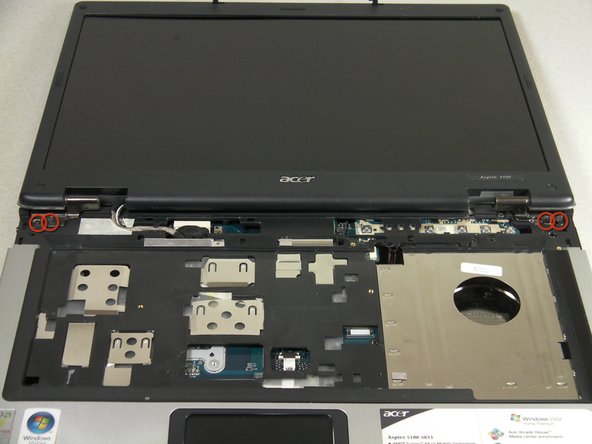
Locate the largest removable panel on the back and remove the four screws connecting it.
-
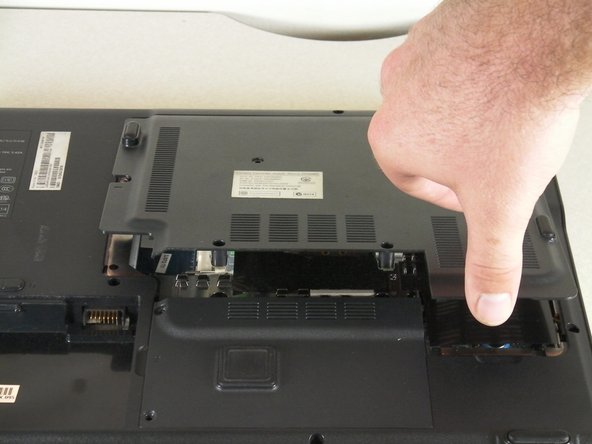
Lift up and remove the panel.
-


To reassemble your device, follow these instructions in reverse order.
