
Acer Aspire 5100 Track Pad Replacement

What you need

  1. Acer Aspire 5100 Track Pad Replacement, Acer Aspire 5100 Track Pad Replacement: step 1, image 1 of 2 Acer Aspire 5100 Track Pad Replacement, Acer Aspire 5100 Track Pad Replacement: step 1, image 2 of 2
    • Open and push the screen back all the way until it is horizontal with the rest of the laptop.

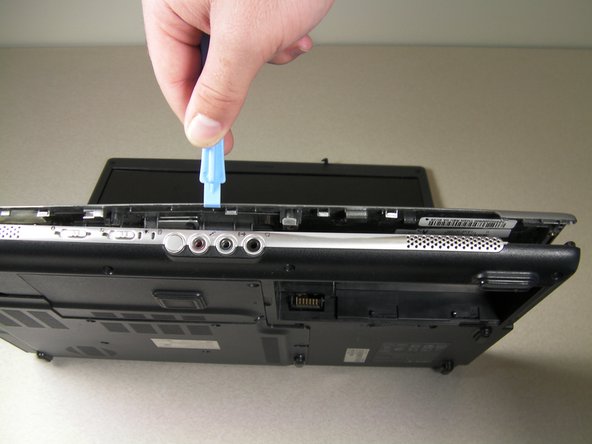
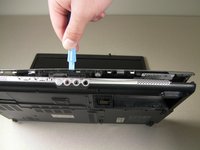
    • Locate the panel above the keyboard that has the power button on it.

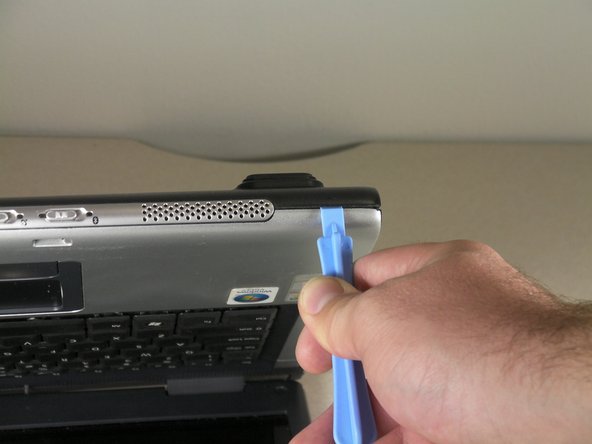
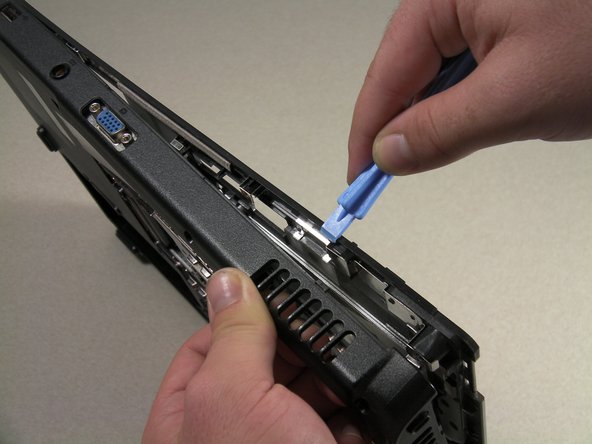
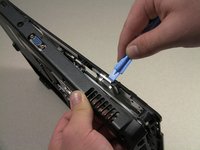
    • Remove this panel by using a spudger to pry up the sides.

    • You are using the spudger to release tabs holding the panel in place.

    • After you have used the spudger to release the tabs, lift up the panel.

  2. Acer Aspire 5100 Track Pad Replacement: step 2, image 1 of 3 Acer Aspire 5100 Track Pad Replacement: step 2, image 2 of 3 Acer Aspire 5100 Track Pad Replacement: step 2, image 3 of 3
    • Under the panel, locate and remove the two screws that connect the keyboard to the laptop. One screw is located above the F5 button, and the other one is located above the F10 button.

    • Lift up the keyboard CAREFULLY because there is a ribbon that connects the keyboard to the motherboard.

  3. Acer Aspire 5100 Track Pad Replacement: step 3, image 1 of 1
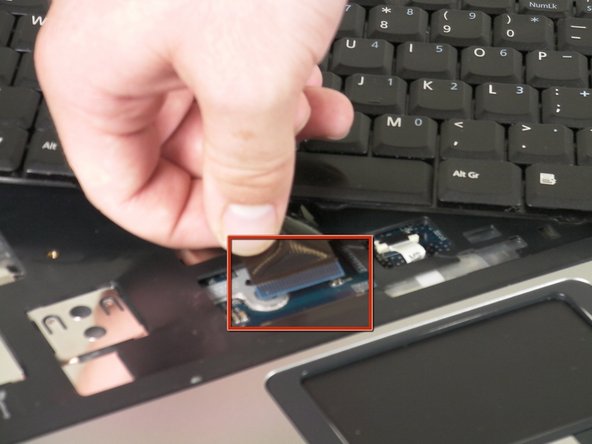
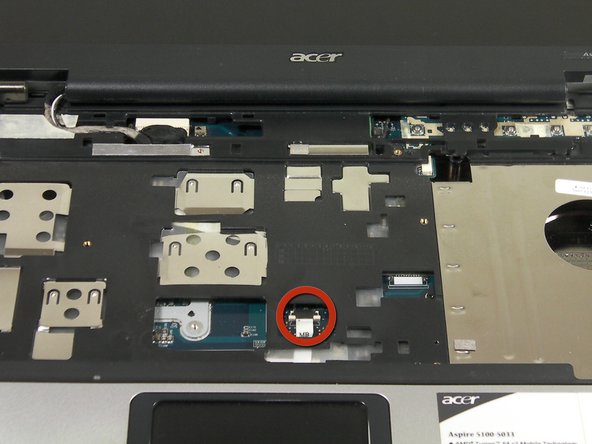
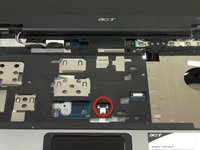
    • Release the catch on the ribbon socket, by sliding the two tabs toward the ribbon, then pull the ribbon, which is located under the keyboard, to detach it from the motherboard.

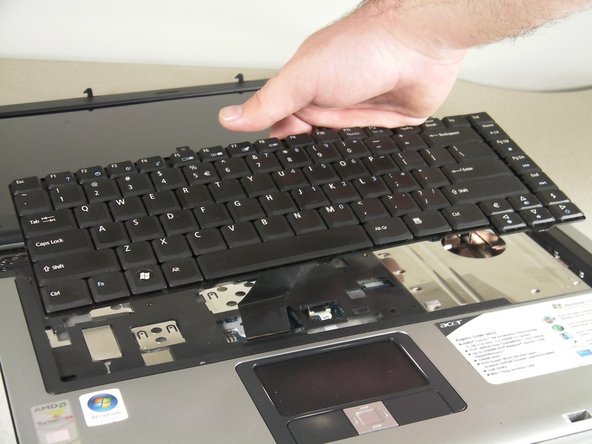
    • Remove the keyboard.

  4. Acer Aspire 5100 Track Pad Replacement: step 4, image 1 of 1
    • On the back of the laptop, locate and unscrew all nine of the screws located at the edges.

  5. Acer Aspire 5100 Track Pad Replacement: step 5, image 1 of 3 Acer Aspire 5100 Track Pad Replacement: step 5, image 2 of 3 Acer Aspire 5100 Track Pad Replacement: step 5, image 3 of 3
    • Open the lid of the laptop and locate the cover that surrounds the keyboard and track pad.

    • Use the spudger to pry open the sides of this cover.

    • You are using the spudger to release tabs holding the cover in place.

    • DO NOT lift cover off after detaching it because the track pad is connected to the motherboard.

  6. Acer Aspire 5100 Track Pad Replacement: step 6, image 1 of 2 Acer Aspire 5100 Track Pad Replacement: step 6, image 2 of 2
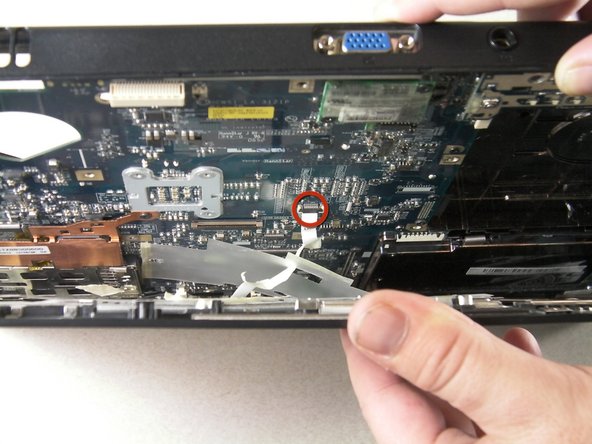
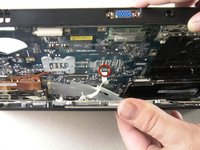
    • Slightly lift up the cover to see the ribbon connection.

    • Release the catch by sliding the two lugs toward the ribbon, then pull the ribbon to detach it from the motherboard.

    • Lift up the cover from the laptop.

  7. Acer Aspire 5100 Track Pad Replacement: step 7, image 1 of 1
    • On the cover that was removed, flip it around and locate where the back of the track pad is.

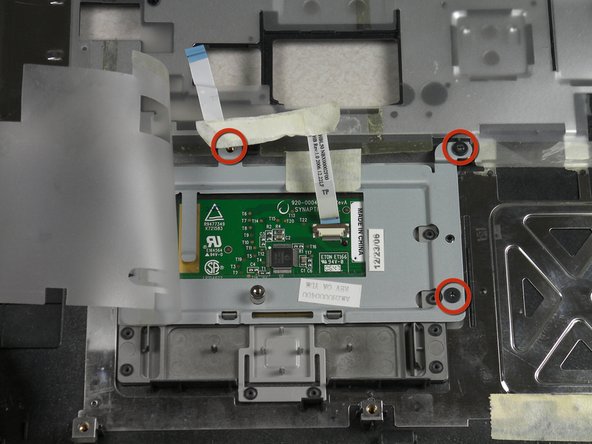
    • Remove the three screws located at the corners.

    • Lift up the bracket that you just unscrewed and remove track pad.

Conclusion

To reassemble your device, follow these instructions in reverse order.

System

Member since: 09/24/09

2,562 Guides authored

0 Comments

Add Comment

View Statistics:

Past 24 Hours: 0

Past 7 Days: 0

Past 30 Days: 0

All Time: 15