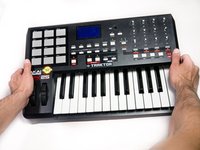
Akai MPK25 Face Plate Replacement

What you need

    1. Akai MPK25 Face Plate Replacement, Akai MPK25 Face Plate Replacement: step 1, image 1 of 1
      • Remove all the selector knob covers by pulling them off.

      Add Comment

    2. Akai MPK25 Face Plate Replacement: step 2, image 1 of 1
      • Using needle nose pliers, remove the washers from the four corner selector knobs.

      Add Comment

    3. Akai MPK25 Face Plate Replacement: step 3, image 1 of 1
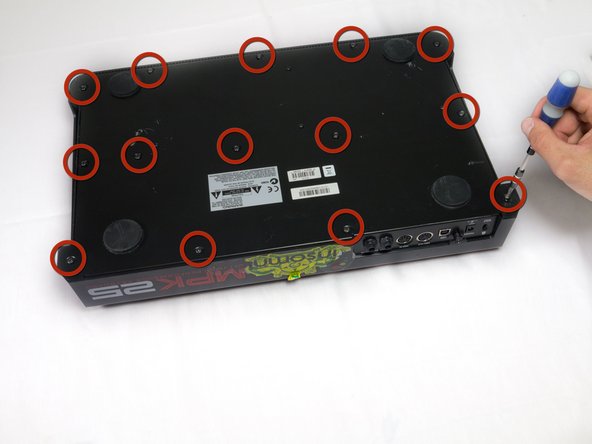
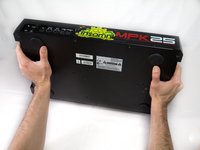
      • Flip the device over. Using a Philips #2 screw driver, remove the fourteen 10.3 mm black screws holding the back panel in place.

      Add Comment

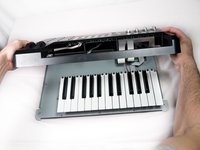
    4. Akai MPK25 Face Plate Replacement: step 4, image 1 of 3 Akai MPK25 Face Plate Replacement: step 4, image 2 of 3 Akai MPK25 Face Plate Replacement: step 4, image 3 of 3
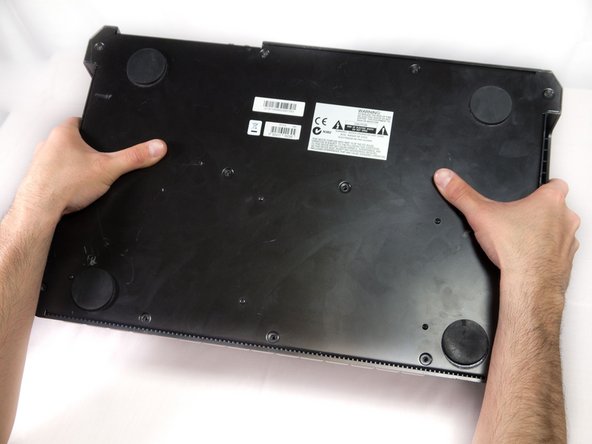
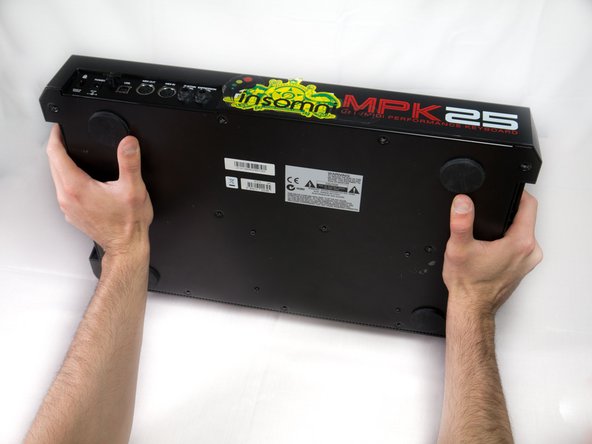
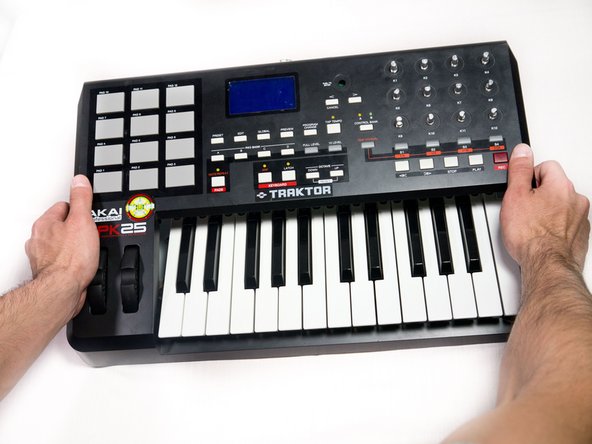
      • Carefully flip the device to the front making sure you secure the face plate and the chassis together.

      • Please use care in following the step above to avoid ripping the ribbon cables connecting the two sides.

      Add Comment

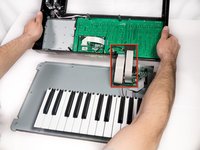
    5. Akai MPK25 Face Plate Replacement: step 5, image 1 of 3 Akai MPK25 Face Plate Replacement: step 5, image 2 of 3 Akai MPK25 Face Plate Replacement: step 5, image 3 of 3
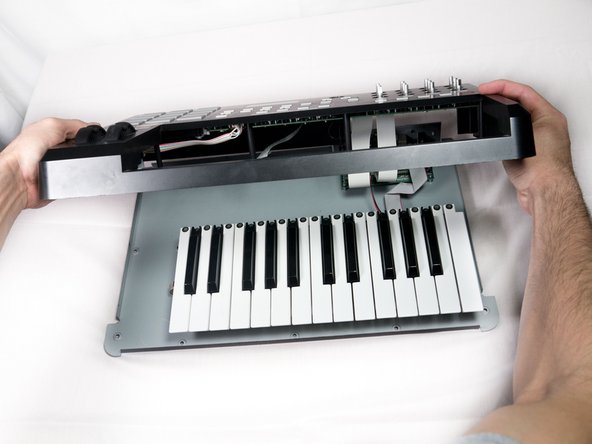
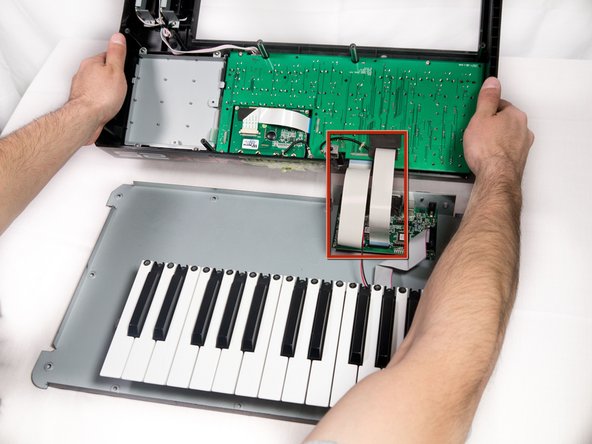
      • Rotate the device 180 degrees and carefully remove the face plate by slightly lifting the screen side towards you and then sliding the bottom out from under the keys.

      • Use care when doing the step above so that the ribbon connectors which connect the top of the chassis to the top of the face plate are not damaged.

      Add Comment

Conclusion

To reassemble your device, follow these instructions in reverse order.

Cancel: I did not complete this guide.

System

Member since: 09/24/09

2,562 Guides authored

0 Guide Comments

Add Comment

View Statistics:

Past 24 Hours: 0

Past 7 Days: 1

Past 30 Days: 1

All Time: 30