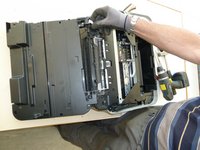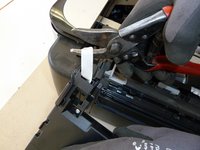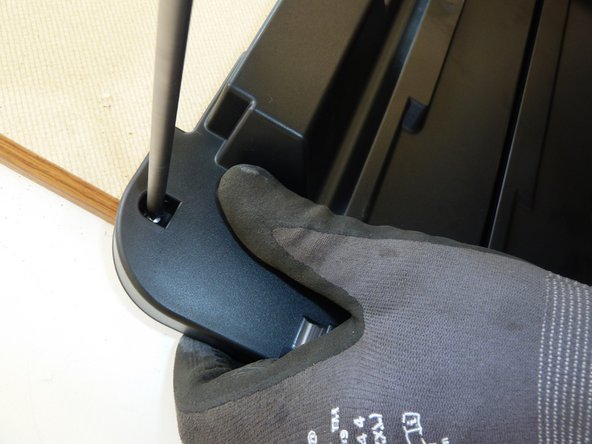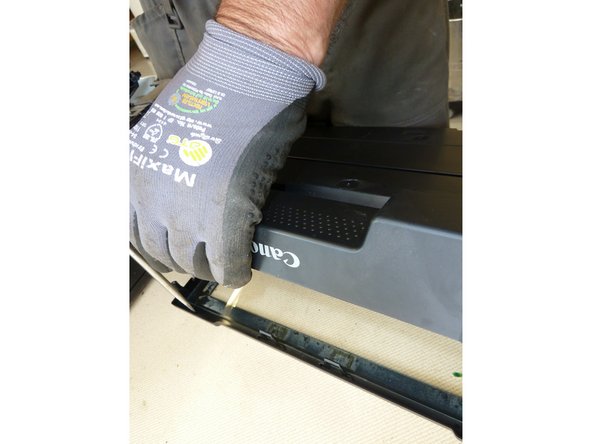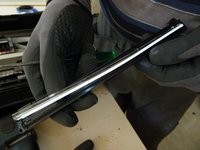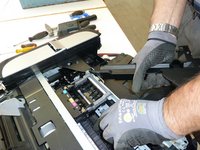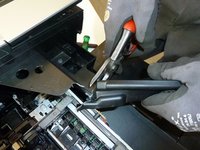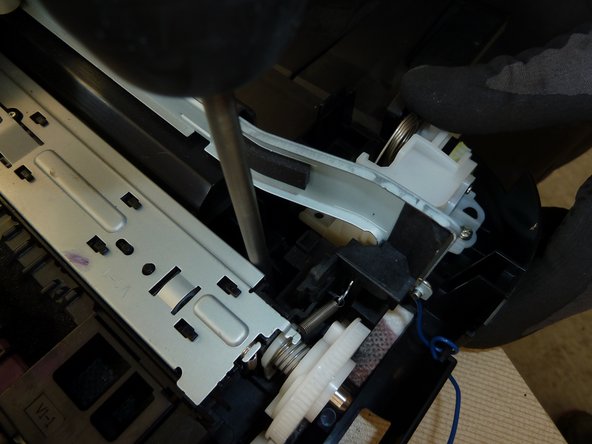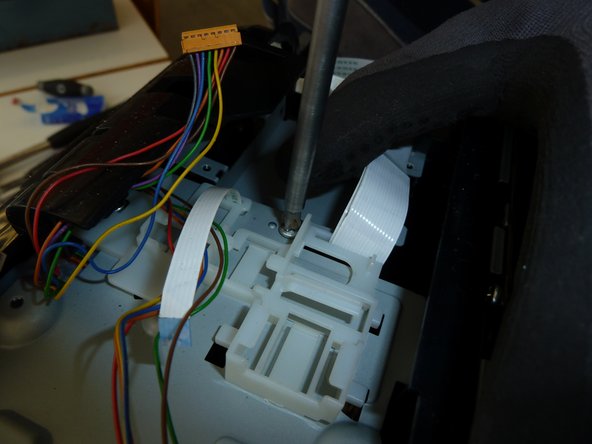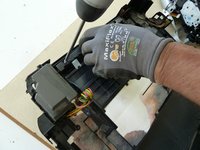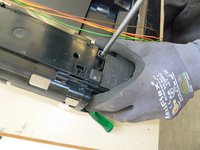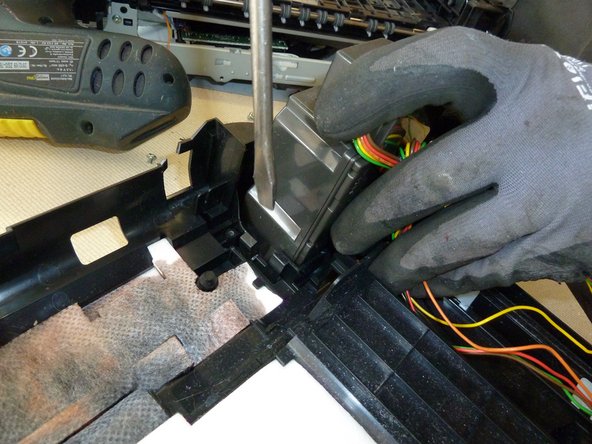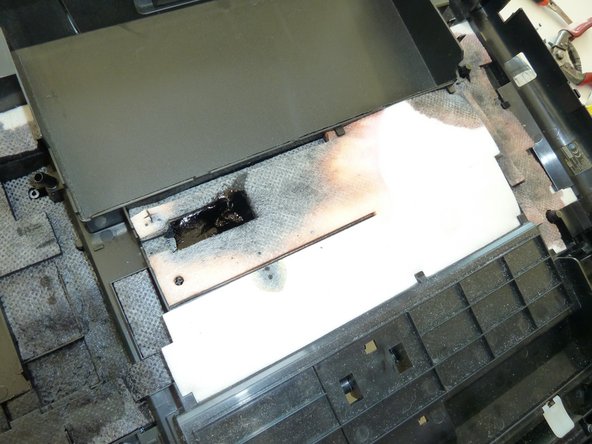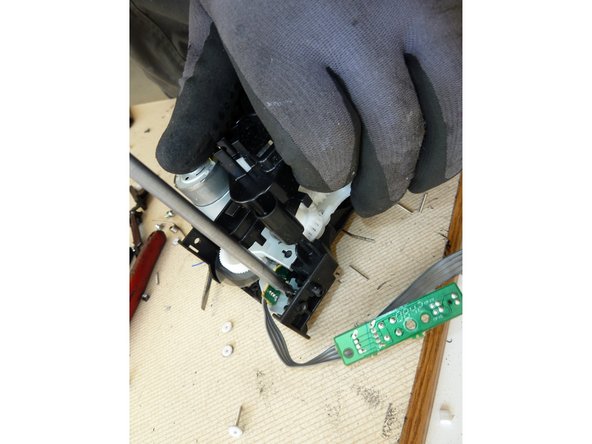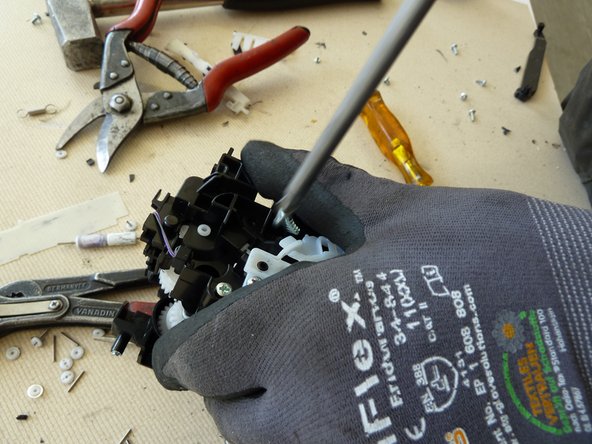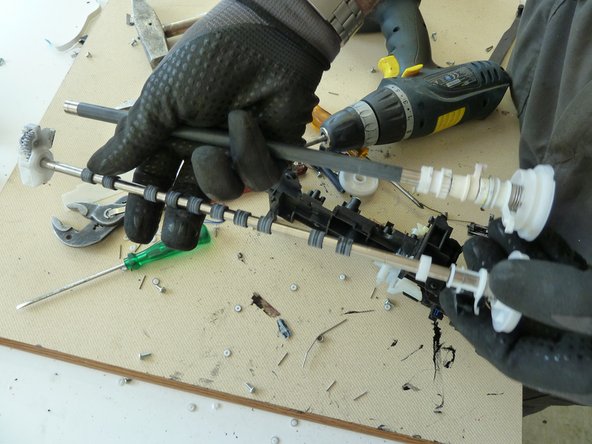
All-in-one Printer-Scanner

What you need

    1. All-in-one Printer-Scanner, All-in-one Printer-Scanner: step 1, image 1 of 1
      • Check for any remaining memory cards and remove them.

      Add Comment

    2. All-in-one Printer-Scanner: step 2, image 1 of 2 All-in-one Printer-Scanner: step 2, image 2 of 2
      • Remove all ink cartridges.

      Add Comment

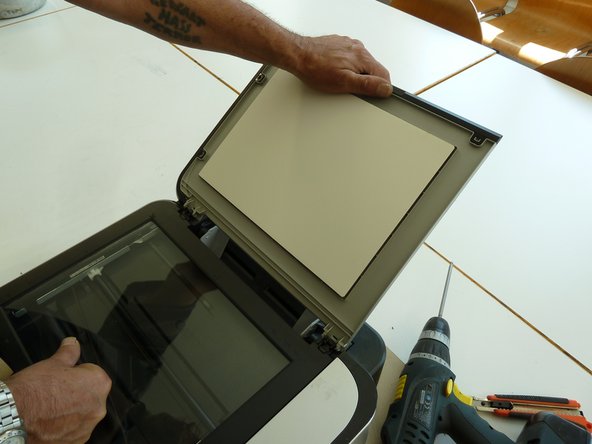
    3. All-in-one Printer-Scanner: step 3, image 1 of 1
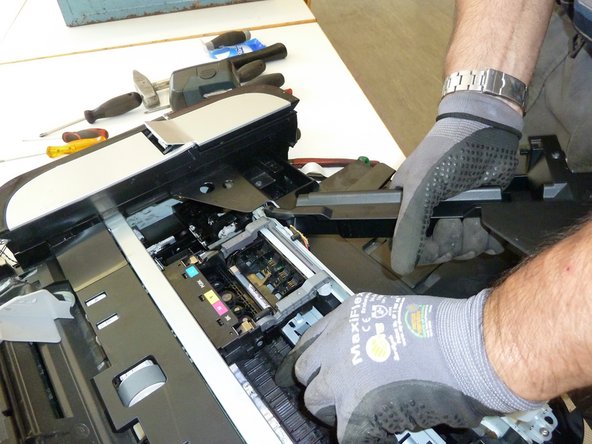
      • Break off the lid.

      Add Comment

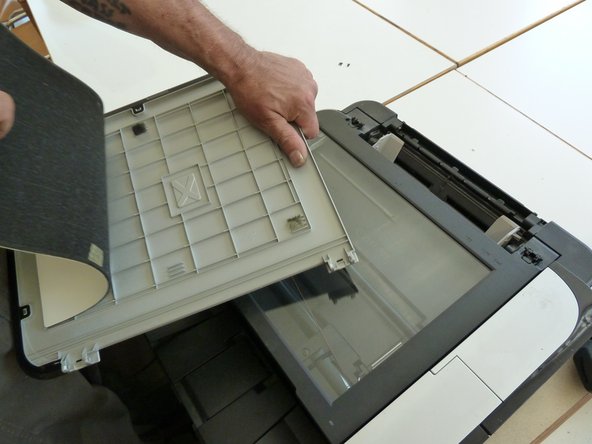
    4. All-in-one Printer-Scanner: step 4, image 1 of 1
      • Remove the sheet of foam material from the lid.

      Add Comment

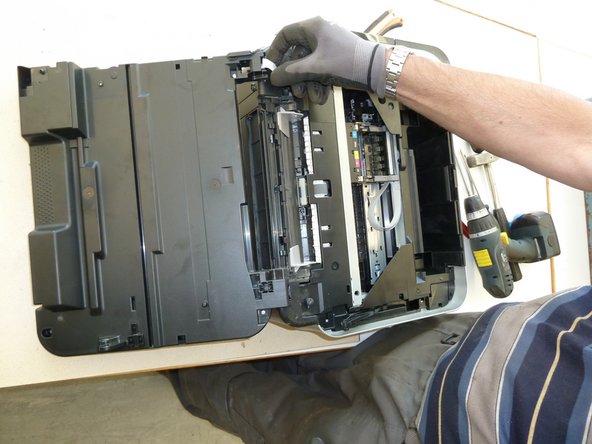
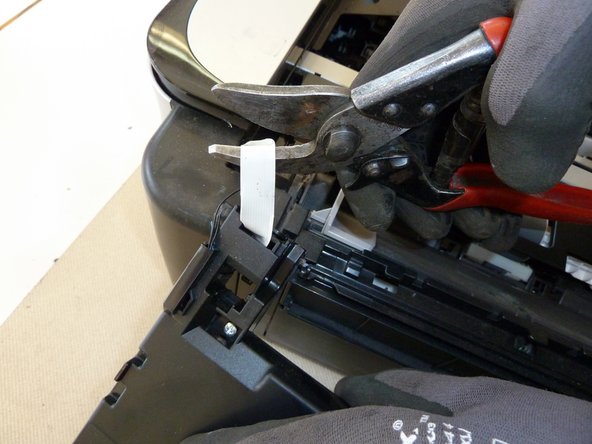
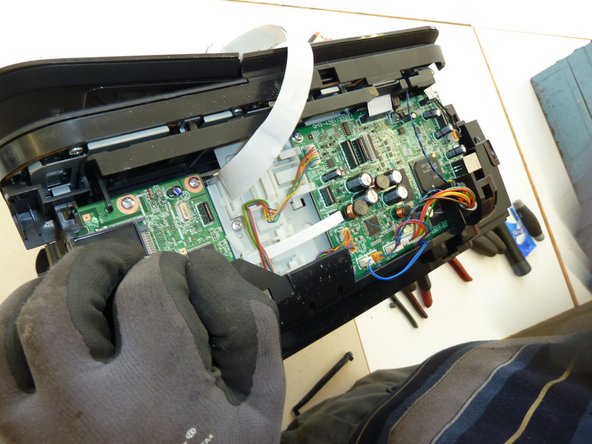
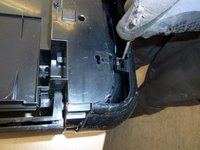
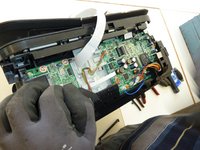
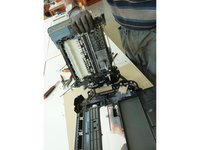
    5. All-in-one Printer-Scanner: step 5, image 1 of 2 All-in-one Printer-Scanner: step 5, image 2 of 2
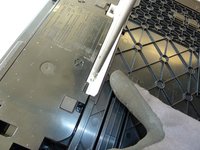
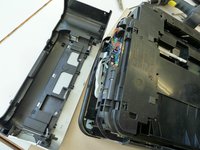
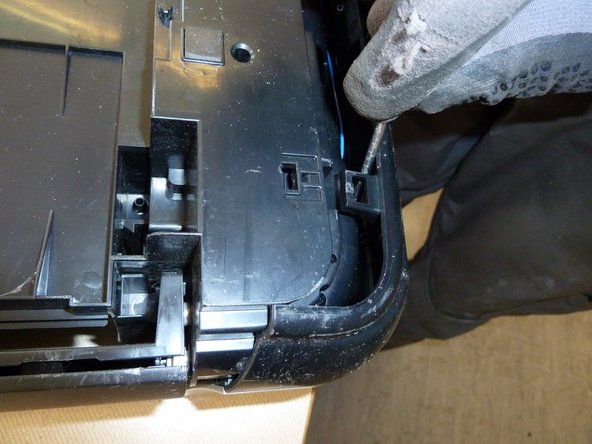
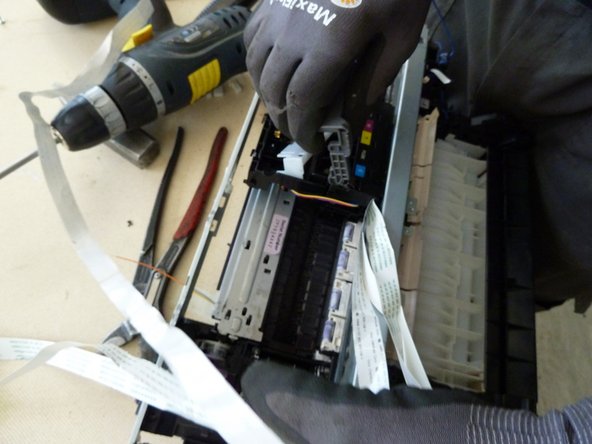
      • Open the printer case.

      • Disconnect all wires.

      Add Comment

    6. All-in-one Printer-Scanner: step 6, image 1 of 1
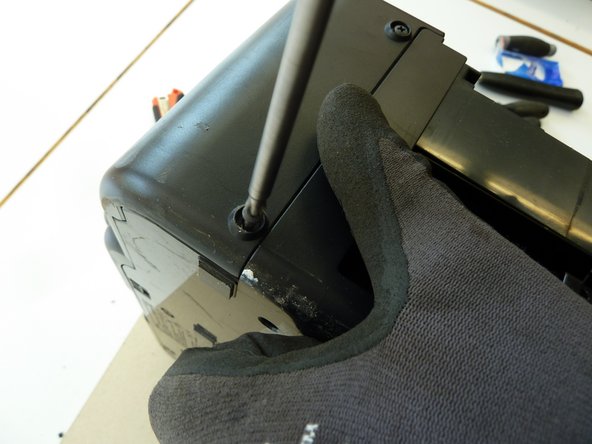
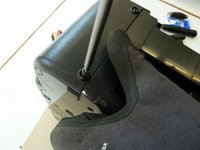
      • Unscrew the case.

      Add Comment

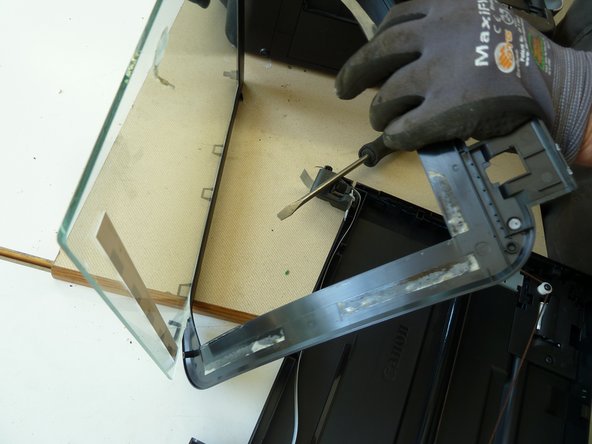
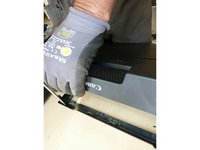
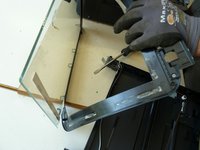
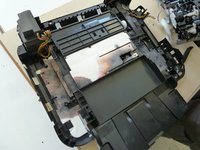
    7. All-in-one Printer-Scanner: step 7, image 1 of 2 All-in-one Printer-Scanner: step 7, image 2 of 2
      • Remove the glass.

      Add Comment

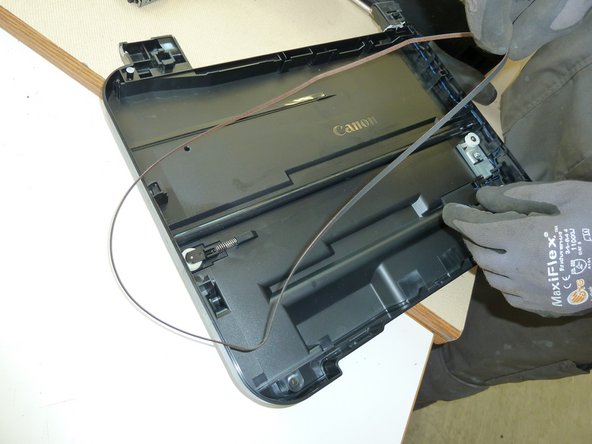
    8. All-in-one Printer-Scanner: step 8, image 1 of 1
      • Remove the V-belt.

      Add Comment

    9. All-in-one Printer-Scanner: step 9, image 1 of 1
      • Unscrew and remove the motor.

      Add Comment

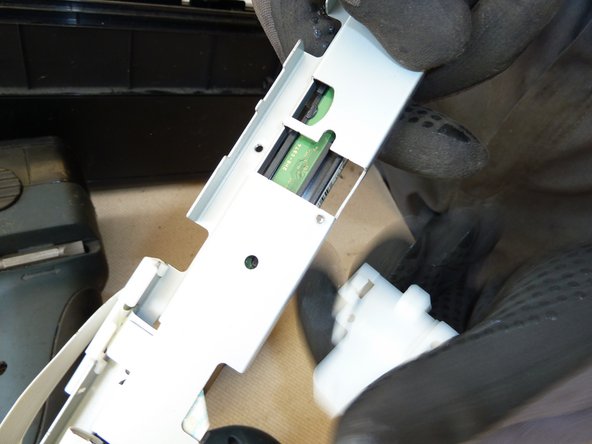
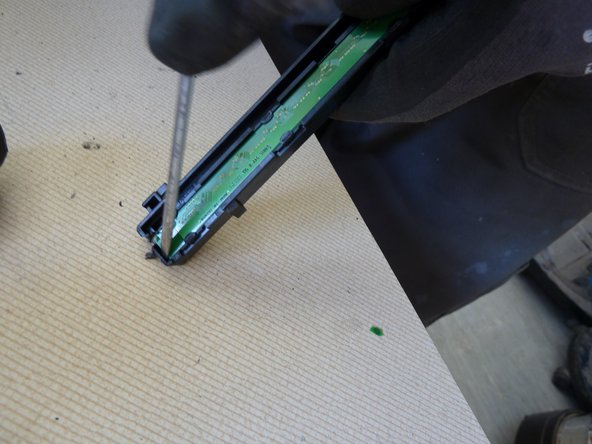
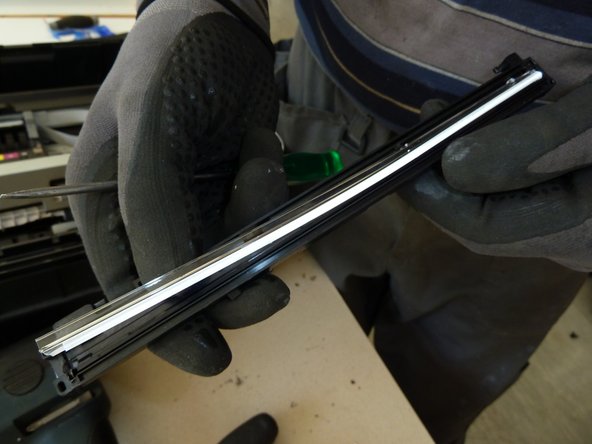
    10. All-in-one Printer-Scanner: step 10, image 1 of 3 All-in-one Printer-Scanner: step 10, image 2 of 3 All-in-one Printer-Scanner: step 10, image 3 of 3
      • Remove the lamp fixture.

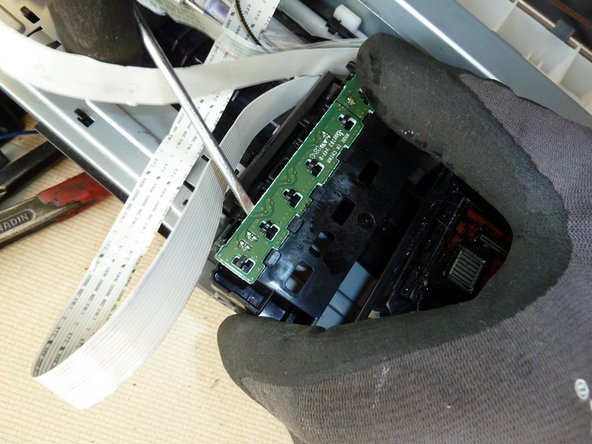
      • Remove the printed wiring board (PWB) connected to the lamp.

      • Carefully remove the lamp itself.

      Add Comment

    11. All-in-one Printer-Scanner: step 11, image 1 of 3 All-in-one Printer-Scanner: step 11, image 2 of 3 All-in-one Printer-Scanner: step 11, image 3 of 3
      • Unscrew and remove the cover.

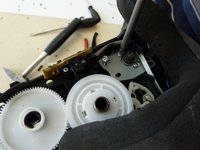
      Add Comment

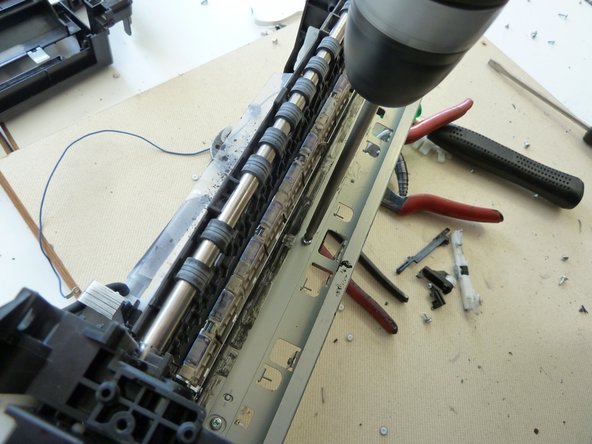
    12. All-in-one Printer-Scanner: step 12, image 1 of 2 All-in-one Printer-Scanner: step 12, image 2 of 2
      • Pry open the PWB.

      Add Comment

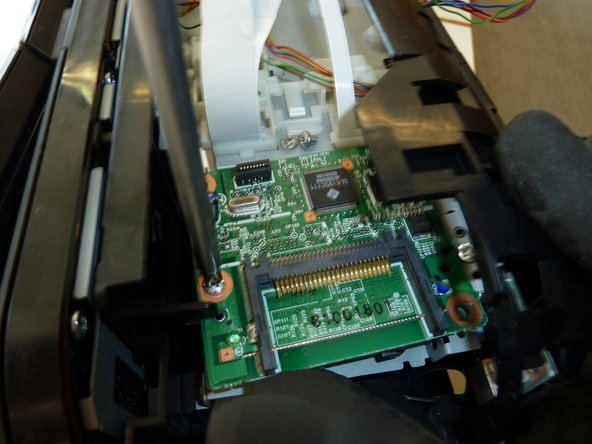
    13. All-in-one Printer-Scanner: step 13, image 1 of 2 All-in-one Printer-Scanner: step 13, image 2 of 2
      • Unscrew the PWB.

      Add Comment

    14. All-in-one Printer-Scanner: step 14, image 1 of 1
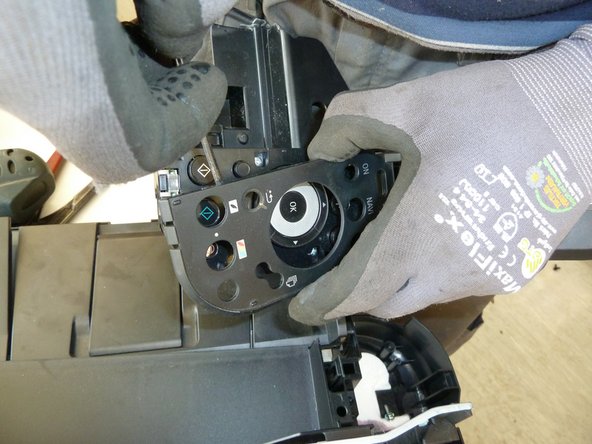
      • Remove the cover to the control board.

      Add Comment

    15. All-in-one Printer-Scanner: step 15, image 1 of 2 All-in-one Printer-Scanner: step 15, image 2 of 2
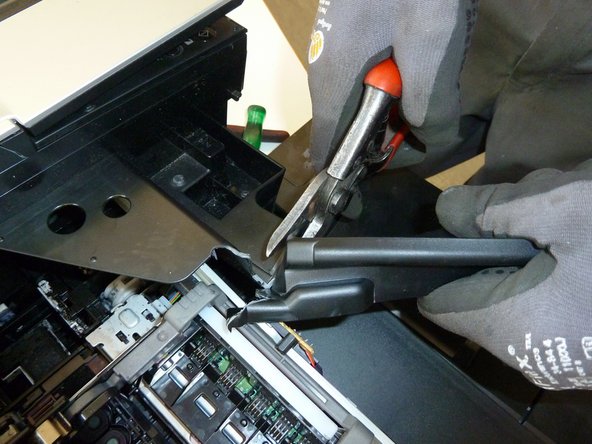
      • First break off and then cut off the cover.

      Add Comment

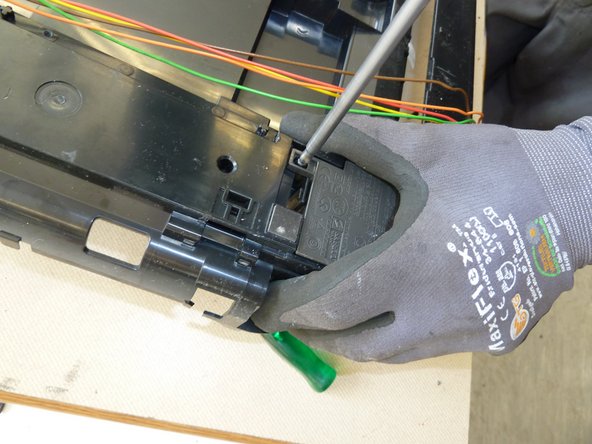
    16. All-in-one Printer-Scanner: step 16, image 1 of 3 All-in-one Printer-Scanner: step 16, image 2 of 3 All-in-one Printer-Scanner: step 16, image 3 of 3
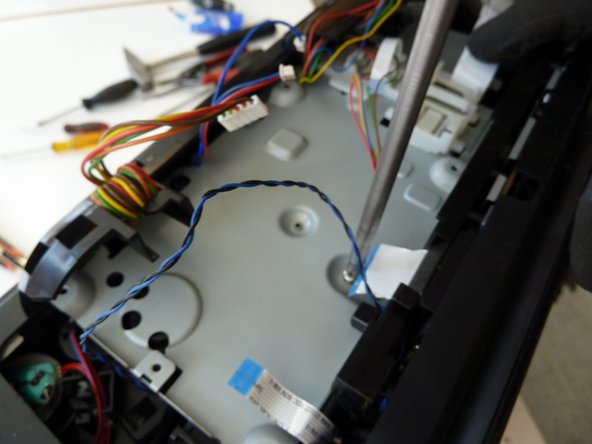
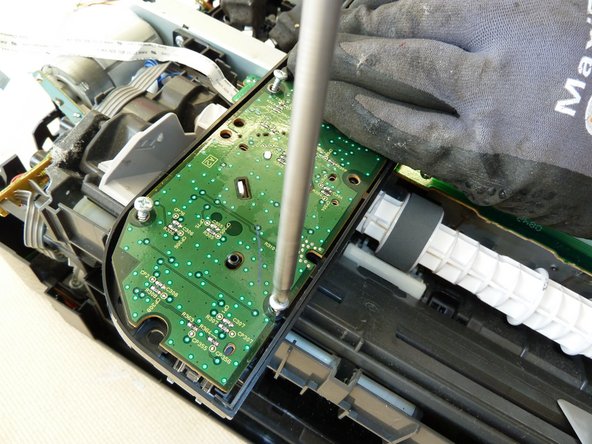
      • Unscrew all now visible screws.

      Add Comment

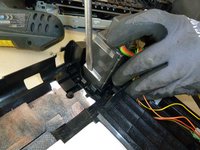
    17. All-in-one Printer-Scanner: step 17, image 1 of 1
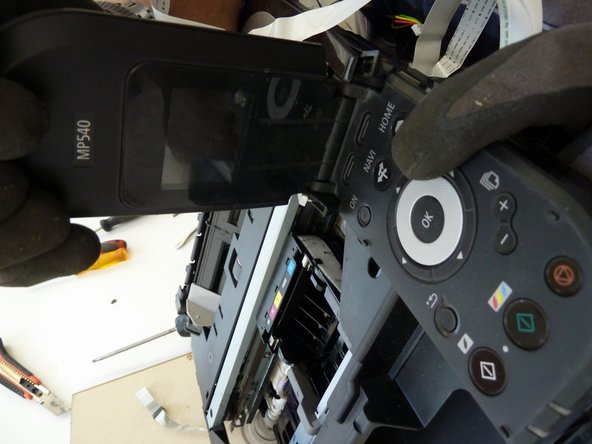
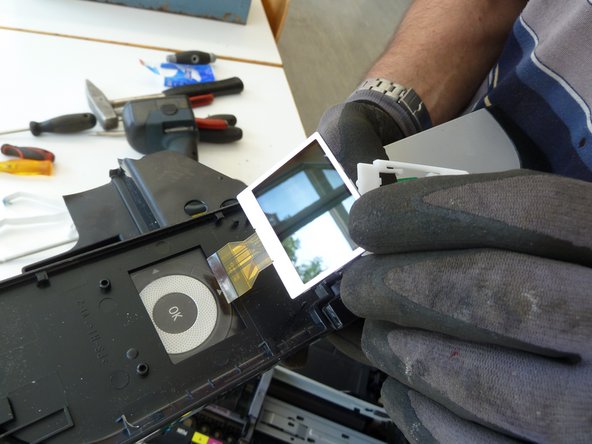
      • Remove the display.

      Add Comment

    18. All-in-one Printer-Scanner: step 18, image 1 of 2 All-in-one Printer-Scanner: step 18, image 2 of 2
      • Unscrew the cover.

      • Pry off.

      Add Comment

    19. All-in-one Printer-Scanner: step 19, image 1 of 3 All-in-one Printer-Scanner: step 19, image 2 of 3 All-in-one Printer-Scanner: step 19, image 3 of 3
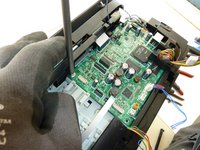
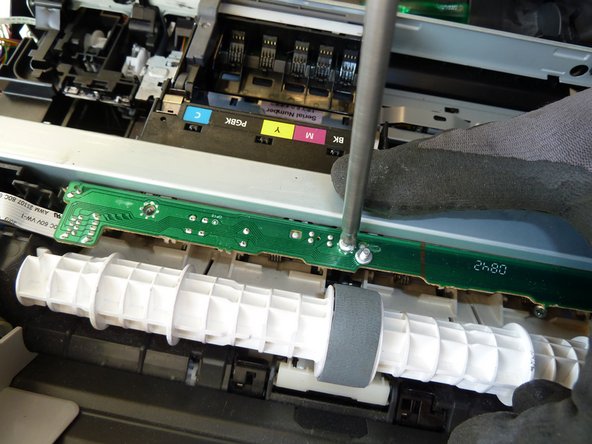
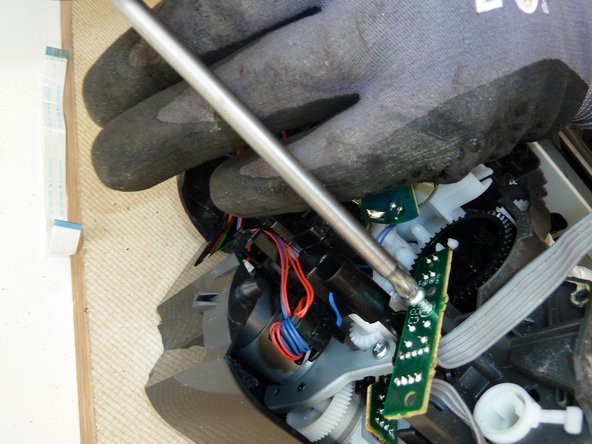
      • Unscrew all next PWBs.

      Add Comment

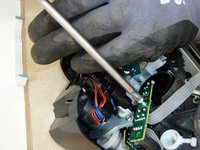
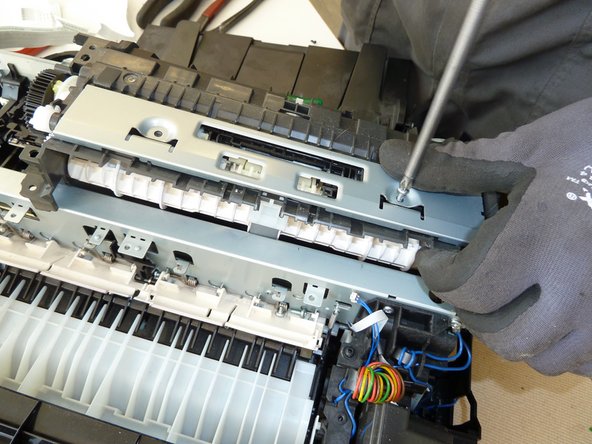
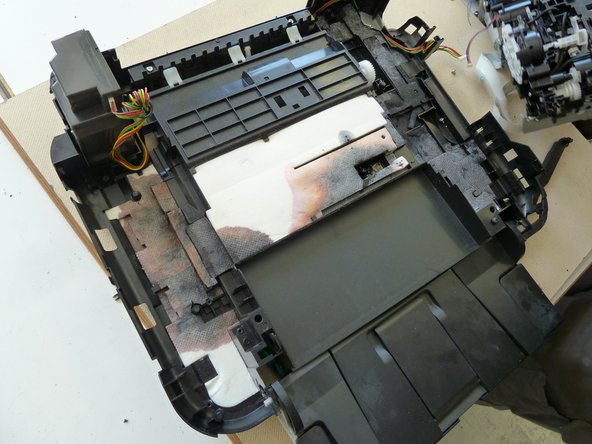
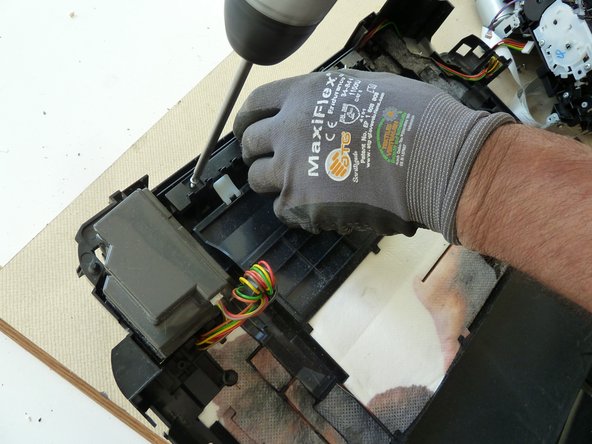
    20. All-in-one Printer-Scanner: step 20, image 1 of 3 All-in-one Printer-Scanner: step 20, image 2 of 3 All-in-one Printer-Scanner: step 20, image 3 of 3
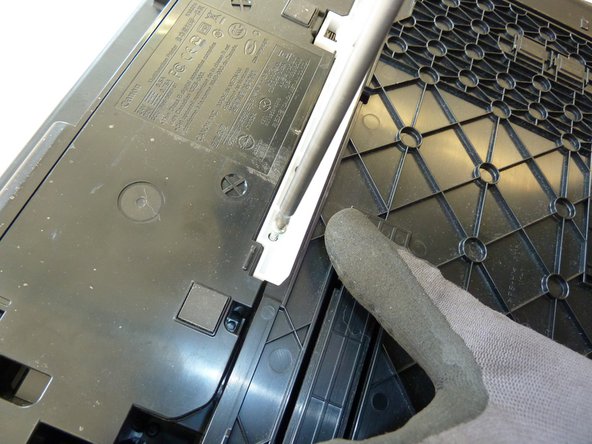
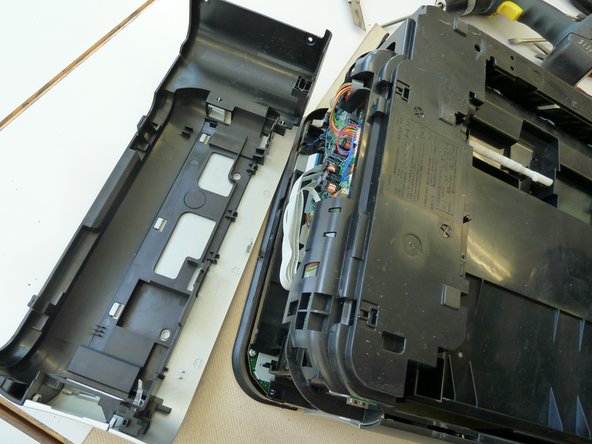
      • Unscrew the paper feed cover.

      • Open the paper feed.

      • Open the base.

      Add Comment

    21. All-in-one Printer-Scanner: step 21, image 1 of 2 All-in-one Printer-Scanner: step 21, image 2 of 2
      • Unscrew the scanner.

      Add Comment

    22. All-in-one Printer-Scanner: step 22, image 1 of 2 All-in-one Printer-Scanner: step 22, image 2 of 2
      • Remove the scanner.

      • Remove the ink collector pad.

      Add Comment

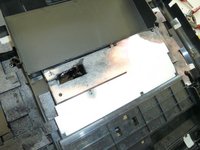
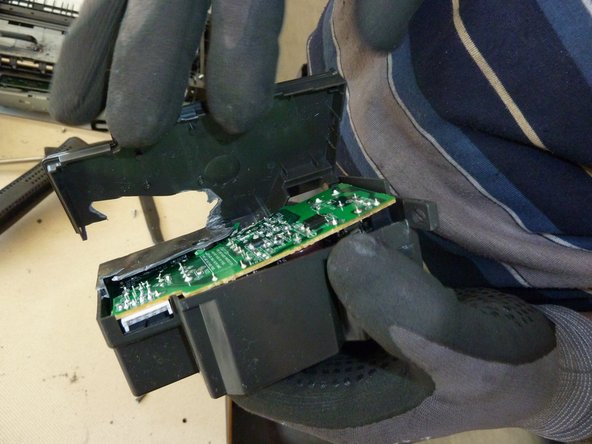
    23. All-in-one Printer-Scanner: step 23, image 1 of 1
      • Open the electronic box.

      Add Comment

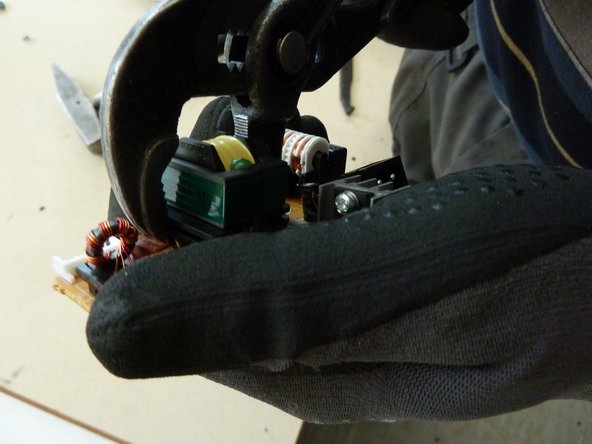
    24. All-in-one Printer-Scanner: step 24, image 1 of 1
      • Remove the capacitor.

      Add Comment

    25. All-in-one Printer-Scanner: step 25, image 1 of 1
      • Remove the coil.

      Add Comment

    26. All-in-one Printer-Scanner: step 26, image 1 of 1
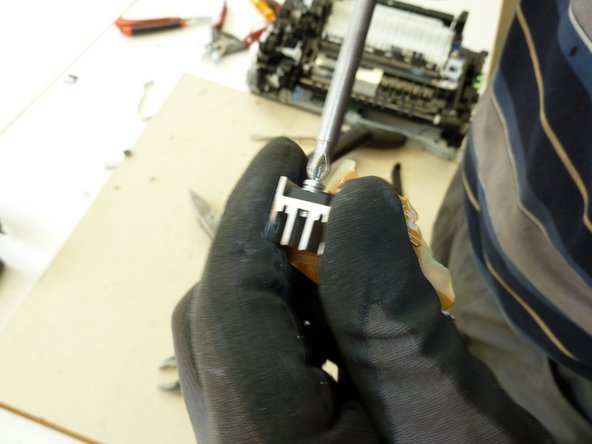
      • Remove the aluminium heat sinks.

      Add Comment

    27. All-in-one Printer-Scanner: step 27, image 1 of 1
      • Remove the ink cartridges.

      Add Comment

    28. All-in-one Printer-Scanner: step 28, image 1 of 1
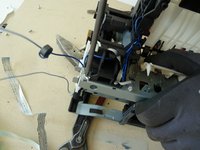
      • Cut the printer belt.

      Add Comment

    29. All-in-one Printer-Scanner: step 29, image 1 of 2 All-in-one Printer-Scanner: step 29, image 2 of 2
      • Unscrew the motor mount.

      • Remove the motor mount.

      Add Comment

    30. All-in-one Printer-Scanner: step 30, image 1 of 1
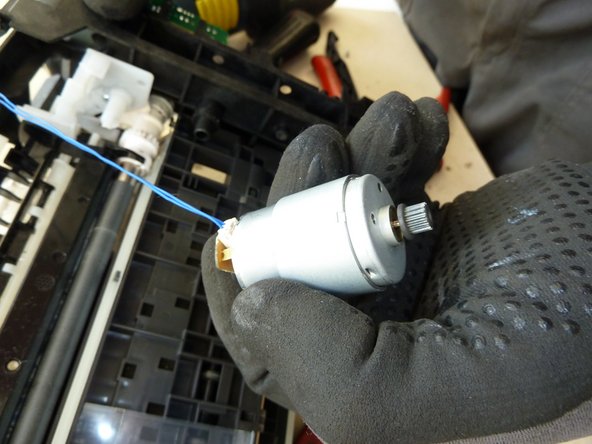
      • Remove the motor.

      Add Comment

    31. All-in-one Printer-Scanner: step 31, image 1 of 1
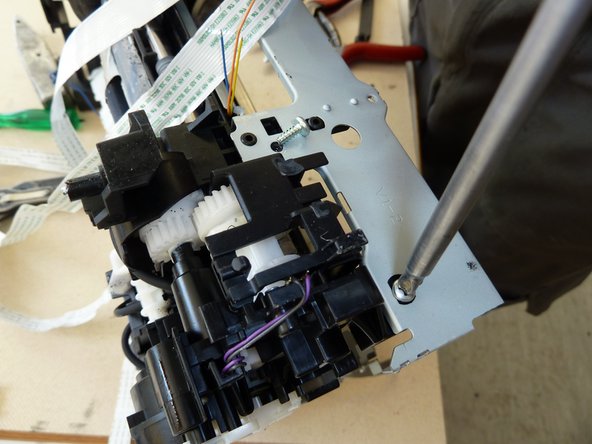
      • Unscrew the gear mount.

      Add Comment

    32. All-in-one Printer-Scanner: step 32, image 1 of 1
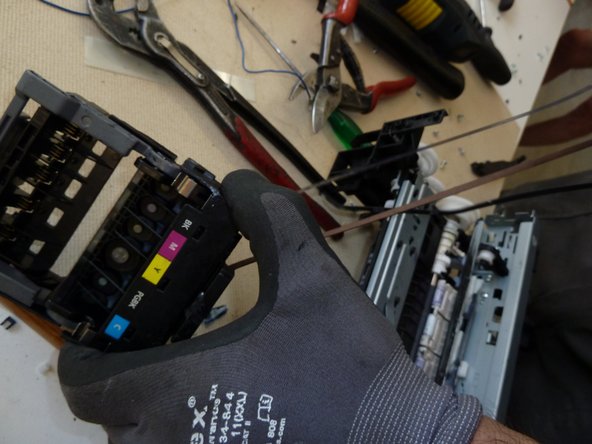
      • Remove the ink cartridge holder.

      Add Comment

    33. All-in-one Printer-Scanner: step 33, image 1 of 1
      • Remove the PWB.

      Add Comment

    34. All-in-one Printer-Scanner: step 34, image 1 of 1
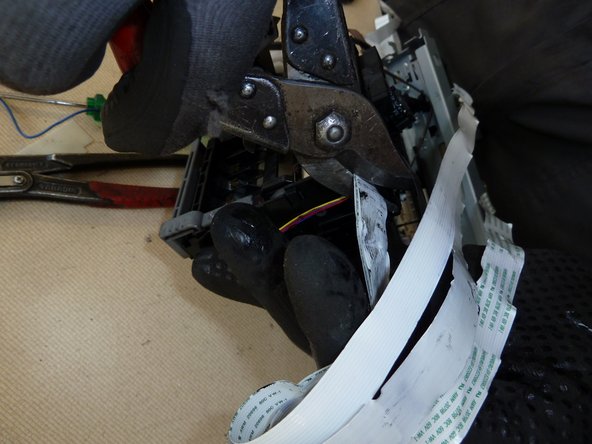
      • Cut the wires.

      Add Comment

    35. All-in-one Printer-Scanner: step 35, image 1 of 1
      • Remove the toothed belt.

      Add Comment

    36. All-in-one Printer-Scanner: step 36, image 1 of 2 All-in-one Printer-Scanner: step 36, image 2 of 2
      • Unscrew the pushbutton carriage.

      Add Comment

    37. All-in-one Printer-Scanner: step 37, image 1 of 1
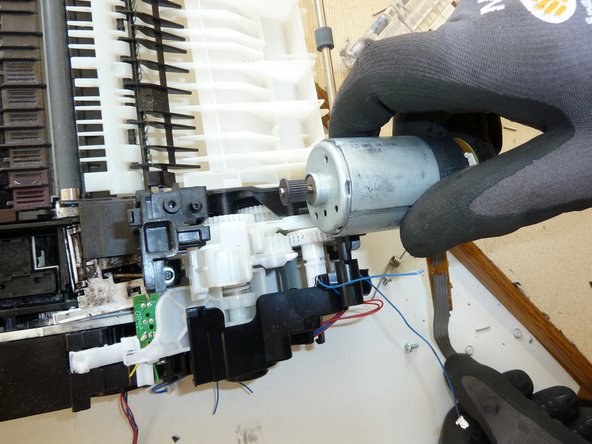
      • Remove the motor.

      Add Comment

    38. All-in-one Printer-Scanner: step 38, image 1 of 2 All-in-one Printer-Scanner: step 38, image 2 of 2
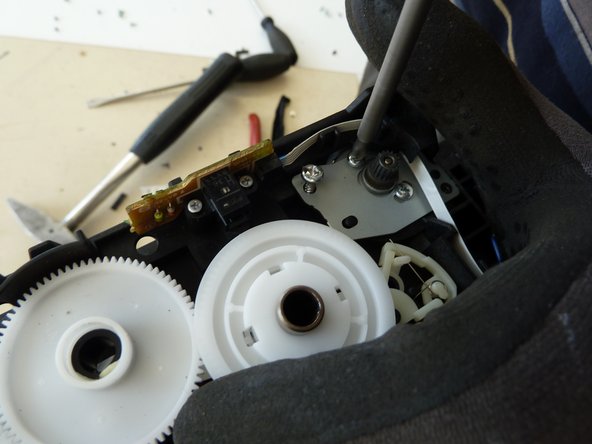
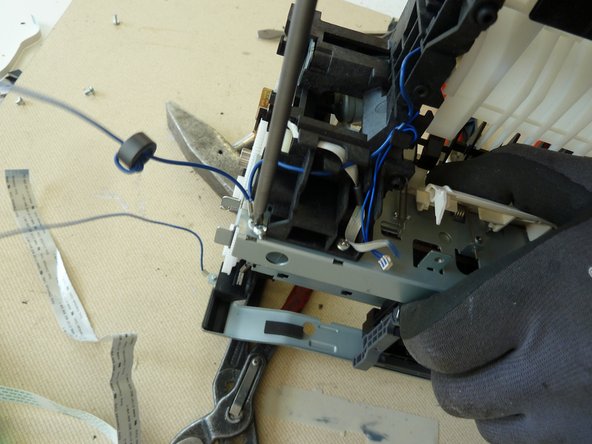
      • Unscrew the wires.

      • Unscrew the gear.

      Add Comment

    39. All-in-one Printer-Scanner: step 39, image 1 of 1
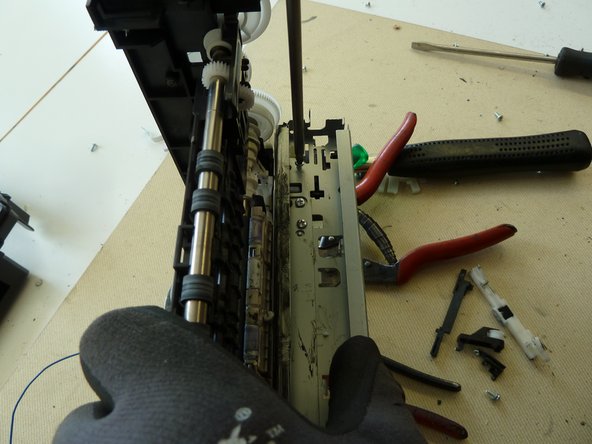
      • Remove the metal bars.

      Add Comment

    40. All-in-one Printer-Scanner: step 40, image 1 of 1
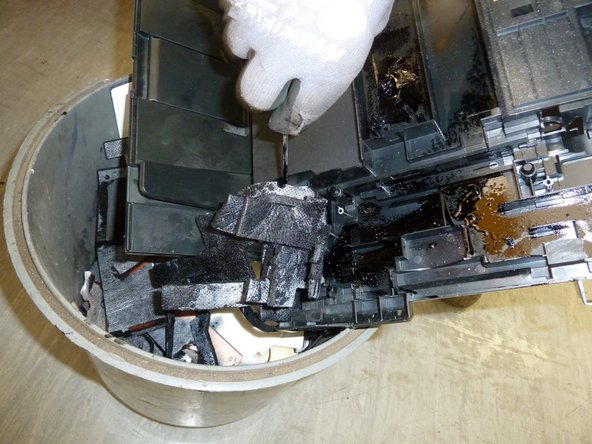
      • Clean off the ink.

      Add Comment

    41. All-in-one Printer-Scanner: step 41, image 1 of 1
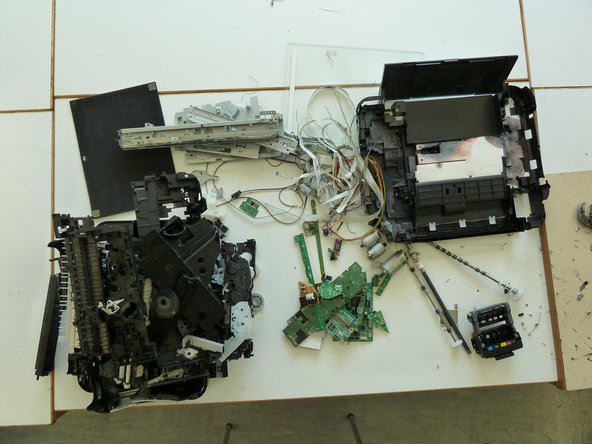
      • Separate the remaining materials according to their type and go on with the appropriate data sheet (e.g. aluminium, ferrous metals, plastic, further PWBs, etc.).

      • Make sure the plastic parts are completely free of metal pieces.

      Add Comment

Finish Line

Cancel: I did not complete this guide.

Elisabeth Herbeck

Member since: 09/24/15

10 Guides authored

0 Guide Comments

Add Comment

View Statistics:

Past 24 Hours: 0

Past 7 Days: 1

Past 30 Days: 2

All Time: 133