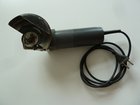
Angle Grinder

Views: 96

View statistics:

Past 24 Hours:
0
Past 7 Days:
2
Past 30 Days:
6
All Time:
96
Comments: 0

No one has left comments on this guide. Will you be first?

Go to guide comments
Completed: 0

No one has marked this guide "completed." Will you be the first?

Favorites: 0

No one has favorited (and subscribed to) this guide. Will you be the first?

Time Required: No estimate
Difficulty: Moderate
Angle Grinder

Introduction

Go to step 1 ↓
Dismantling and Recycling Centre (DRZ)

Dismantling and Recycling Centre (DRZ)

Katharina Lenz, Vienna / Austria

Health & Safety

Dismantling doesn't include any harmful steps. Nonetheless workers should wear personal protection equipment like gloves, goggles, apron and robust shoes.

Note: This is a general guide for most angle grinders. As the construction can differ, the dismantling steps mentioned below can vary in their order. However, the described steps show what parts the removal should focus on.

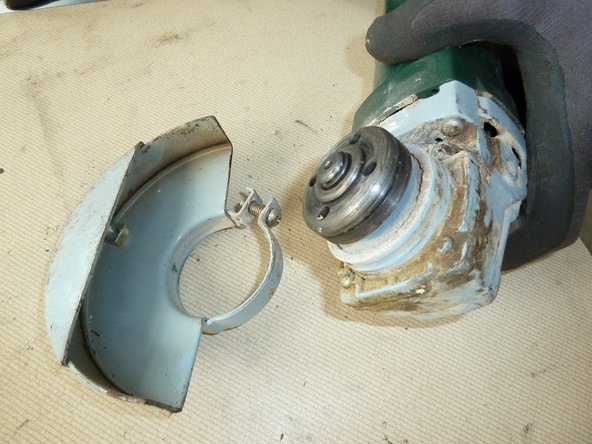
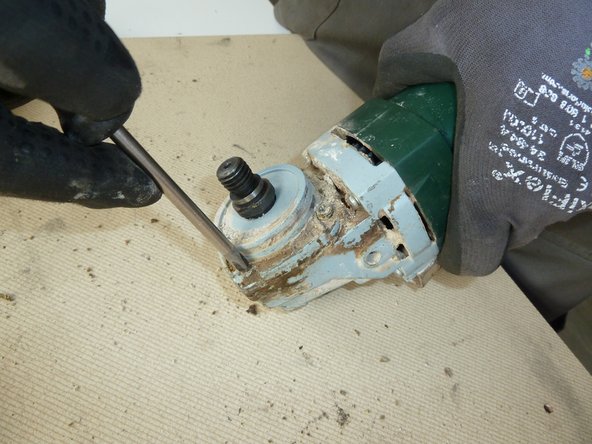
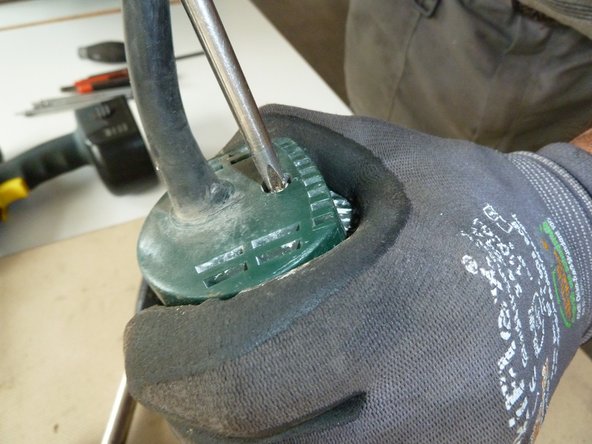
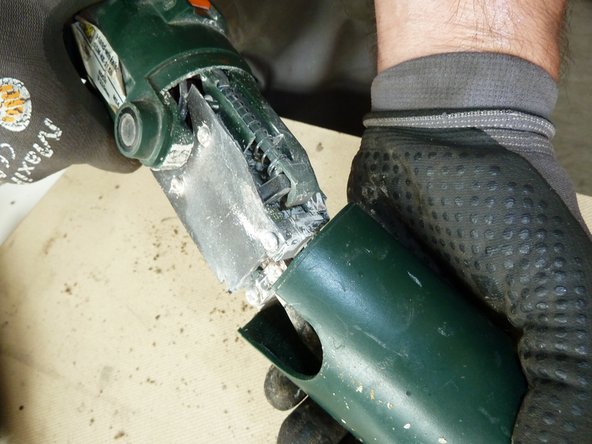
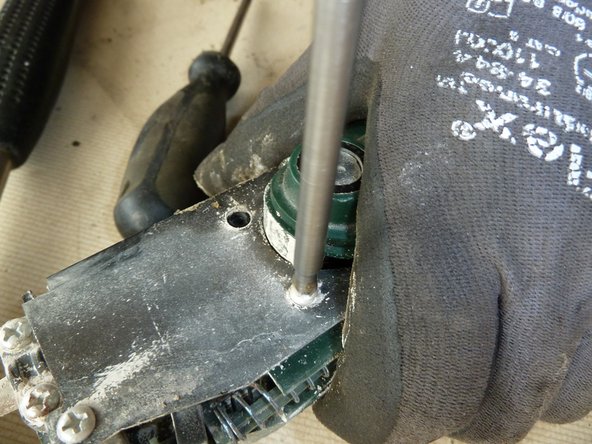
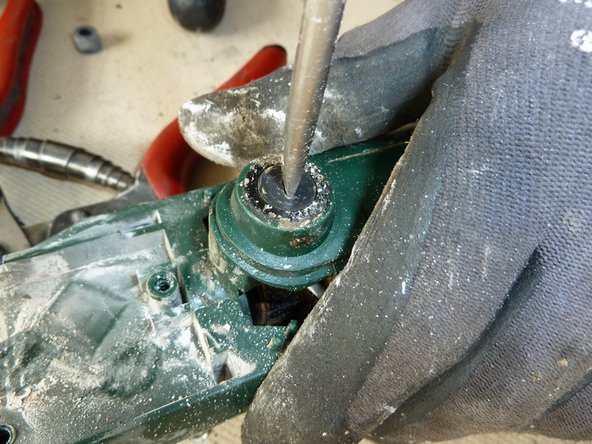
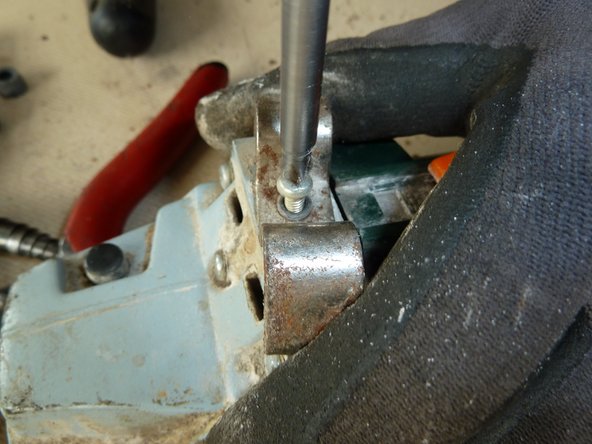
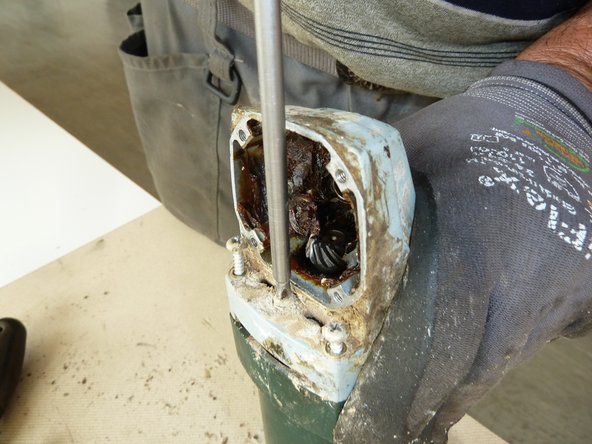
    1. Angle Grinder, Angle Grinder: step 1, image 1 of 3 Angle Grinder, Angle Grinder: step 1, image 2 of 3 Angle Grinder, Angle Grinder: step 1, image 3 of 3
      • Unscrew and remove the protection cover.

      Add Comment

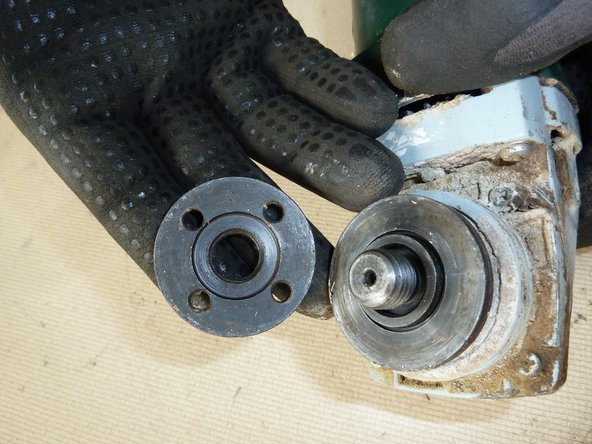
    2. Angle Grinder: step 2, image 1 of 2 Angle Grinder: step 2, image 2 of 2
      • Open and remove the securing nut.

      Add Comment

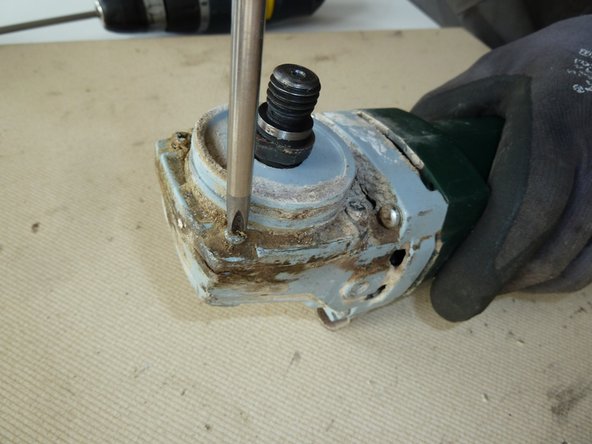
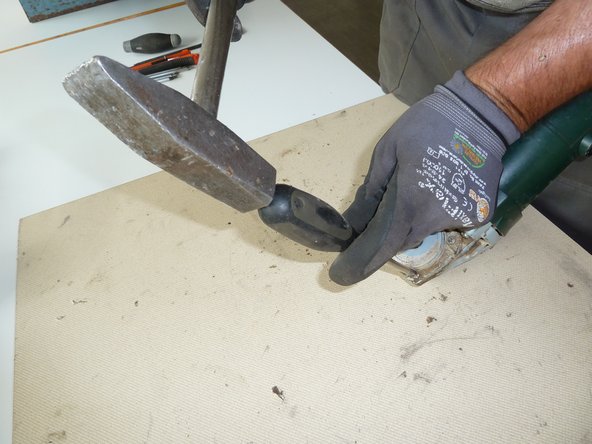
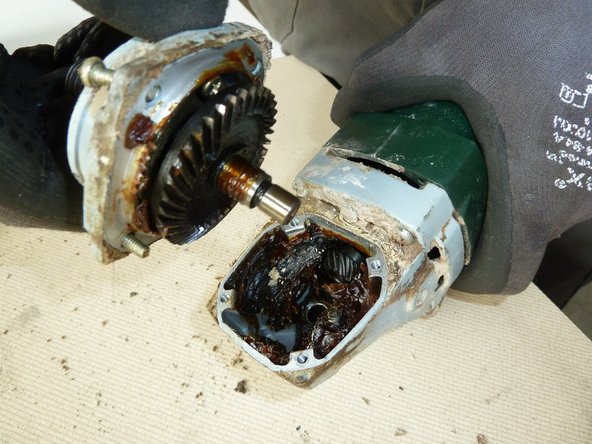
    3. Angle Grinder: step 3, image 1 of 3 Angle Grinder: step 3, image 2 of 3 Angle Grinder: step 3, image 3 of 3
      • Unscrew the gear box.

      • If the screws are too tight, use one or a couple of hammer blows to loosen them.

      Add Comment

    4. Angle Grinder: step 4, image 1 of 1
      • Lift off and remove the gear.

      Add Comment

    5. Angle Grinder: step 5, image 1 of 2 Angle Grinder: step 5, image 2 of 2
      • Unscrew and open the case.

      Add Comment

    6. Angle Grinder: step 6, image 1 of 2 Angle Grinder: step 6, image 2 of 2
      • Unscrew and lift off the protective plate.

      Add Comment

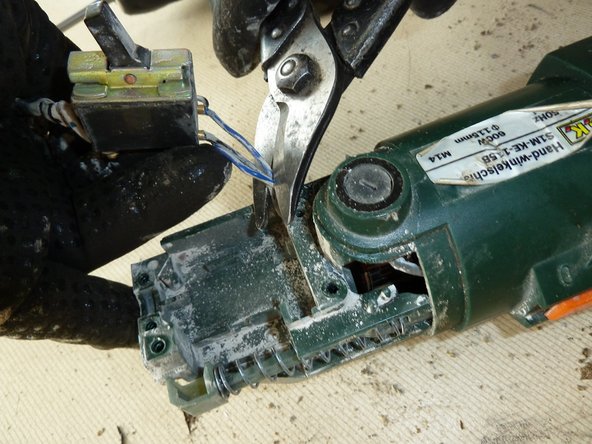
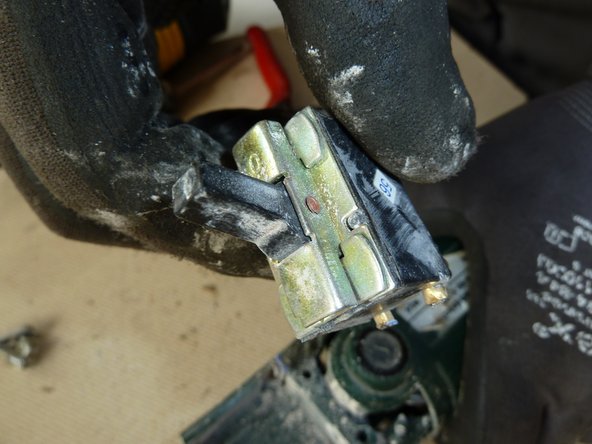
    7. Angle Grinder: step 7, image 1 of 2 Angle Grinder: step 7, image 2 of 2
      • Cut the wires of the power switch and remove it.

      Add Comment

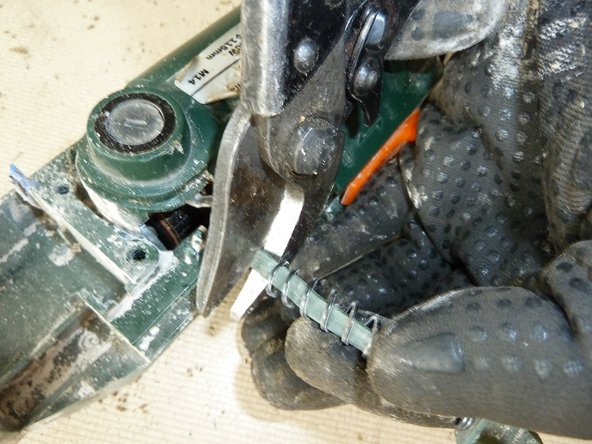
    8. Angle Grinder: step 8, image 1 of 1
      • Cut off the carbon brushes.

      Add Comment

    9. Angle Grinder: step 9, image 1 of 2 Angle Grinder: step 9, image 2 of 2
      • Unscrew the motor bracket and the protective sheet.

      • Remove the protective sheet.

      Add Comment

    10. Angle Grinder: step 10, image 1 of 1
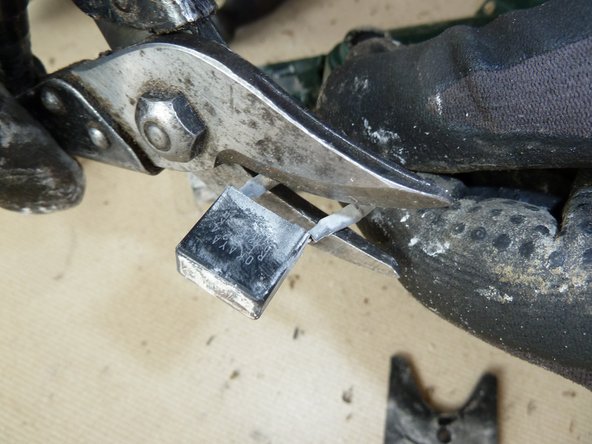
      • Cut off the wires of the capacitor and remove it.

      Add Comment

    11. Angle Grinder: step 11, image 1 of 2 Angle Grinder: step 11, image 2 of 2
      • Unscrew the motor bracket further.

      • Unscrew and remove the metal bracket.

      Add Comment

    12. Angle Grinder: step 12, image 1 of 2 Angle Grinder: step 12, image 2 of 2
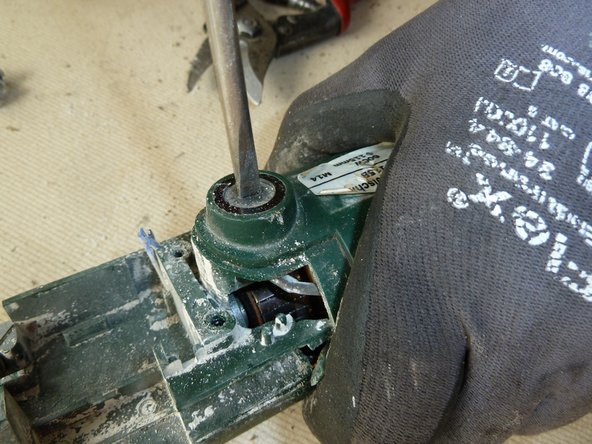
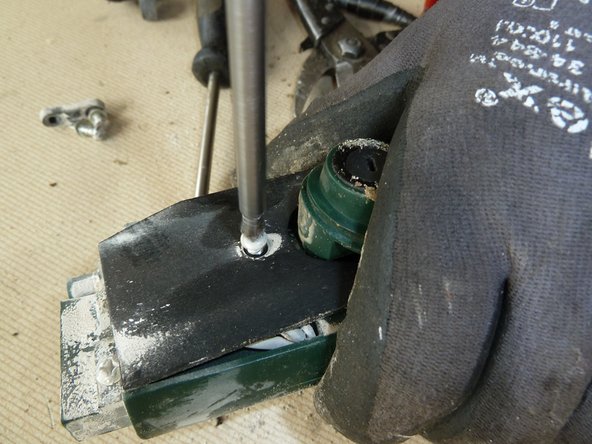
      • Unscrew the case and the gear box.

      Add Comment

    13. Angle Grinder: step 13, image 1 of 2 Angle Grinder: step 13, image 2 of 2
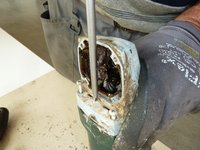
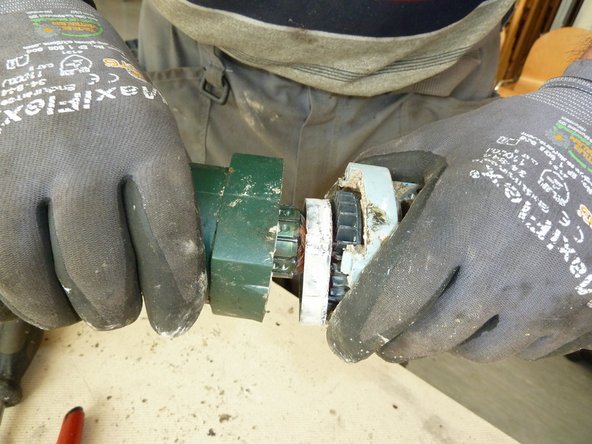
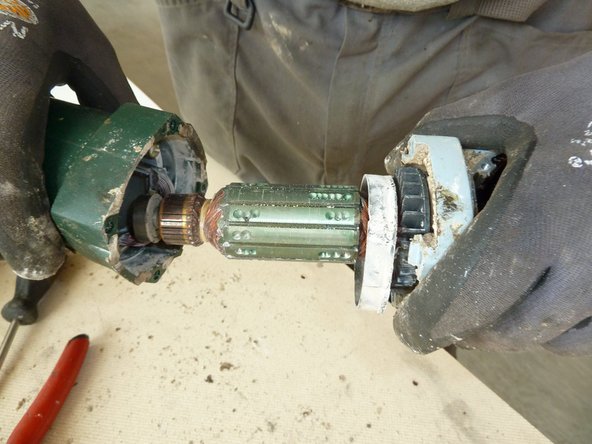
      • Open the motor.

      • Remove the rotor.

      Add Comment

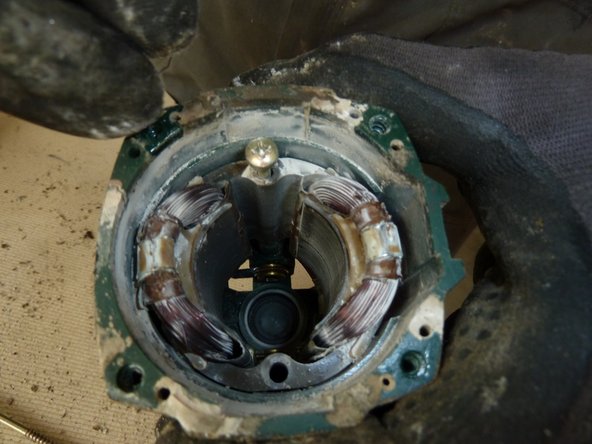
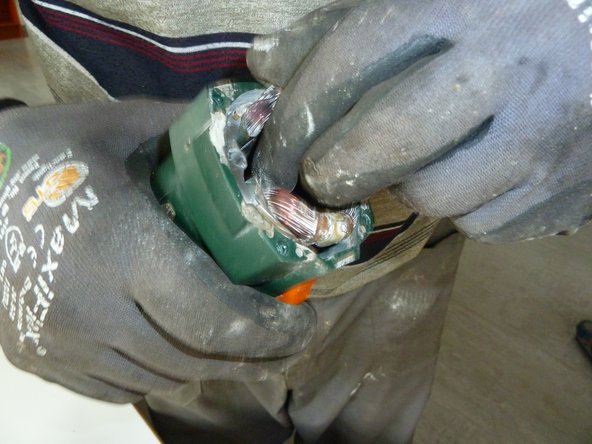
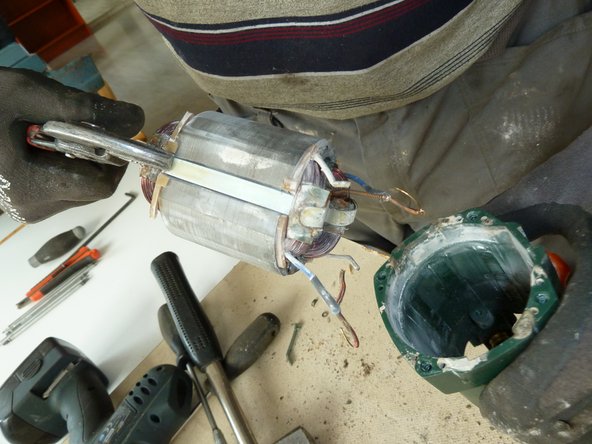
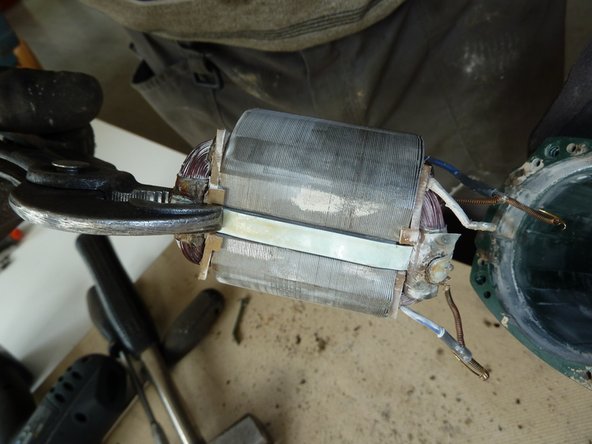
    14. Angle Grinder: step 14, image 1 of 2 Angle Grinder: step 14, image 2 of 2
      • Remove the stator.

      Add Comment

    15. Angle Grinder: step 15, image 1 of 2 Angle Grinder: step 15, image 2 of 2
      • Remove the stator.

      Add Comment

    16. Angle Grinder: step 16, image 1 of 1
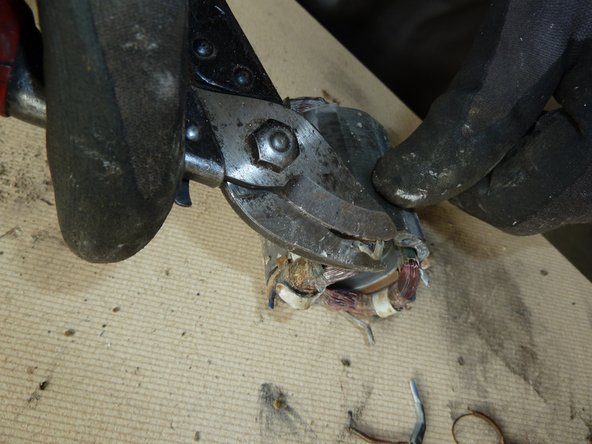
      • Cut the remaining wires.

      Add Comment

    17. Angle Grinder: step 17, image 1 of 1
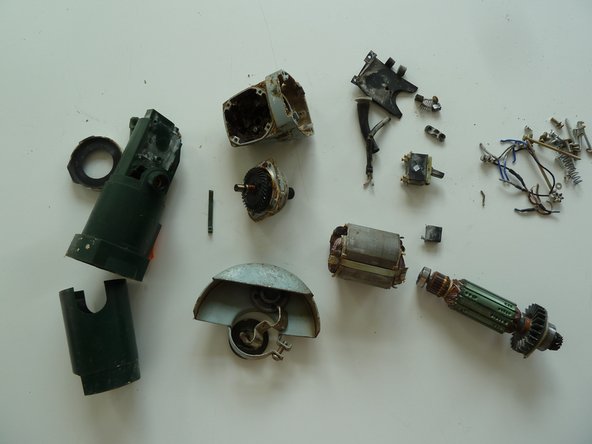
      • Separate the remaining materials according to their type and go on with the appropriate data sheet (e.g. aluminium, ferrous metals, plastic, further PWBs, etc.).

      • Make sure the plastic parts are completely free of metal pieces.

      Add Comment

Finish Line

Cancel: I did not complete this guide.

Tobias Isakeit

Member since: 03/15/18

21 Guides authored

0 Guide Comments

Add Comment

View Statistics:

Past 24 Hours: 0

Past 7 Days: 2

Past 30 Days: 6

All Time: 96