Introduction

Guide Authors
Fabian Blaser, Mathias Schluep, Rolf Widmer, David Rochat, Matthias Kolb

Adapted for UNIDO by
Markus Spitzbart
Health and Safety
Equalize the pressure in the CRT glass body in the very beginning to prevent explosion.
Wear protective equipment to smash the magnetic deflector with a hammer as flying splints can injure personnel.
CRTs must be handled carefully also after pressure equalizing to ensure that no substances of concern are released. CRT glass bodies should be further processed only in industrial channels with adequate facilities.
What you need
-
-
Before doing anything the monitor has to be placed face down to protect the monitor screen from breaking.
-
-
-
Remove the plastic casing by unscrewing all the screws in the cover (generally around 4). Clean the casing properly by removing all the foreign materials in the plastic such as labels, rubber mountains etc.
-
-
-
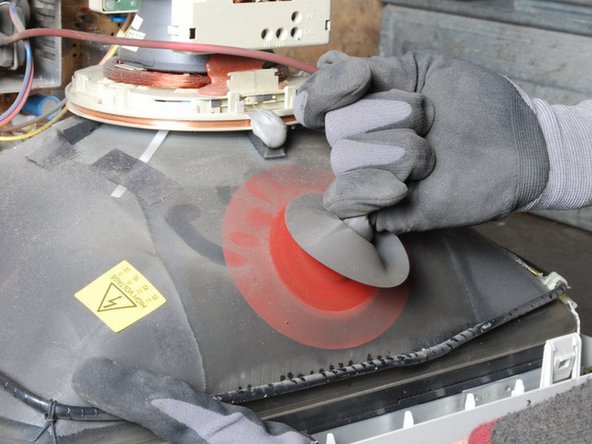
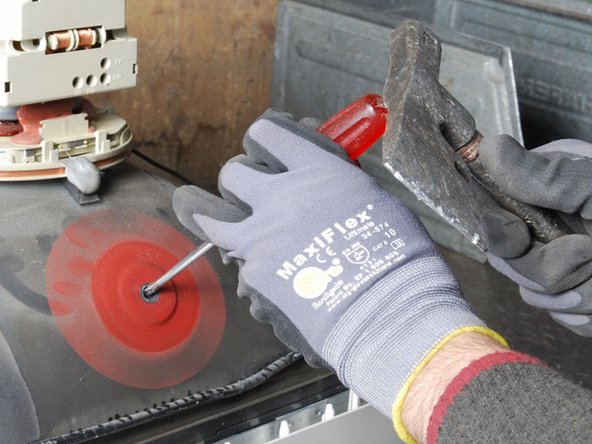
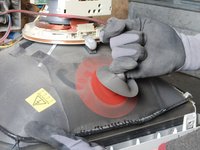
Before removing other parts from the monitor it is crucial to equalize pressure in the CRT glass body. Therefore place the side of the monitor screen with the flap (anode connection) away from your face.
-
Remove the flap in the monitor screen with a flat screw driver and punch carefully a hole into the CRT glass where the flap was fixed.
-
-
-
Remove the cable ties around the wires, so that you can freely remove the wires from the monitor.
-
-
-
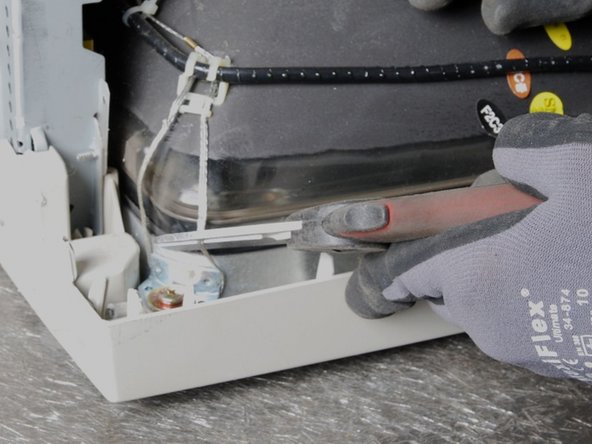
There are generally two Printed Wiring Boards (PWB) in a monitor. A small PWB is attached at the base of the monitor screen by glue or a screw. A bigger PWB is attached at the back. Particularly the bigger PWBs might need further dismantling.
-
-
-
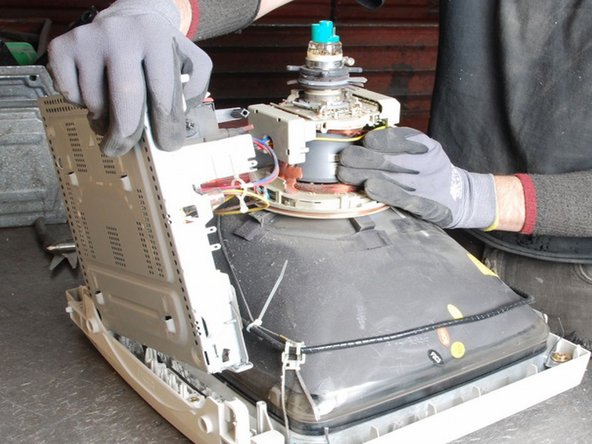
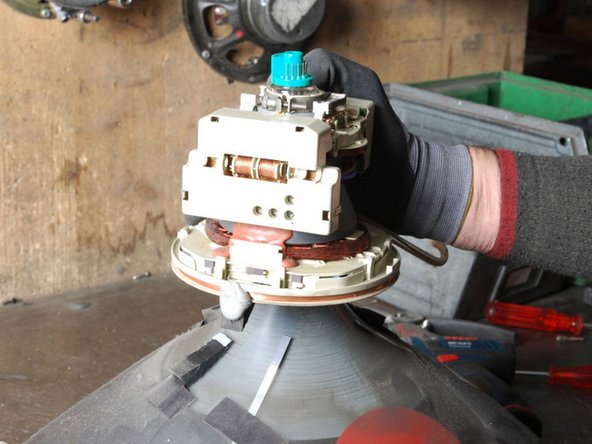
Cut off all the wires around the monitor to be able to remove the magnetic deflector (on top of the CRT glass) that is surrounded by copper windings.
-
-
-
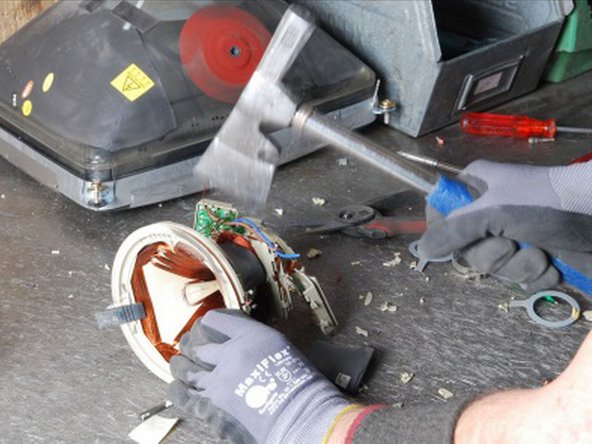
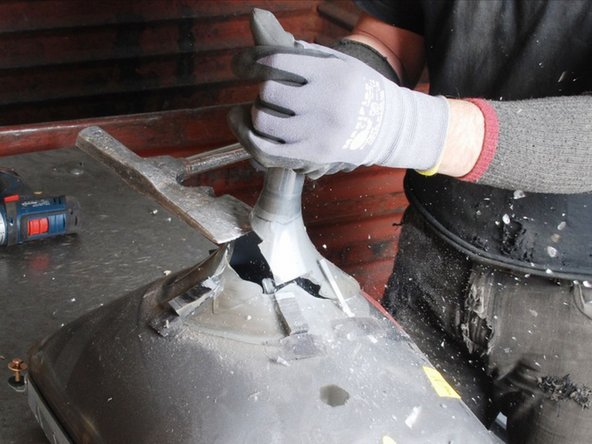
Remove the copper from the Magnetic Deflector by crashing it with a hammer. Strip the big wire around the monitor screen with a knife or side cutter and remove the copper. Clean the copper, plastic and steel and place it aside separately.
-
-
-
Unscrew the CRT glass from the front plastic casing and break off the electron gun from the tube with a hammer or a small axe just below the gun.
-
-
-
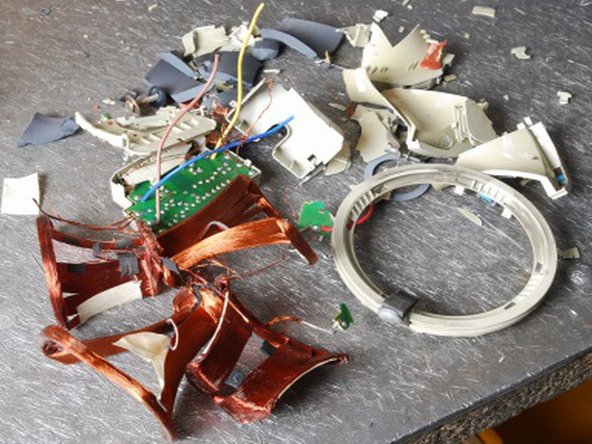
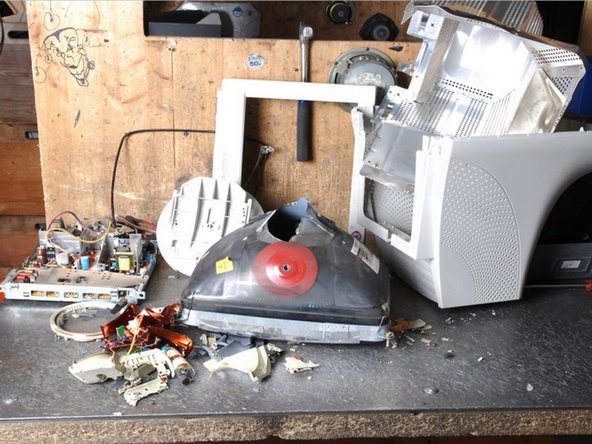
Separate the remaining materials according to their type and go on with the appropriate data sheet (e.g. aluminium, ferrous metals, plastic, further PWBs, etc.).
-
Make sure the plastic parts are completely free of metal pieces.
-
-
-
(linkes to fraction guides - Kuchendiagramm als Bild)