/

Canon EOS 30 Battery Door Replacement

What you need

  1. Canon EOS 30 Battery Door Replacement, Canon EOS 30 Battery Door Replacement: step 1, image 1 of 1
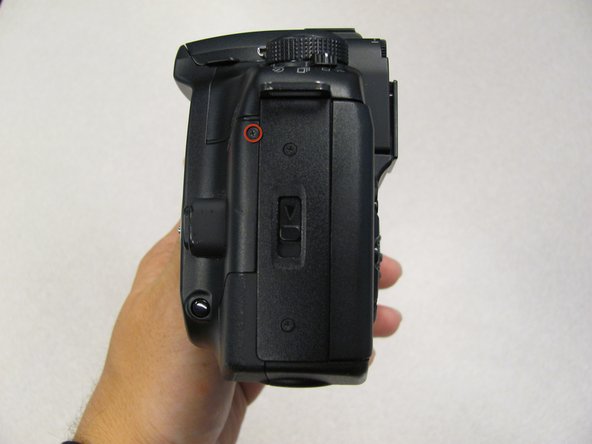
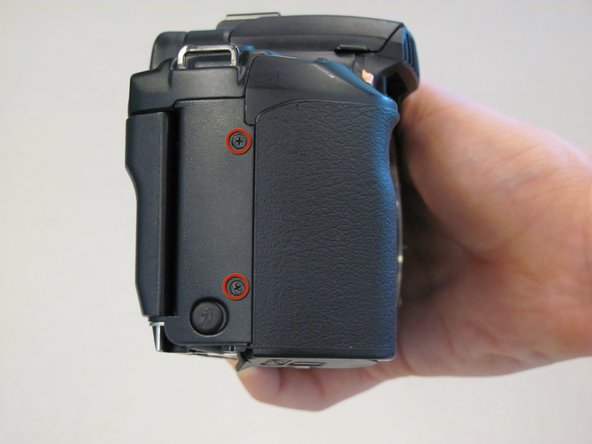
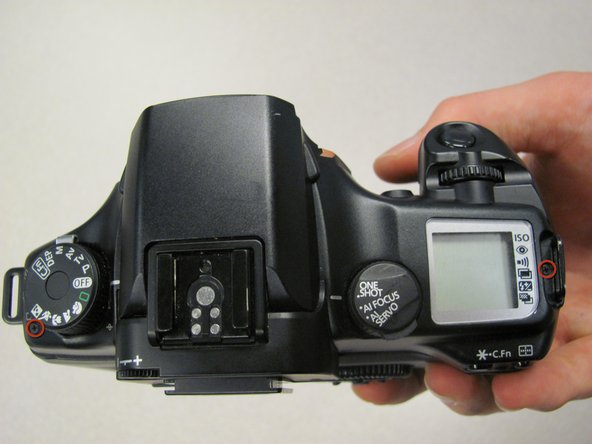
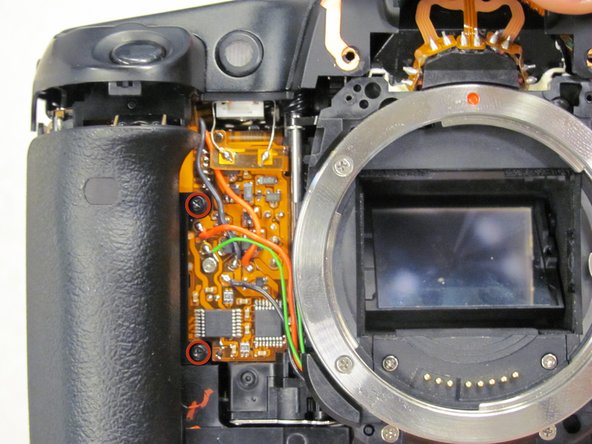
    • Remove two 4.8 mm black screws on the front of the camera.

  2. Canon EOS 30 Battery Door Replacement: step 2, image 1 of 1
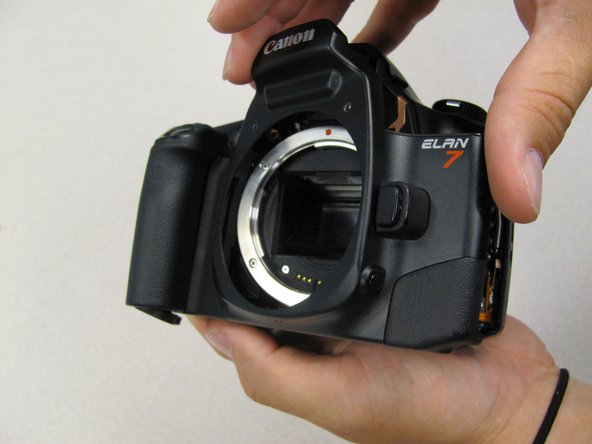
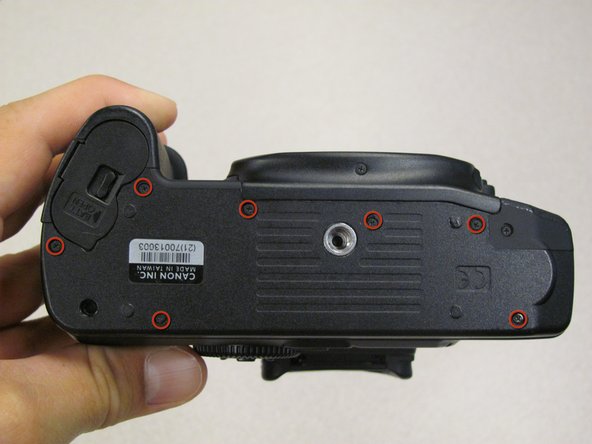
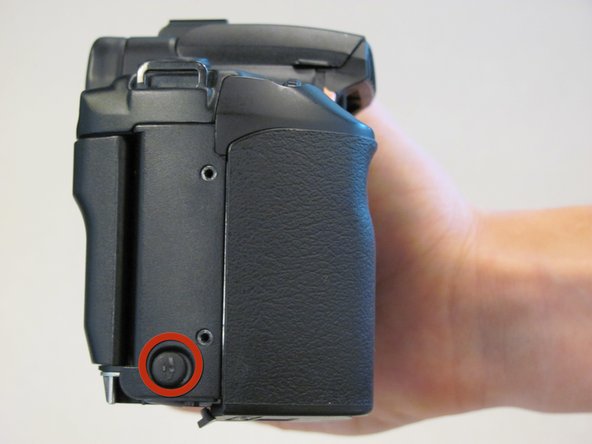
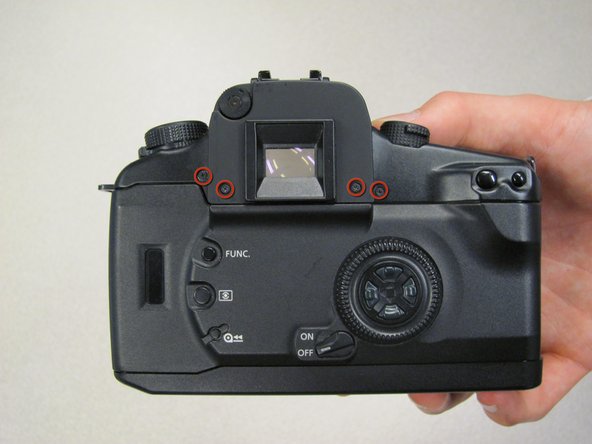
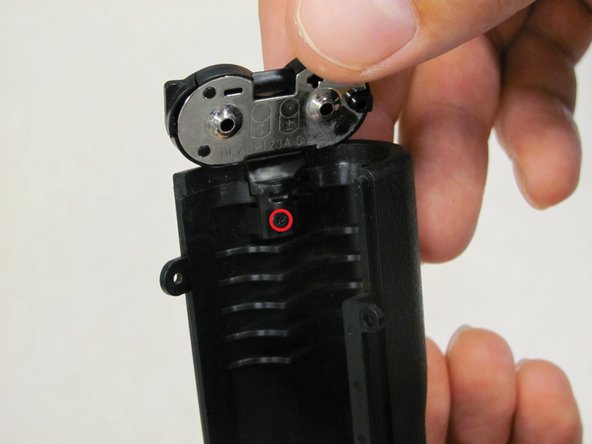
    • Remove one 4.3 mm black screw under the lens ring and one 4.8 mm black screw on the bottom of the camera.

  3. Canon EOS 30 Battery Door Replacement: step 3, image 1 of 1
    • Remove one 4.8 mm black screw on the left side.

  4. Canon EOS 30 Battery Door Replacement: step 4, image 1 of 1
    • Remove the front panel by lifting out the side opposite the grip.

  5. Canon EOS 30 Battery Door Replacement: step 5, image 1 of 1
    • Remove seven 4.25 mm black screws on the bottom panel.

  6. Canon EOS 30 Battery Door Replacement: step 6, image 1 of 1
    • Remove the bottom panel.

  7. Canon EOS 30 Battery Door Replacement: step 7, image 1 of 1
    • Remove two 6.5 mm black screws from the panel.

  8. Canon EOS 30 Battery Door Replacement: step 8, image 1 of 1
    • Remove plastic Remote Control Socket cap by pulling it straight out.

  9. Canon EOS 30 Battery Door Replacement: step 9, image 1 of 2 Canon EOS 30 Battery Door Replacement: step 9, image 2 of 2
    • Slide panel toward bottom of camera to remove.

  10. Canon EOS 30 Battery Door Replacement: step 10, image 1 of 1
    • Remove outer eyepiece by sliding it upwards.

  11. Canon EOS 30 Battery Door Replacement: step 11, image 1 of 1
    • Remove two 4.75 mm screws from top of camera.

  12. Canon EOS 30 Battery Door Replacement: step 12, image 1 of 1
    • Remove four 4.3 mm screws from back of camera.

  13. Canon EOS 30 Battery Door Replacement: step 13, image 1 of 1
    • Slowly separate top panel from camera by pushing up.

    • Be careful, as top panel is still attached by wiring and ribbon cable to the camera.

  14. Canon EOS 30 Battery Door Replacement: step 14, image 1 of 1
    • Separating the top panel too far can damage the connecting wiring.

  15. Canon EOS 30 Battery Door Replacement: step 15, image 1 of 1
    • Remove two 5.5 mm screws from front of camera.

  16. Canon EOS 30 Battery Door Replacement: step 16, image 1 of 1
    • Remove grip panel.

  17. Canon EOS 30 Battery Door Replacement: step 17, image 1 of 1
    • Remove one black screw from battery door on underside of grip.

  18. Canon EOS 30 Battery Door Replacement: step 18, image 1 of 1
    • Remove battery door.

Conclusion

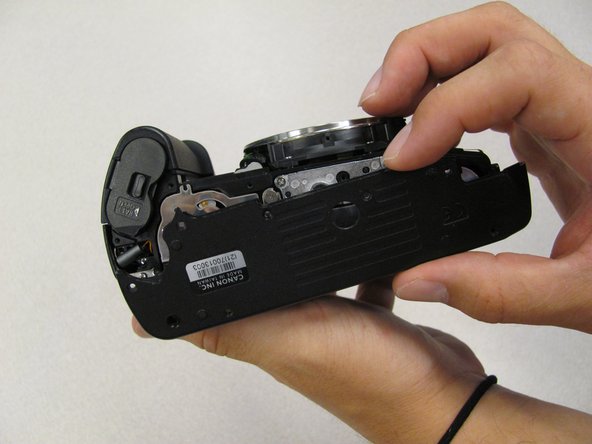
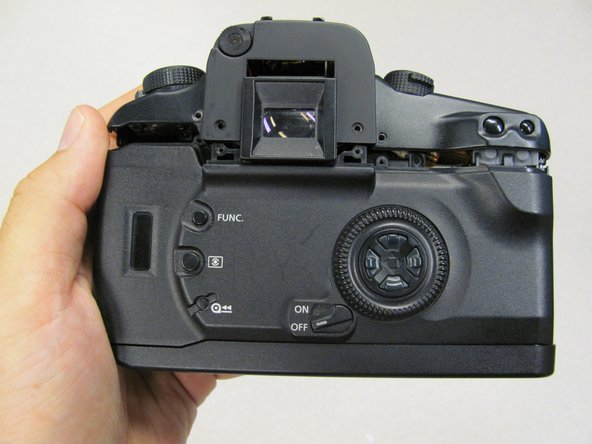
To reassemble your device, follow these instructions in reverse order.

System

Member since: 09/24/09

2,562 Guides authored

0 Comments

Add Comment

View Statistics:

Past 24 Hours: 0

Past 7 Days: 0

Past 30 Days: 0

All Time: 38