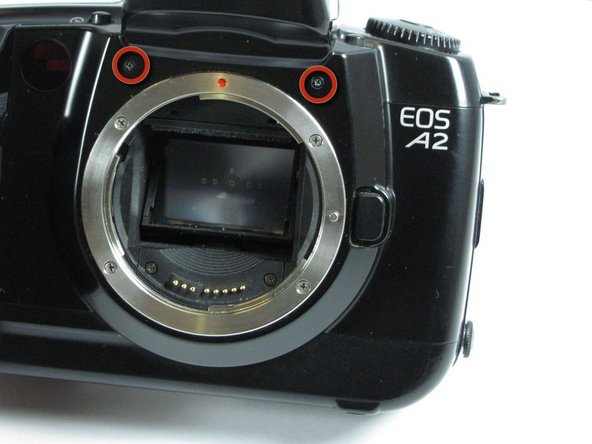
/

Canon EOS A2 Control Dial Replacement

What you need

  1. Canon EOS A2 Control Dial Replacement, Canon EOS A2 Control Dial Replacement: step 1, image 1 of 1
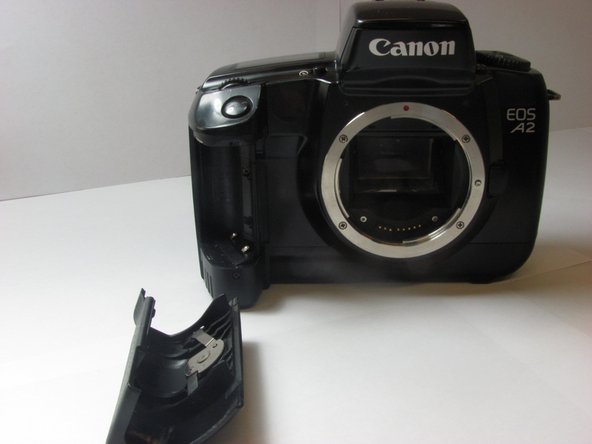
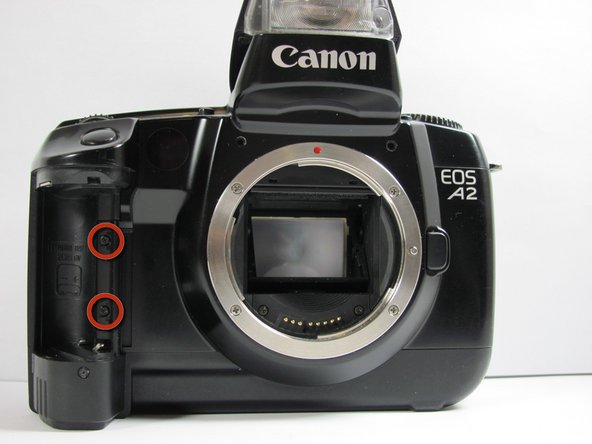
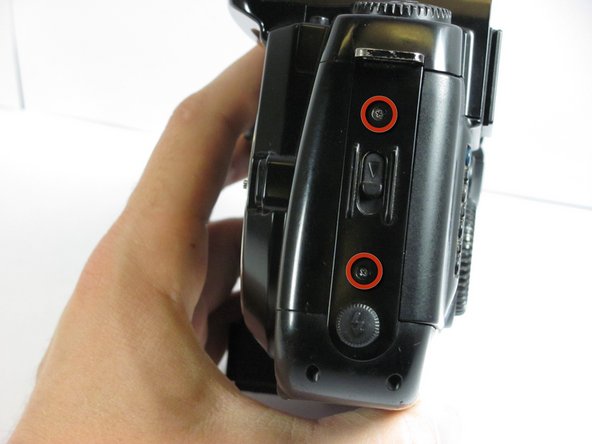
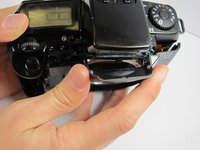
    • Locate the battery door/camera grip on the left side of the camera and lift the rotating removal tab.

  2. Canon EOS A2 Control Dial Replacement: step 2, image 1 of 1
    • Twist the tab clockwise to unlock the door, then pull outward from the camera to remove it.

  3. Canon EOS A2 Control Dial Replacement: step 3, image 1 of 1
    • Remove the battery from inside the battery housing and set the cover aside.

  4. Canon EOS A2 Control Dial Replacement: step 4, image 1 of 1
    • Remove the two 6.4mm screws above the lens aperture using a phillips #00 screw driver.

  5. Canon EOS A2 Control Dial Replacement: step 5, image 1 of 1
    • Remove the 6.4mm screw from the inside of the flash bezel.

  6. Canon EOS A2 Control Dial Replacement: step 6, image 1 of 1
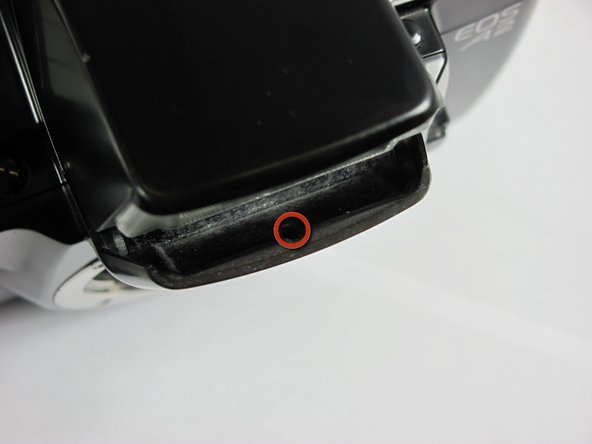
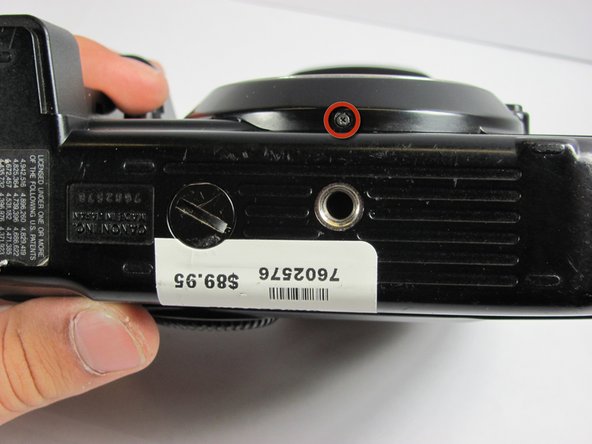
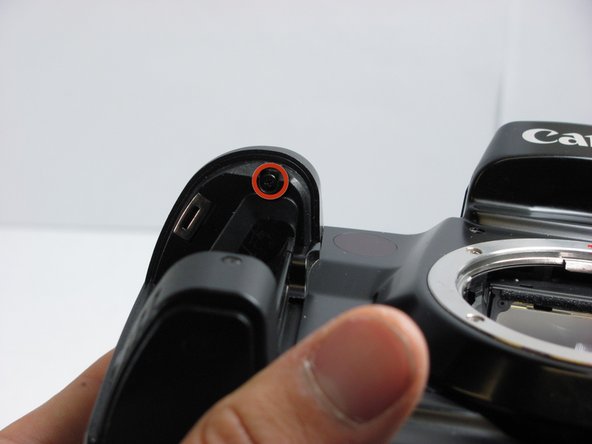
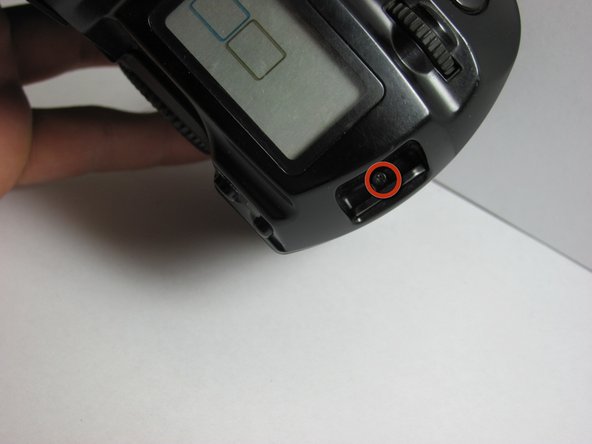
    • Flip the camera upside down and remove the 5.4mm screw below the lens bezel on the front of the camera.

  7. Canon EOS A2 Control Dial Replacement: step 7, image 1 of 1
    • Remove the 5.6mm screws behind the battery cover.

  8. Canon EOS A2 Control Dial Replacement: step 8, image 1 of 1
    • Remove two 6.4mm screws on the latch mechanism on the right side of the camera.

  9. Canon EOS A2 Control Dial Replacement: step 9, image 1 of 1
    • Remove the 6.4mm screw on the top of the inside edge of the battery hole.

  10. Canon EOS A2 Control Dial Replacement: step 10, image 1 of 2 Canon EOS A2 Control Dial Replacement: step 10, image 2 of 2
    • Starting at the flash, carefully pull the front cover away from the camera.

  11. Canon EOS A2 Control Dial Replacement: step 11, image 1 of 1
    • Remove the 4.3mm screw below the camera strap ring.

  12. Canon EOS A2 Control Dial Replacement: step 12, image 1 of 1
    • Remove two 4.8mm screws located on both sides of the eyepiece.

  13. Canon EOS A2 Control Dial Replacement: step 13, image 1 of 1
    • Pull the top cover up slowly.

    • A ribbon cable is attached to the bottom of the top cover and the camera. Pull up very carefully to avoid damaging this.

  14. Canon EOS A2 Control Dial Replacement: step 14, image 1 of 1
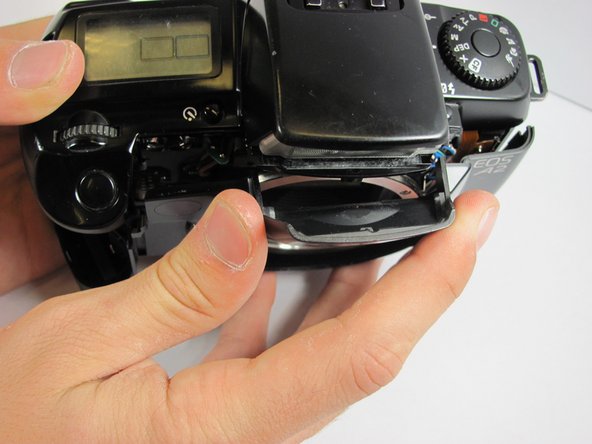
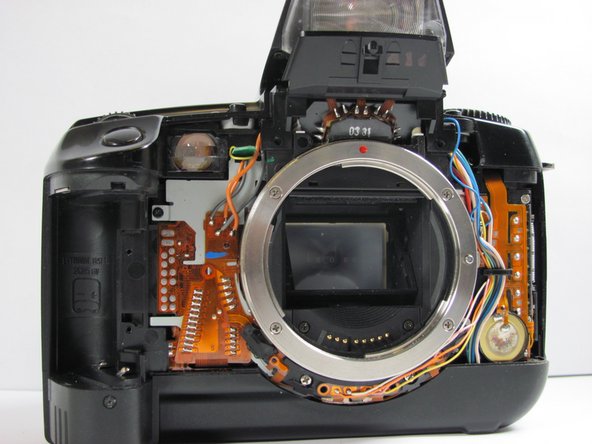
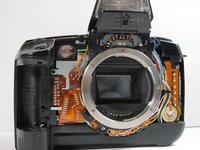
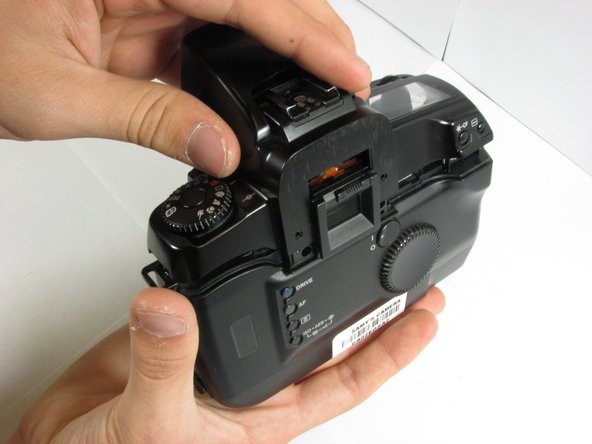
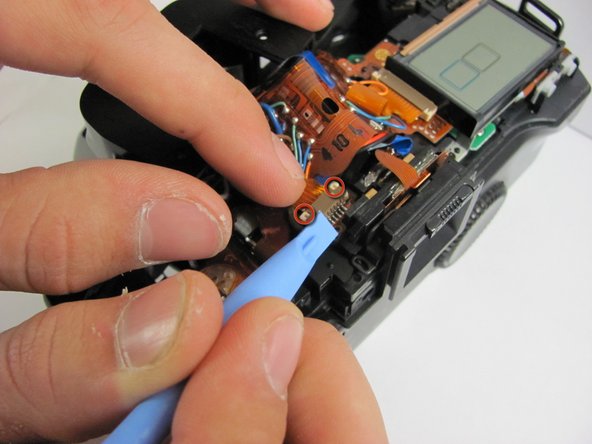
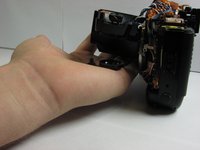
    • Once you have revealed the ribbon cable, gently let the top cover hang off the front of the camera. Use the plastic opening tool to gently pull the white tabs on the ribbon cable, releasing the ribbon cable.

    • If you pull the white tabs all the way out, just insert them back in to avoid losing them.

  15. Canon EOS A2 Control Dial Replacement: step 15, image 1 of 3 Canon EOS A2 Control Dial Replacement: step 15, image 2 of 3 Canon EOS A2 Control Dial Replacement: step 15, image 3 of 3
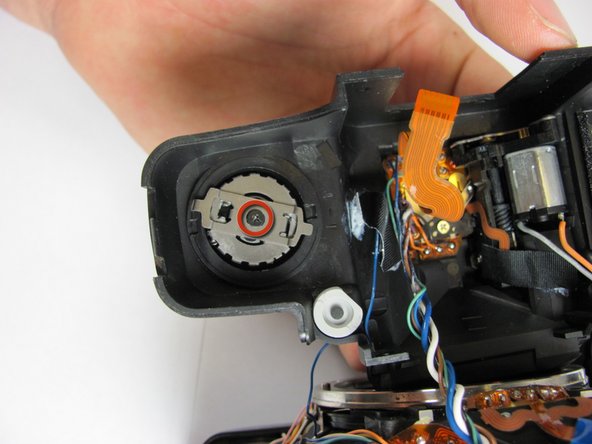
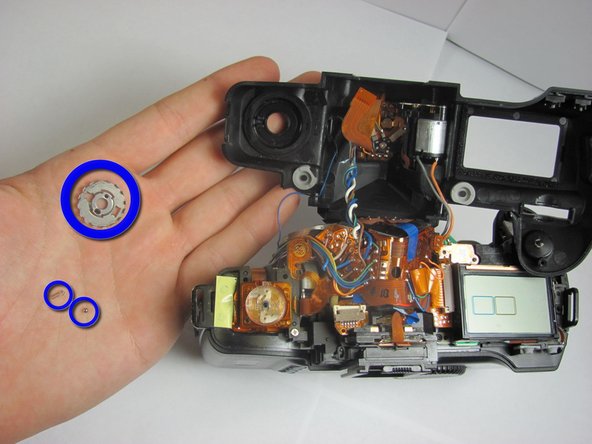
    • Remove the 3mm screw from the back of the control dial while holding the front of the control dial.

    • Be ready to catch the control dial, button, and spring that will fall out with your hand.

  16. Canon EOS A2 Control Dial Replacement: step 16, image 1 of 1
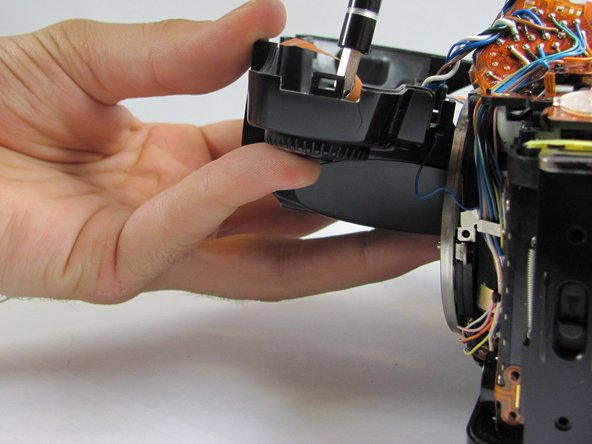
    • On the bottom side of the top bezel, remove the ring, detent ball and spring. Your control dial is now ready to be replaced with a working unit.

Conclusion

To reassemble your device, follow these instructions in reverse order.

System

Member since: 09/24/09

2,562 Guides authored

0 Comments

Add Comment

View Statistics:

Past 24 Hours: 0

Past 7 Days: 0

Past 30 Days: 0

All Time: 22