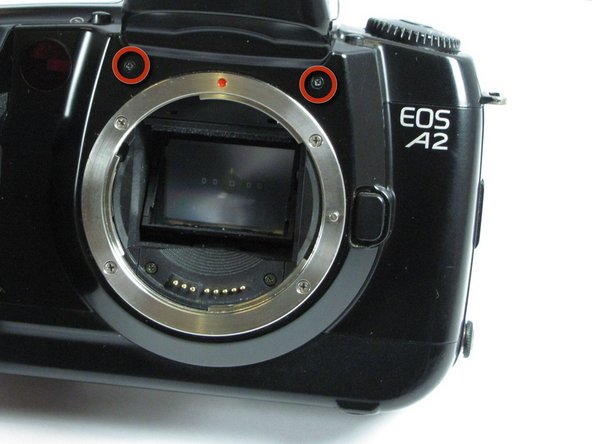
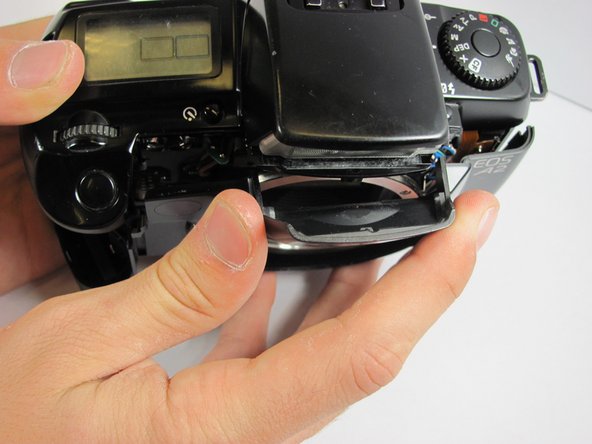
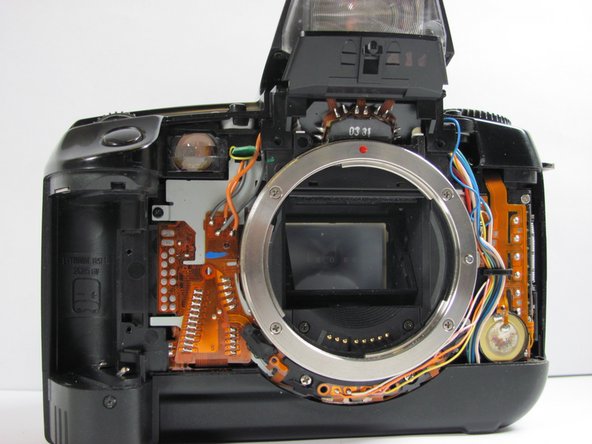
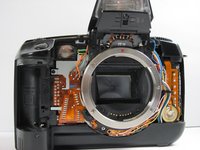
/

Canon EOS A2 Front Cover Replacement

What you need

  1. Canon EOS A2 Front Cover Replacement, Canon EOS A2 Front Cover Replacement: step 1, image 1 of 1
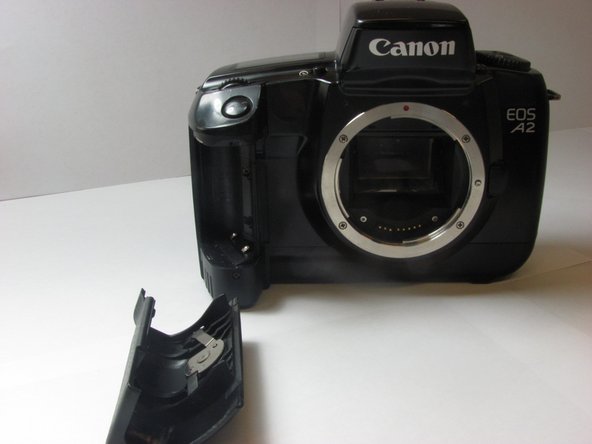
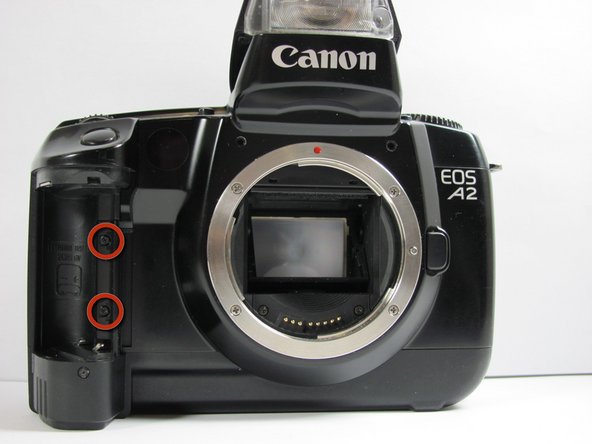
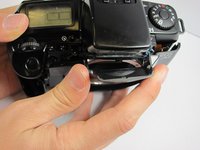
    • Locate the battery door/camera grip on the left side of the camera and lift the rotating removal tab.

  2. Canon EOS A2 Front Cover Replacement: step 2, image 1 of 1
    • Twist the tab clockwise to unlock the door, then pull outward from the camera to remove it.

  3. Canon EOS A2 Front Cover Replacement: step 3, image 1 of 1
    • Remove the battery from inside the battery housing and set the cover aside.

  4. Canon EOS A2 Front Cover Replacement: step 4, image 1 of 1
    • Remove the two 6.4mm screws above the lens aperture using a phillips #00 screw driver.

  5. Canon EOS A2 Front Cover Replacement: step 5, image 1 of 1
    • Remove the 6.4mm screw from the inside of the flash bezel.

  6. Canon EOS A2 Front Cover Replacement: step 6, image 1 of 1
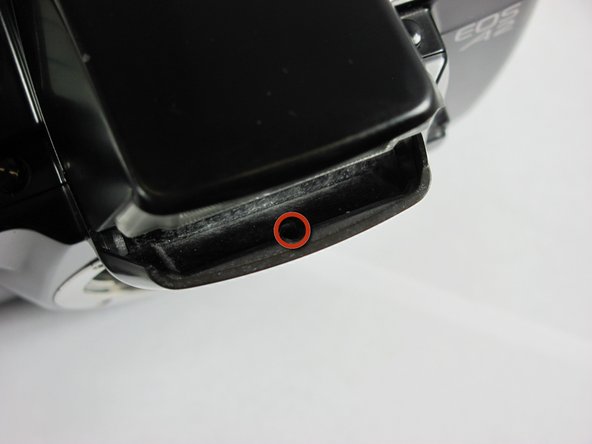
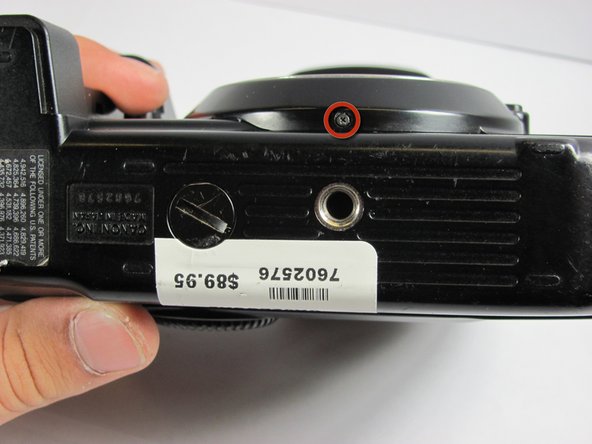
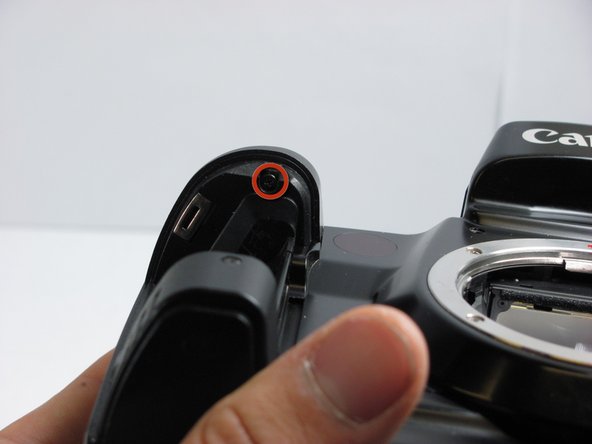
    • Flip the camera upside down and remove the 5.4mm screw below the lens bezel on the front of the camera.

  7. Canon EOS A2 Front Cover Replacement: step 7, image 1 of 1
    • Remove the 5.6mm screws behind the battery cover.

  8. Canon EOS A2 Front Cover Replacement: step 8, image 1 of 1
    • Remove two 6.4mm screws on the latch mechanism on the right side of the camera.

  9. Canon EOS A2 Front Cover Replacement: step 9, image 1 of 1
    • Remove the 6.4mm screw on the top of the inside edge of the battery hole.

  10. Canon EOS A2 Front Cover Replacement: step 10, image 1 of 2 Canon EOS A2 Front Cover Replacement: step 10, image 2 of 2
    • Starting at the flash, carefully pull the front cover away from the camera.

Conclusion

To reassemble your device, follow these instructions in reverse order.

System

Member since: 09/24/09

2,562 Guides authored

0 Comments

Add Comment

View Statistics:

Past 24 Hours: 0

Past 7 Days: 0

Past 30 Days: 0

All Time: 11