
Introduction
Use this guide to replace the LCD. The LCD tends to fade after about five years.
What you need
-
-
-
Remove the two 4.5mm (.18in) long black screws from the side cover using a #00 Phillips screwdriver.
-
-
-
On the bottom, remove the last long screw with the Phillips Screwdriver.
-
Use tweezers to lift the panel.
-
-
-
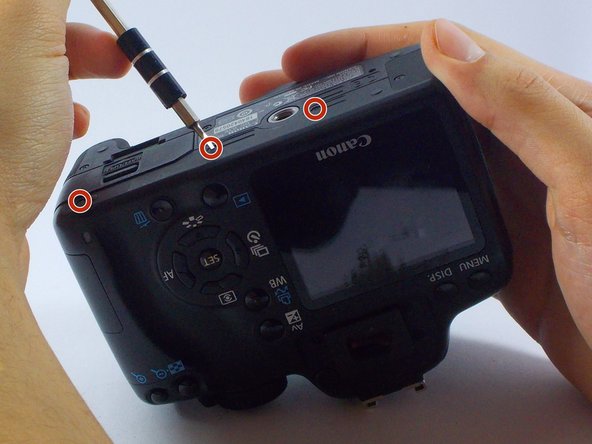
Remove the three long black screws from the bottom using a #00 Phillips screwdriver.
-
Use tweezers to lift the panel.
-
-
-
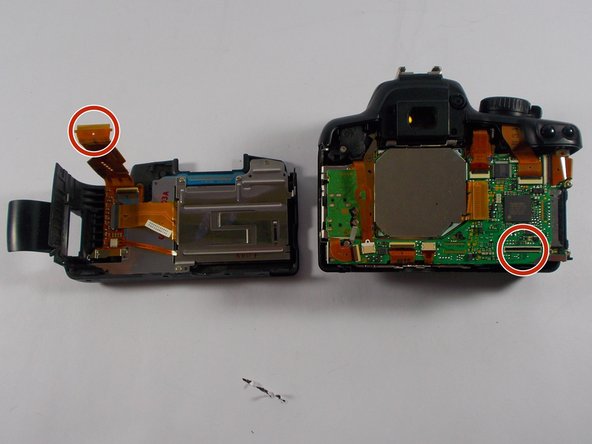
Once you have detached the back cover, use a pair of tweezers to lightly pull on strap found connecting the back cover to the camera.
-
-
-
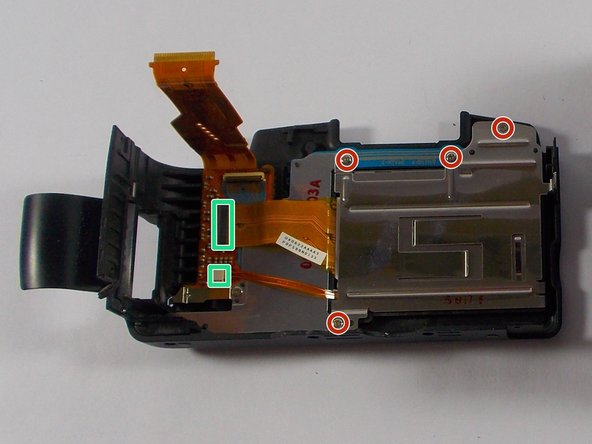
Use the tweezers to gently remove the straps (in the teal box).
-
Use the Phillips Screwdriver to remove the four screws (in the red dots).
-
Use your fingers to remove the silver plate.
-
-
-
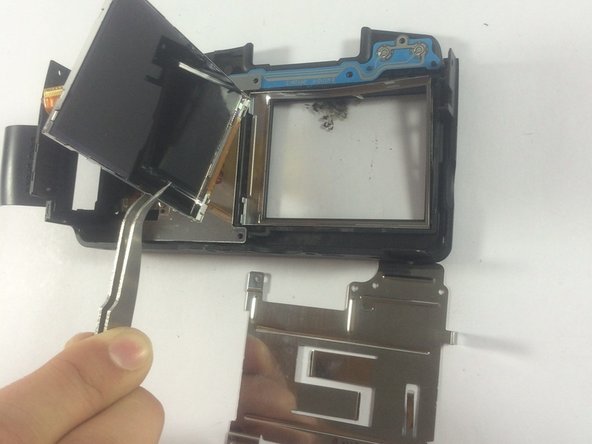
Use the Spudger on the edges of the screen.
-
Once one end is lose, use the tweezers to lift the screen.
-
-


To reassemble your device, follow these instructions in reverse order.

