/

Canon PowerShot A550 LCD Screen Replacement

What you need

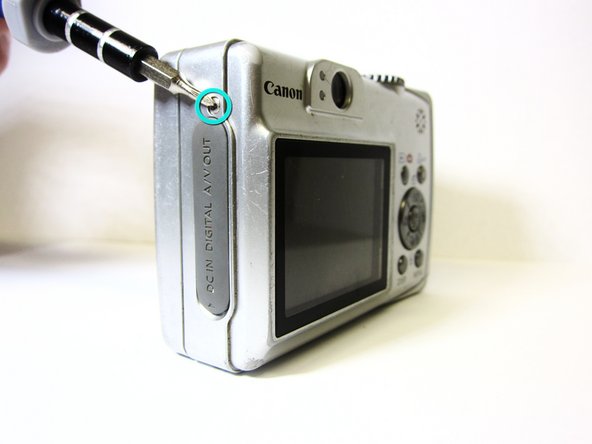
  1. Canon PowerShot A550 LCD Screen Replacement, Canon PowerShot A550 LCD Screen Replacement: step 1, image 1 of 3 Canon PowerShot A550 LCD Screen Replacement, Canon PowerShot A550 LCD Screen Replacement: step 1, image 2 of 3 Canon PowerShot A550 LCD Screen Replacement, Canon PowerShot A550 LCD Screen Replacement: step 1, image 3 of 3
    • Unscrew a total of 6 4.45 mm phillips head screws using a #00 phillips head screwdriver.

    • There are 2 screws on the left side (when looking at the front of the camera).

    • There are 3 screws on the bottom

    • There is 1 screw on the right side

  2. Canon PowerShot A550 LCD Screen Replacement: step 2, image 1 of 1
    • Turn to the bottom of the camera.

    • Open the memory card cover by sliding the "CARD/BATT." button up, and then pulling the cover to the left.

  3. Canon PowerShot A550 LCD Screen Replacement: step 3, image 1 of 1
    • This is what the SD card/battery compartment looks like when opened.

    • Remove one 4.45mm phillips head screw from the SD card/battery compartment using a #00 phillips head screwdriver.

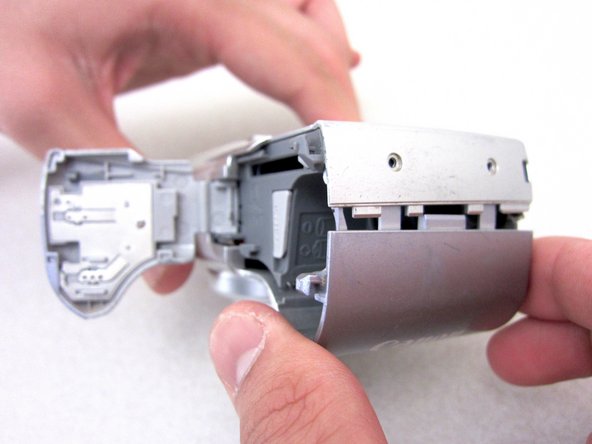
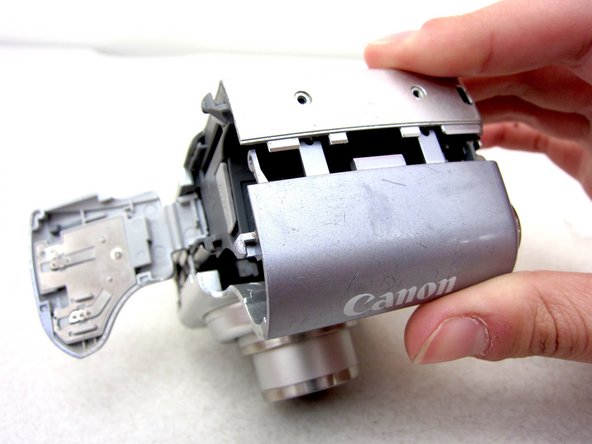
  4. Canon PowerShot A550 LCD Screen Replacement: step 4, image 1 of 2 Canon PowerShot A550 LCD Screen Replacement: step 4, image 2 of 2
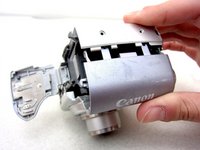
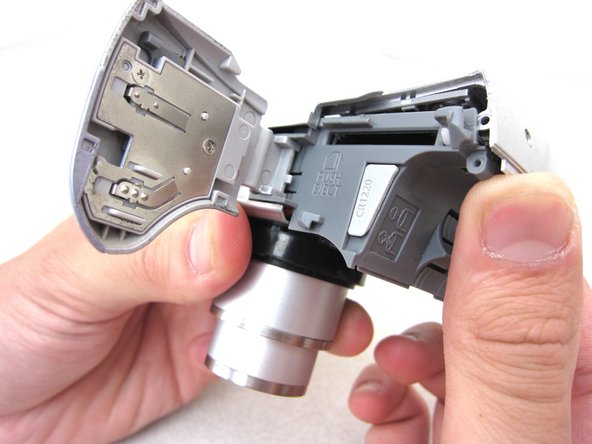
    • Gently remove the front cover away from the camera body.

    • Tip: Start by loosening the teeth on the left side of the camera next to the battery compartment.

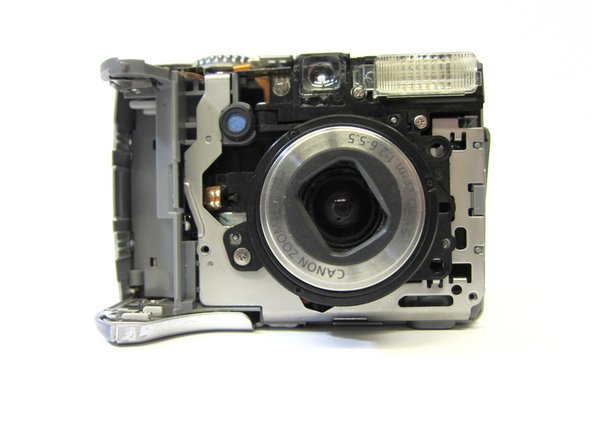
  5. Canon PowerShot A550 LCD Screen Replacement: step 5, image 1 of 1
    • The camera should look like this once the front cover is removed.

  6. Canon PowerShot A550 LCD Screen Replacement: step 6, image 1 of 3 Canon PowerShot A550 LCD Screen Replacement: step 6, image 2 of 3 Canon PowerShot A550 LCD Screen Replacement: step 6, image 3 of 3
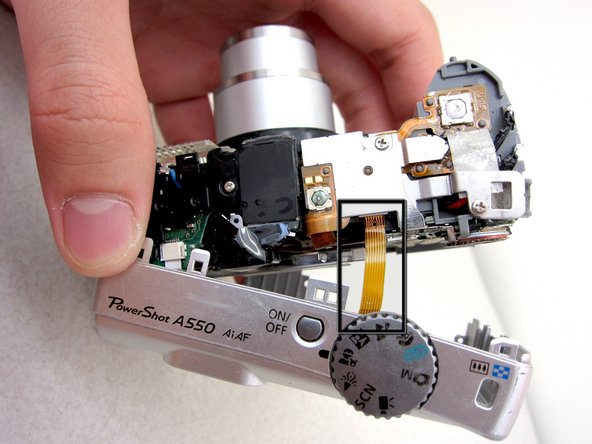
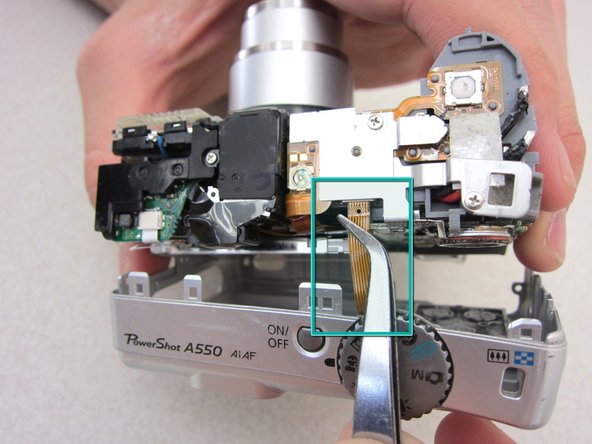
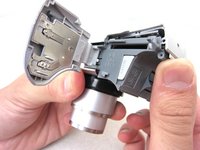
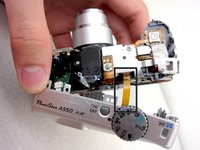
    • Start from the battery compartment and remove the back cover.

    • Caution: Do not tug on the back cover after it is removed. This could tear the ribbon attaching the back cover to the camera body.

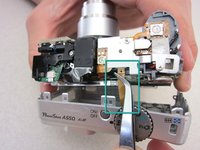
    • Remove the connecting ribbon from the body of the camera using a pair of tweezers.

  7. Canon PowerShot A550 LCD Screen Replacement: step 7, image 1 of 1
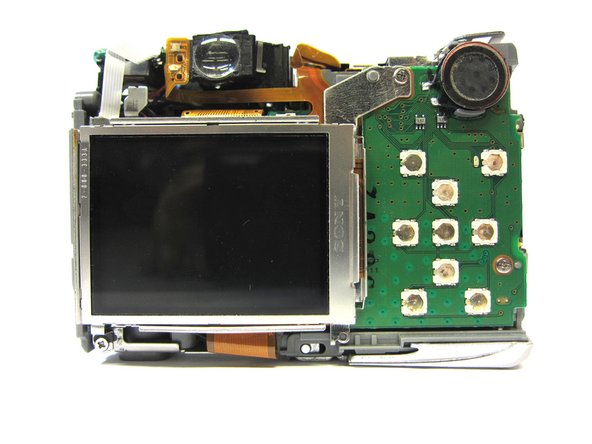
    • Once the ribbon connecting the back cover is removed, the back of the camera body should look like this.

  8. Canon PowerShot A550 LCD Screen Replacement: step 8, image 1 of 1
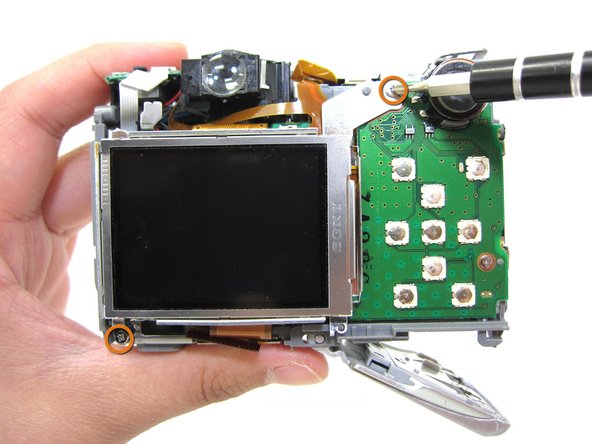
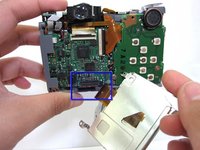
    • Use a #00 phillips head screwdriver to remove 2 3.34mm phillips screws holding the LCD screen in place.

  9. Canon PowerShot A550 LCD Screen Replacement: step 9, image 1 of 2 Canon PowerShot A550 LCD Screen Replacement: step 9, image 2 of 2
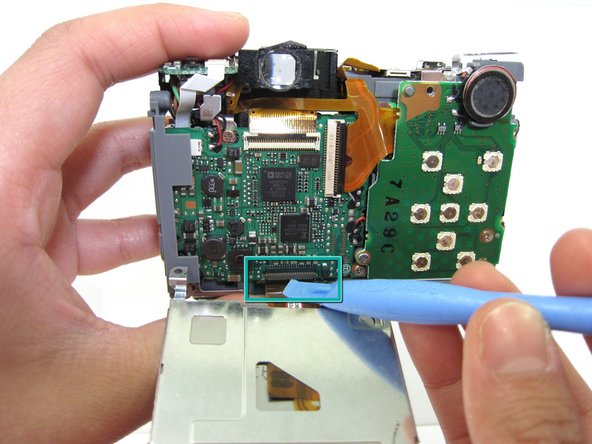
    • Use an iPod Opening Tool to lift the brown portion of the connector to unlock it.

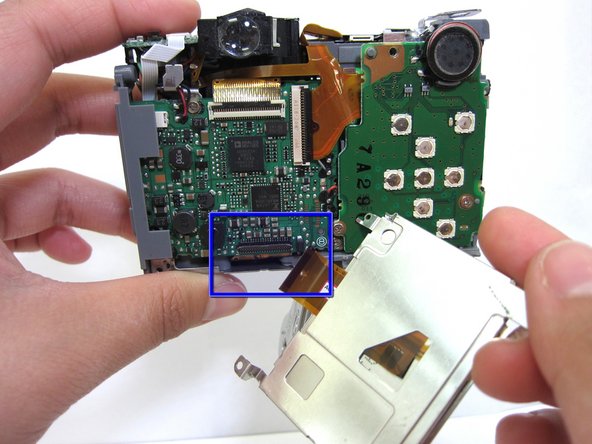
    • Slide the data cable out of the connector.

    • Caution: Do not force the data cable out of the connector. It may rip!

  10. Canon PowerShot A550 LCD Screen Replacement: step 10, image 1 of 1
    • The LCD screen can now be be removed to be fixed/replaced.

Conclusion

To reassemble your device, follow these instructions in reverse order.

System

Member since: 09/24/09

2,562 Guides authored

0 Comments

Add Comment

View Statistics:

Past 24 Hours: 0

Past 7 Days: 0

Past 30 Days: 0

All Time: 0