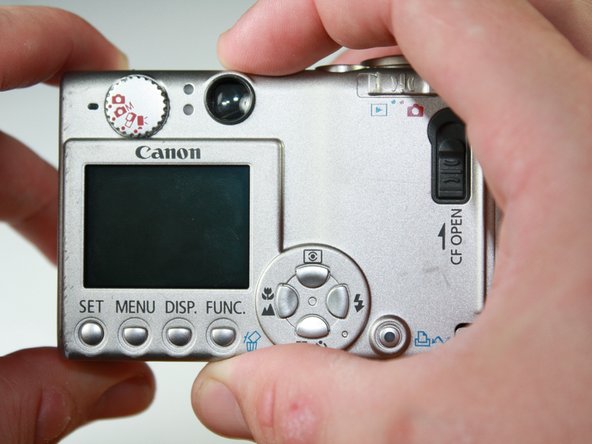
Canon PowerShot S410 Front Cover Replacement

What you need

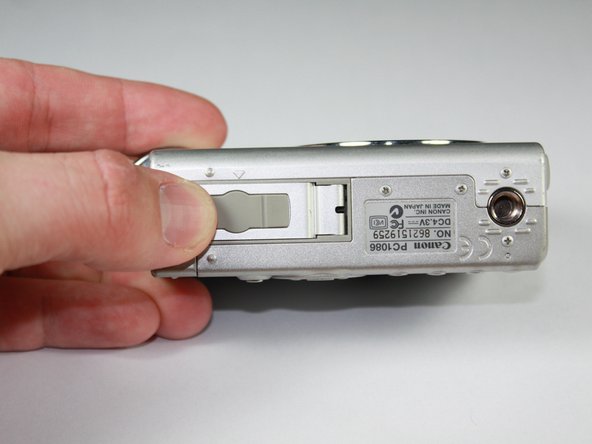
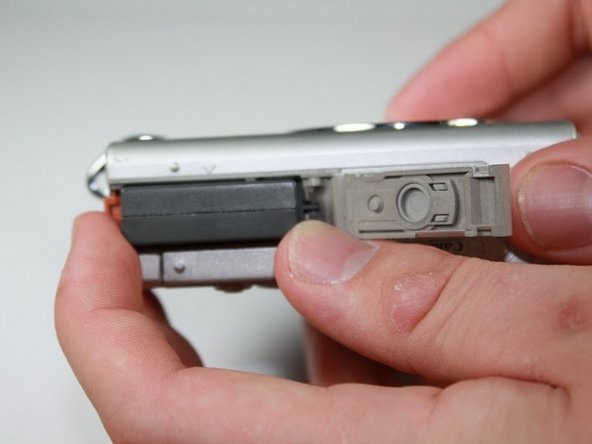
  1. Canon PowerShot S410 Front Cover Replacement, Canon PowerShot S410 Front Cover Replacement: step 1, image 1 of 2 Canon PowerShot S410 Front Cover Replacement, Canon PowerShot S410 Front Cover Replacement: step 1, image 2 of 2
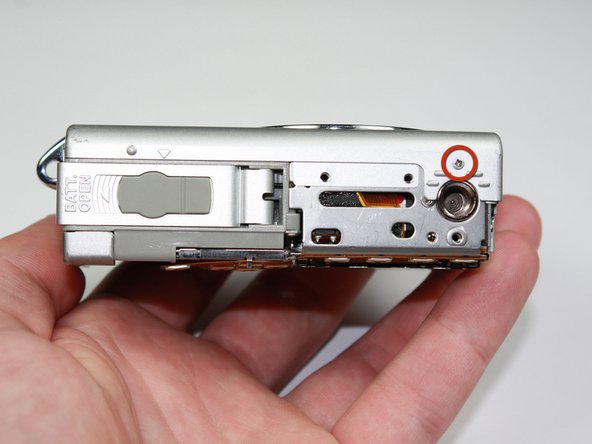
    • Turn the camera with the bottom side facing up.

    • Locate the panel labeled "Batt. Open"

    • Place your finger on the panel and slide it in the direction of the arrow.

    • The slot will swing open revealing the battery pack.

    Add Comment

  2. Canon PowerShot S410 Front Cover Replacement: step 2, image 1 of 1
    • Rotate the camera so that the slot is horizontal.

    • Pull the orange lever and the battery will spring out slightly.

    Add Comment

  3. Canon PowerShot S410 Front Cover Replacement: step 3, image 1 of 1
    • Grasp battery and fully pull out of slot

    • When placing the new battery back in the slot, the arrow on the battery must align with the arrow on the camera.

    Add Comment

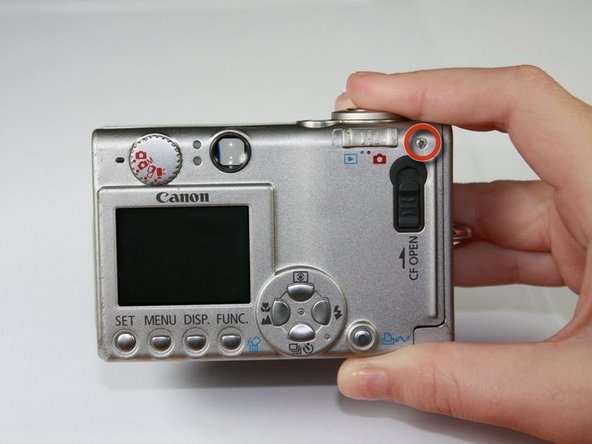
  4. Canon PowerShot S410 Front Cover Replacement: step 4, image 1 of 1
    • Start by laying the camera flat with the LCD screen facing up.

    • Remove the 3.8mm screw in the upper right corner.

    Add Comment

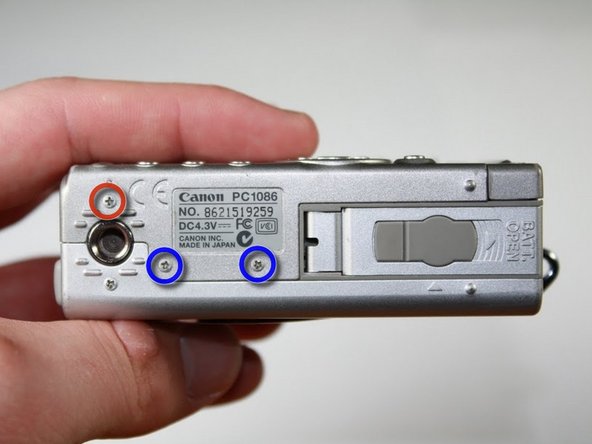
  5. Canon PowerShot S410 Front Cover Replacement: step 5, image 1 of 1
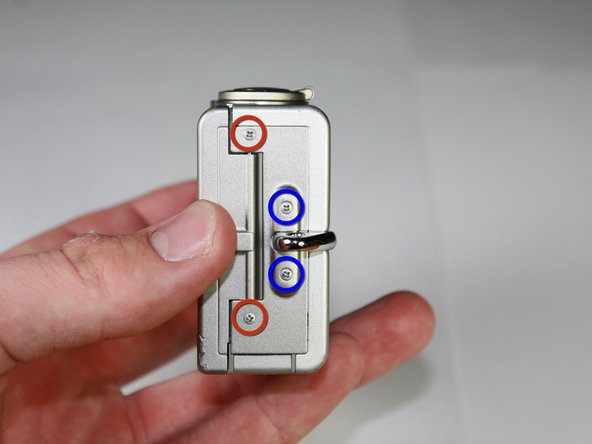
    • Position the camera with the bottom facing up.

    • Remove the 4.8mm screw.

    • Remove the two 2.3mm screws.

    Add Comment

  6. Canon PowerShot S410 Front Cover Replacement: step 6, image 1 of 2 Canon PowerShot S410 Front Cover Replacement: step 6, image 2 of 2
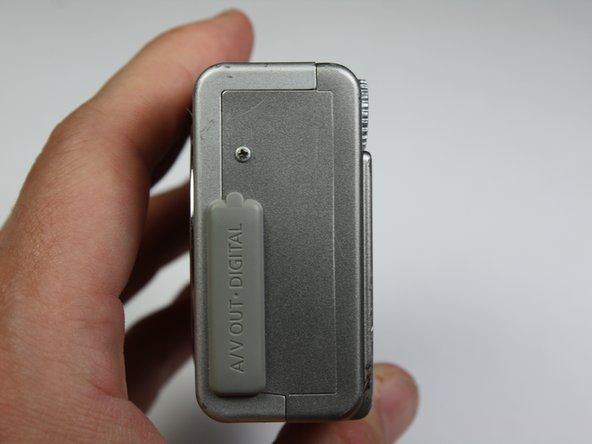
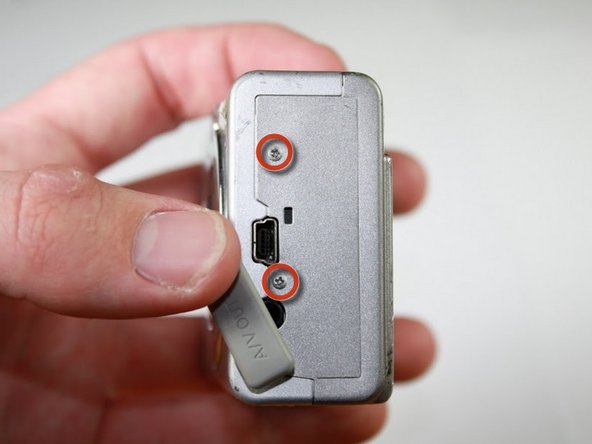
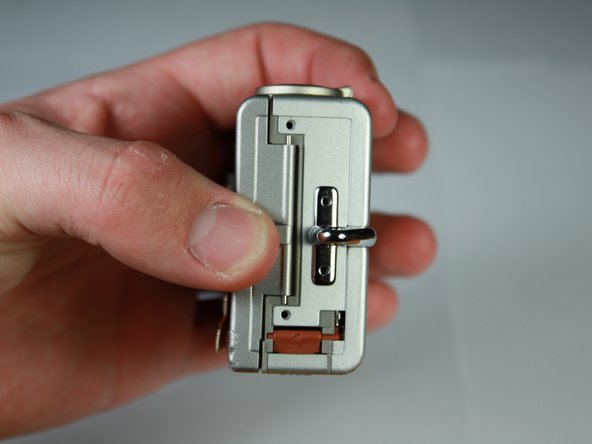
    • Position the camera so that the rubber "AV Out Digital" tab is facing upward.

    • Slide this rubber tab out of the way to reveal the bottom screw.

    • Remove the two 3.7mm screws.

    Add Comment

  7. Canon PowerShot S410 Front Cover Replacement: step 7, image 1 of 1
    • Turn the camera with the back side facing you.

    • Grip the edges of the back plate, and carefully slide it off.

    • If there is any resistance in movement, double check there are no screws left in the chassis.

    Add Comment

  8. Canon PowerShot S410 Front Cover Replacement: step 8, image 1 of 2 Canon PowerShot S410 Front Cover Replacement: step 8, image 2 of 2
    • Orientate the camera as in the picture.

    • Remove the two 2.3mm outer screws.

    • Remove the two 3.8mm screws near the strap bracket.

    • Remove small panel covering mounting bracket.

    • Remove door covering memory card.

    Add Comment

  9. Canon PowerShot S410 Front Cover Replacement: step 9, image 1 of 1
    • Rotate the camera so that the bottom side is facing you.

    • Remove the 3.8mm screw below the mounting bracket.

    Add Comment

  10. Canon PowerShot S410 Front Cover Replacement: step 10, image 1 of 1
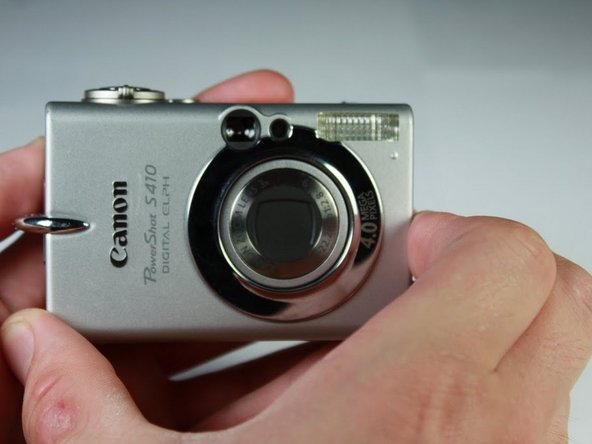
    • Rotate the camera so that the front is facing you.

    • Grasp sides of front cover and carefully pull the front panel off of the camera.

    Add Comment

Conclusion

To reassemble your device, follow these instructions in reverse order.

Cancel: I did not complete this guide.

System

Member since: 09/24/09

2,562 Guides authored

0 Guide Comments

Add Comment

View Statistics:

Past 24 Hours: 0

Past 7 Days: 0

Past 30 Days: 4

All Time: 22