Canon PowerShot S500 LCD Replacement

What you need

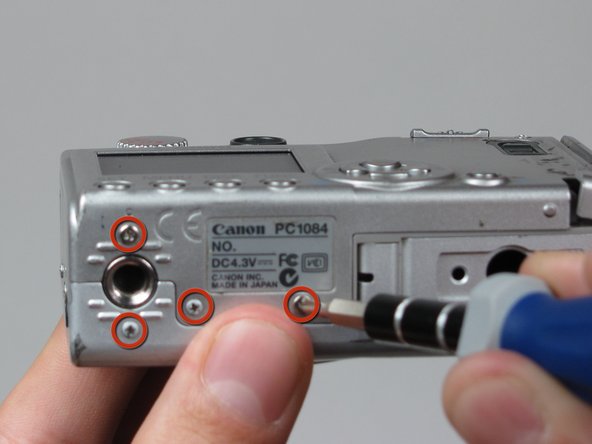
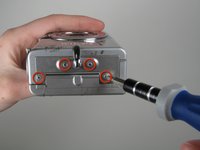
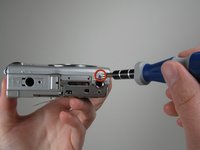
    1. Canon PowerShot S500 LCD Replacement, Canon PowerShot S500 LCD Replacement: step 1, image 1 of 2 Canon PowerShot S500 LCD Replacement, Canon PowerShot S500 LCD Replacement: step 1, image 2 of 2
      • Unscrew five Phillips screws using a #0 Phillips screwdriver.

      • One screw is on upper right corner of the back panel.

      • The other four screws are on the bottom of the camera.

      Add Comment

    2. Canon PowerShot S500 LCD Replacement: step 2, image 1 of 1
      • Open memory card cover by moving the slide switch toward the top end of of the camera.

      • Remove the memory card from the slot.

      Add Comment

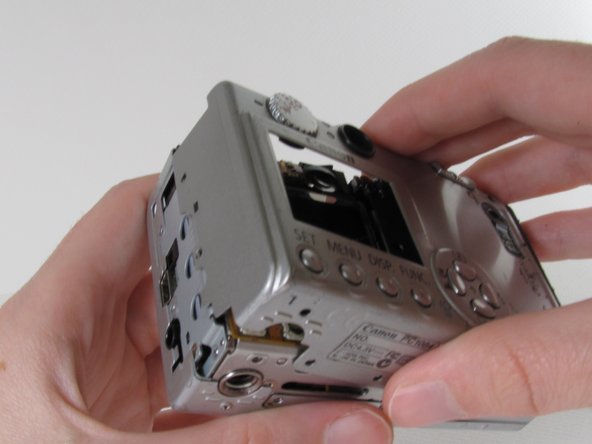
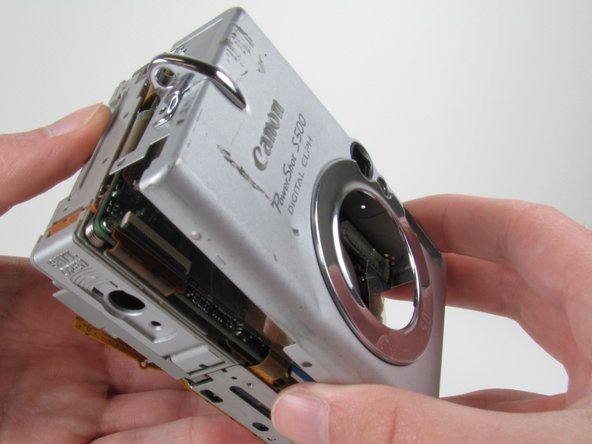
    3. Canon PowerShot S500 LCD Replacement: step 3, image 1 of 1
      • Remove the rear cover from the rest of the camera.

      • This may require gentle rocking of the case to free it.

      Add Comment

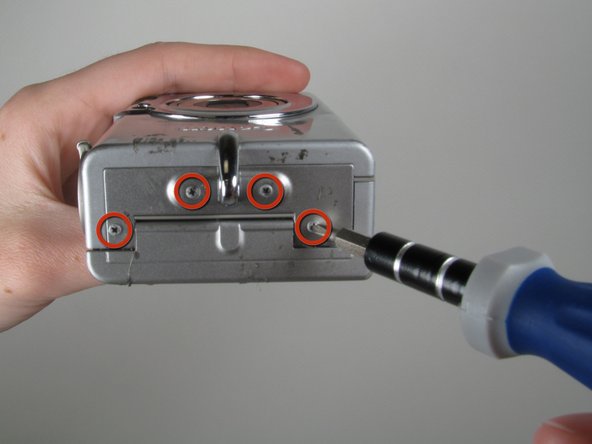
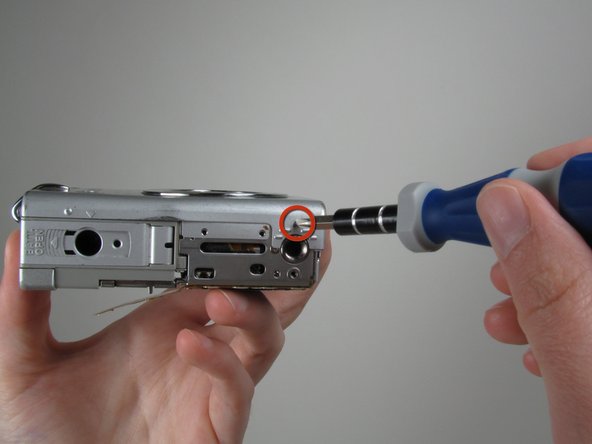
    4. Canon PowerShot S500 LCD Replacement: step 4, image 1 of 2 Canon PowerShot S500 LCD Replacement: step 4, image 2 of 2
      • Unscrew the four Philips screws from the side of the casing and one screw from the bottom using a #0 Phillips screwdriver.

      Add Comment

    5. Canon PowerShot S500 LCD Replacement: step 5, image 1 of 1
      • Free the front cover from the rest of the camera.

      • The cover may require gentle rocking to remove.

      Add Comment

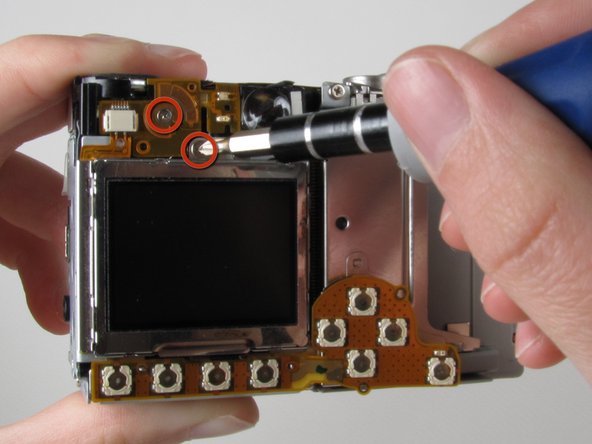
    6. Canon PowerShot S500 LCD Replacement: step 6, image 1 of 1
      • Unscrew two Phillips screws above the LCD using a #0 Phillips screwdriver.

      Add Comment

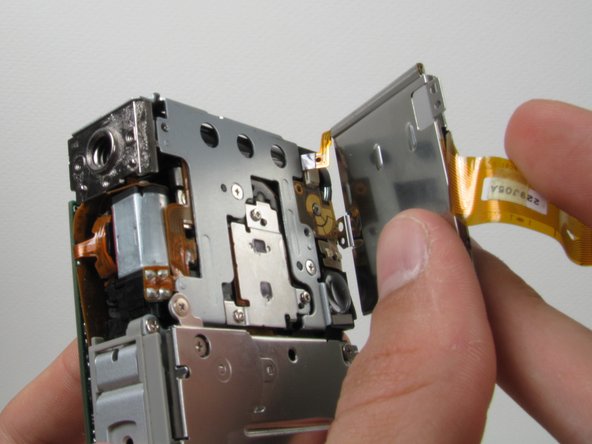
    7. Canon PowerShot S500 LCD Replacement: step 7, image 1 of 1
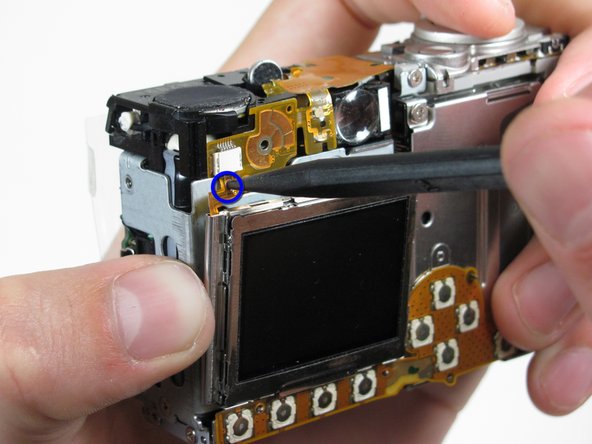
      • Gently separate the top of LCD from the rest of the camera using your thumb.

      • Be careful not pull the LCD too far because of the ribbon cable connection.

      • Place the Spudger in the hole of the electrical ribbon.

      • Gently pull the ribbon down using the Spudger until it is free from the camera but still connected to the LCD.

      • The LCD will still be connected to the rest of the camera

      Add Comment

    8. Canon PowerShot S500 LCD Replacement: step 8, image 1 of 2 Canon PowerShot S500 LCD Replacement: step 8, image 2 of 2
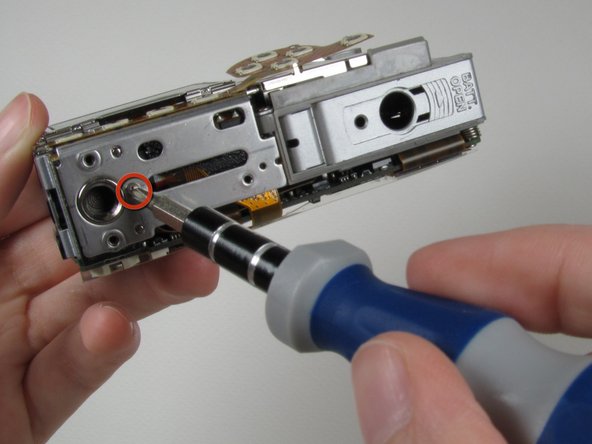
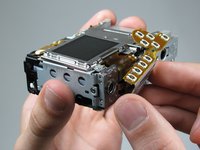
      • Unscrew single Phillips screw with a #0 Phillips screwdriver.

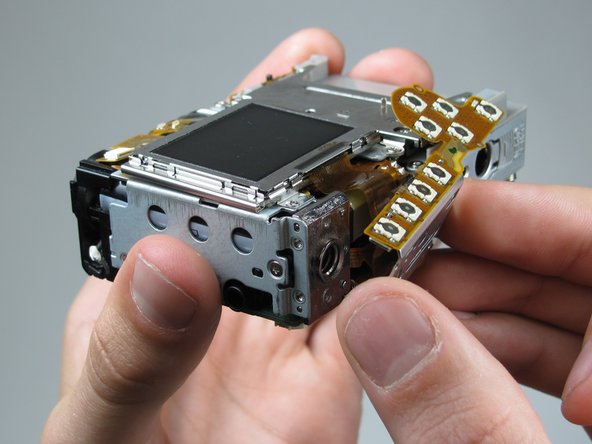
      • Free the bottom panel and attached ribbon from the rest of the camera.

      • Be careful not to damage the ribbon.

      Add Comment

    9. Canon PowerShot S500 LCD Replacement: step 9, image 1 of 1
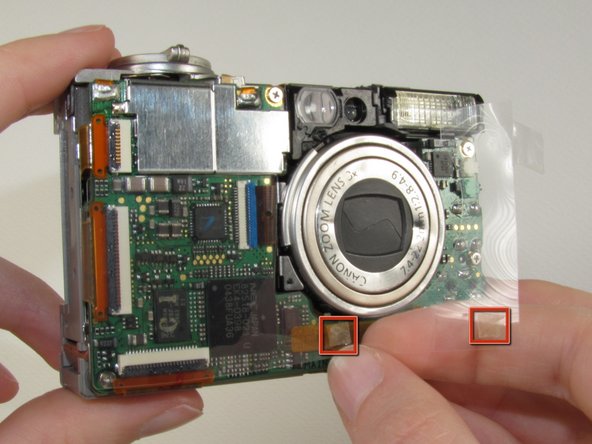
      • Turn over the camera.

      • Lift the clear plastic from the face of the camera, peeling the adhesive just below the zoom lens.

      • The plastic will still be connected on the left side.

      Add Comment

    10. Canon PowerShot S500 LCD Replacement: step 10, image 1 of 1
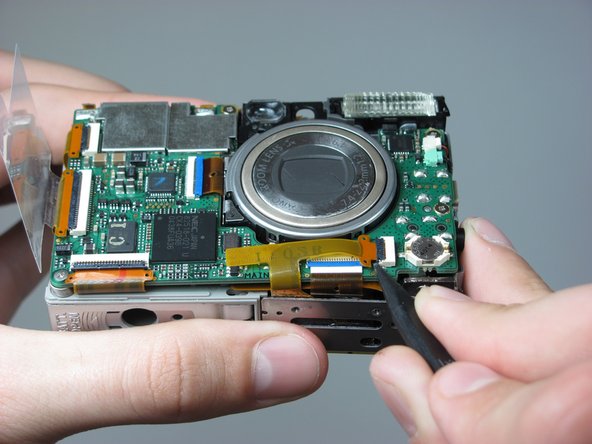
      • Place the Spudger between the orange ribbon and the black ribbon gate.

      • Lift the ribbon gate using the Spudger.

      Add Comment

    11. Canon PowerShot S500 LCD Replacement: step 11, image 1 of 1
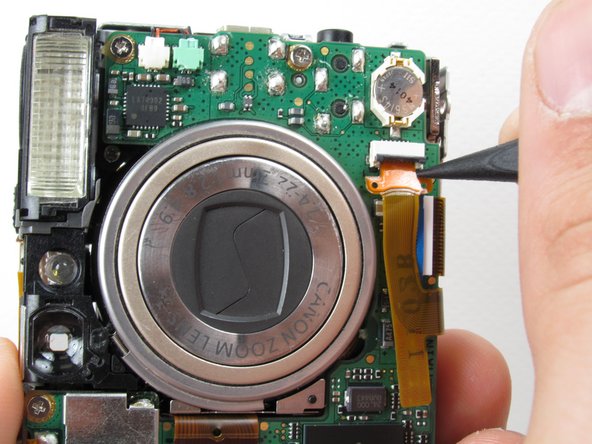
      • Place the Spludger in the corner of the ribbon above the hole.

      • Remove the ribbon from the ribbon gate by pulling the Spudger away from the gate.

      Add Comment

    12. Canon PowerShot S500 LCD Replacement: step 12, image 1 of 1
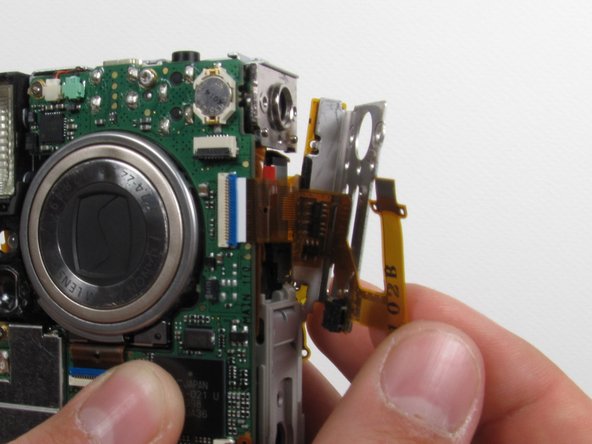
      • Free this ribbon and the bottom panel from the rest of the camera.

      • Be careful not to damage the ribbon.

      Add Comment

    13. Canon PowerShot S500 LCD Replacement: step 13, image 1 of 1
      • Turn the camera over so you can see the LCD.

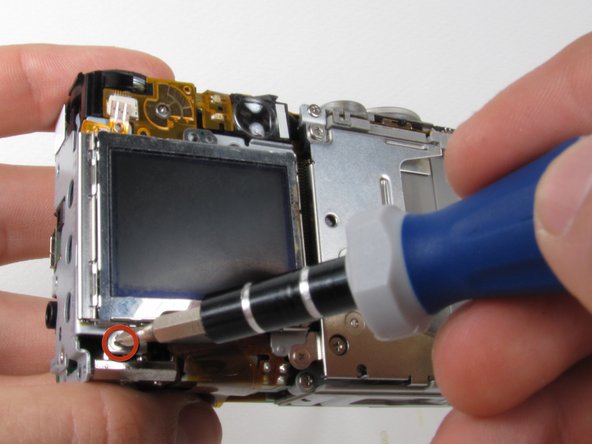
      • Remove single Phillips screw below the LCD using a #0 Phillips screwdriver.

      Add Comment

    14. Canon PowerShot S500 LCD Replacement: step 14, image 1 of 1
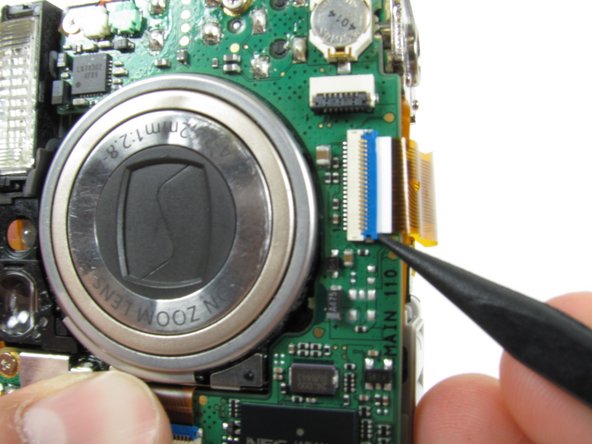
      • Lift the blue ribbon gate using the Spudger.

      Add Comment

    15. Canon PowerShot S500 LCD Replacement: step 15, image 1 of 1
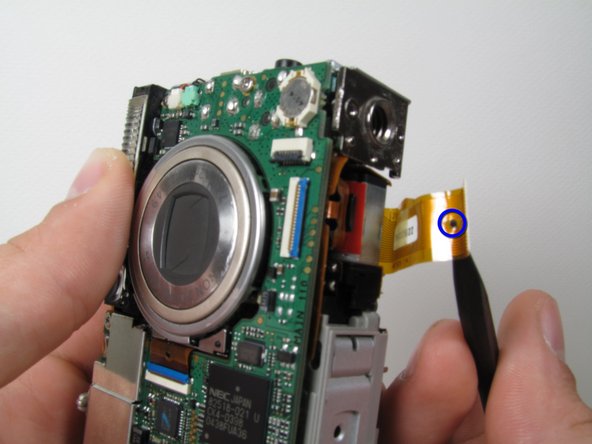
      • Insert the Spudger into the hole of the ribbon.

      • Move the Spudger away from the gate to fully remove ribbon.

      • Be careful not to damage the ribbon.

      Add Comment

    16. Canon PowerShot S500 LCD Replacement: step 16, image 1 of 1
      • Lift the LCD away from the rest of the camera.

      Add Comment

Conclusion

To reassemble your device, follow these instructions in reverse order.

Cancel: I did not complete this guide.

System

Member since: 09/24/09

2,562 Guides authored

0 Guide Comments

Add Comment

View Statistics:

Past 24 Hours: 0

Past 7 Days: 0

Past 30 Days: 0

All Time: 27