
Canon PowerShot SD870 IS Card and Battery Slot Replacement

Last updated on Sep 17, 2016
Views: 45
View statistics:
- Past 24 Hours:
- 0
- Past 7 Days:
- 0
- Past 30 Days:
- 4
- All Time:
- 45
Comments: 0
No one has left comments on this guide. Will you be first?
Go to guide commentsCompleted: 0 1
No one has marked this guide "completed." Will you be the first?
1 person has marked this guide "completed." It's you — great job!
Favorites: 0 1
No one has favorited (and subscribed to) this guide. Will you be the first?
1 person has favorited (and subscribed to) this guide — and that's you!
Introduction
Go to step 1 ↓Use this guide to replace or repair a broken battery or memory card slot on your Canon PowerShot SD870 IS.
What you need
-
-
-
Remove the wrist strap, if present.
-
Remove the lithium-ion battery.
-
-
-
Remove the two 4 mm Phillips #00 screws on the bottom of the camera.
-
Remove the screw next to the wrist strap attachment.
-
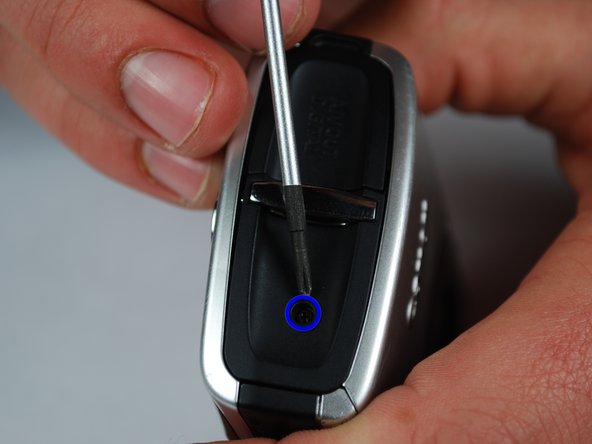
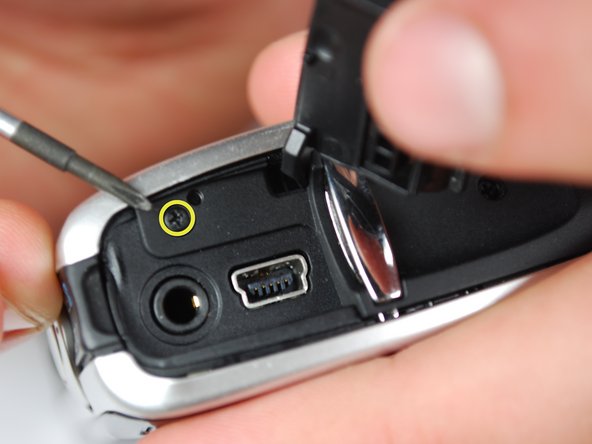
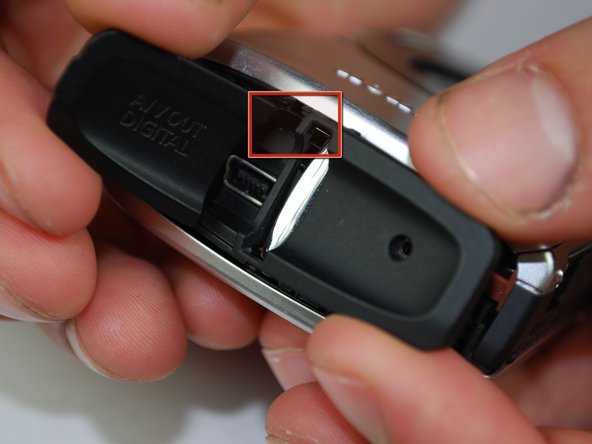
Pull up the “A/V OUT DIGITAL” cover and remove the screw above the USB port.
-
-
-
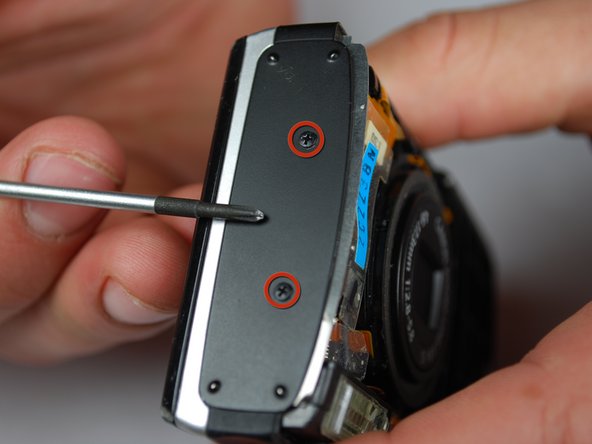
Remove the two Phillips #00 screws from the flat end of the camera.
-
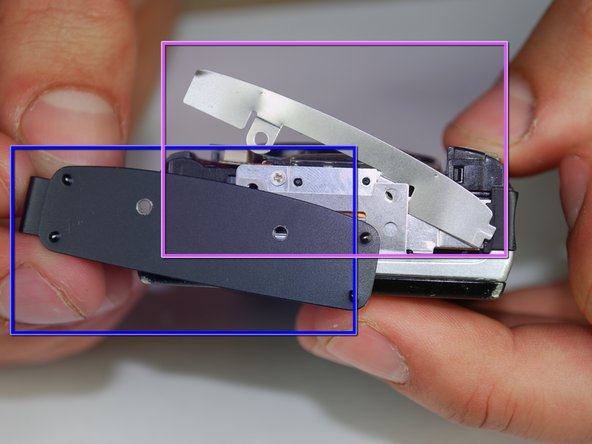
Remove the black L-shaped side cover plate.
-
Remove the silver u-shaped retainer plate.
-
-
-
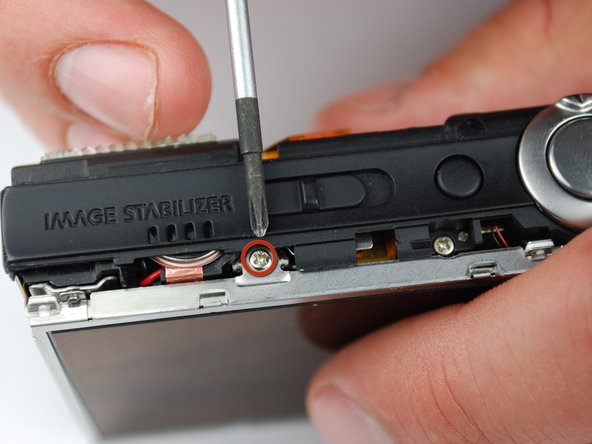
The first screw that needs to be removed is located on the bottom of the camera, on the left hand side.
-
Using a Phillips #00 screwdriver remove the 0.133in silver screw on the bottom left-hand side.
-
-
-
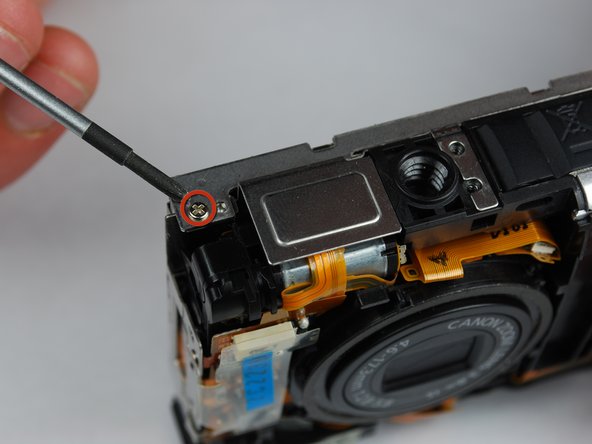
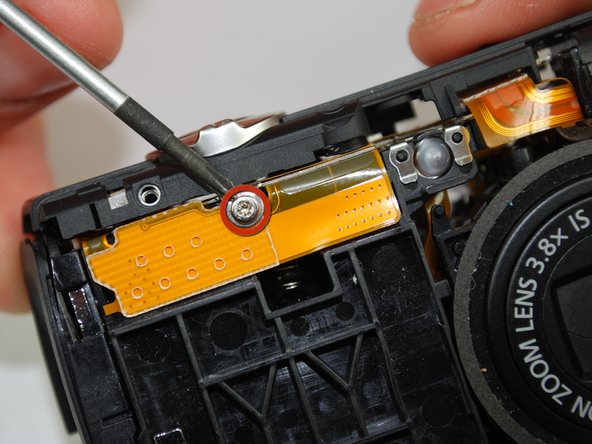
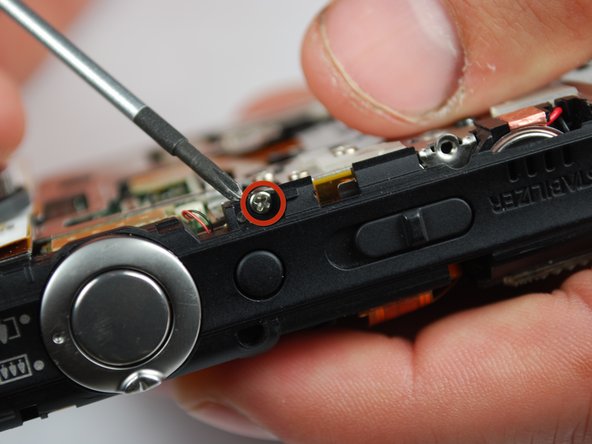
The second screw that needs to be removed is located on the top of the camera.
-
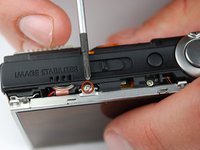
Using the same Phillips head screwdriver, remove the last 0.133in silver screw.
-
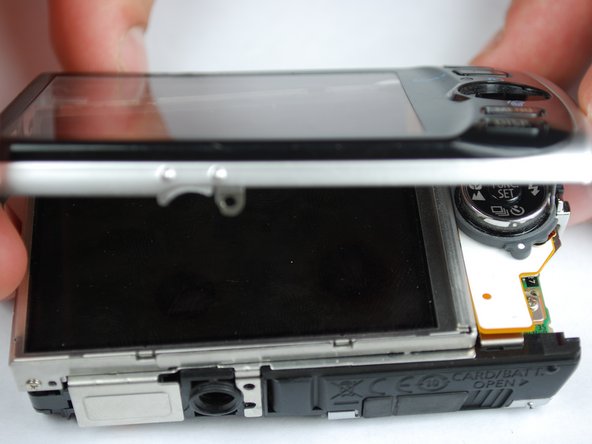
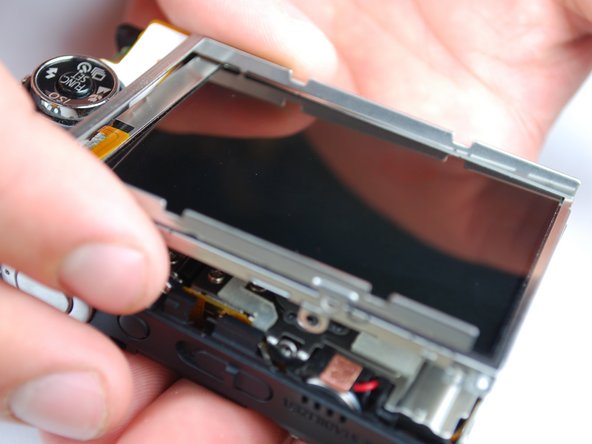
This will detach a silver U-shaped piece that was holding LCD screen on. Remove the piece and put it to the side.
-
-
-
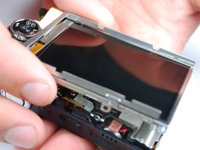
The LCD screen should now only be attached by the LCD data cable.
-
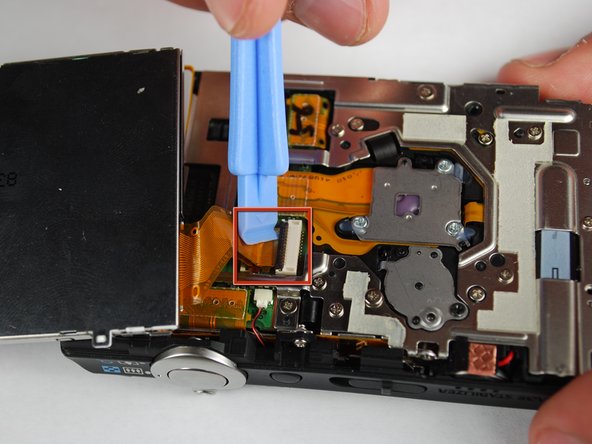
Lift the screen from the right side and use a small screwdriver or other small opening device to flip the black portion of the connector upward to unlock it.
-
Carefully slide the data cable out of the connector.
-
The LCD should still be connected by the backlight cable.
-
-
-
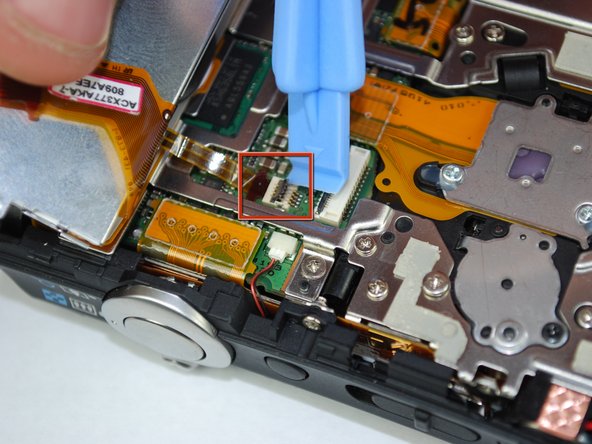
To remove the backlight cable, use another small opening device to unlock the backlight cable.
-
Carefully slide out the backlight cable.
-
The LCD screen should now be fully detached from the camera body.
-
-
-
The LCD screen casing is connected by 4 claws located on the top and bottom on the left and right hand side.
-
Carefully disengage the claws by gently prying them off one by one.
-
Once the claws are disengaged, the back of the casing will still be connected to the front casing by the backlight cable.
-
Carefully peel the backlight cable off of the casing.
-
-
-
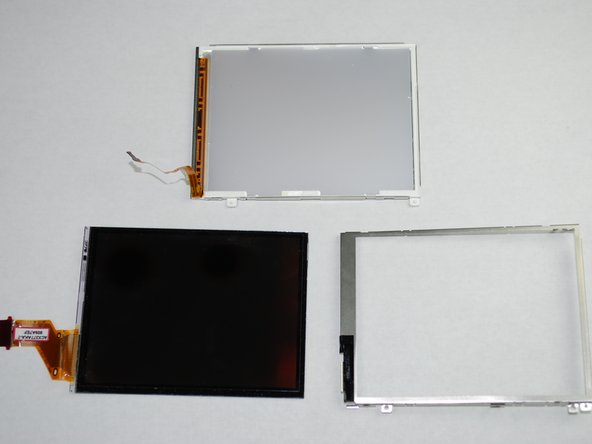
The LCD screen and housing should now be in three pieces:
-
LCD screen
-
LCD screen frame
-
LCD screen back housing
-
The LCD screen itself can now be removed and fixed/replaced.
-
-
-
With the case and LCD screen removed, you are ready to remove the release button.
-
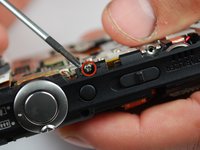
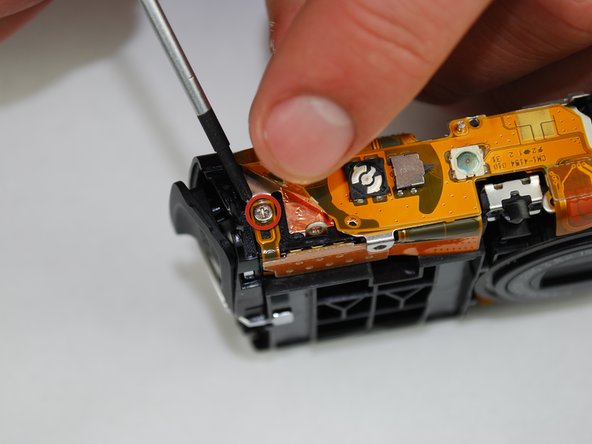
Begin by using the Philips #00 screwdriver to remove two silver 0.159in screws on the top and front of the camera.
-
-
-
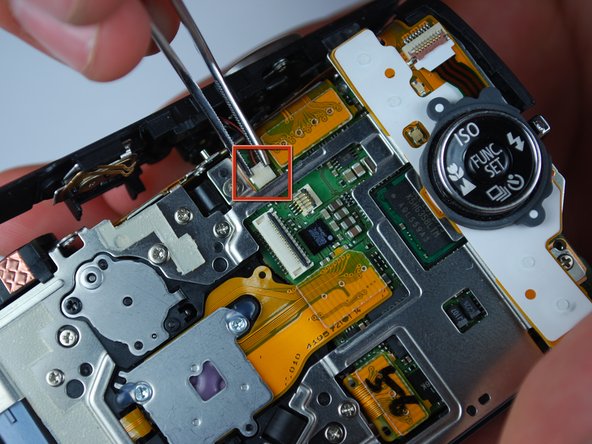
The top plastic piece holding the release button should be held on only by a red-and-black wire connector to the logic board.
-
Remove the connector from the logic board and detach the release button housing from the camera.
-
-
-
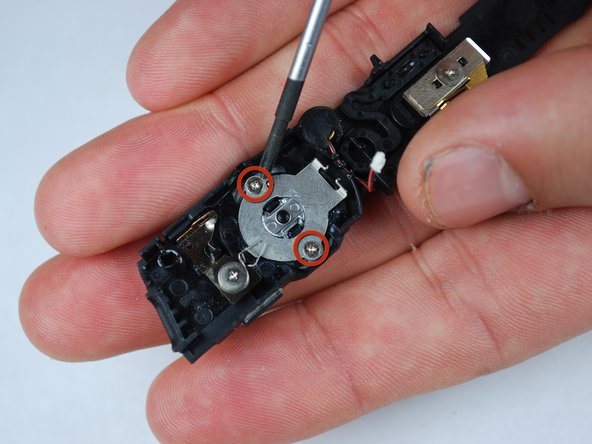
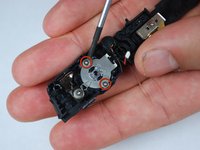
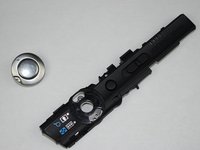
With the plastic housing for the release button removed from the camera, use the Philips #00 screwdriver to remove two silver 0.090in screws.
-
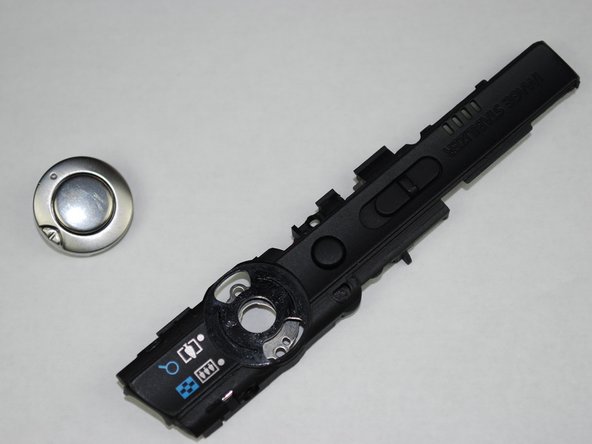
The release button can now be removed and fixed or replaced.
-
-
-
With the case, LCD screen, and release button housing removed, the logic board can be accessed and removed for replacement or repair.
-
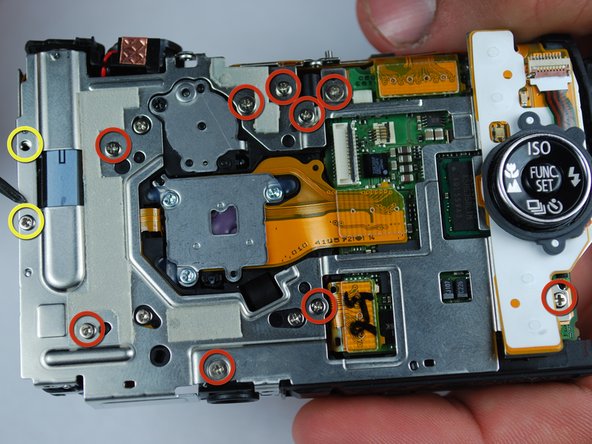
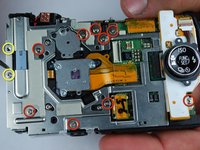
Begin by using the Philips #00 screwdriver to remove two silver 0.080in screws on the left side of the metal housing plate (yellow circles).
-
Use the Philips #00 screwdriver to remove nine silver screws from the back and top of the camera (red circles).
-
-
-
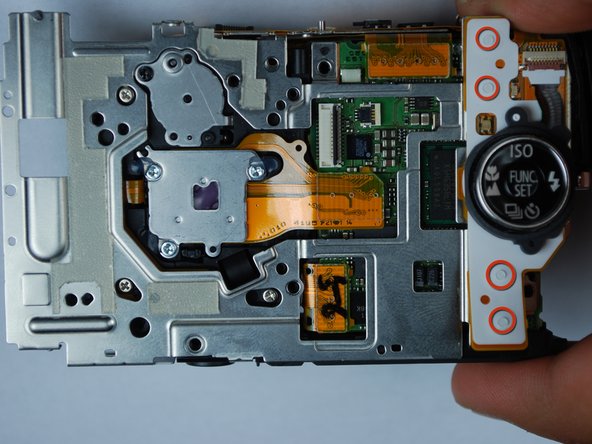
The metal back plate can now be removed. All that is holding it on at this point are pins and wires connected to the logic board.
-
-
-
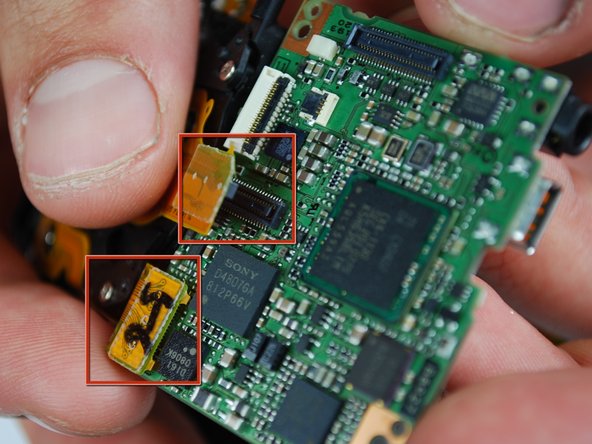
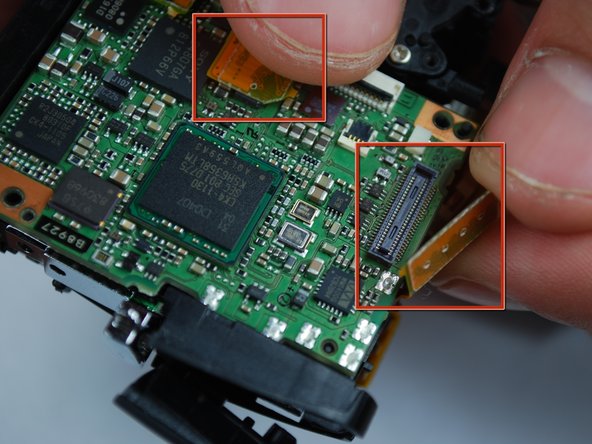
Now, the wires connected to the logic board must be removed. Gently pull them out of their holders on the logic board.
-
Once the connectors are disconnected, the logic board can be removed for repair or replacement.
-
-
-
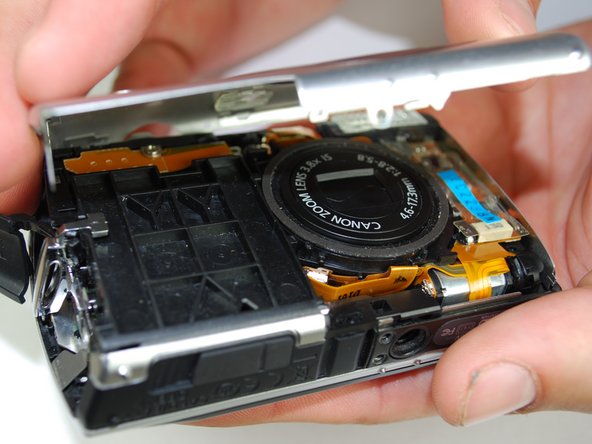
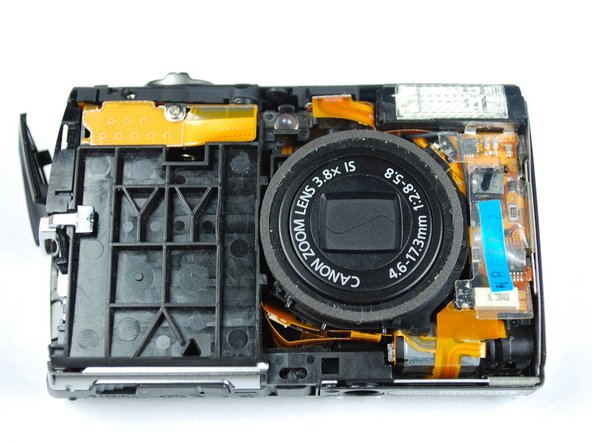
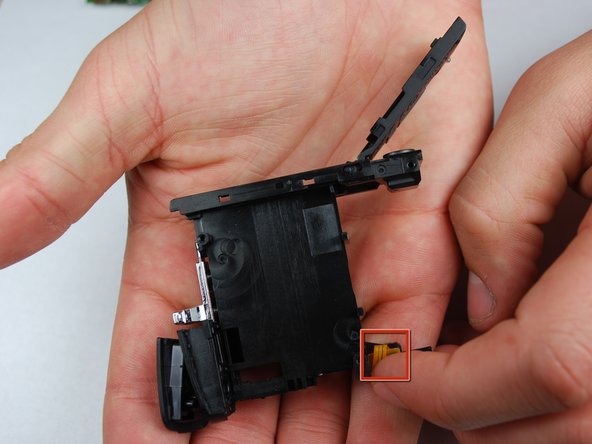
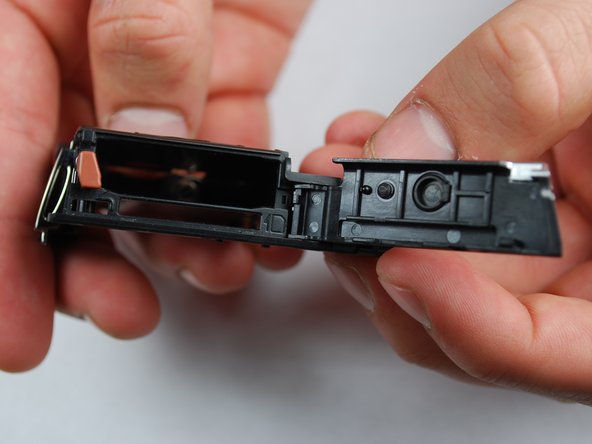
With everything removed, the battery and memory card slot can be accessed and replaced easily.
-
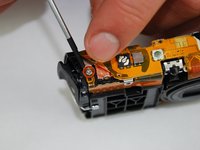
Begin by removing the wire to the LED on the front of the camera.
-
-




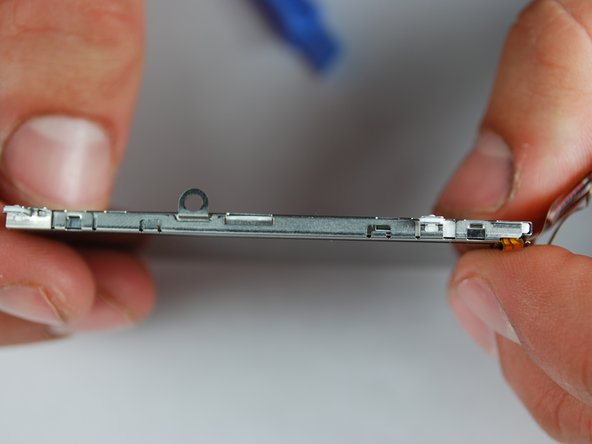
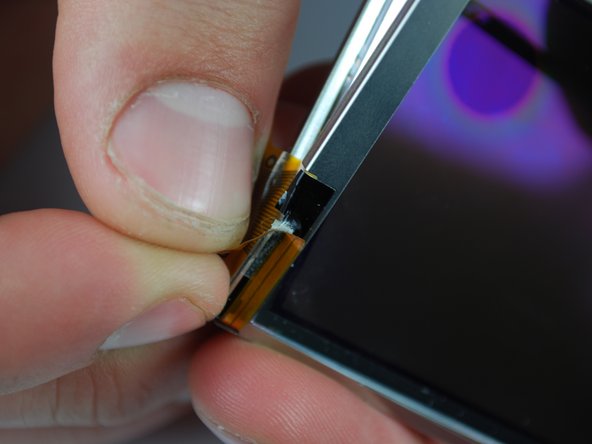
To reassemble your device, follow these instructions in reverse order.

