/

Canon Powershot SD550 Shutter Button Replacement

What you need

  1. Canon Powershot SD550 Shutter Button Replacement, Canon Powershot SD550 Shutter Button Replacement: step 1, image 1 of 1
    • In preparation for disassembly, the battery and SD Card need to be removed from the camera. You can access both the battery and the SD card through the door on the bottom of the camera.

  2. Canon Powershot SD550 Shutter Button Replacement: step 2, image 1 of 1
    • While being careful to remember the original location of each screw, remove the three 0.15 inch screws on the underside of the camera.

    • Each of the screws is slightly different, so it is important that you note the original location of each screw.

  3. Canon Powershot SD550 Shutter Button Replacement: step 3, image 1 of 3 Canon Powershot SD550 Shutter Button Replacement: step 3, image 2 of 3 Canon Powershot SD550 Shutter Button Replacement: step 3, image 3 of 3
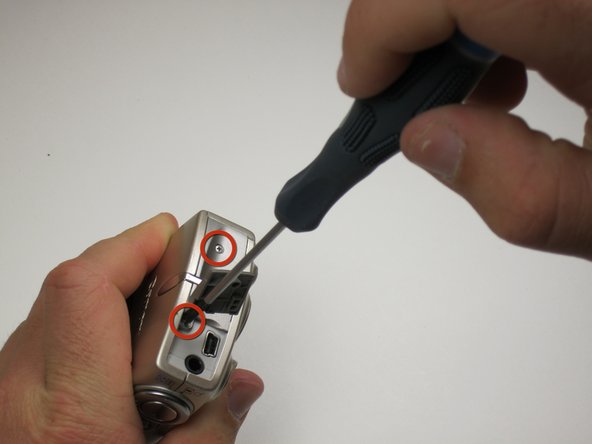
    • Find the next two screws on the right side of the camera. One of them is hidden under the USB port cover. The upper screw is .125 inches long, while the lower screw measures .085 inches.

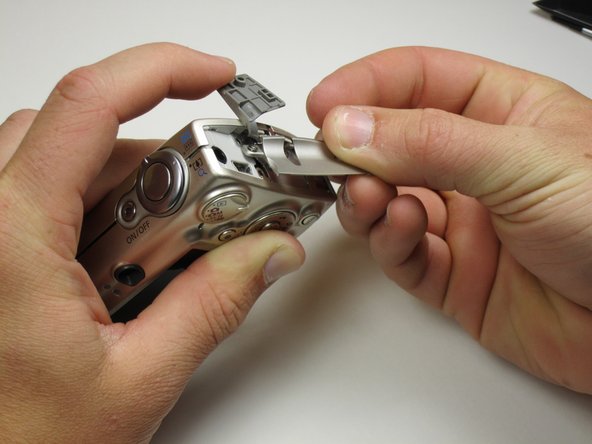
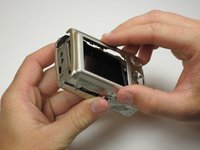
    • Remove both screws, then carefully lift the side panel off.

    • Underneath the side panel, there is a .07 inch screw. Remove it.

  4. Canon Powershot SD550 Shutter Button Replacement: step 4, image 1 of 3 Canon Powershot SD550 Shutter Button Replacement: step 4, image 2 of 3 Canon Powershot SD550 Shutter Button Replacement: step 4, image 3 of 3
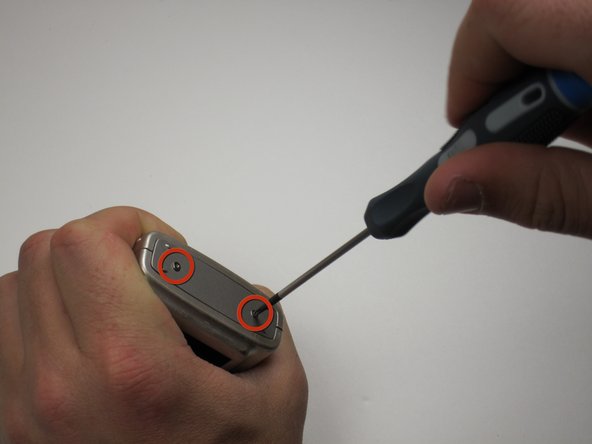
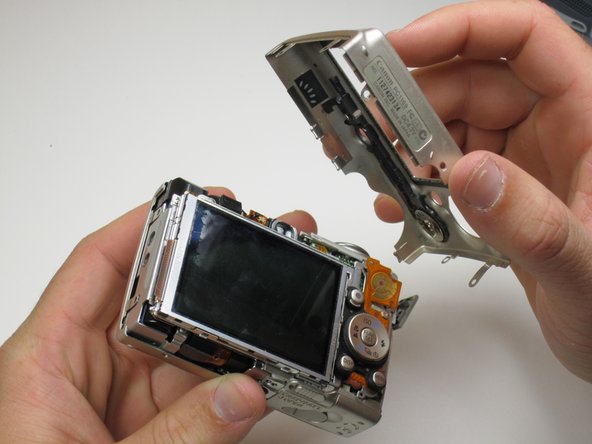
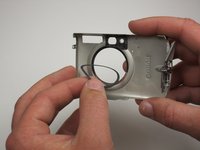
    • On the left side of the camera, there are two .085 inch screws. Remove these, then lift the plate from the camera.

  5. Canon Powershot SD550 Shutter Button Replacement: step 5, image 1 of 3 Canon Powershot SD550 Shutter Button Replacement: step 5, image 2 of 3 Canon Powershot SD550 Shutter Button Replacement: step 5, image 3 of 3
    • Now the camera body is loose. gently lift the rear of the case to remove it from the camera.

  6. Canon Powershot SD550 Shutter Button Replacement: step 6, image 1 of 3 Canon Powershot SD550 Shutter Button Replacement: step 6, image 2 of 3 Canon Powershot SD550 Shutter Button Replacement: step 6, image 3 of 3
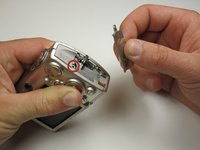
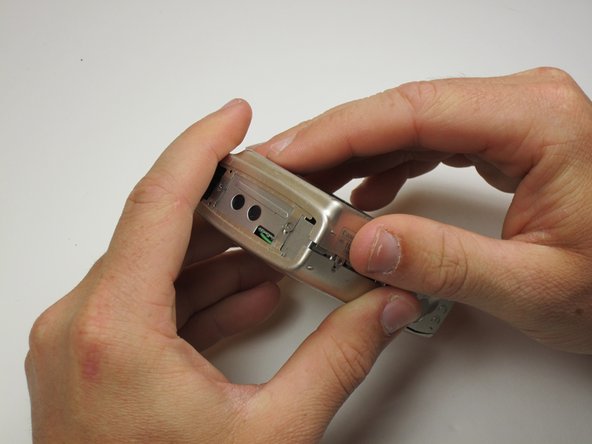
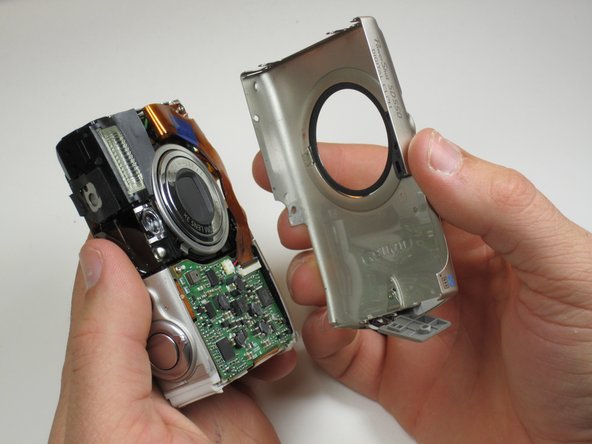
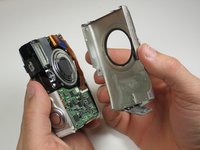
    • Next, remove the front of the camera body. Be sure to keep track of the rubber ring.

    • You have now successfully removed the outer case.

  7. Canon Powershot SD550 Shutter Button Replacement: step 7, image 1 of 2 Canon Powershot SD550 Shutter Button Replacement: step 7, image 2 of 2
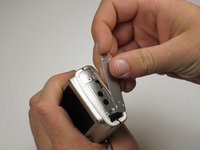
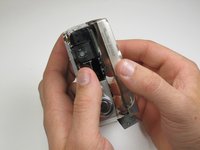
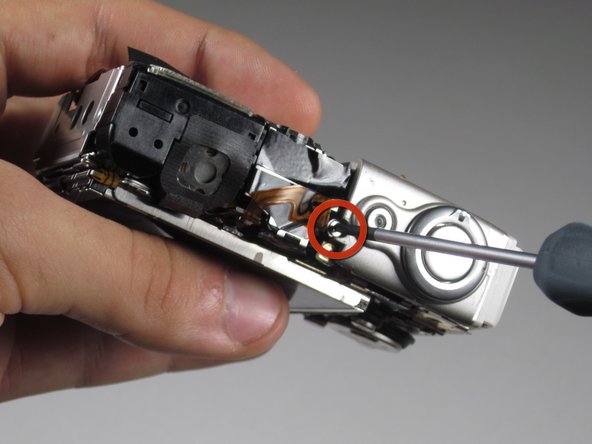
    • Next, unscrew the .115 inch screw fastening the shutter button to the camera.

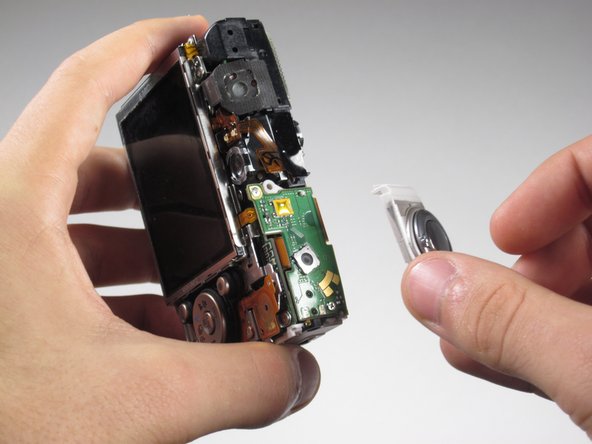
    • Now lift the button away from the camera, exposing the button board.

    • You have successfully removed the shutter button.

Conclusion

To reassemble your device, follow these instructions in reverse order.

System

Member since: 09/24/09

2,562 Guides authored

0 Comments

Add Comment

View Statistics:

Past 24 Hours: 0

Past 7 Days: 0

Past 30 Days: 0

All Time: 2