
What you need
-
-
Remove the 2 screws(2.41mm long) on the side of the camera next to the LCD screen.
-
Remove the 2 screws(4.08mm) on the other side. One is located under the rubber USB flap.
-
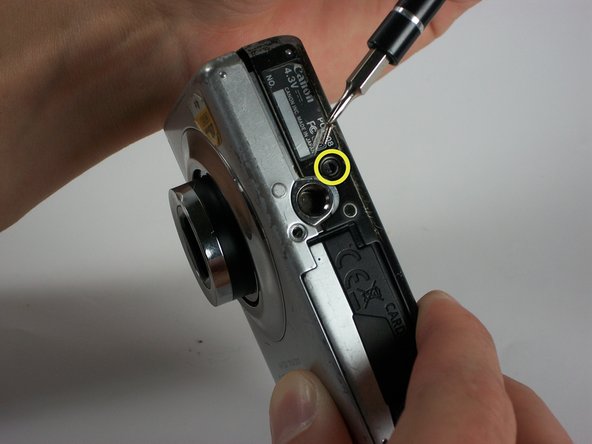
Remove the last screw(2.59mm) located on the bottom of the camera.
-
Slowly pull the back cover of the camera.
-
-
-
Unplug the green (if color-blind please ask someone for assistance) and white plugs connecting the top panel to top of the logic board.
-
Dislodge the tab above the lens.
-
Dislodge the back tab.
-


Conclusion
To reassemble your device, follow these instructions in reverse order.
