/

Casio CTK-501 Buttons Replacement

What you need

  1. Casio CTK-501 Buttons Replacement, Casio CTK-501 Buttons Replacement: step 1, image 1 of 1
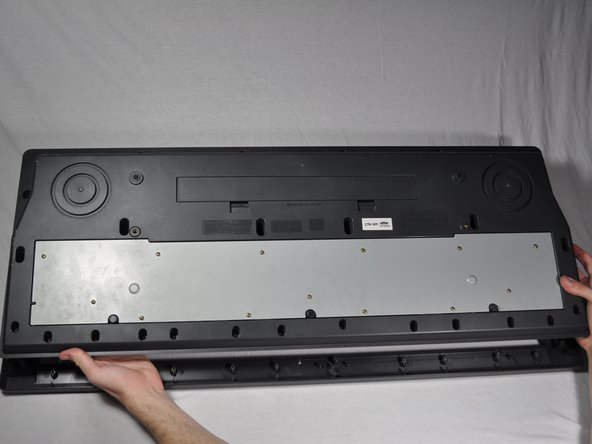
    • Flip the keyboard upside down so the bottom is angled towards you.

  2. Casio CTK-501 Buttons Replacement: step 2, image 1 of 1
    • Use a #2 Phillips screwdriver to remove the twenty-seven 12 mm screws from the dark gray bottom panel.

  3. Casio CTK-501 Buttons Replacement: step 3, image 1 of 1
    • Remove the bottom panel by lifting the bottom panel up and outward from yourself.

  4. Casio CTK-501 Buttons Replacement: step 4, image 1 of 2 Casio CTK-501 Buttons Replacement: step 4, image 2 of 2
    • Flip the entire keyboard so the keys face up, and be careful not to let the bottom drop.

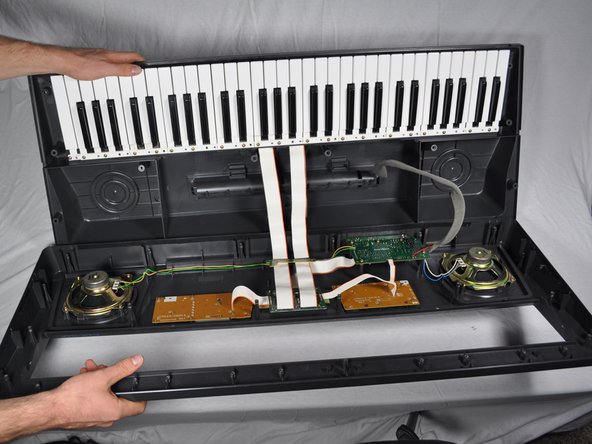
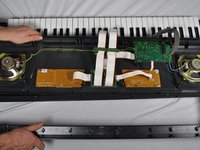
    • Flip the top half of the keyboard and set onto the bottom half with the internal parts facing up.

  5. Casio CTK-501 Buttons Replacement: step 5, image 1 of 1
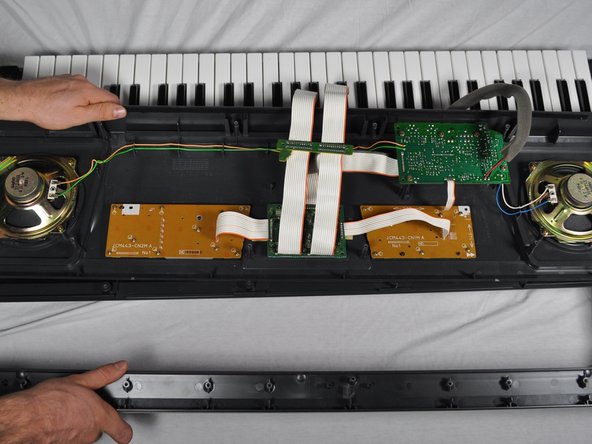
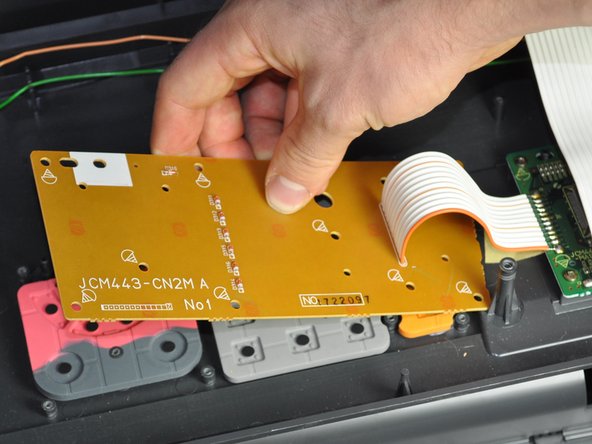
    • Use a #0 Phillips screwdriver to remove 9 screws from the far right and far left brown circuit boards each attached to a ribbon.

  6. Casio CTK-501 Buttons Replacement: step 6, image 1 of 1
    • Remove the circuit boards and set them aside.

  7. Casio CTK-501 Buttons Replacement: step 7, image 1 of 1
    • Remove the buttons and set them aside.

  8. Casio CTK-501 Buttons Replacement: step 8, image 1 of 1
    • Place new buttons into the slots.

Conclusion

To reassemble your device, follow these instructions in reverse order.

System

Member since: 09/24/09

2,562 Guides authored

0 Guide Comments

Add Comment

View Statistics:

Past 24 Hours: 0

Past 7 Days: 2

Past 30 Days: 2

All Time: 5