/

Casio CTK-501 LCD Screen Replacement

What you need

  1. Casio CTK-501 LCD Screen Replacement, Casio CTK-501 LCD Screen Replacement: step 1, image 1 of 1
    • Flip the keyboard upside down so the bottom is angled towards you.

  2. Casio CTK-501 LCD Screen Replacement: step 2, image 1 of 1
    • Use a #2 Phillips screwdriver to remove the twenty-seven 12 mm screws from the dark gray bottom panel.

  3. Casio CTK-501 LCD Screen Replacement: step 3, image 1 of 1
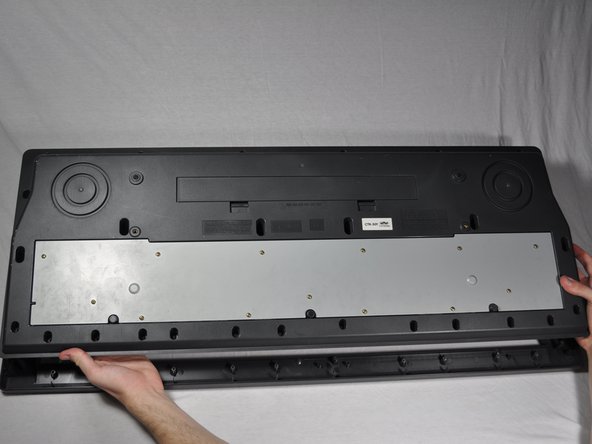
    • Remove the bottom panel by lifting the bottom panel up and outward from yourself.

  4. Casio CTK-501 LCD Screen Replacement: step 4, image 1 of 2 Casio CTK-501 LCD Screen Replacement: step 4, image 2 of 2
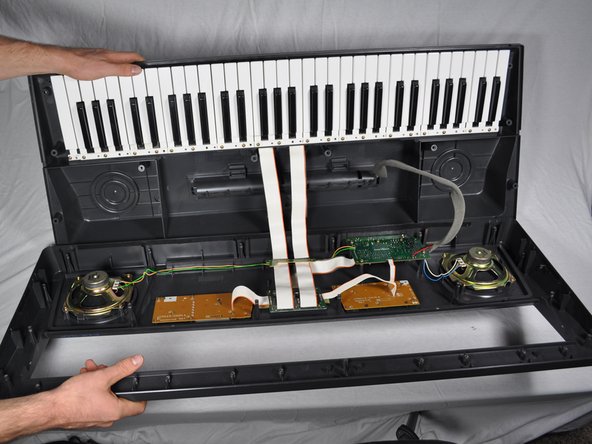
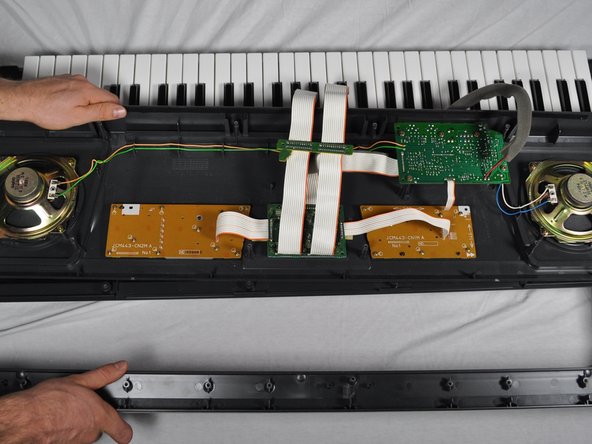
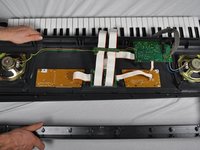
    • Flip the entire keyboard so the keys face up, and be careful not to let the bottom drop.

    • Flip the top half of the keyboard and set onto the bottom half with the internal parts facing up.

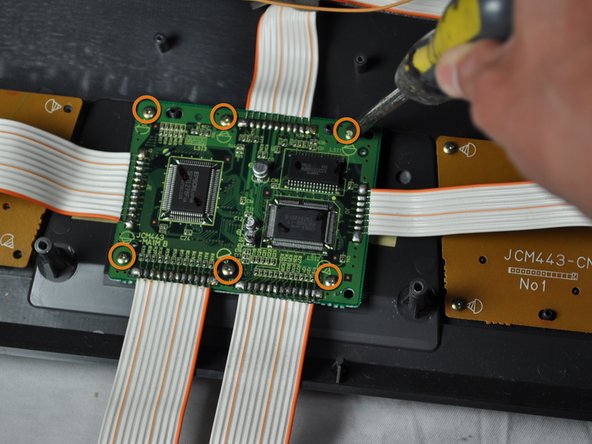
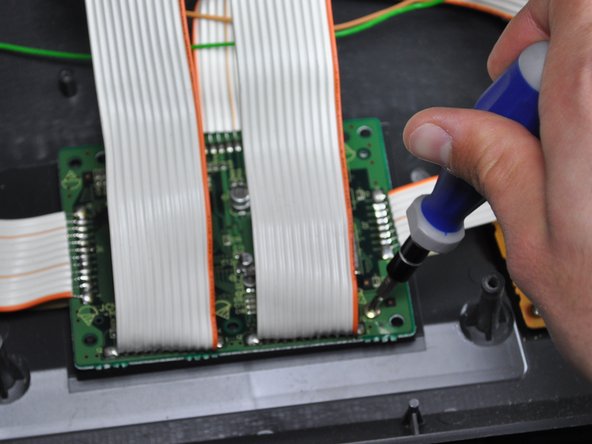
  5. Casio CTK-501 LCD Screen Replacement: step 5, image 1 of 1
    • Completely unscrew and remove all six of the screws on the central circuit board.

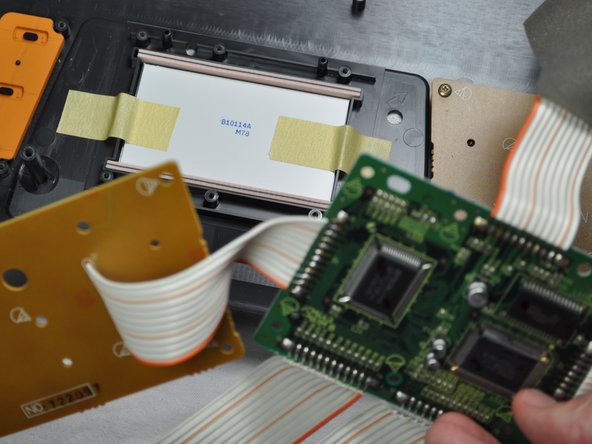
  6. Casio CTK-501 LCD Screen Replacement: step 6, image 1 of 1
    • Lift the circuit board out of your way.

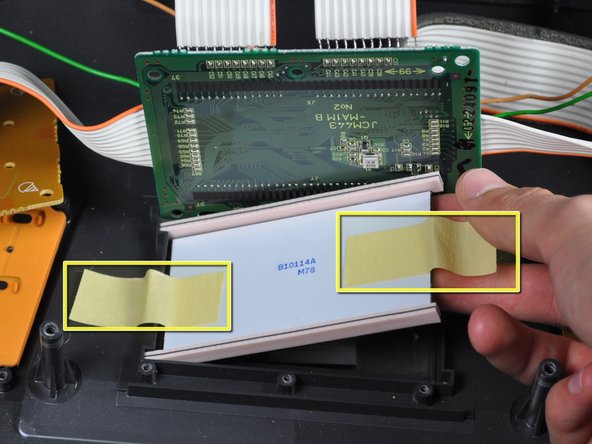
  7. Casio CTK-501 LCD Screen Replacement: step 7, image 1 of 1
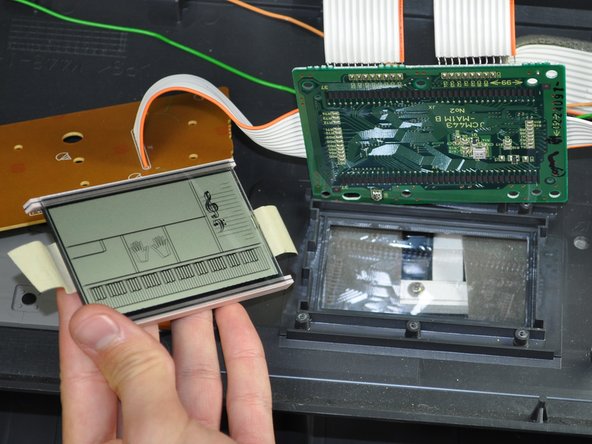
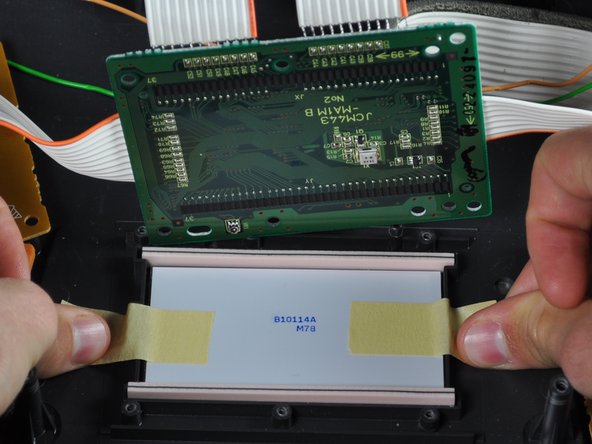
    • Remove tape from the LCD screen and remove the screen completely.

  8. Casio CTK-501 LCD Screen Replacement: step 8, image 1 of 2 Casio CTK-501 LCD Screen Replacement: step 8, image 2 of 2
    • Replace the LCD screen and tape it down to the top cover.

  9. Casio CTK-501 LCD Screen Replacement: step 9, image 1 of 1
    • Place the circuit board back on top of the LCD screen and screw all of the screws completely in their original positions.

Conclusion

To reassemble your device, follow these instructions in reverse order.

System

Member since: 09/24/09

2,562 Guides authored

0 Guide Comments

Add Comment

View Statistics:

Past 24 Hours: 0

Past 7 Days: 1

Past 30 Days: 1

All Time: 9