
Casio CTK-501 Speaker Replacement

Last updated on Aug 28, 2015
Views: 54
View statistics:
- Past 24 Hours:
- 0
- Past 7 Days:
- 3
- Past 30 Days:
- 3
- All Time:
- 54
Comments: 0
No one has left comments on this guide. Will you be first?
Go to guide commentsCompleted: 0 1
No one has marked this guide "completed." Will you be the first?
1 person has marked this guide "completed." It's you — great job!
Favorites: 0 1
No one has favorited (and subscribed to) this guide. Will you be the first?
1 person has favorited (and subscribed to) this guide — and that's you!
 Improper Action
This guide contains images that improperly convey how to perform a specific action.
 Unnecessary Steps
This guide contains steps that are not necessary.
What you need
Parts
Tools
-
-
-
Flip the keyboard upside down so the bottom is angled towards you.
-
-
-
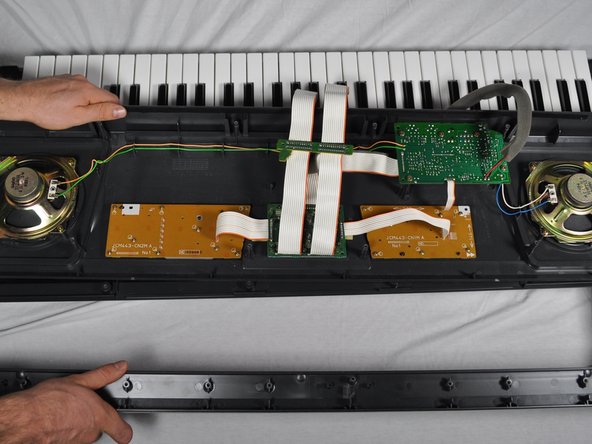
Use a #2 Phillips screwdriver to remove the twenty-seven 12 mm screws from the dark gray bottom panel.
-
-
-
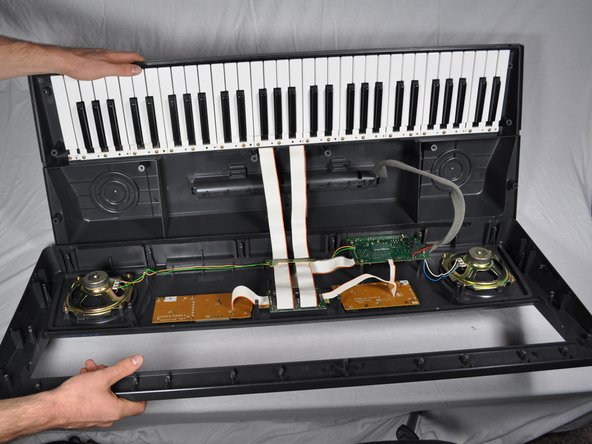
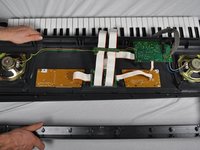
Flip the top half of the keyboard and set onto the bottom half with the internal parts facing up.
-
-
-
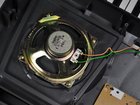
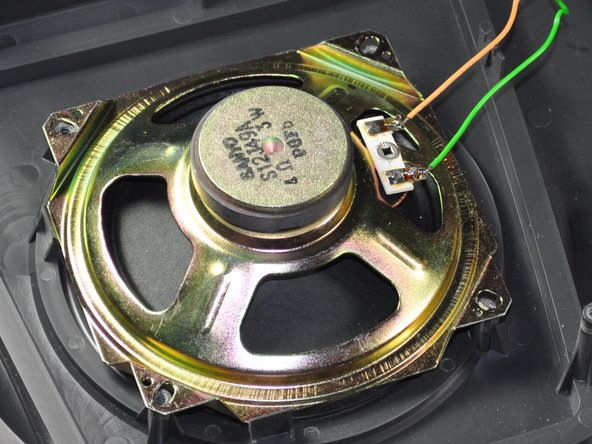
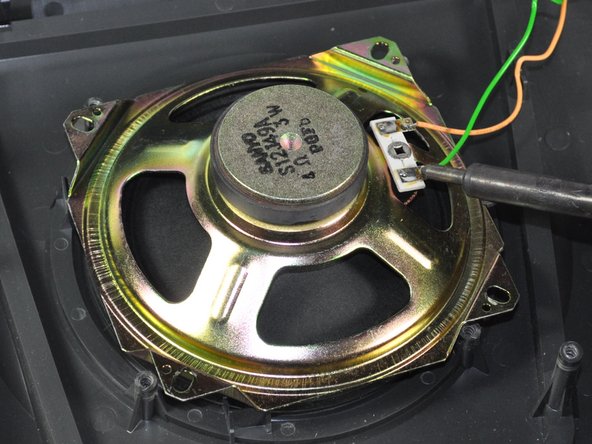
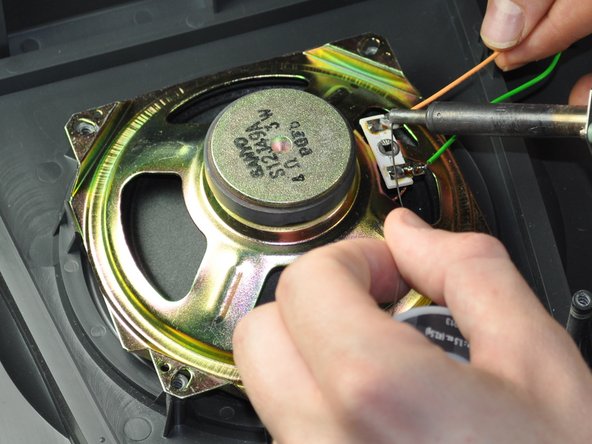
Touch soldering iron to solder over the end of the wires, and when the solder melts, pull the wires away from the speaker.
-
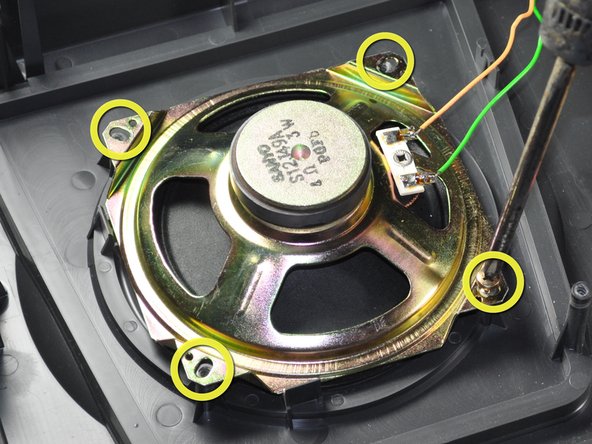
Remove the speaker and replace with a new one.
-
-
-
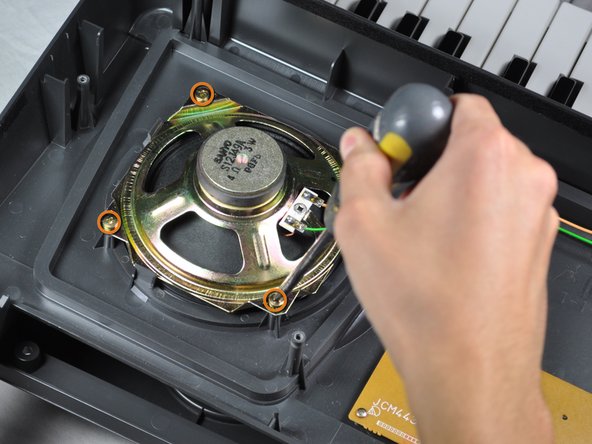
Completely screw in the screws back into the original positions on the corner of the speaker.
-
-


To reassemble your device, follow these instructions in reverse order.

