Introduction
Source: Dismantling Guide for IT Equipment, which was elaborated within the SRI project and financially supported by SECO and UNIDO, June 2015

World Resources Forum (WRF)
Mathias Schluep, St. Gallen / Switzerland

Dismantling and Recycling Centre (DRZ)
Markus Spitzbart, Vienna / Austria

Institute for Materials Science & Technology (Empa)
Fabian Blaser, St. Gallen / Switzerland
Introduction
A Central Unit (CU) generally consists of a steel or plastic case, several subcomponents like hard drive, CD ROM, power supply, printed wiring boards (PWB) and cables. Dismantling of subcomponents does not always make sense as it is highly labor-intensive and can be processed by appropriate industries. However, the removal of hazardous substances (e.g. batteries on PWBs) is required.
Health & Safety
It should be ensured that the different components, particularly the monitor, are not broken or damaged. Personal protection equipment like gloves, apron and robust shoes should be worn.
What you need
-
-
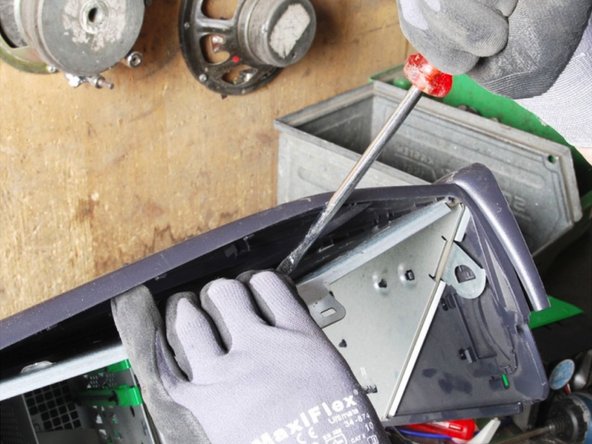
Remove the CU casing to get access to the internal components by unscrewing all screws. Use an automatic screw driver where applicable to save time.
-
Put the cover aside.
-
-
-
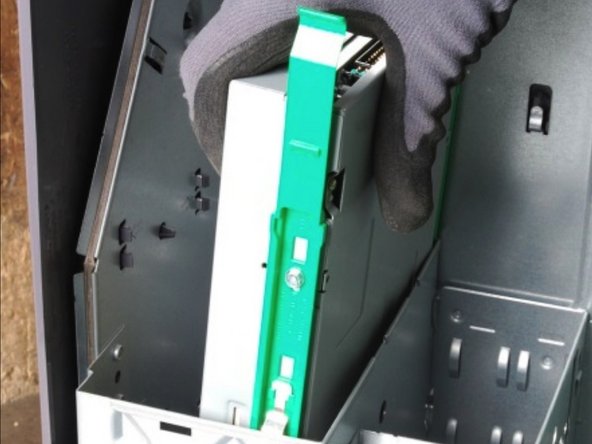
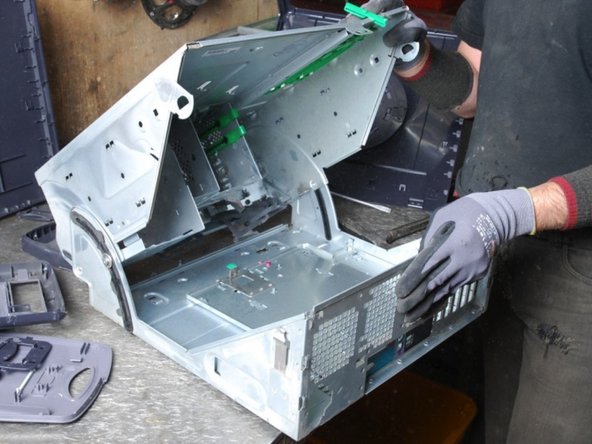
Now remove the screws holding the internal components to be able to remove them all.
-
Unplug all the cables and wires by pulling them straight out or releasing them by applying pressure to the clip in case they have a locking clip.
-
-
-
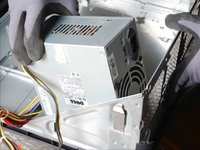
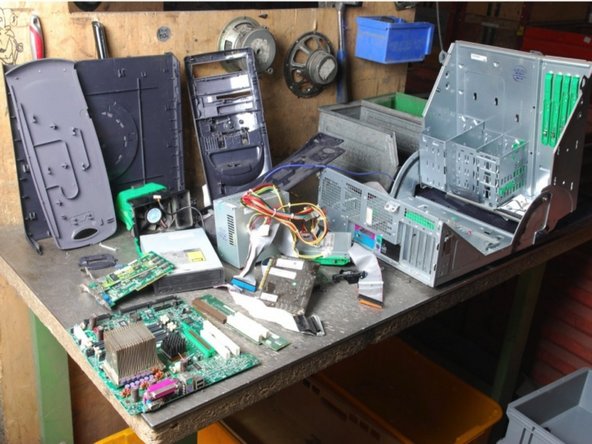
Once all wires and cables have been disconnected the drives (floppy drive, CD drive and hard disk drive, etc.) can be removed. Also remove the power supply.
-
-
-
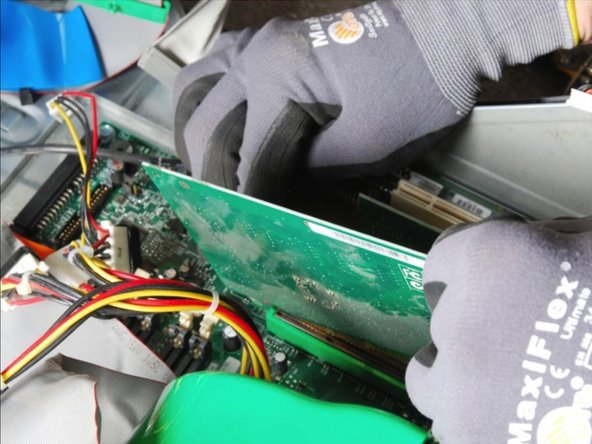
To remove the motherboard it is necessary to remove all other components first from the computer case. Along with the motherboard all other PWBs can be removed.
-
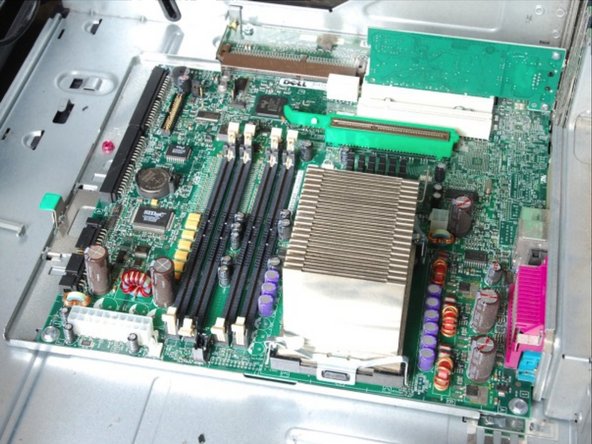
The motherboard contains some components that can be removed such as RAM, Cmos battery, NIC (network interface card) and the CPU (central processing unit).
-