
Disassembling Canon PowerShot A590 IS Front Cover

What you need

  1. Disassembling Canon PowerShot A590 IS Front Cover, Locate and Open Battery Hatch: step 1, image 1 of 2 Disassembling Canon PowerShot A590 IS Front Cover, Locate and Open Battery Hatch: step 1, image 2 of 2
    • The battery hatch is on the bottom of the camera.

    • CAUTION: Locate the switch to open the hatch and push gently toward the front of the camera. Too much force can break the hatch.

    • While the switch is pushed forward, pull the cover away from the camera.

  2. Disassembling Canon PowerShot A590 IS Front Cover, Locate and Remove Camera Batteries: step 2, image 1 of 1
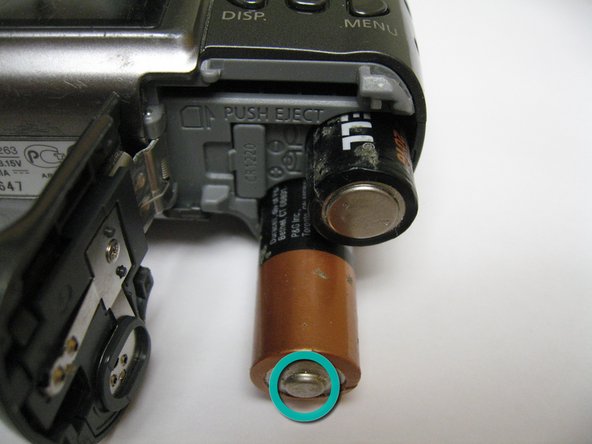
    • This camera requires AA batteries. To remove batteries, simply allow them to fall out of the camera.

    • The clock battery cover is shown here in the purple circle. Use a fingernail to lift the battery out of the camera.

  3. Disassembling Canon PowerShot A590 IS Front Cover, Replacing Camera Batteries: step 3, image 1 of 1
    • When replacing the AA batteries, verify they are oriented correctly by following the (+) and (-) signs on the camera.

  4. Disassembling Canon PowerShot A590 IS Front Cover, Remove Screw Near AV Port: step 4, image 1 of 1
    • Remove the screw located under the rubber flap on the left side of the camera using a magnetic screwdriver.

  5. Disassembling Canon PowerShot A590 IS Front Cover, Remove Side Screws: step 5, image 1 of 1
    • Remove the two screws located on the other side of the camera using a magnetic screwdriver

  6. Disassembling Canon PowerShot A590 IS Front Cover, Remove Bottom Screws: step 6, image 1 of 1
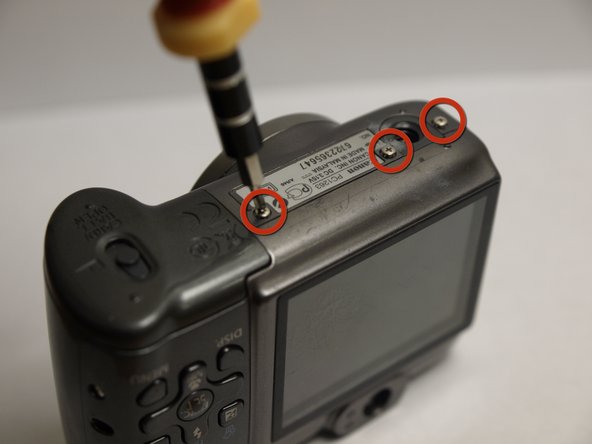
    • Remove the three screws located at the bottom of the camera using a magnetic screwdriver.

  7. Disassembling Canon PowerShot A590 IS Front Cover, Remove Back Cover: step 7, image 1 of 1
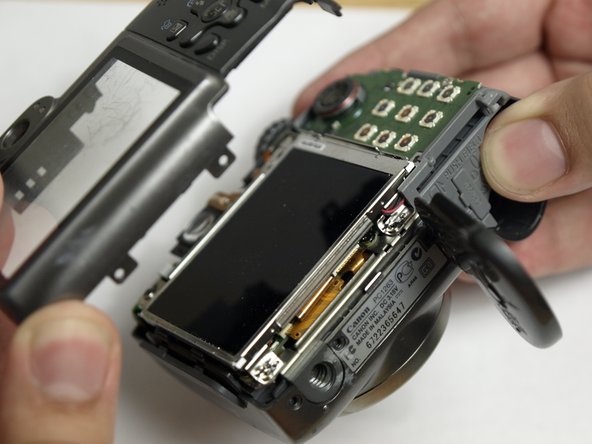
    • Open the battery cover.

    • Using the iPod tool, push up gently around all edges of the camera.

  8. Disassembling Canon PowerShot A590 IS Front Cover, Remove Lens Cover: step 8, image 1 of 1
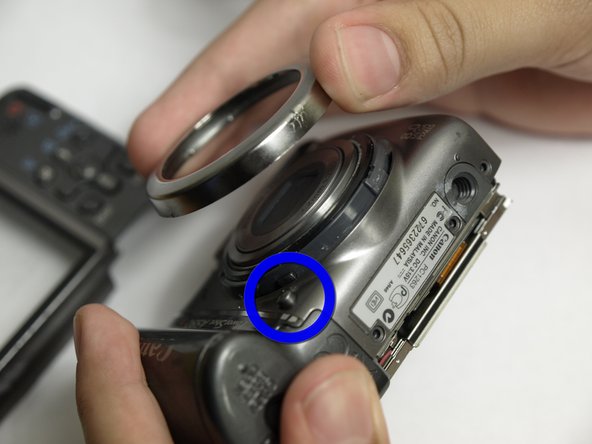
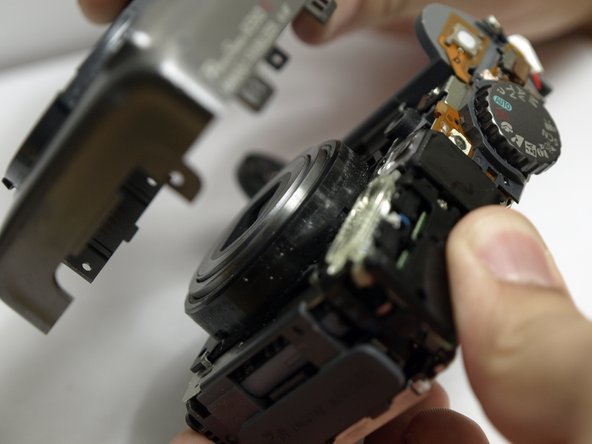
    • Press and hold down the button shown in the blue circle.

    • While pressing the button, rotate the lens cover in a counter-clockwise direction to remove it.

  9. Disassembling Canon PowerShot A590 IS Front Cover, Remove Front Cover: step 9, image 1 of 2 Disassembling Canon PowerShot A590 IS Front Cover, Remove Front Cover: step 9, image 2 of 2
    • Remove the front cover of the camera.

    • This may require a bit of force.

Conclusion

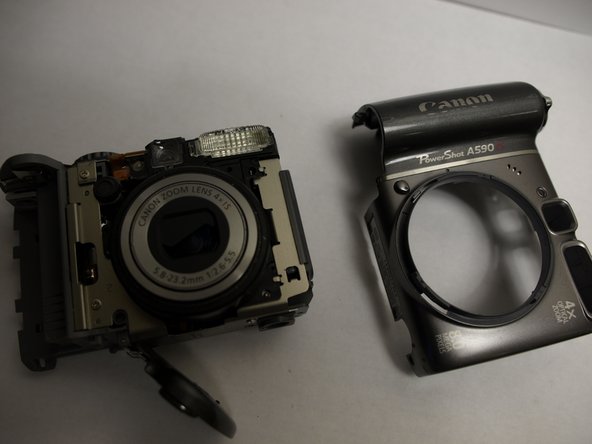
To reassemble your device, follow these instructions in reverse order.

System

Member since: 09/24/09

2,562 Guides authored

0 Comments

Add Comment

View Statistics:

Past 24 Hours: 0

Past 7 Days: 0

Past 30 Days: 0

All Time: 15