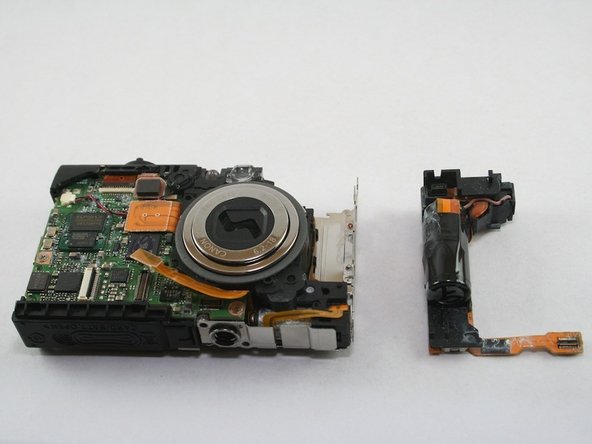
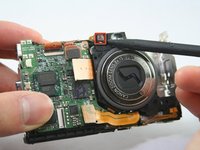
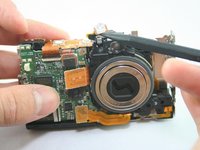
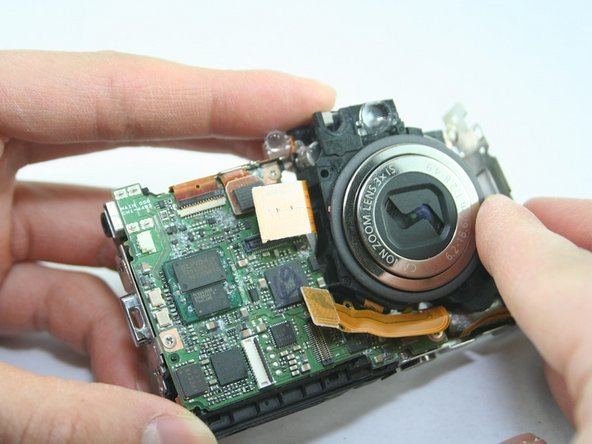
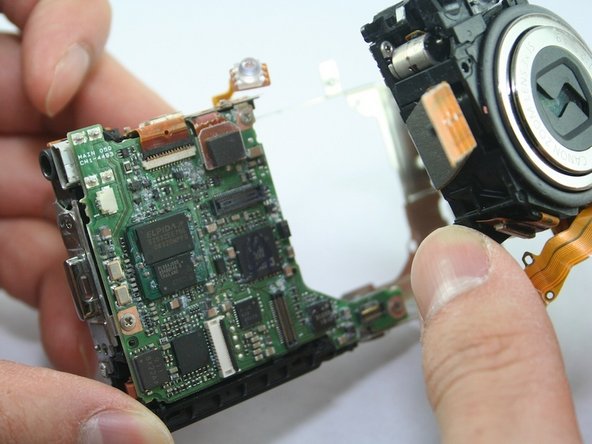
Disassembling Canon PowerShot SD1100 IS AV port and Logic board

What you need

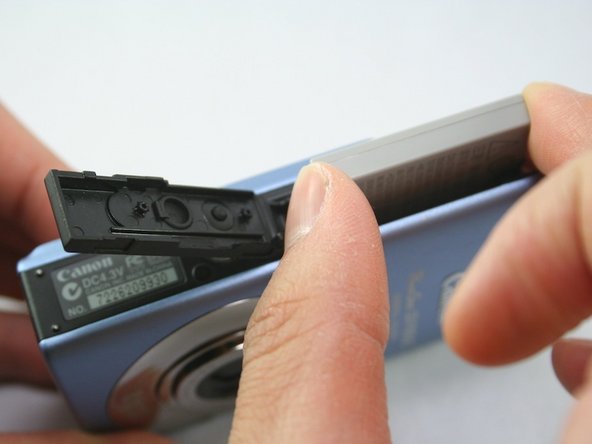
  1. Disassembling Canon PowerShot SD1100 IS AV port and Logic board, Disassembling Canon PowerShot SD1100 IS AV port and Logic board: step 1, image 1 of 2 Disassembling Canon PowerShot SD1100 IS AV port and Logic board, Disassembling Canon PowerShot SD1100 IS AV port and Logic board: step 1, image 2 of 2
    • Remove wrist strap and battery.

    Add Comment

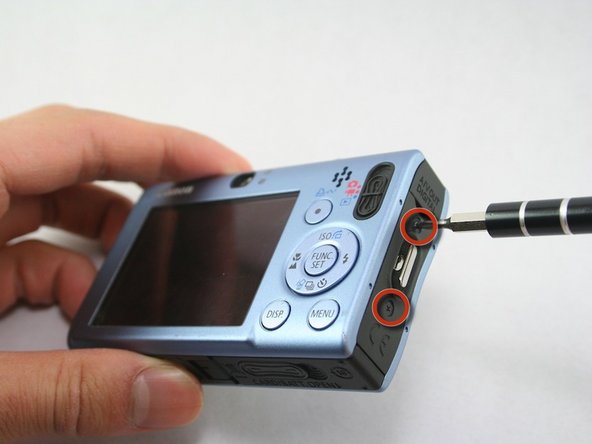
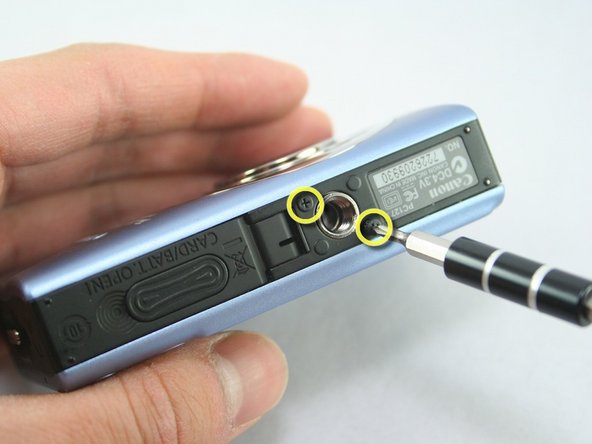
  2. Disassembling Canon PowerShot SD1100 IS AV port and Logic board: step 2, image 1 of 3 Disassembling Canon PowerShot SD1100 IS AV port and Logic board: step 2, image 2 of 3 Disassembling Canon PowerShot SD1100 IS AV port and Logic board: step 2, image 3 of 3
    • Remove 2 screws from each side of the camera (4 total, 0.102 in).

    • Remove 2 screws from the bottom on the camera (0.138 in).

    • Do not mix the 4 side screws with the 2 bottoms ones; they are different sizes.

    Add Comment

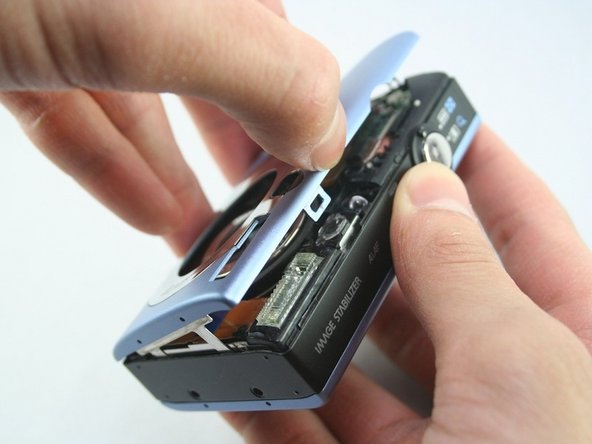
  3. Disassembling Canon PowerShot SD1100 IS AV port and Logic board: step 3, image 1 of 3 Disassembling Canon PowerShot SD1100 IS AV port and Logic board: step 3, image 2 of 3 Disassembling Canon PowerShot SD1100 IS AV port and Logic board: step 3, image 3 of 3
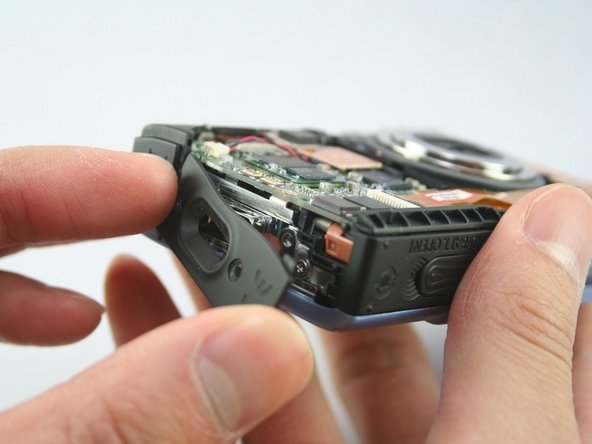
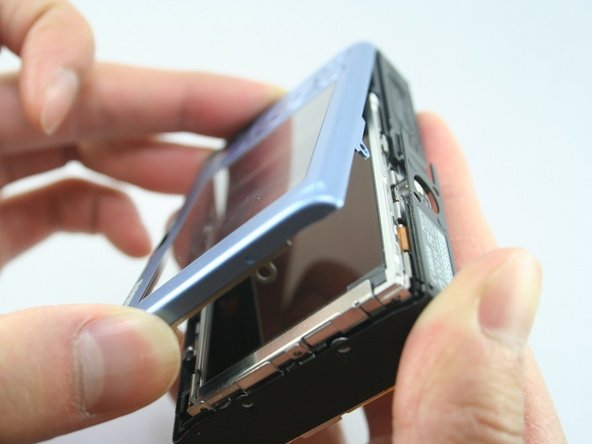
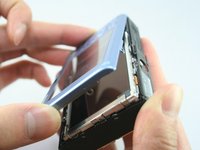
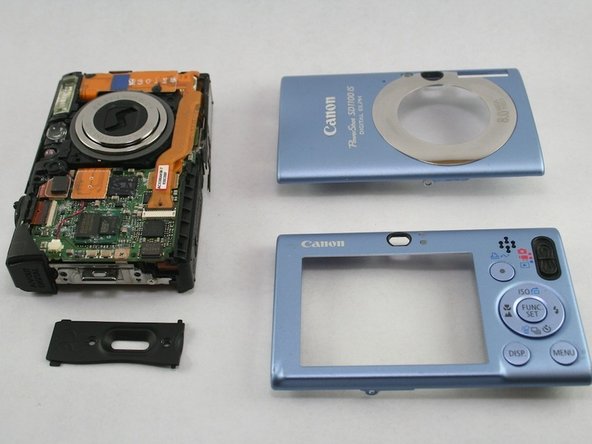
    • Gently pull off the front cover.

    • The plate on the side should come off.

    • Gently pull off the back cover.

    Add Comment

  4. Disassembling Canon PowerShot SD1100 IS AV port and Logic board: step 4, image 1 of 1
    • The cases should now be removed.

    Add Comment

  5. Disassembling Canon PowerShot SD1100 IS AV port and Logic board: step 5, image 1 of 2 Disassembling Canon PowerShot SD1100 IS AV port and Logic board: step 5, image 2 of 2
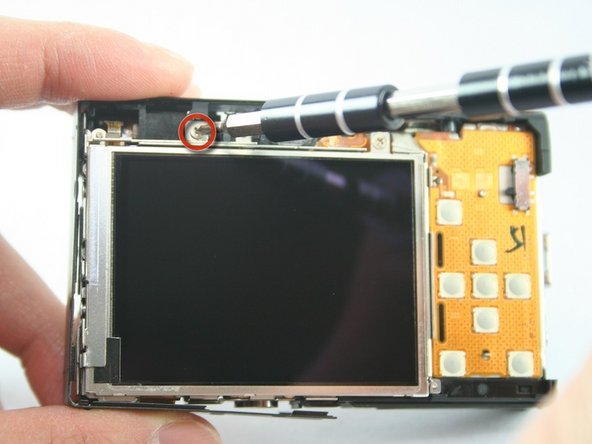
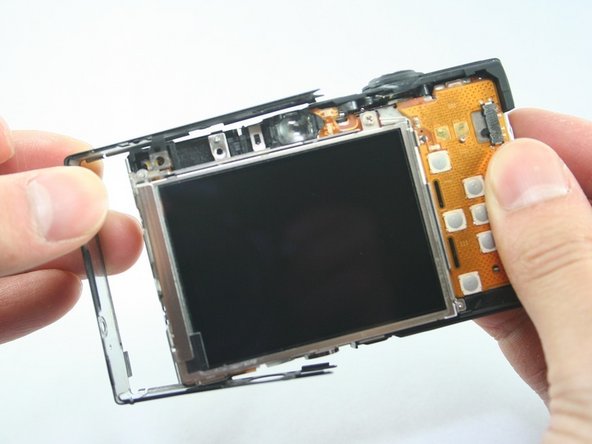
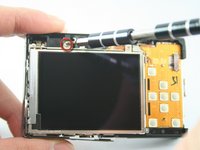
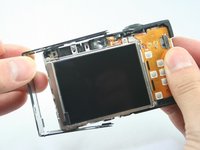
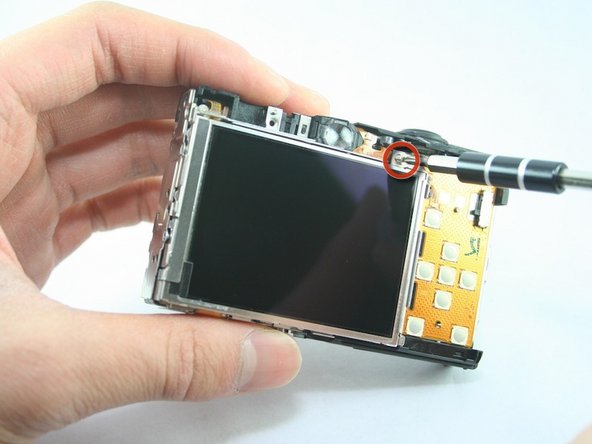
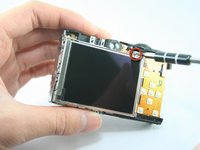
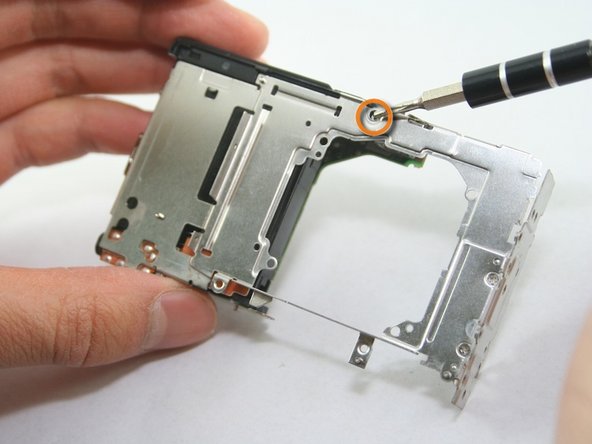
    • Remove the top-left screw above the LCD screen (0.100 in).

    • Remove the C-shaped plate from the side of the LCD screen.

    Add Comment

  6. Disassembling Canon PowerShot SD1100 IS AV port and Logic board: step 6, image 1 of 2 Disassembling Canon PowerShot SD1100 IS AV port and Logic board: step 6, image 2 of 2
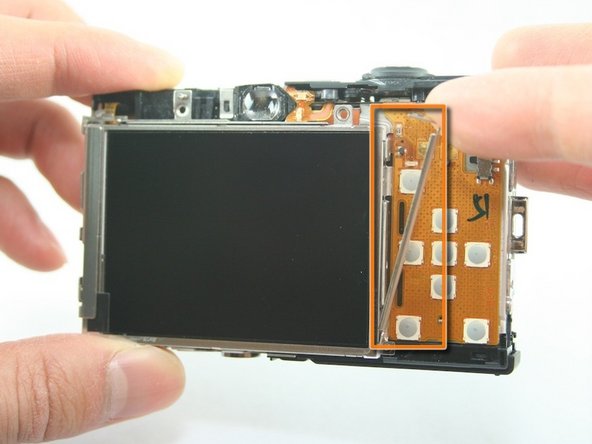
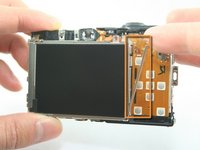
    • Remove the screw from the top-right of the LCD screen (0.098 in).

    • Remove the L-shaped bar from the right of the LCD screen.

    Add Comment

  7. Disassembling Canon PowerShot SD1100 IS AV port and Logic board: step 7, image 1 of 2 Disassembling Canon PowerShot SD1100 IS AV port and Logic board: step 7, image 2 of 2
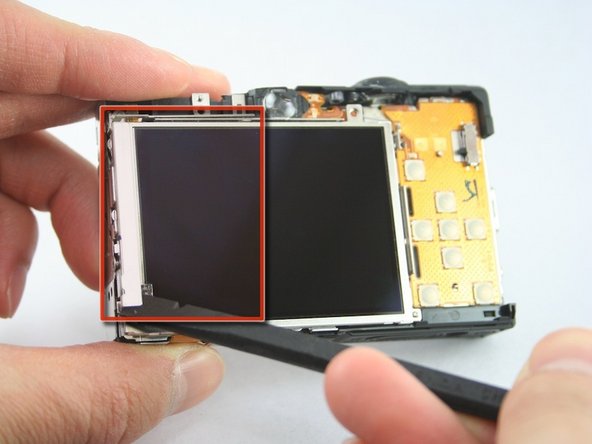
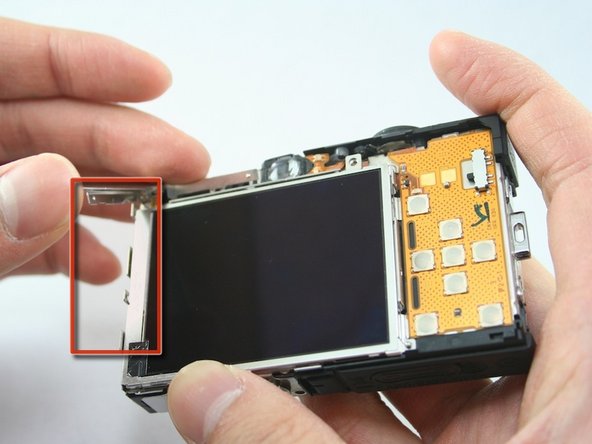
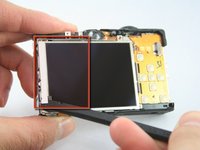
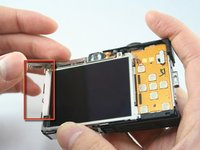
    • Use the spudger to remove the L-shaped bar from the left-side of the LCD screen.

    Add Comment

  8. Disassembling Canon PowerShot SD1100 IS AV port and Logic board: step 8, image 1 of 1
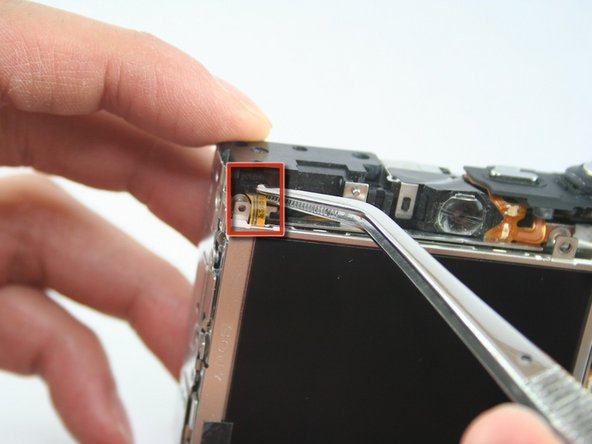
    • Use tweezers to remove the connector ribbon from the top-left corner above the LCD screen.

    • Be gentle. This ribbon should stay attached to the screen.

    Add Comment

  9. Disassembling Canon PowerShot SD1100 IS AV port and Logic board: step 9, image 1 of 3 Disassembling Canon PowerShot SD1100 IS AV port and Logic board: step 9, image 2 of 3 Disassembling Canon PowerShot SD1100 IS AV port and Logic board: step 9, image 3 of 3
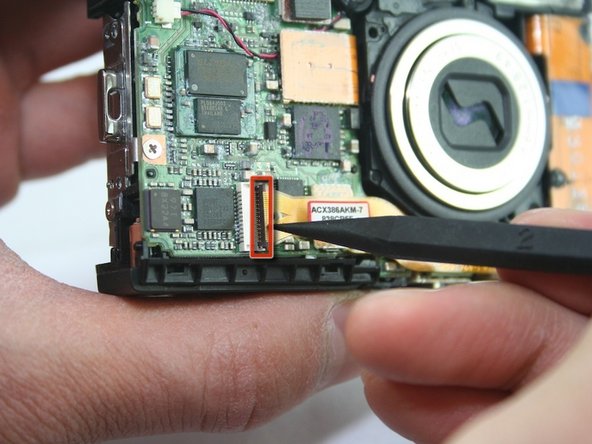
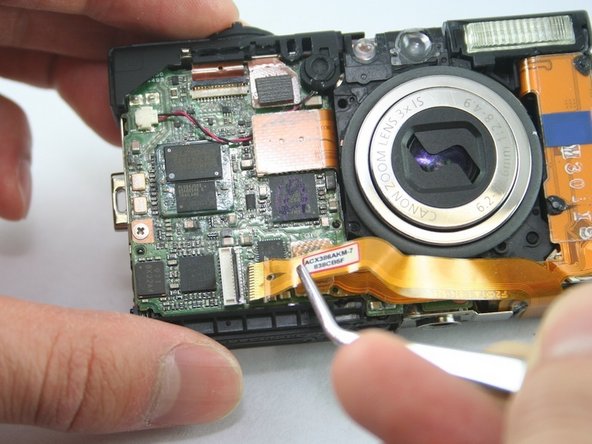
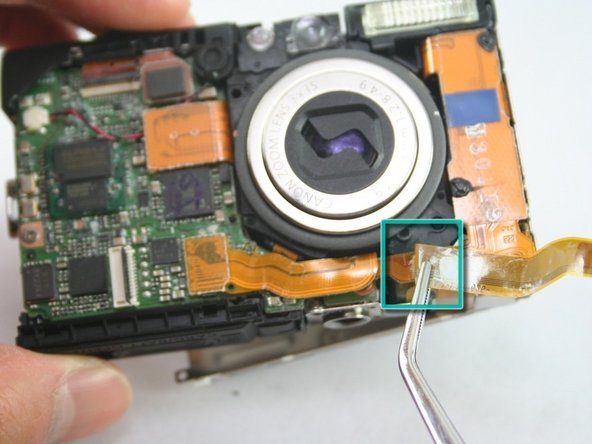
    • Use a spudger to lift the connector lock (black flap) at the end of the larger LCD connector ribbon on the front side of the camera.

    • Use the tweezers to lift this ribbon.

    • Use the tweezers to gently peel this ribbon from the one underneath it.

    Add Comment

  10. Disassembling Canon PowerShot SD1100 IS AV port and Logic board: step 10, image 1 of 1
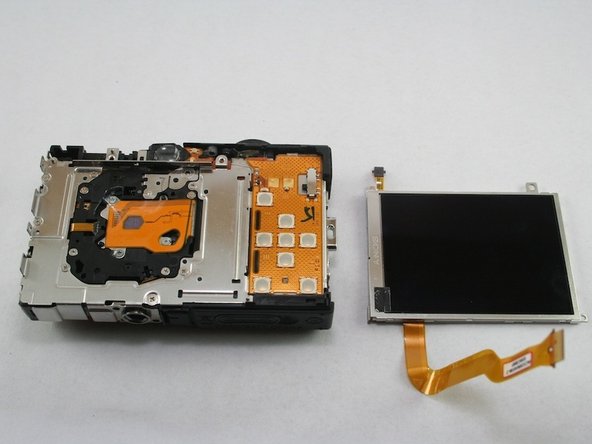
    • The LCD screen should now be removed.

    Add Comment

  11. Disassembling Canon PowerShot SD1100 IS AV port and Logic board: step 11, image 1 of 1
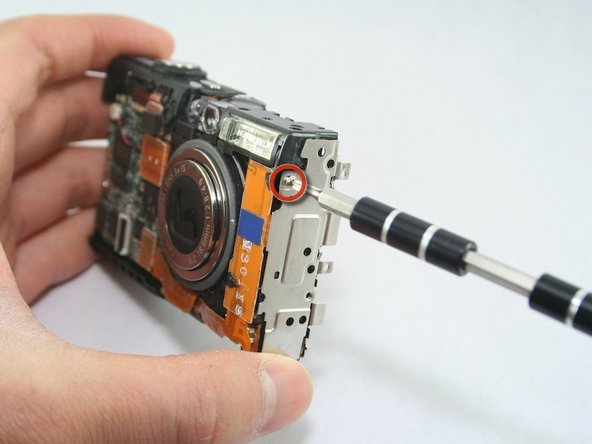
    • Remove the screw located on the side of the camera (0.072 in).

    Add Comment

  12. Disassembling Canon PowerShot SD1100 IS AV port and Logic board: step 12, image 1 of 2 Disassembling Canon PowerShot SD1100 IS AV port and Logic board: step 12, image 2 of 2
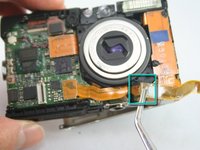
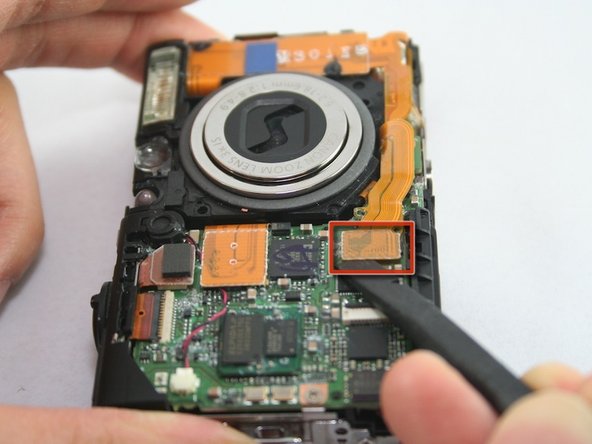
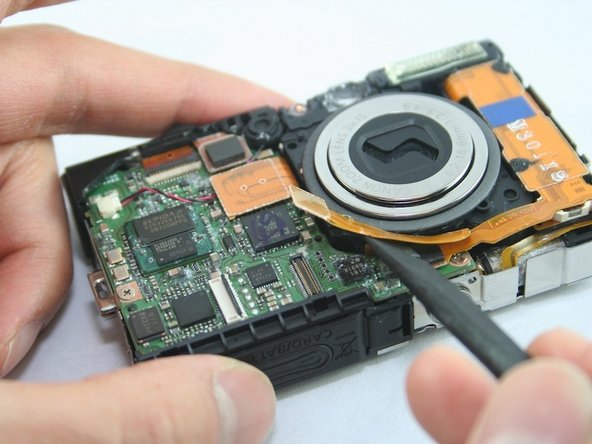
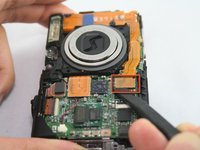
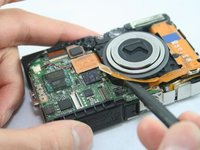
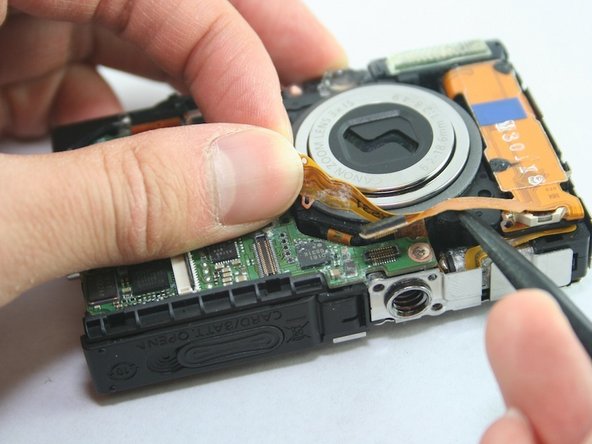
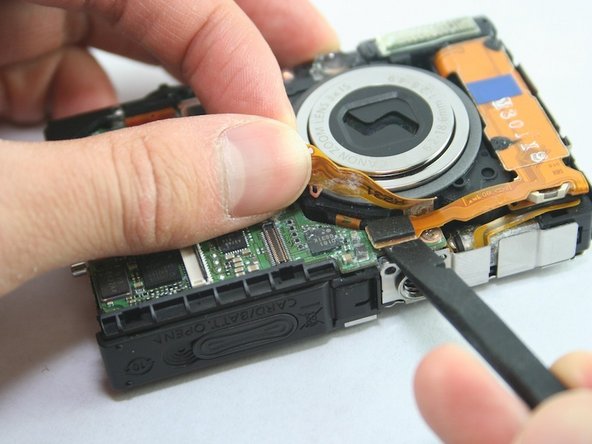
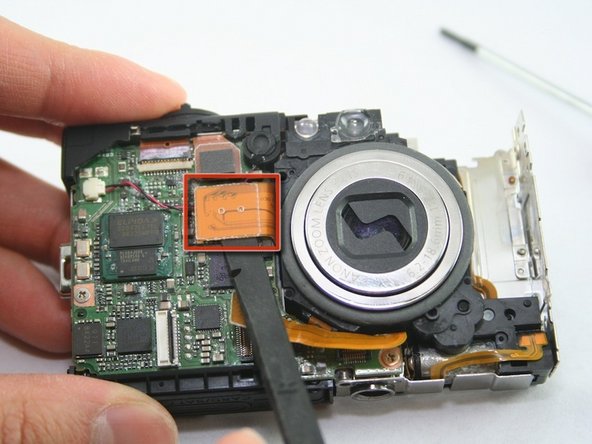
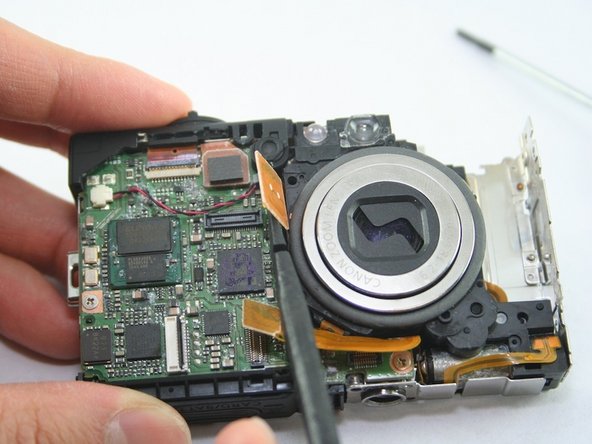
    • Use the spudger to remove the lens ribbon from the circuit board.

    • Use the spudger to lift the ribbon.

    • This ribbon is connected to the lens, but the flash assembly ribbon is underneath it.

    Add Comment

  13. Disassembling Canon PowerShot SD1100 IS AV port and Logic board: step 13, image 1 of 2 Disassembling Canon PowerShot SD1100 IS AV port and Logic board: step 13, image 2 of 2
    • Disconnect the flash assembly ribbon.

    • The flash assembly ribbon is located underneath the lens assembly ribbon.

    Add Comment

  14. Disassembling Canon PowerShot SD1100 IS AV port and Logic board: step 14, image 1 of 1
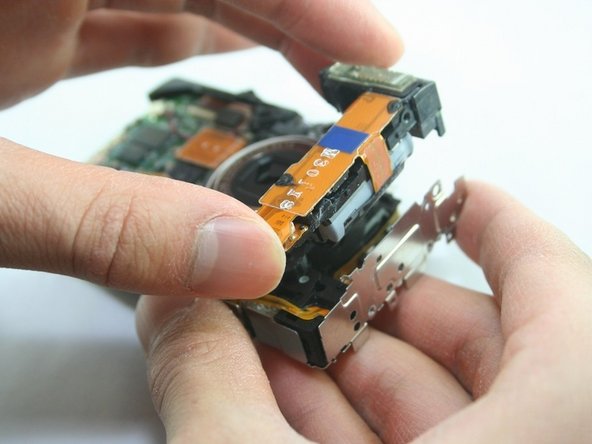
    • Remove the flash assembly, which includes the capacitor. If it resists, note the small hook on the right side near the bottom.

    • Be careful when taking out the capacitor. It could shock you.

    Add Comment

  15. Disassembling Canon PowerShot SD1100 IS AV port and Logic board: step 15, image 1 of 1
    • The capacitor should now be removed.

    Add Comment

  16. Disassembling Canon PowerShot SD1100 IS AV port and Logic board: step 16, image 1 of 1
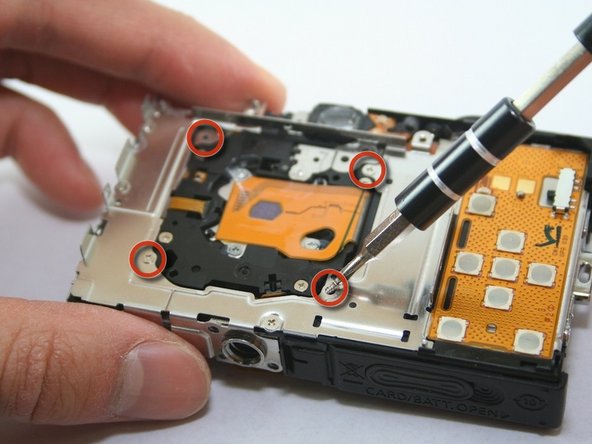
    • Remove 4 screws from silver plate (0.106 in).

    Add Comment

  17. Disassembling Canon PowerShot SD1100 IS AV port and Logic board: step 17, image 1 of 2 Disassembling Canon PowerShot SD1100 IS AV port and Logic board: step 17, image 2 of 2
    • Use spudger to lift the second lens ribbon.

    • Remember the first ribbon was removed while taking out the flash assembly.

    Add Comment

  18. Disassembling Canon PowerShot SD1100 IS AV port and Logic board: step 18, image 1 of 2 Disassembling Canon PowerShot SD1100 IS AV port and Logic board: step 18, image 2 of 2
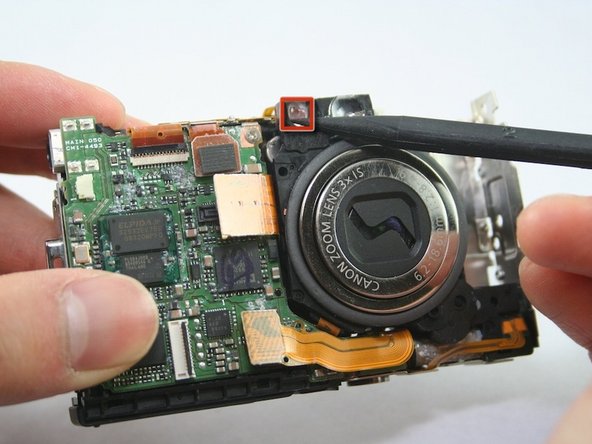
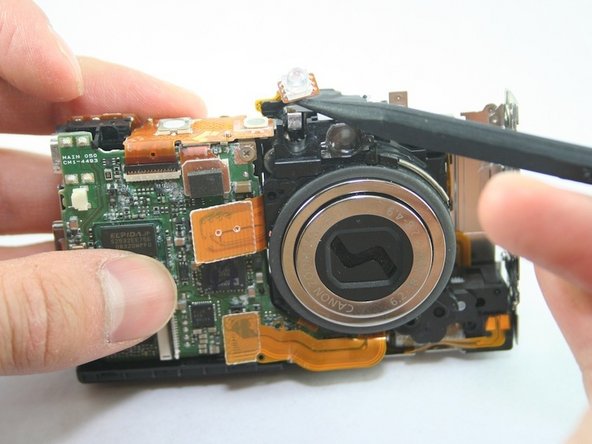
    • Use spudger to carefully lift the LED light off the upper-left corner of the lens.

    Add Comment

  19. Disassembling Canon PowerShot SD1100 IS AV port and Logic board: step 19, image 1 of 2 Disassembling Canon PowerShot SD1100 IS AV port and Logic board: step 19, image 2 of 2
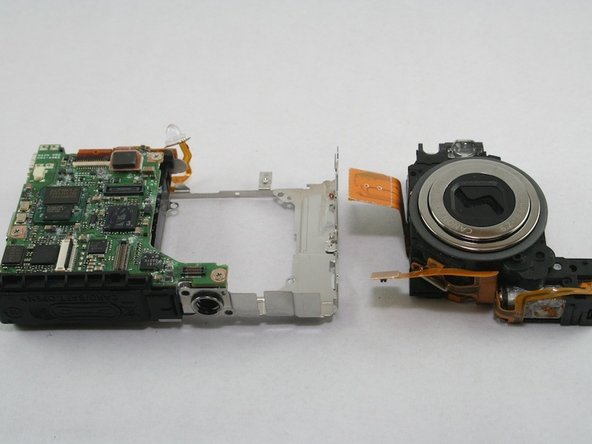
    • Remove the lens.

    Add Comment

  20. Disassembling Canon PowerShot SD1100 IS AV port and Logic board: step 20, image 1 of 1
    • The camera lens should now be removed.

    Add Comment

  21. Disassembling Canon PowerShot SD1100 IS AV port and Logic board: step 21, image 1 of 2 Disassembling Canon PowerShot SD1100 IS AV port and Logic board: step 21, image 2 of 2
    • Remove screw from top-right of logic board (0.102 in).

    • Remove screw on the silver plate (0.102 in).

    Add Comment

  22. Disassembling Canon PowerShot SD1100 IS AV port and Logic board: step 22, image 1 of 2 Disassembling Canon PowerShot SD1100 IS AV port and Logic board: step 22, image 2 of 2
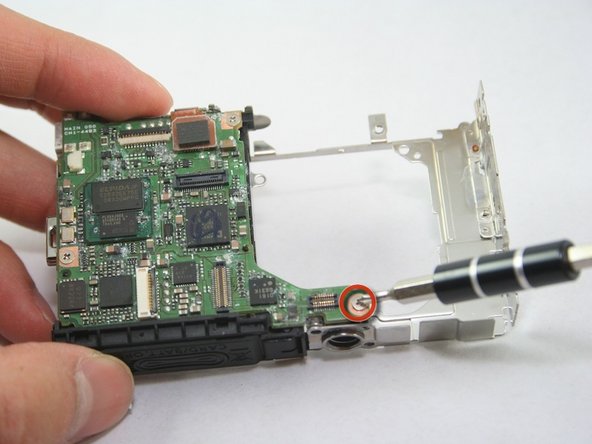
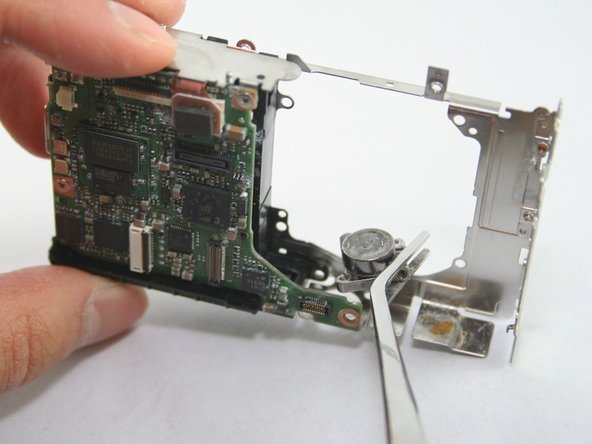
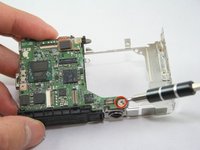
    • Remove screw from bottom-right of logic board board (0.102 in).

    • The tripod connector can now be removed.

    Add Comment

  23. Disassembling Canon PowerShot SD1100 IS AV port and Logic board: step 23, image 1 of 1
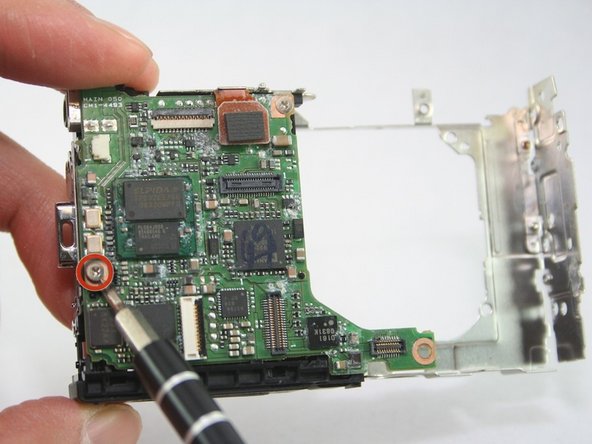
    • Remove screw (0.102 in) from the left side of the logic board.

    Add Comment

  24. Disassembling Canon PowerShot SD1100 IS AV port and Logic board: step 24, image 1 of 2 Disassembling Canon PowerShot SD1100 IS AV port and Logic board: step 24, image 2 of 2
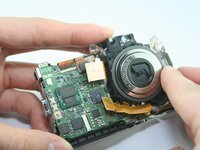
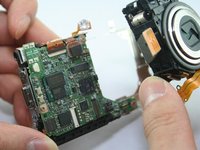
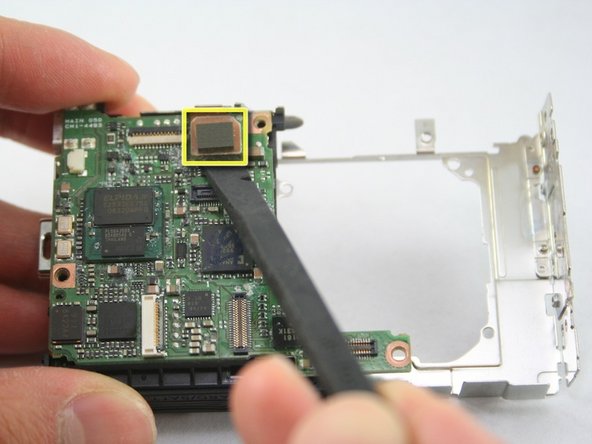
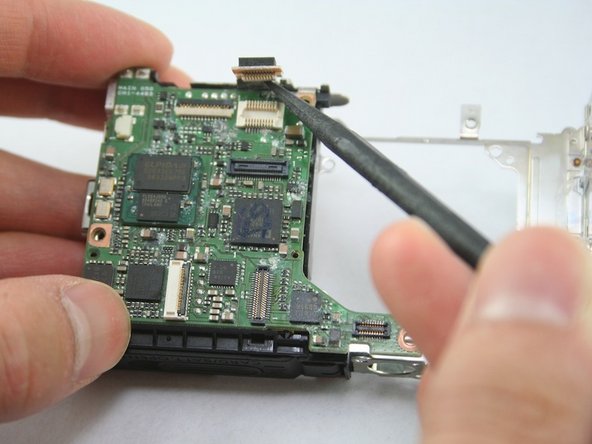
    • Using the spudger, disconnect the ribbon cable located on the top of the logic board.

    Add Comment

  25. Disassembling Canon PowerShot SD1100 IS AV port and Logic board: step 25, image 1 of 2 Disassembling Canon PowerShot SD1100 IS AV port and Logic board: step 25, image 2 of 2
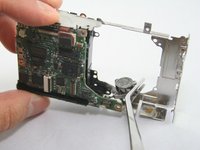
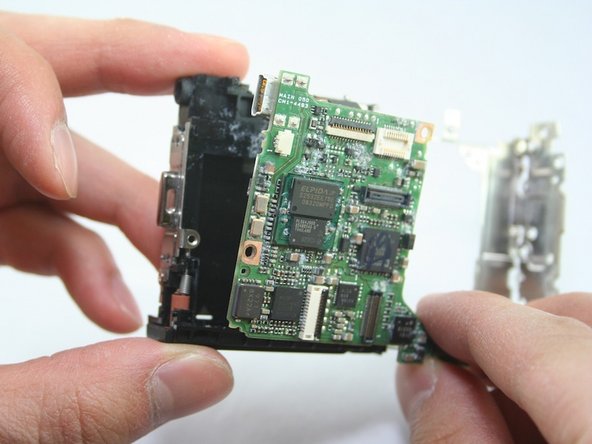
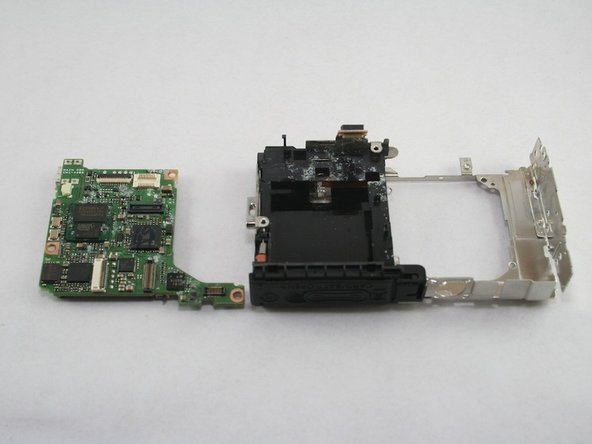
    • The logic board may now be removed from the frame.

    Add Comment

  26. Disassembling Canon PowerShot SD1100 IS AV port and Logic board: step 26, image 1 of 3 Disassembling Canon PowerShot SD1100 IS AV port and Logic board: step 26, image 2 of 3 Disassembling Canon PowerShot SD1100 IS AV port and Logic board: step 26, image 3 of 3
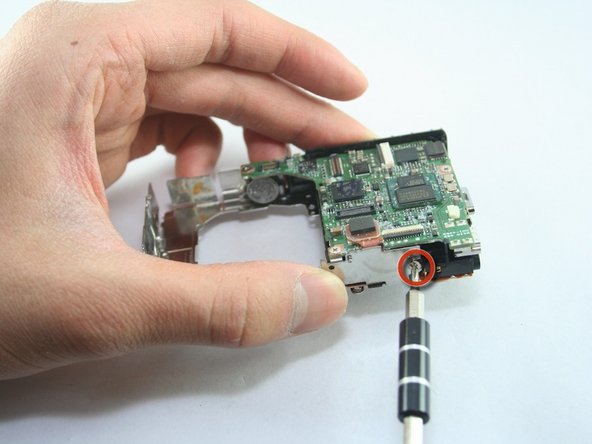
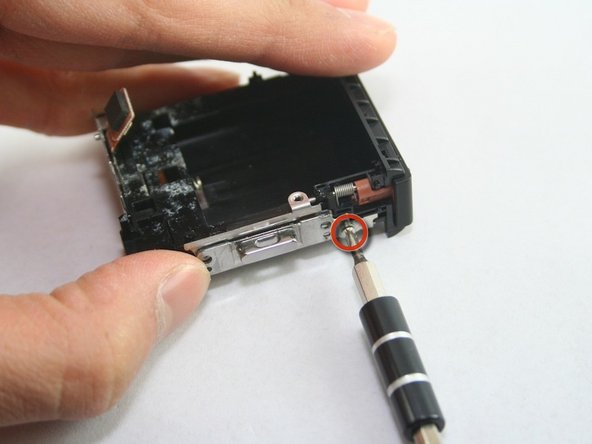
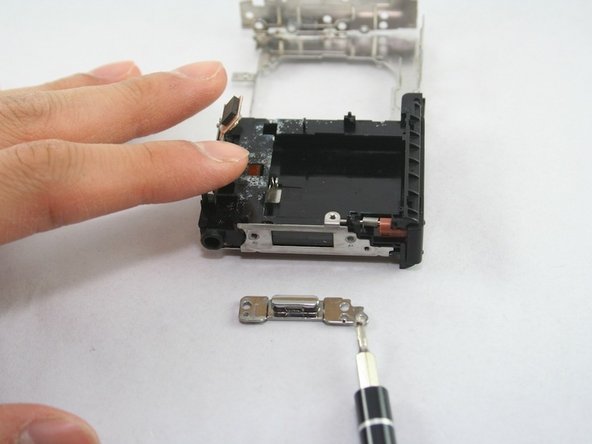
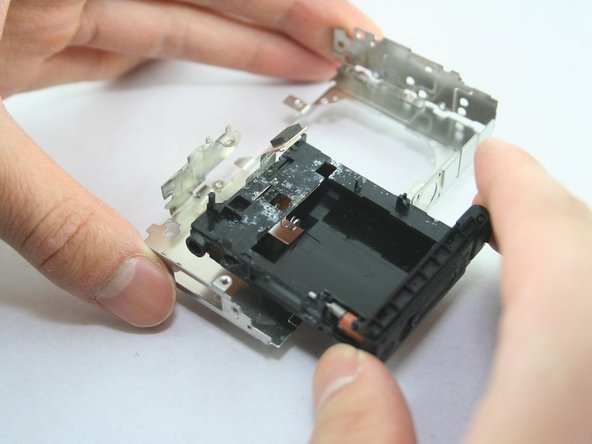
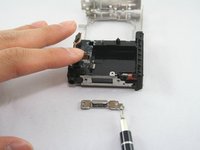
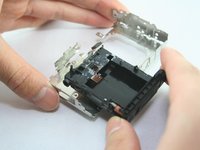
    • Remove the remaining screw (0.102 in) located on the camera strap piece.

    • The camera strap piece and the av port/battery/memory card assembly can now be removed.

    Add Comment

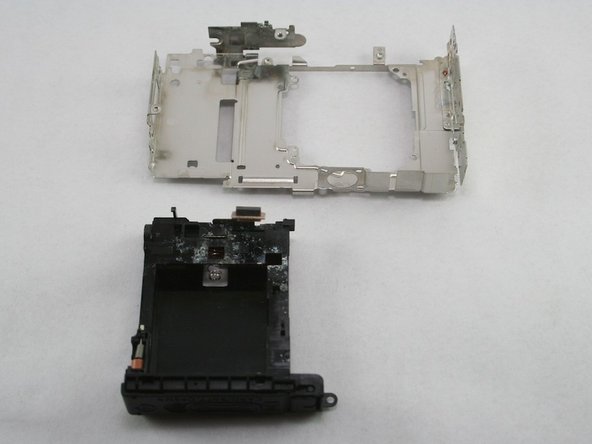
  27. Disassembling Canon PowerShot SD1100 IS AV port and Logic board: step 27, image 1 of 1
    • This is the final product.

    Add Comment

Conclusion

To reassemble your device, follow these instructions in reverse order.

Cancel: I did not complete this guide.

System

Member since: 09/24/09

2,562 Guides authored

0 Guide Comments

Add Comment

View Statistics:

Past 24 Hours: 0

Past 7 Days: 0

Past 30 Days: 5

All Time: 48