
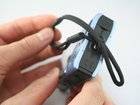
Disassembling Canon PowerShot SD1100 IS Front and Rear Cover

Last updated on Sep 17, 2016
Views: 42
View statistics:
- Past 24 Hours:
- 0
- Past 7 Days:
- 0
- Past 30 Days:
- 3
- All Time:
- 42
Comments: 0
No one has left comments on this guide. Will you be first?
Go to guide commentsCompleted: 0 1
No one has marked this guide "completed." Will you be the first?
1 person has marked this guide "completed." It's you — great job!
Favorites: 0 1
No one has favorited (and subscribed to) this guide. Will you be the first?
1 person has favorited (and subscribed to) this guide — and that's you!
Time Required: No estimate
Difficulty: Easy
Introduction
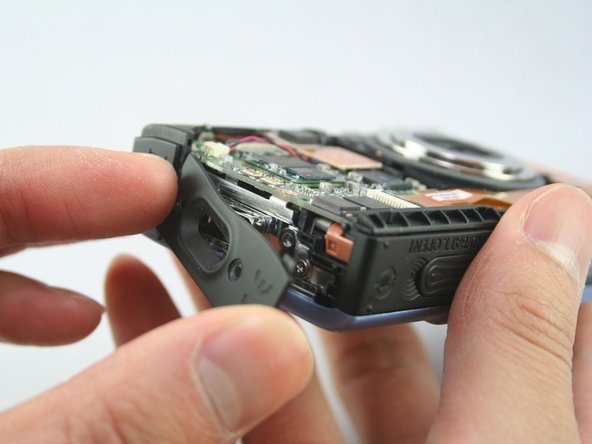
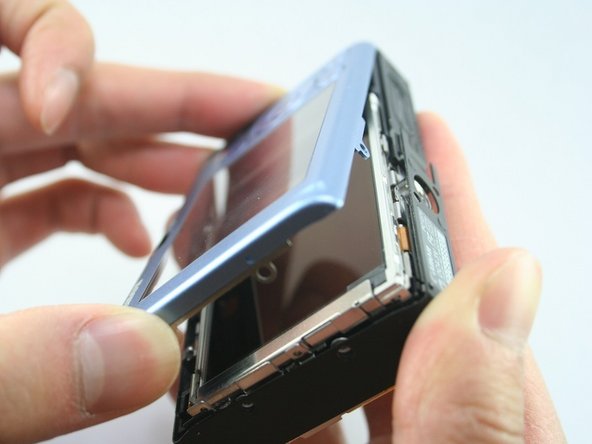
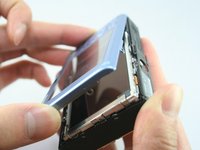
Go to step 1 ↓Use this guide to remove the front and rear cover of the Canon PowerShot SD1100 IS.
What you need
-
-
-
Remove 2 screws from each side of the camera (4 total, 0.102 in).
-
Remove 2 screws from the bottom on the camera (0.138 in).
-

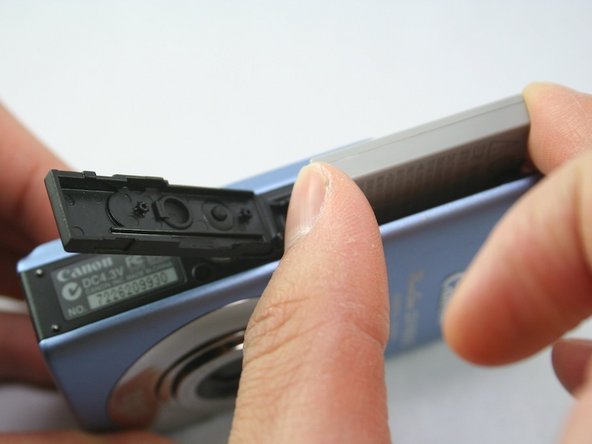


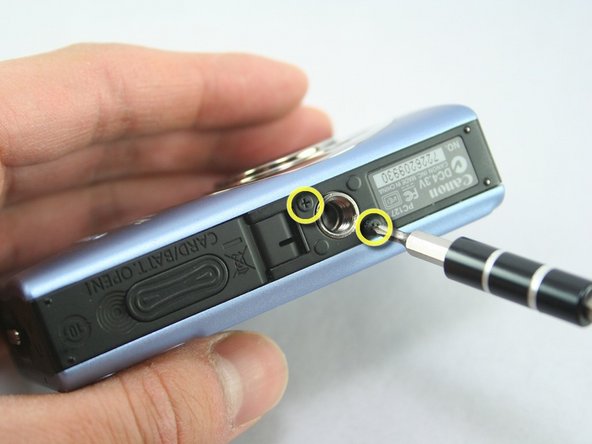


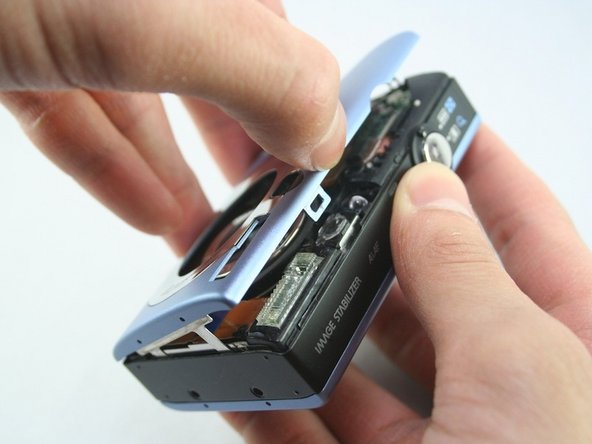
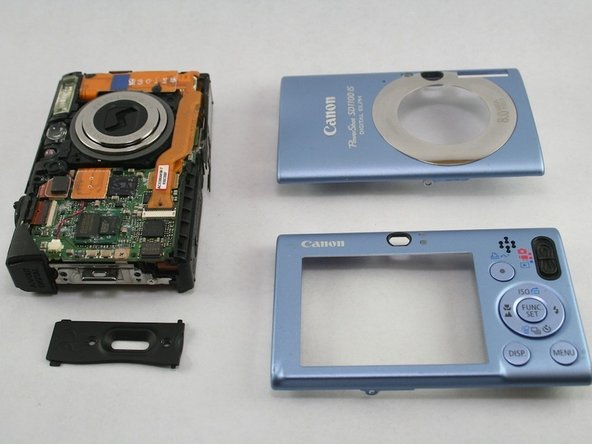
Conclusion
To reassemble your device, follow these instructions in reverse order.

