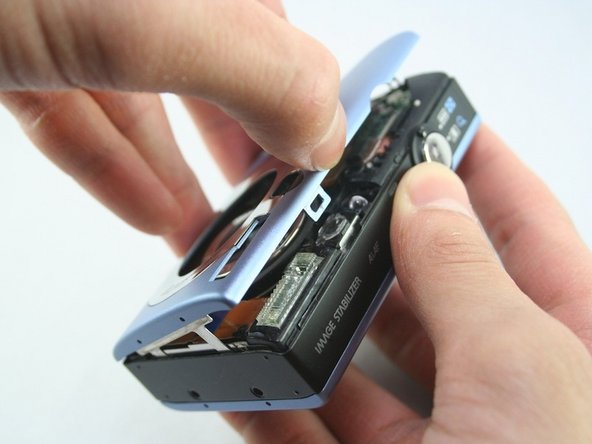
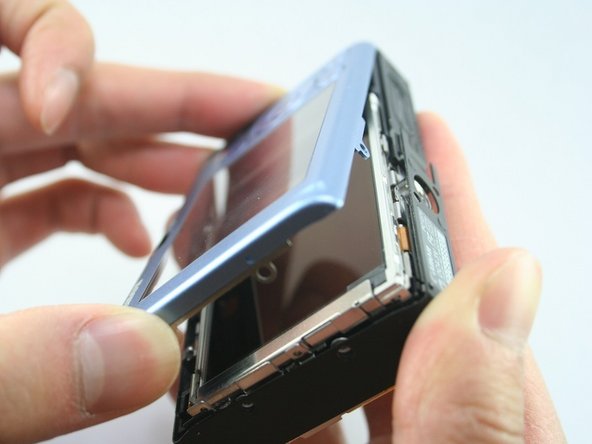
/

Disassembling Canon PowerShot SD1100 IS Front and Rear Cover

What you need

  1. Disassembling Canon PowerShot SD1100 IS Front and Rear Cover, Disassembling Canon PowerShot SD1100 IS Front and Rear Cover: step 1, image 1 of 2 Disassembling Canon PowerShot SD1100 IS Front and Rear Cover, Disassembling Canon PowerShot SD1100 IS Front and Rear Cover: step 1, image 2 of 2
    • Remove wrist strap and battery.

  2. Disassembling Canon PowerShot SD1100 IS Front and Rear Cover: step 2, image 1 of 3 Disassembling Canon PowerShot SD1100 IS Front and Rear Cover: step 2, image 2 of 3 Disassembling Canon PowerShot SD1100 IS Front and Rear Cover: step 2, image 3 of 3
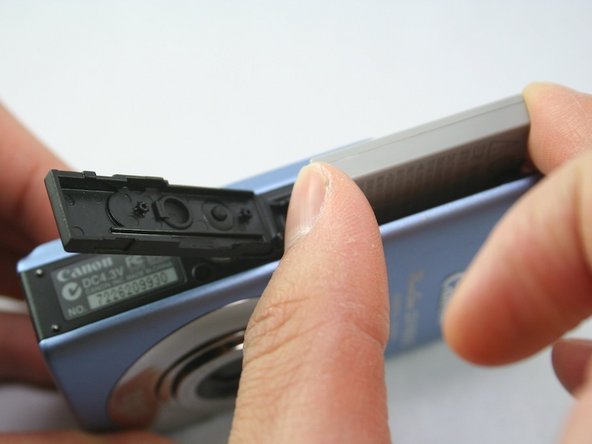
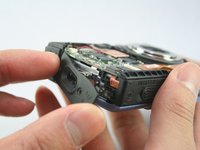
    • Remove 2 screws from each side of the camera (4 total, 0.102 in).

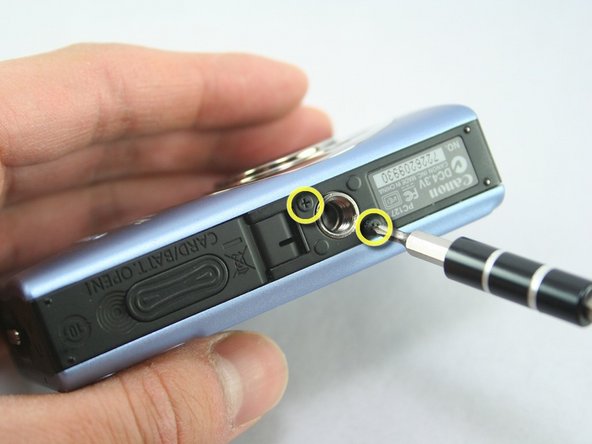
    • Remove 2 screws from the bottom on the camera (0.138 in).

    • Do not mix the 4 side screws with the 2 bottoms ones; they are different sizes.

  3. Disassembling Canon PowerShot SD1100 IS Front and Rear Cover: step 3, image 1 of 3 Disassembling Canon PowerShot SD1100 IS Front and Rear Cover: step 3, image 2 of 3 Disassembling Canon PowerShot SD1100 IS Front and Rear Cover: step 3, image 3 of 3
    • Gently pull off the front cover.

    • The plate on the side should come off.

    • Gently pull off the back cover.

  4. Disassembling Canon PowerShot SD1100 IS Front and Rear Cover: step 4, image 1 of 1
    • The cases should now be removed.

Conclusion

To reassemble your device, follow these instructions in reverse order.

System

Member since: 09/24/09

2,562 Guides authored

0 Comments

Add Comment

View Statistics:

Past 24 Hours: 0

Past 7 Days: 0

Past 30 Days: 0

All Time: 0