
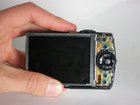
Disassembling Canon Powershot SD880 Menu Button

Last updated on Sep 17, 2016
Views: 52
View statistics:
- Past 24 Hours:
- 0
- Past 7 Days:
- 0
- Past 30 Days:
- 2
- All Time:
- 52
Comments: 0
No one has left comments on this guide. Will you be first?
Go to guide commentsCompleted: 0 1
No one has marked this guide "completed." Will you be the first?
1 person has marked this guide "completed." It's you — great job!
Favorites: 0 1
No one has favorited (and subscribed to) this guide. Will you be the first?
1 person has favorited (and subscribed to) this guide — and that's you!
Introduction
Go to step 1 ↓This may need to be removed if the button or scroll wheel is not working.
What you need
-
-
-
Remove the 2 screws(2.41mm long) on the side of the camera next to the LCD screen.
-
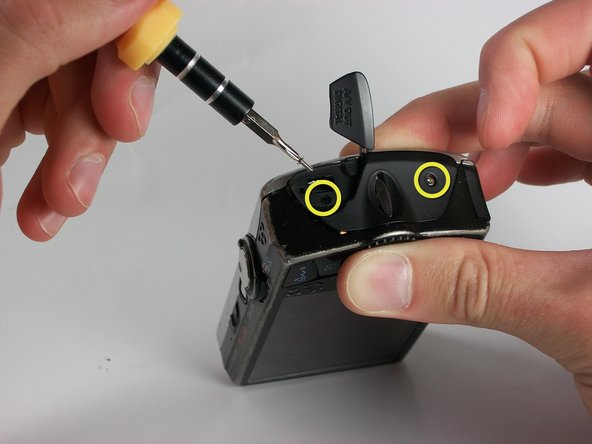
Remove the 2 screws(4.08mm) on the other side. One is located under the rubber USB flap.
-
Remove the last screw(2.59mm) located on the bottom of the camera.
-
Slowly pull the back cover of the camera.
-
-
-
Remove 2 screws from back of camera using screwdriver.
-
Remove 2 screws holding metal side guard using screwdriver.
-
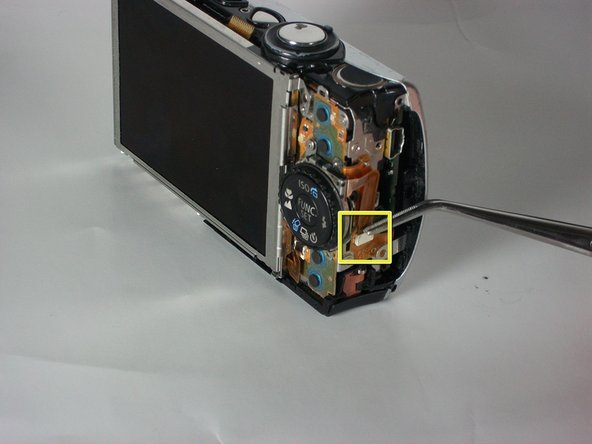
Remove the connecting ribbon by pulling it straight out.
-
-






To reassemble your device, follow these instructions in reverse order.

