/

Disassembling Compaq Mini 110 Fan

What you need

  1. Disassembling Compaq Mini 110 Fan, Disassembling Compaq Mini 110 Fan: step 1, image 1 of 2 Disassembling Compaq Mini 110 Fan, Disassembling Compaq Mini 110 Fan: step 1, image 2 of 2
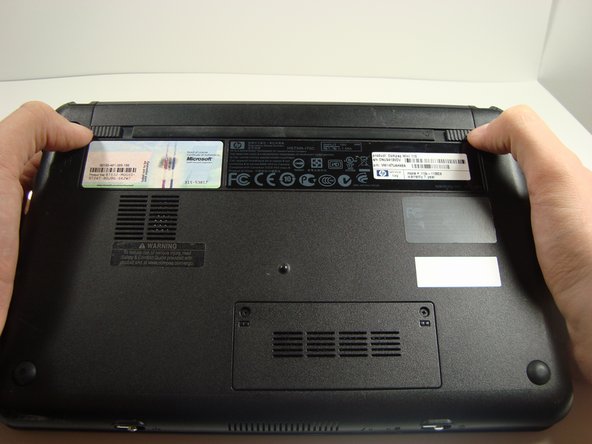
    • Find the battery and the battery tabs located on the bottom of the Compaq Mini.

  2. Disassembling Compaq Mini 110 Fan: step 2, image 1 of 3 Disassembling Compaq Mini 110 Fan: step 2, image 2 of 3 Disassembling Compaq Mini 110 Fan: step 2, image 3 of 3
    • Push the tabs inward and slide the battery out.

  3. Disassembling Compaq Mini 110 Fan: step 3, image 1 of 2 Disassembling Compaq Mini 110 Fan: step 3, image 2 of 2
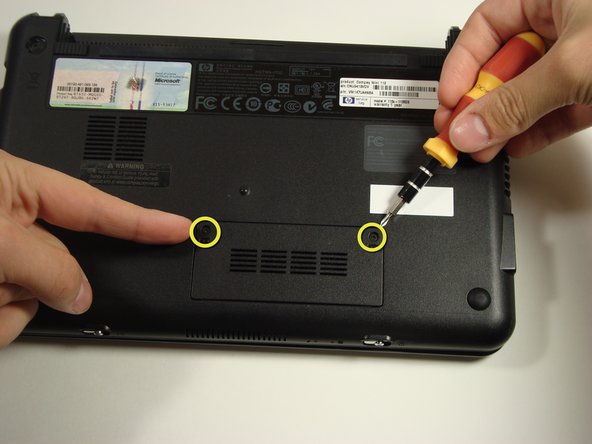
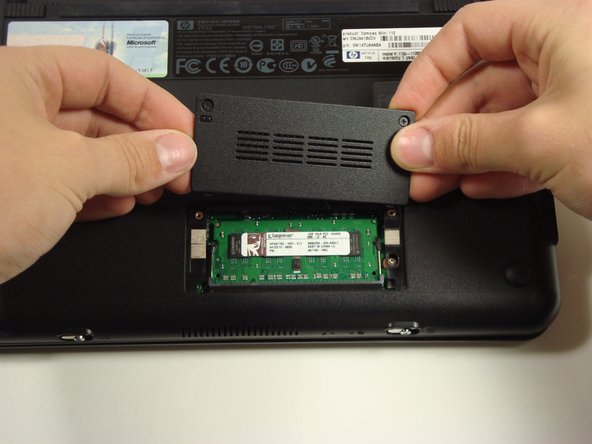
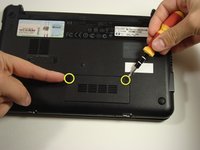
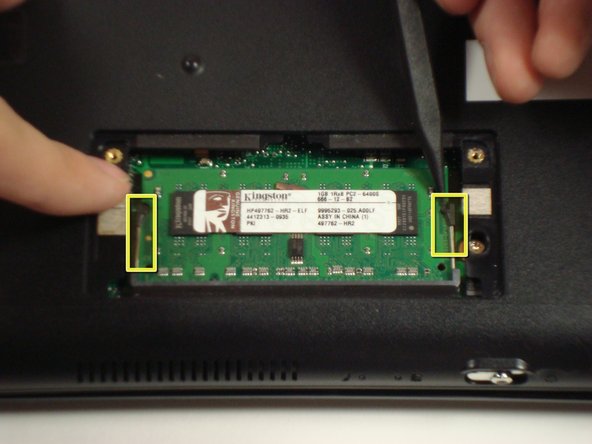
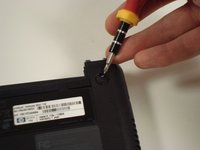
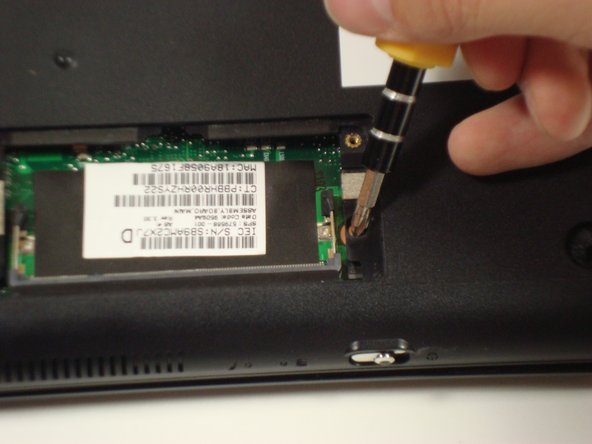
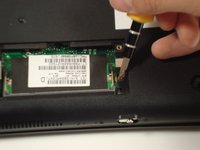
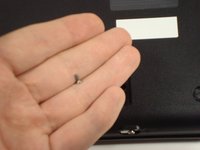
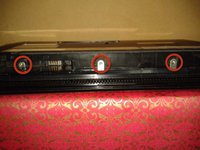
    • Find and remove the two screws on the bottom of your Compaq Mini covering the memory compartment.

    • Note that the screws are attached to the panel.

  4. Disassembling Compaq Mini 110 Fan: step 4, image 1 of 1
    • Push out side tabs.

  5. Disassembling Compaq Mini 110 Fan: step 5, image 1 of 2 Disassembling Compaq Mini 110 Fan: step 5, image 2 of 2
    • Remove the rubber pads located on the corners of your Compaq Mini.

    • There may be junk underneath it. This is residue left from the glue that held on the rubber pad. Just scrape it away to find the screw.

  6. Disassembling Compaq Mini 110 Fan: step 6, image 1 of 2 Disassembling Compaq Mini 110 Fan: step 6, image 2 of 2
    • Unscrew all the corner screws. There are four total, one under each rubber pad.

  7. Disassembling Compaq Mini 110 Fan: step 7, image 1 of 2 Disassembling Compaq Mini 110 Fan: step 7, image 2 of 2
    • Unscrew the screw for the bottom case located in the RAM compartment.

  8. Disassembling Compaq Mini 110 Fan: step 8, image 1 of 2 Disassembling Compaq Mini 110 Fan: step 8, image 2 of 2
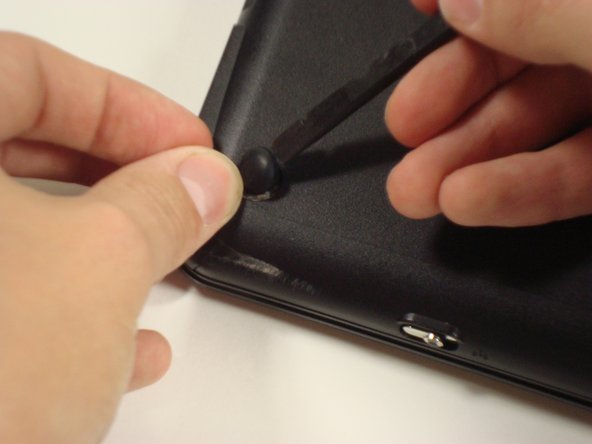
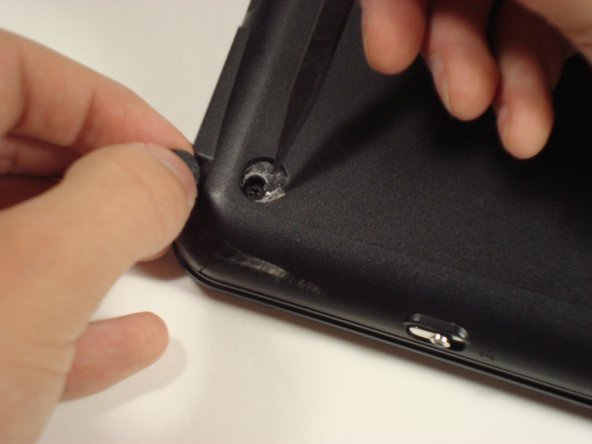
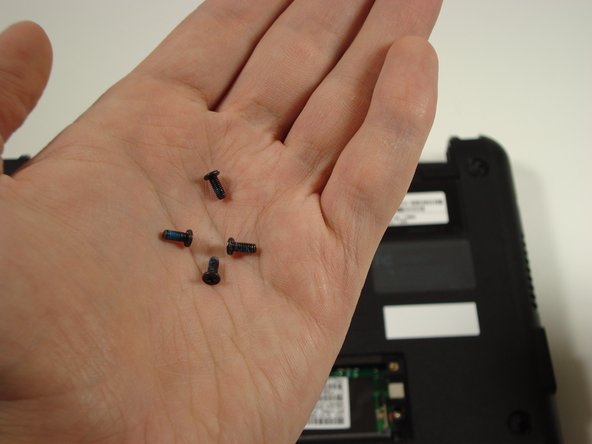
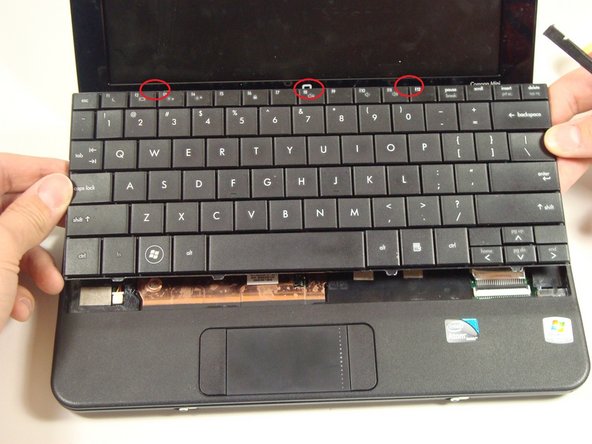
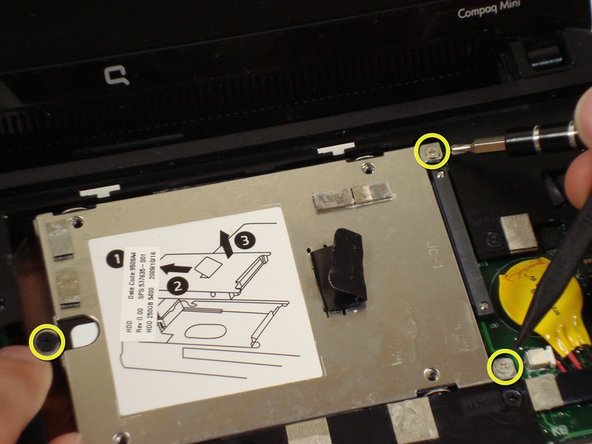
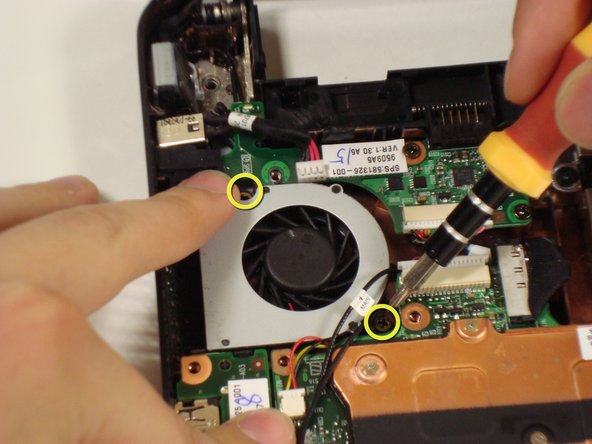
    • Remove the three screws in the silver tabs at the back of the keyboard. The red circles show where they are located at the back of the base under the screen.

  9. Disassembling Compaq Mini 110 Fan: step 9, image 1 of 1
    • Remove the eight screws from the plastic top cover.

  10. Disassembling Compaq Mini 110 Fan: step 10, image 1 of 3 Disassembling Compaq Mini 110 Fan: step 10, image 2 of 3 Disassembling Compaq Mini 110 Fan: step 10, image 3 of 3
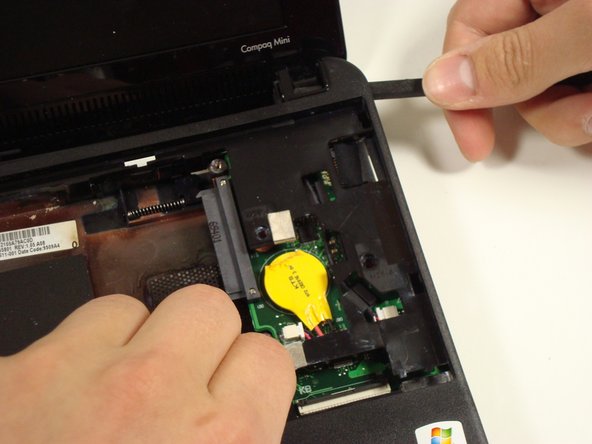
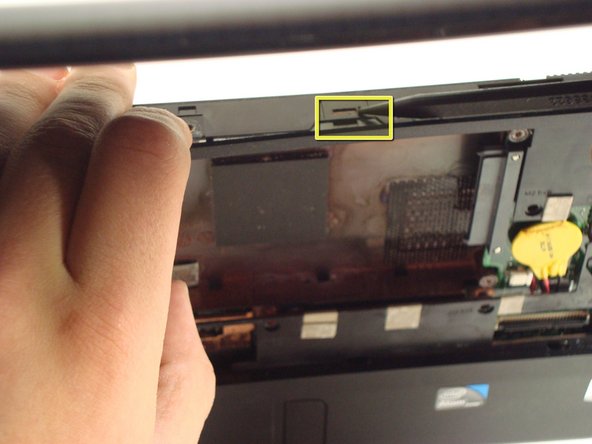
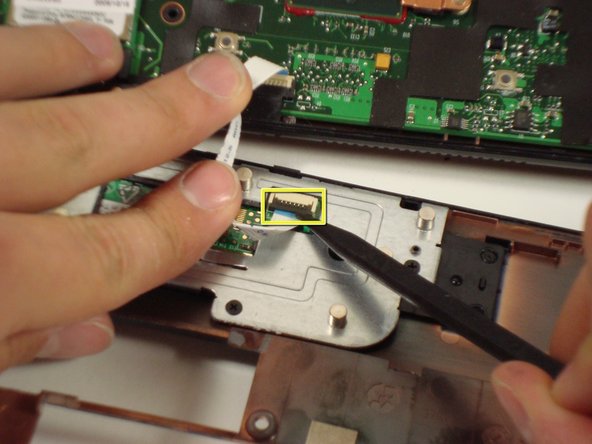
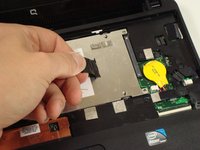
    • Pry up the top plastic cover using a spudger.

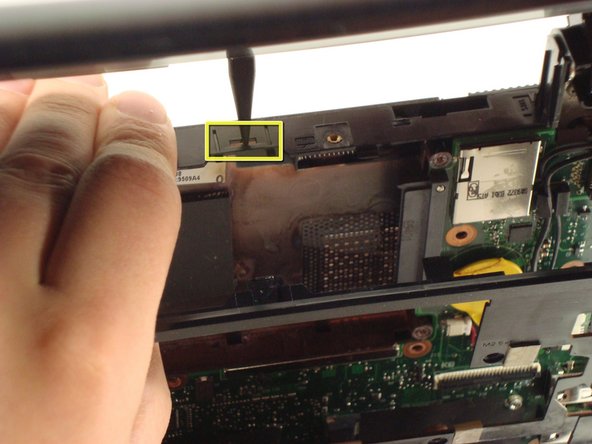
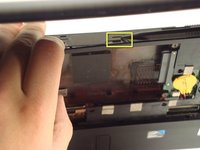
    • Under the screen there are two tabs that need to be pushed in.

  11. Disassembling Compaq Mini 110 Fan: step 11, image 1 of 2 Disassembling Compaq Mini 110 Fan: step 11, image 2 of 2
    • Careful lifting up the cover because the track pad is still attached.

    • Remove the cable by pulling it up.

  12. Disassembling Compaq Mini 110 Fan: step 12, image 1 of 1
    • Remove the three screws.

  13. Disassembling Compaq Mini 110 Fan: step 13, image 1 of 2 Disassembling Compaq Mini 110 Fan: step 13, image 2 of 2
    • Pull up on the tab.

  14. Disassembling Compaq Mini 110 Fan: step 14, image 1 of 2 Disassembling Compaq Mini 110 Fan: step 14, image 2 of 2
    • Remove the two screws holding the fan in place.

    • There is still a cable attached to the fan so be sure to pull that out as well.

Conclusion

To reassemble your device, follow these instructions in reverse order.

System

Member since: 09/24/09

2,562 Guides authored

0 Comments

Add Comment

View Statistics:

Past 24 Hours: 0

Past 7 Days: 0

Past 30 Days: 0

All Time: 5