
Disassembling IBM ThinkPad T42 Lower Bracket

Last updated on Sep 17, 2016
Views: 34
View statistics:
- Past 24 Hours:
- 0
- Past 7 Days:
- 0
- Past 30 Days:
- 2
- All Time:
- 34
Comments: 0
No one has left comments on this guide. Will you be first?
Go to guide commentsCompleted: 0 1
No one has marked this guide "completed." Will you be the first?
1 person has marked this guide "completed." It's you — great job!
Favorites: 0 1
No one has favorited (and subscribed to) this guide. Will you be the first?
1 person has favorited (and subscribed to) this guide — and that's you!
Introduction
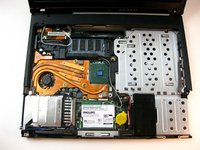
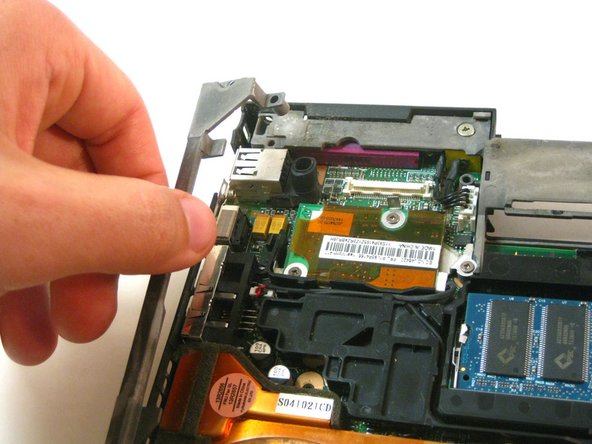
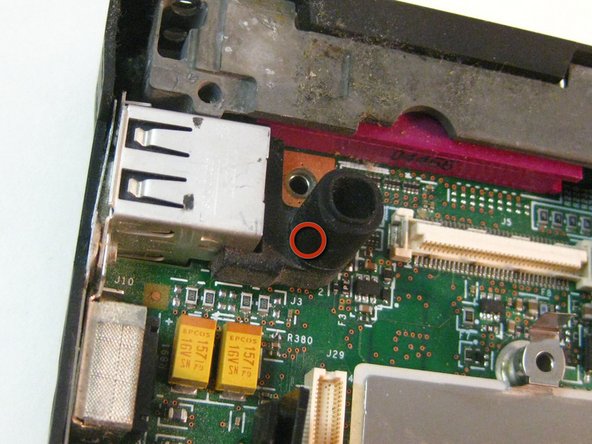
Go to step 1 ↓The lower bracket needs to be removed to get to some components of the laptop.
What you need
-
-
-
Unscrew the following screws on the underside of the T42.
-
Note: for ease of reassembly, keep track of which screws go where.
-
-
-
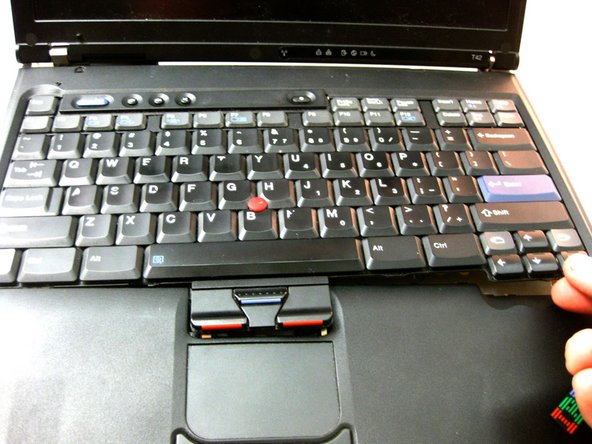
Flip the laptop over and open the display carefully - the keyboard, palm rest and bezel will be loose.
-
-
-
Maneuver the palm rest away from the keyboard carefully, both the keyboard and palm rest/trackpad will come off together.
-
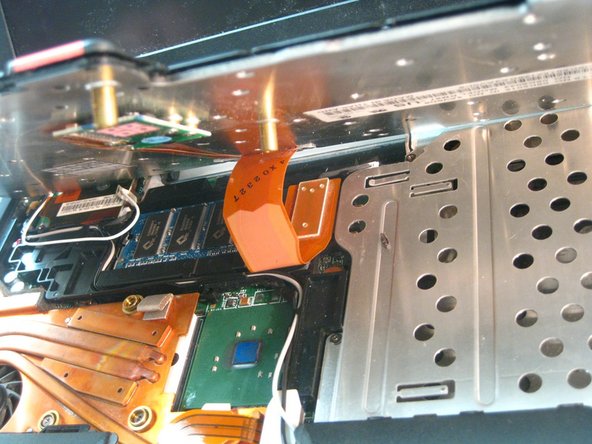
**WARNING** Both the keyboard and trackpad have connectors to the motherboard. Disconnect these before completely removing either component.
-
-




To reassemble your device, follow these instructions in reverse order.

