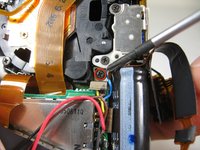
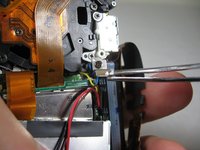
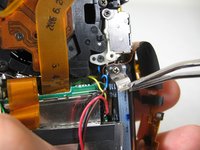
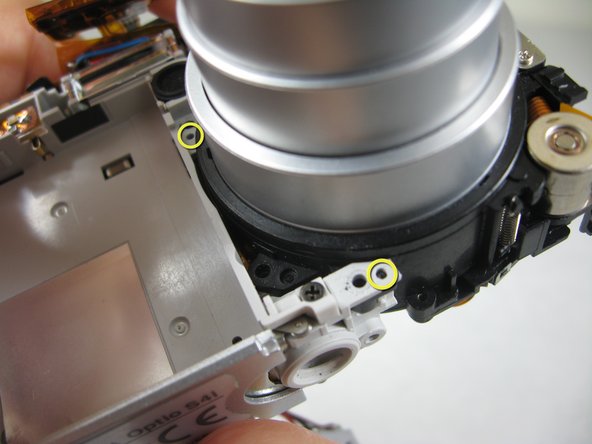
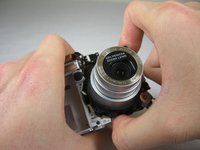
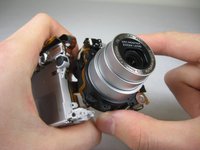
Disassembling Pentax Optio S4i Lens Assembly

What you need

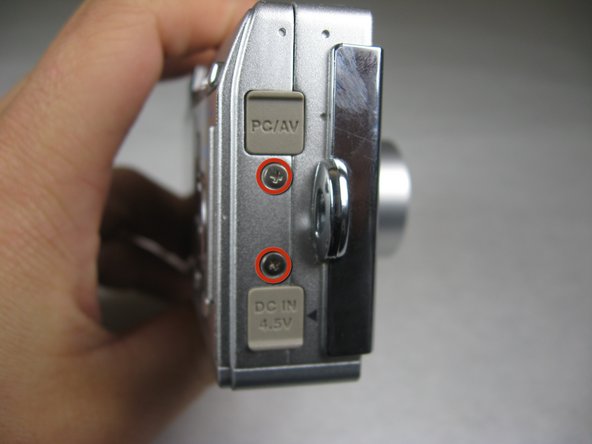
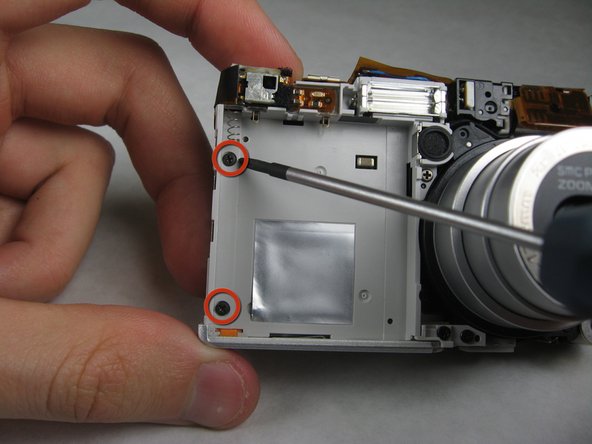
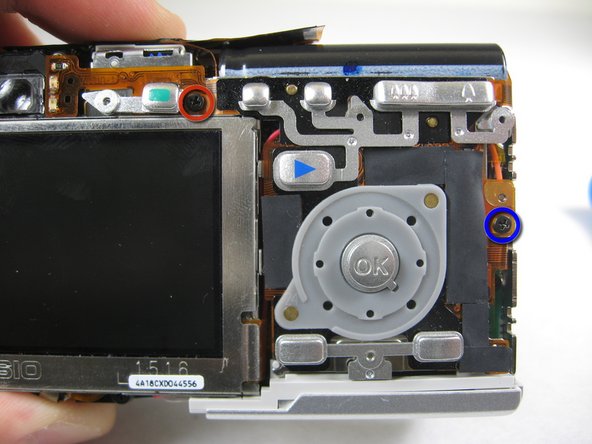
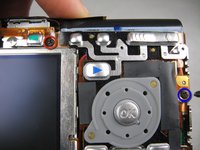
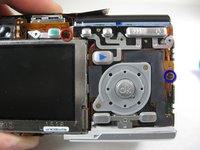
    1. Disassembling Pentax Optio S4i Lens Assembly, Disassembling Pentax Optio S4i Lens Assembly: step 1, image 1 of 2 Disassembling Pentax Optio S4i Lens Assembly, Disassembling Pentax Optio S4i Lens Assembly: step 1, image 2 of 2
      • Remove the following screws:

      • Two silver 3.15mm Phillips #00 screws on the right side of the camera

      • Two silver 2.08mm Phillips #00 screws on the left side of the camera

      Add Comment

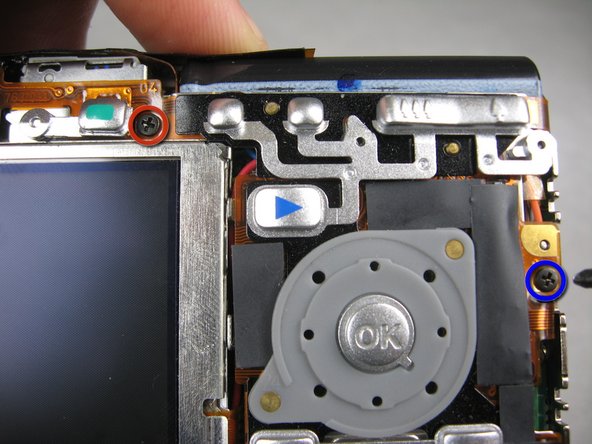
    2. Disassembling Pentax Optio S4i Lens Assembly: step 2, image 1 of 1
      • Remove the two indicated screws on the bottom of the camera:

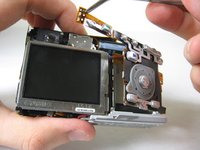
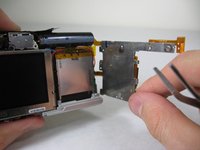
      • The screw circled in red is a longer silver 3.15mm Phillips #00 screw

      • The screw circled in blue is a shorter silver 2.25mm Phillips #00 screw

      Add Comment

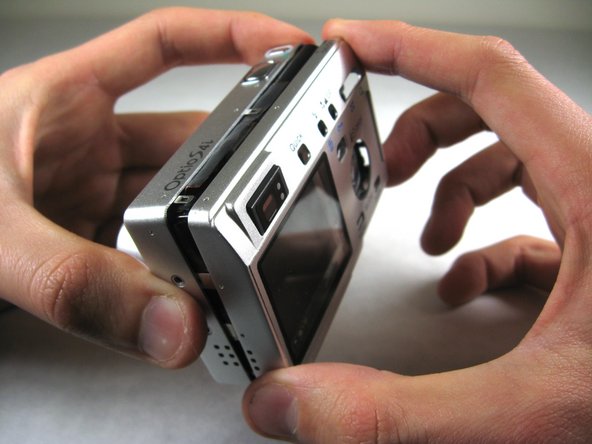
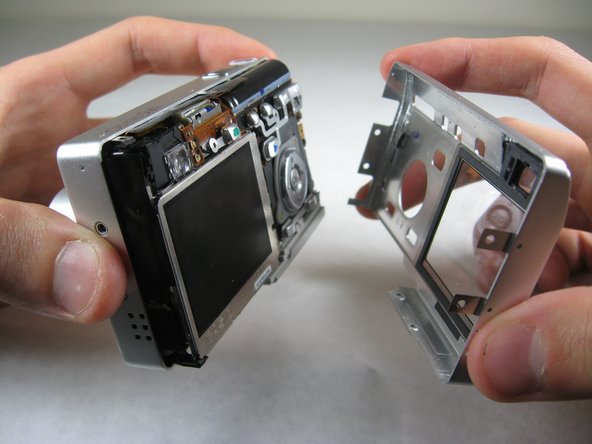
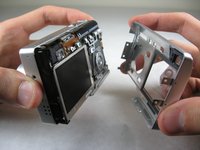
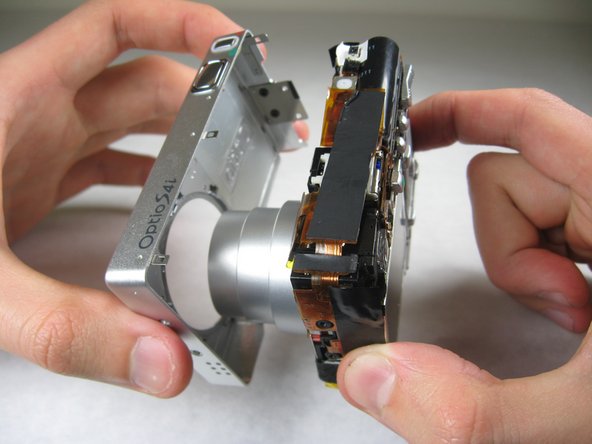
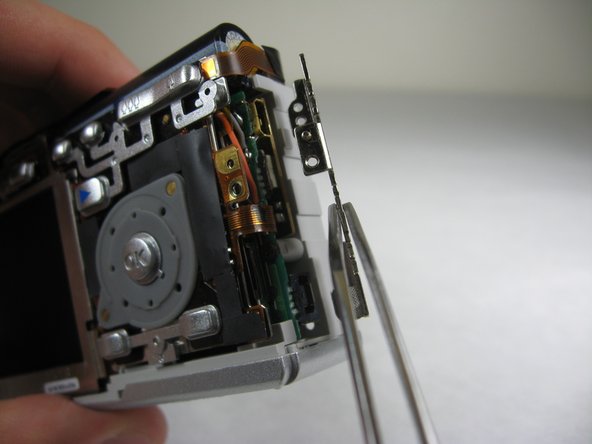
    3. Disassembling Pentax Optio S4i Lens Assembly: step 3, image 1 of 2 Disassembling Pentax Optio S4i Lens Assembly: step 3, image 2 of 2
      • Carefully pull the back of casing away from the front.

      Add Comment

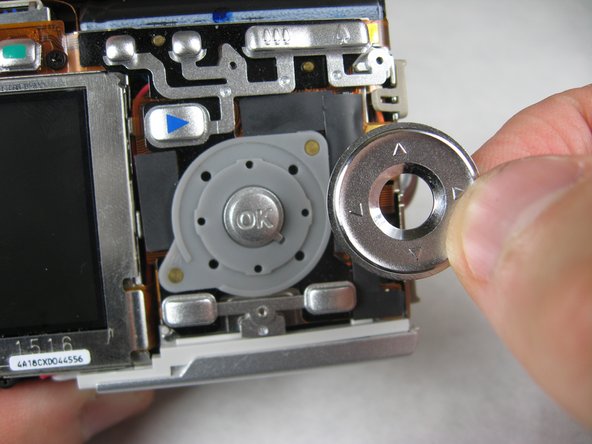
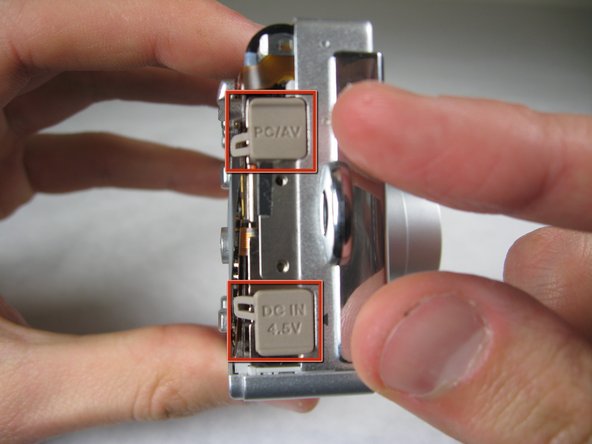
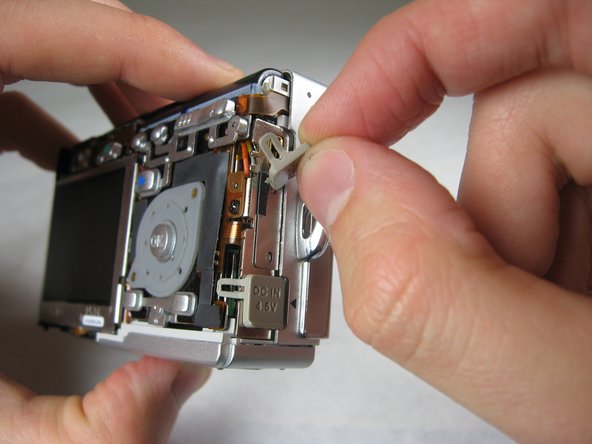
    4. Disassembling Pentax Optio S4i Lens Assembly: step 4, image 1 of 3 Disassembling Pentax Optio S4i Lens Assembly: step 4, image 2 of 3 Disassembling Pentax Optio S4i Lens Assembly: step 4, image 3 of 3
      • After removing the back cover, several things must be removed.

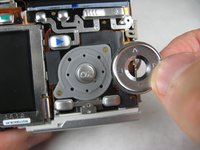
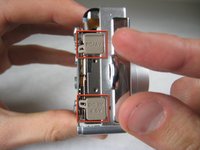
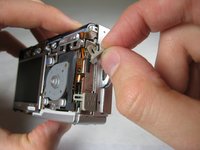
      • Silver donut-shaped button will fall off. Place separately. Remove the plug covers on the right side of camera, labeled “PC/AV” and “DC IN 4.5V”.

      Add Comment

    5. Disassembling Pentax Optio S4i Lens Assembly: step 5, image 1 of 2 Disassembling Pentax Optio S4i Lens Assembly: step 5, image 2 of 2
      • To remove the front cover, gently hold the inside structure of the camera and slowly pull the front cover off.

      Add Comment

    6. Disassembling Pentax Optio S4i Lens Assembly: step 6, image 1 of 2 Disassembling Pentax Optio S4i Lens Assembly: step 6, image 2 of 2
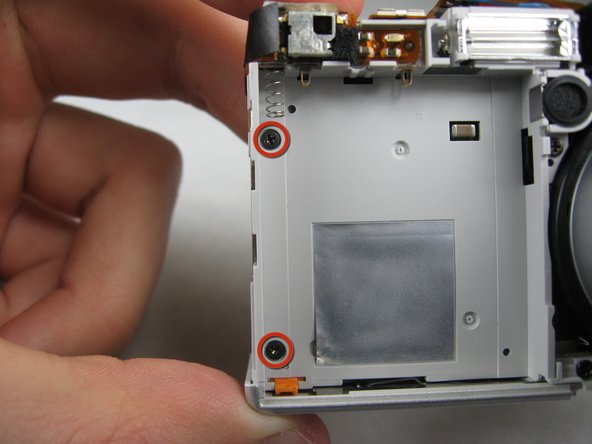
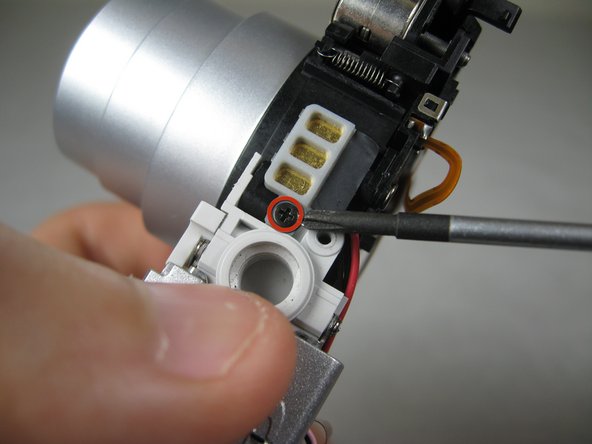
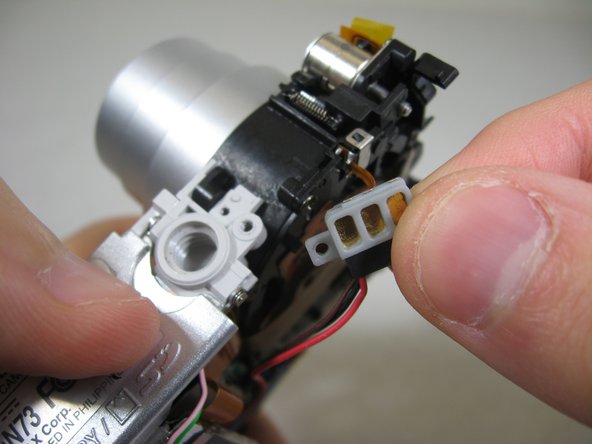
      • On the front of the camera, in battery case, remove screws indicated:

      • Two black 2.05mm Phillips #00 screws

      Add Comment

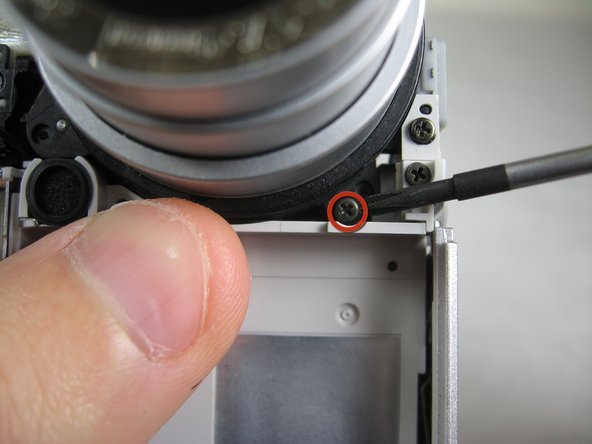
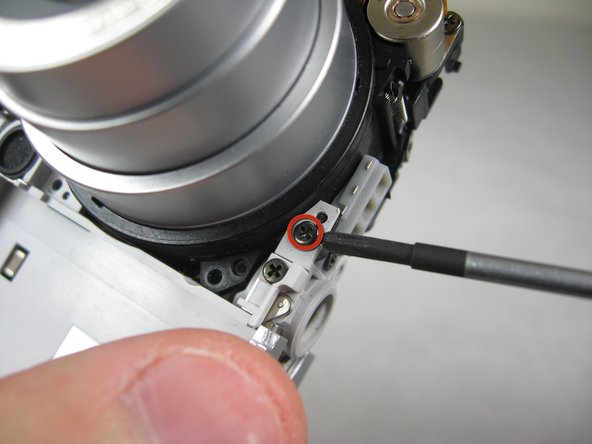
    7. Disassembling Pentax Optio S4i Lens Assembly: step 7, image 1 of 2 Disassembling Pentax Optio S4i Lens Assembly: step 7, image 2 of 2
      • Flip the camera over to the backside and remove screws indicated:

      • The screw circled in red is a longer black 3.00mm Phillips #00 screw

      • The screw circled in red is a shorter black 2.00mm Phillips #00 screw

      Add Comment

    8. Disassembling Pentax Optio S4i Lens Assembly: step 8, image 1 of 1
      • Pull the cover plate off for the two power cord jacks.

      Add Comment

    9. Disassembling Pentax Optio S4i Lens Assembly: step 9, image 1 of 3 Disassembling Pentax Optio S4i Lens Assembly: step 9, image 2 of 3 Disassembling Pentax Optio S4i Lens Assembly: step 9, image 3 of 3
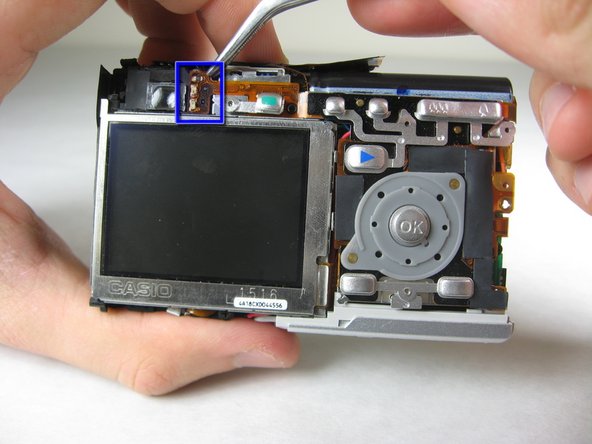
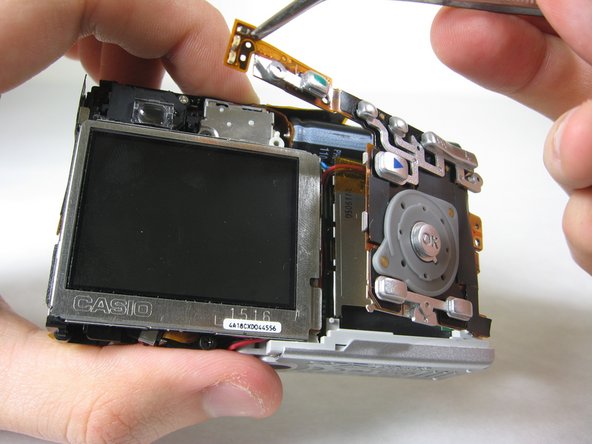
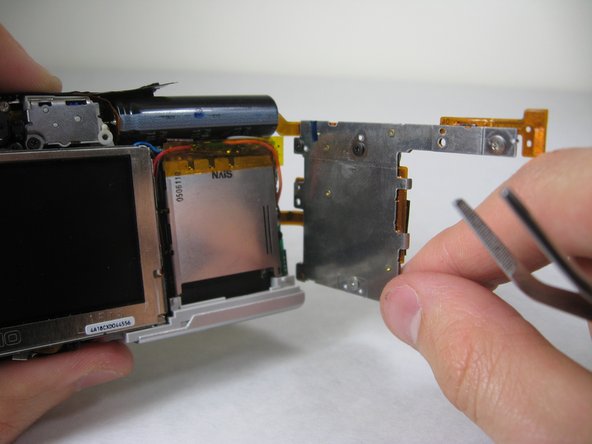
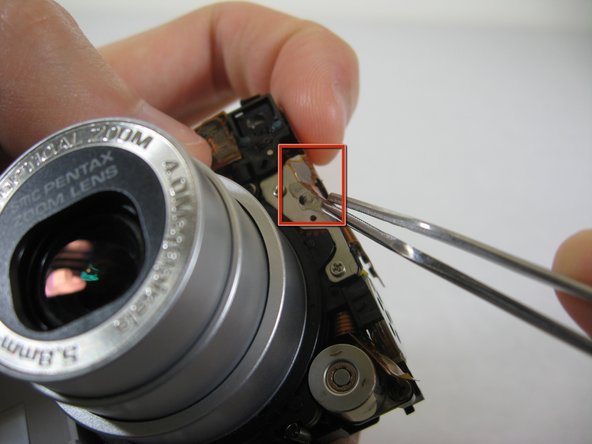
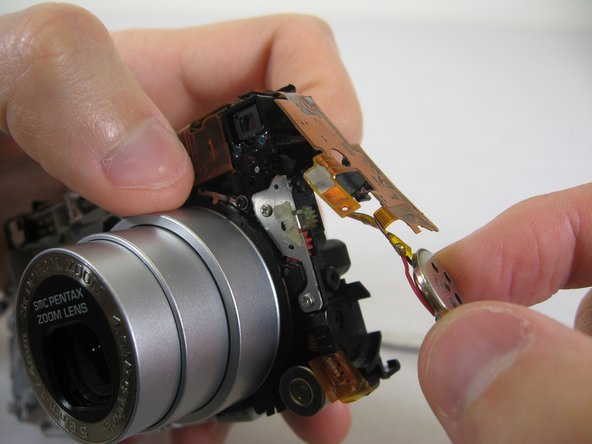
      • Cautiously and gently pull up the control board at the upper left corner, next to the viewfinder.

      Add Comment

    10. Disassembling Pentax Optio S4i Lens Assembly: step 10, image 1 of 1
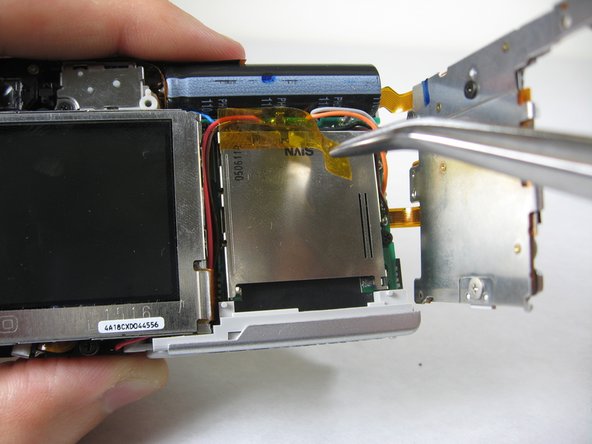
      • Remove the orange tape on top of the SD cardholder.

      Add Comment

    11. Disassembling Pentax Optio S4i Lens Assembly: step 11, image 1 of 3 Disassembling Pentax Optio S4i Lens Assembly: step 11, image 2 of 3 Disassembling Pentax Optio S4i Lens Assembly: step 11, image 3 of 3
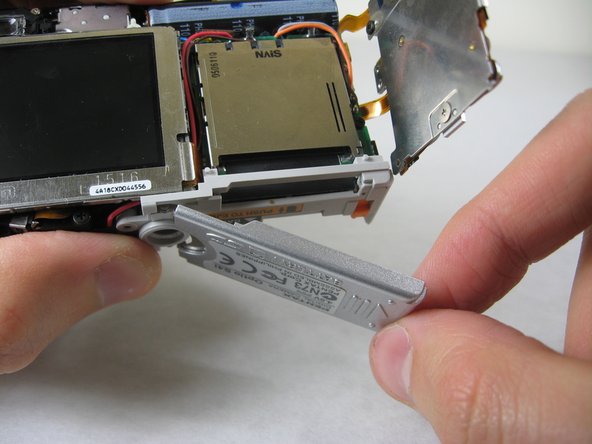
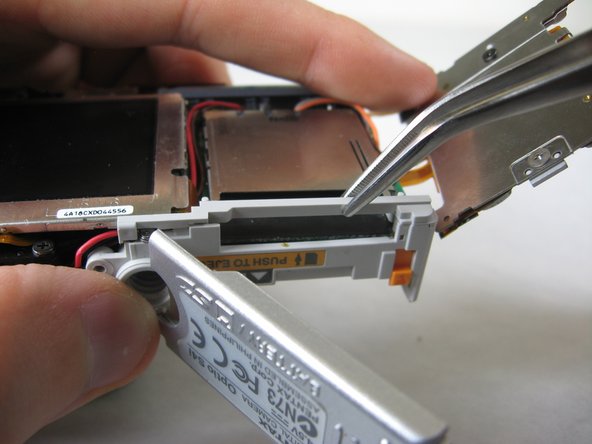
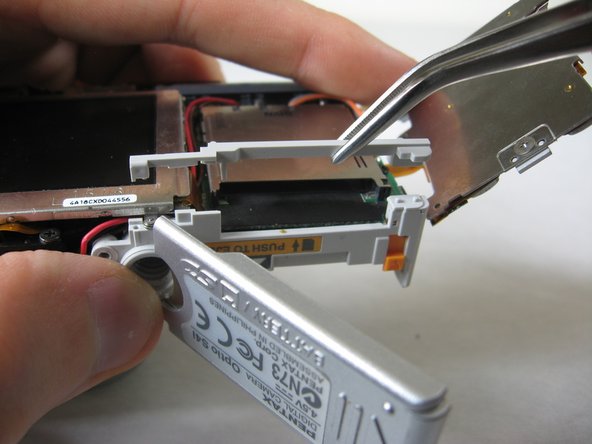
      • Open the battery cover and lift plastic piece off.

      Add Comment

    12. Disassembling Pentax Optio S4i Lens Assembly: step 12, image 1 of 1
      • Remove tape on left side of camera.

      Add Comment

    13. Disassembling Pentax Optio S4i Lens Assembly: step 13, image 1 of 1
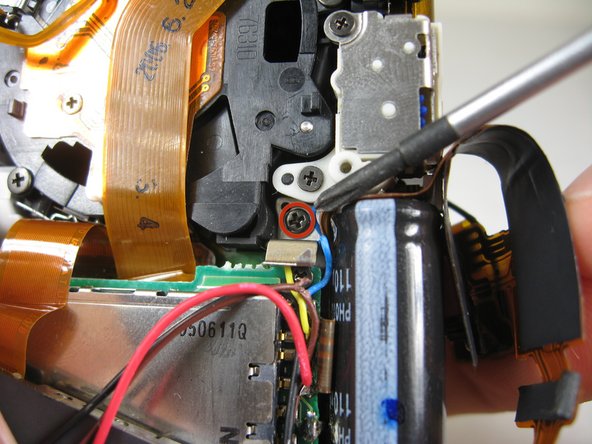
      • Remove the indicated 2.40mm Phillips #00 screw to release top left LCD bracket.

      Add Comment

    14. Disassembling Pentax Optio S4i Lens Assembly: step 14, image 1 of 1
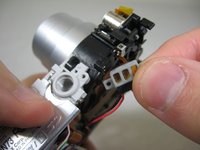
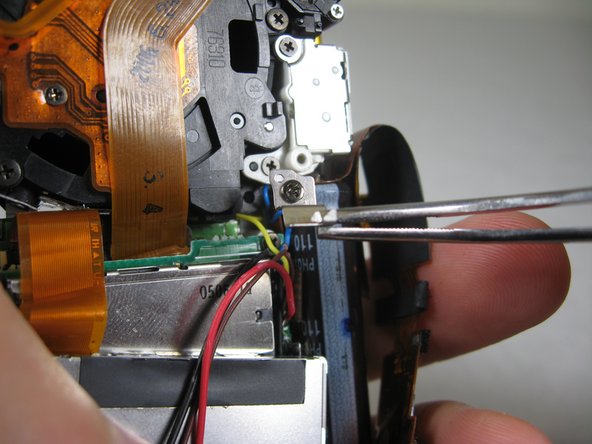
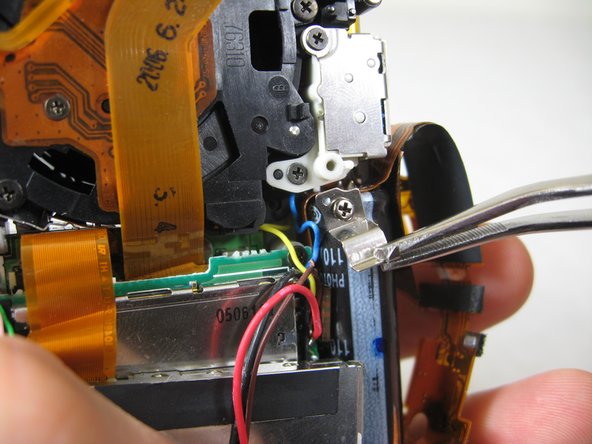
      • Remove top left LCD bracket.

      • This is a small piece, be careful not to lose it.

      Add Comment

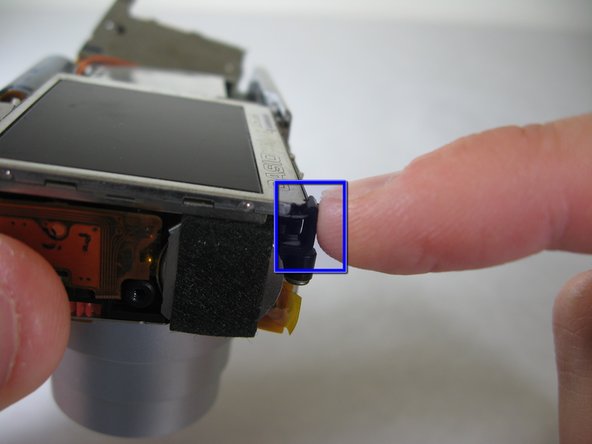
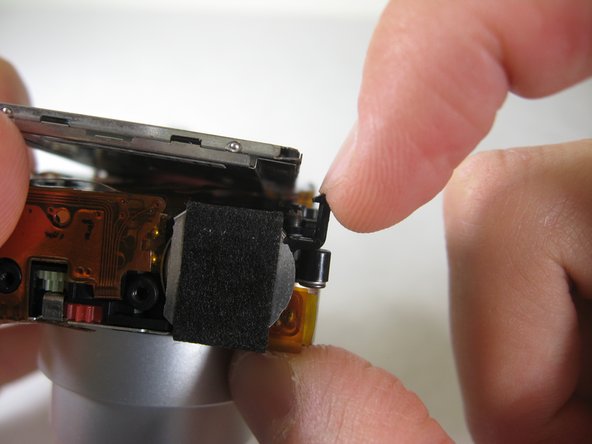
    15. Disassembling Pentax Optio S4i Lens Assembly: step 15, image 1 of 2 Disassembling Pentax Optio S4i Lens Assembly: step 15, image 2 of 2
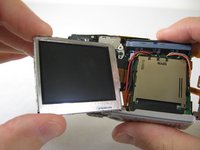
      • Push down bottom left LCD bracket to release the LCD from grip.

      Add Comment

    16. Disassembling Pentax Optio S4i Lens Assembly: step 16, image 1 of 1
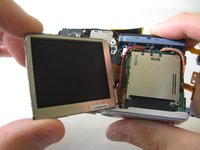
      • Gently lift up LCD screen.

      Add Comment

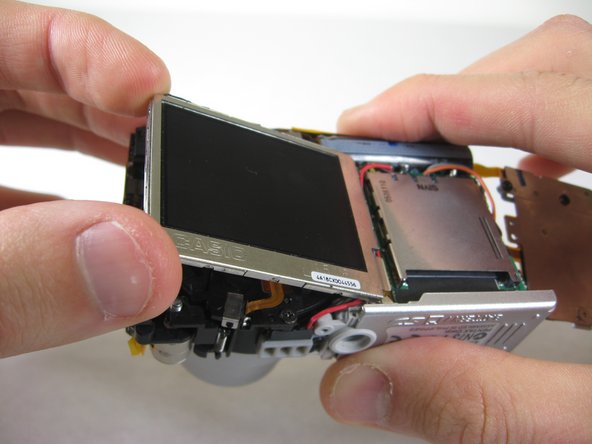
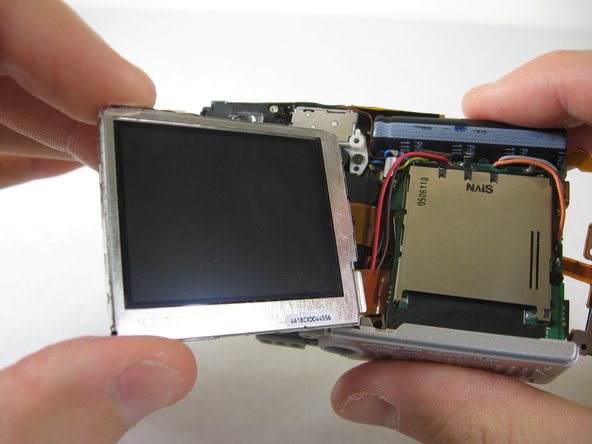
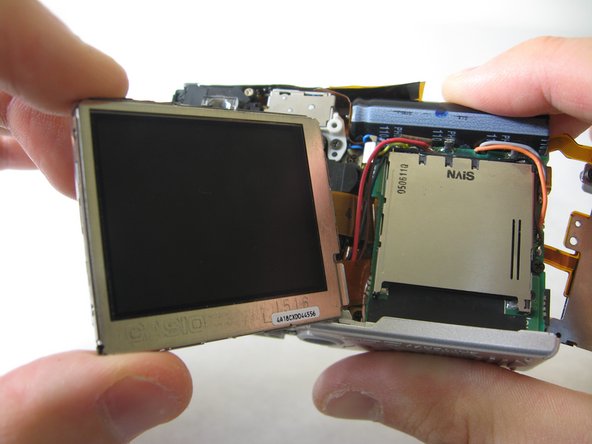
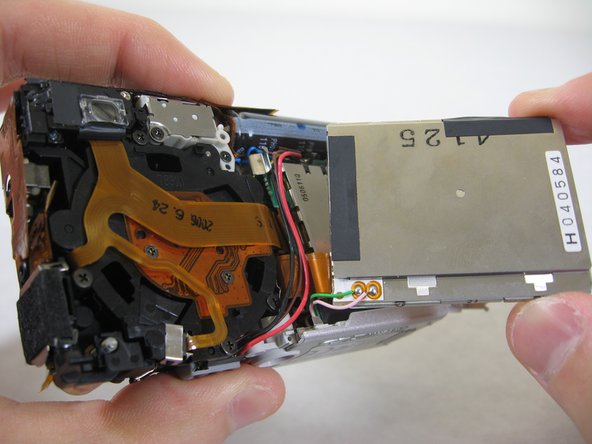
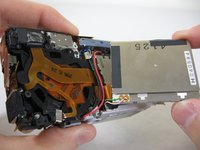
    17. Disassembling Pentax Optio S4i Lens Assembly: step 17, image 1 of 3 Disassembling Pentax Optio S4i Lens Assembly: step 17, image 2 of 3 Disassembling Pentax Optio S4i Lens Assembly: step 17, image 3 of 3
      • Slowly pull LCD screen to the left to remove it from the other grips.

      • BEWARE: The LCD screen is attached to the logic board by two wires at the bottom.

      Add Comment

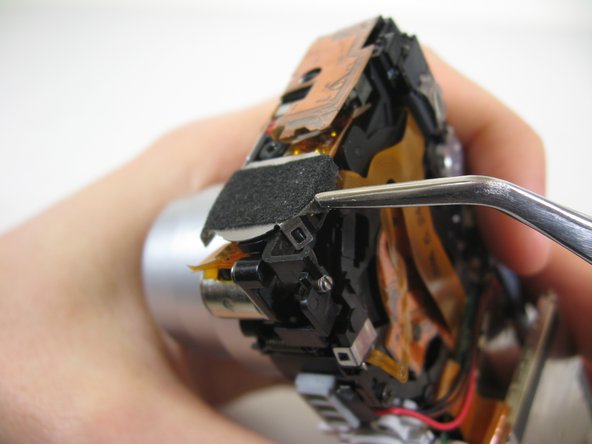
    18. Disassembling Pentax Optio S4i Lens Assembly: step 18, image 1 of 3 Disassembling Pentax Optio S4i Lens Assembly: step 18, image 2 of 3 Disassembling Pentax Optio S4i Lens Assembly: step 18, image 3 of 3
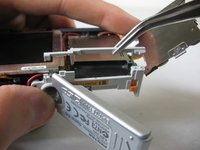
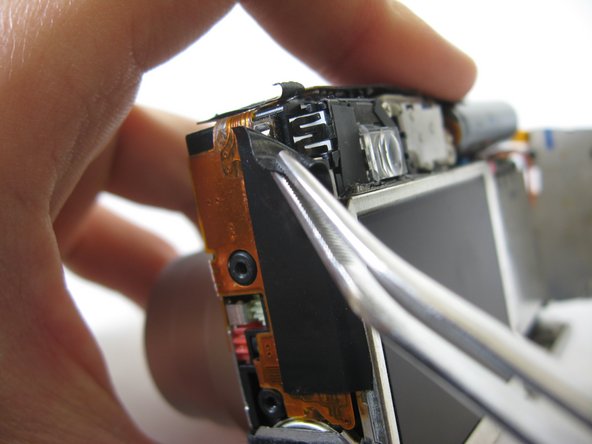
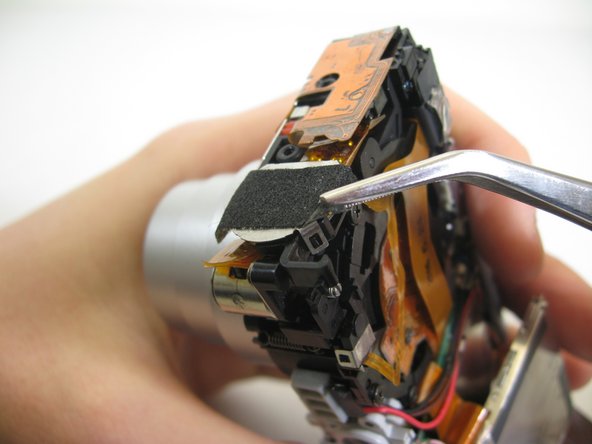
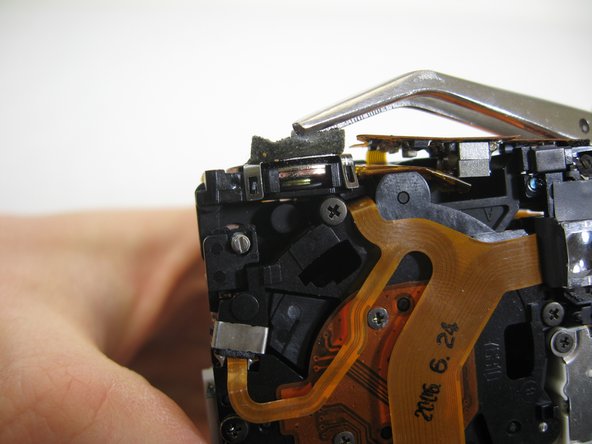
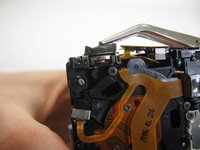
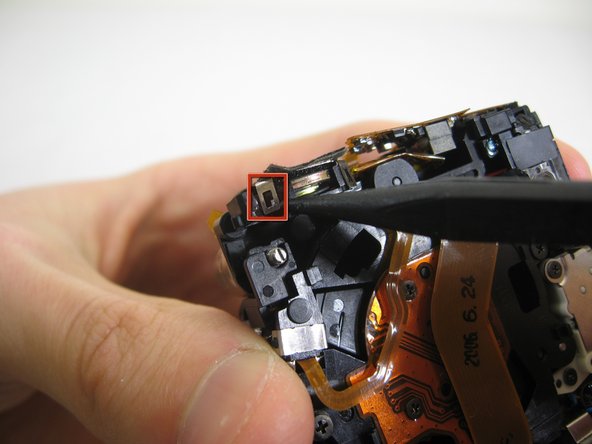
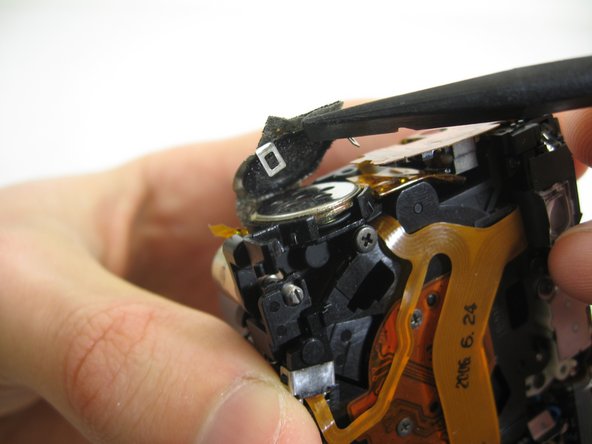
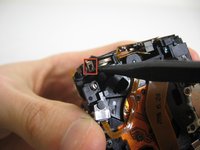
      • Lift up tape slightly on both sides of speaker.

      Add Comment

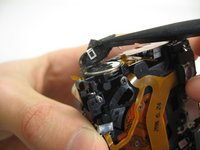
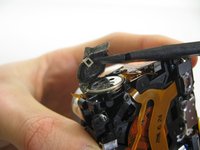
    19. Disassembling Pentax Optio S4i Lens Assembly: step 19, image 1 of 3 Disassembling Pentax Optio S4i Lens Assembly: step 19, image 2 of 3 Disassembling Pentax Optio S4i Lens Assembly: step 19, image 3 of 3
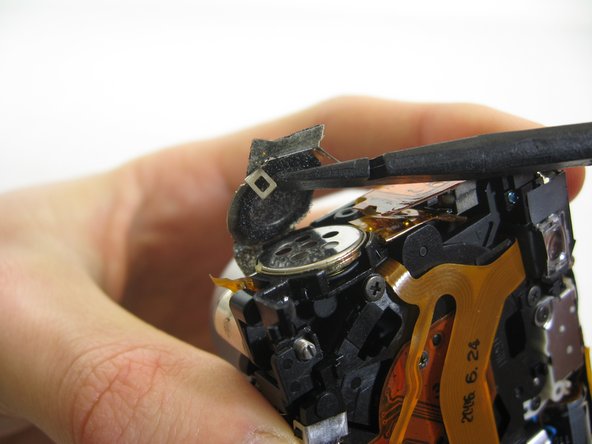
      • Use the pointed end of a spudger to lift up brackets.

      • Lift speaker cover out.

      Add Comment

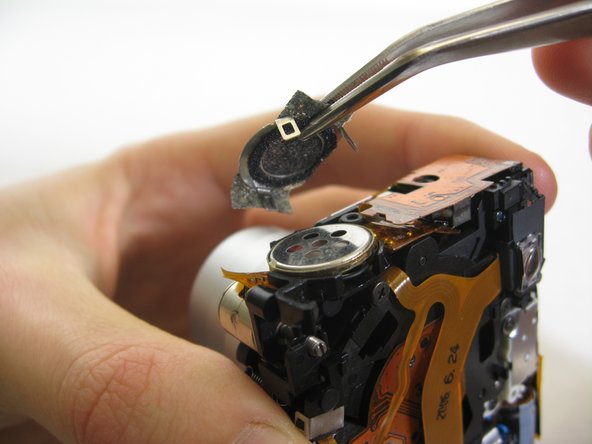
    20. Disassembling Pentax Optio S4i Lens Assembly: step 20, image 1 of 1
      • Remove speaker cover.

      Add Comment

    21. Disassembling Pentax Optio S4i Lens Assembly: step 21, image 1 of 2 Disassembling Pentax Optio S4i Lens Assembly: step 21, image 2 of 2
      • Turn camera to front.

      • Carefully peel off orange wire tape. The tape is glued to the surface indicated.

      • Lift speaker from holder.

      Add Comment

    22. Disassembling Pentax Optio S4i Lens Assembly: step 22, image 1 of 2 Disassembling Pentax Optio S4i Lens Assembly: step 22, image 2 of 2
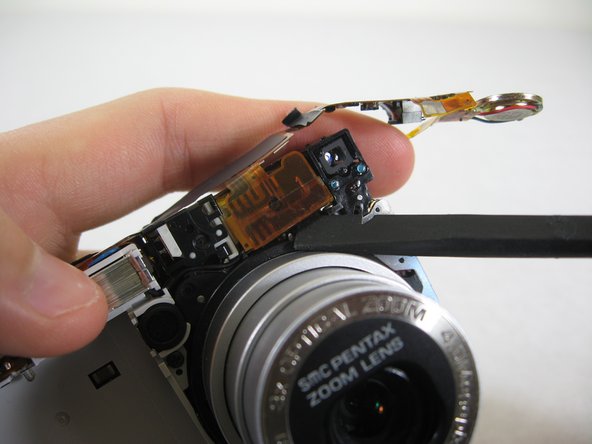
      • Use a wedge to lift up the wire tape flap.

      Add Comment

    23. Disassembling Pentax Optio S4i Lens Assembly: step 23, image 1 of 3 Disassembling Pentax Optio S4i Lens Assembly: step 23, image 2 of 3 Disassembling Pentax Optio S4i Lens Assembly: step 23, image 3 of 3
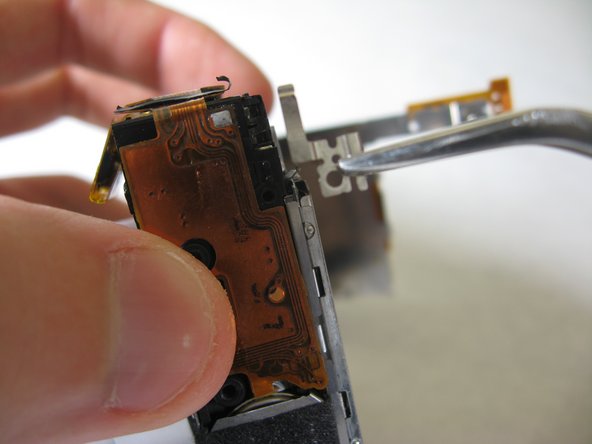
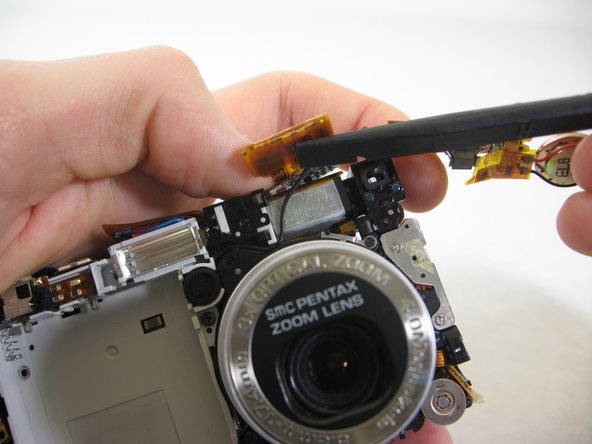
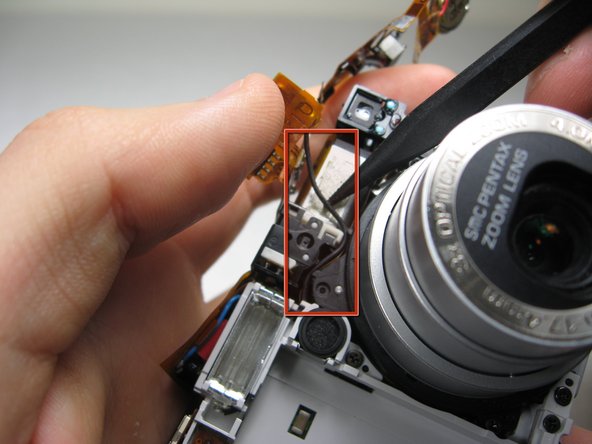
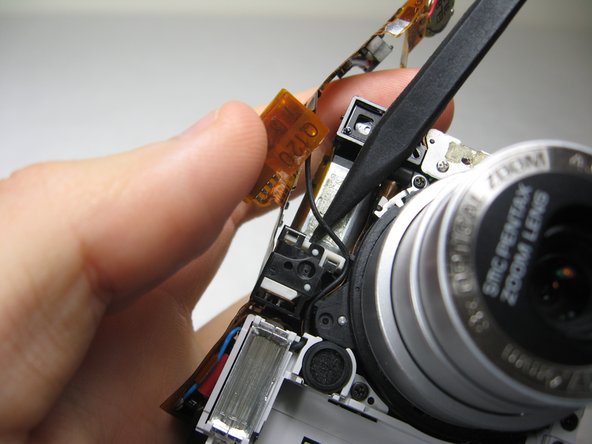
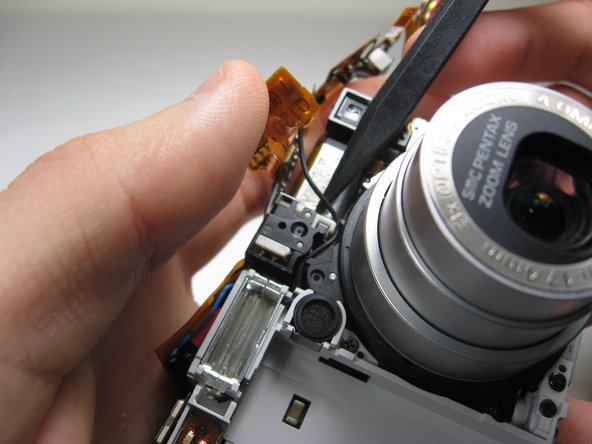
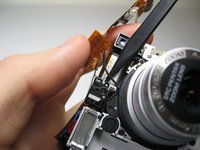
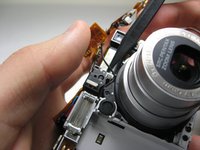
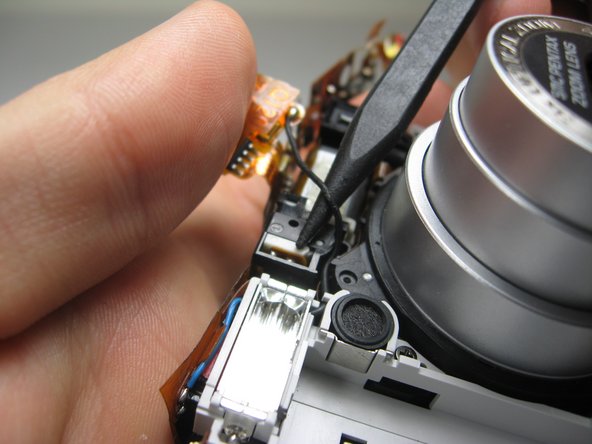
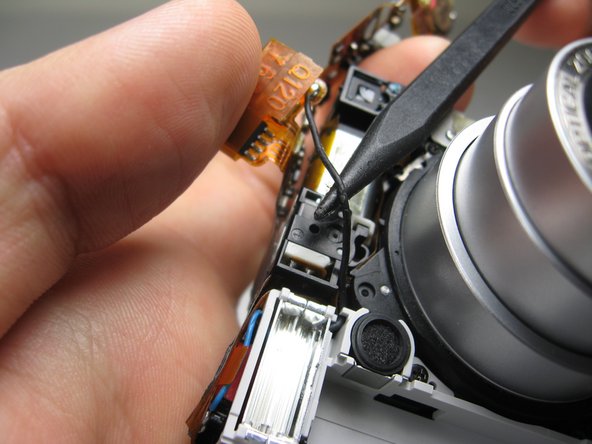
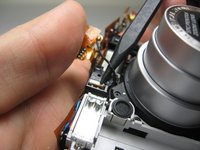
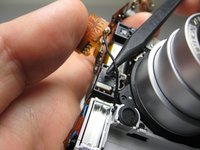
      • Insert the point of a spudger underneath the wire shown.

      Add Comment

    24. Disassembling Pentax Optio S4i Lens Assembly: step 24, image 1 of 2 Disassembling Pentax Optio S4i Lens Assembly: step 24, image 2 of 2
      • Carefully lift the wire out of the crevasses.

      Add Comment

    25. Disassembling Pentax Optio S4i Lens Assembly: step 25, image 1 of 1
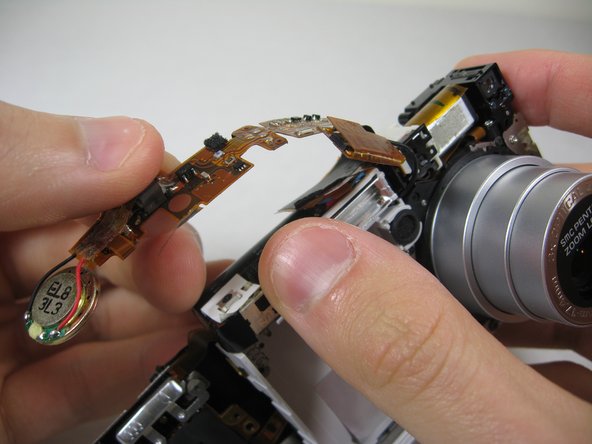
      • Slowly bend the speaker's wire tape away from the lens assembly. Avoid creasing the tape.

      Add Comment

    26. Disassembling Pentax Optio S4i Lens Assembly: step 26, image 1 of 3 Disassembling Pentax Optio S4i Lens Assembly: step 26, image 2 of 3 Disassembling Pentax Optio S4i Lens Assembly: step 26, image 3 of 3
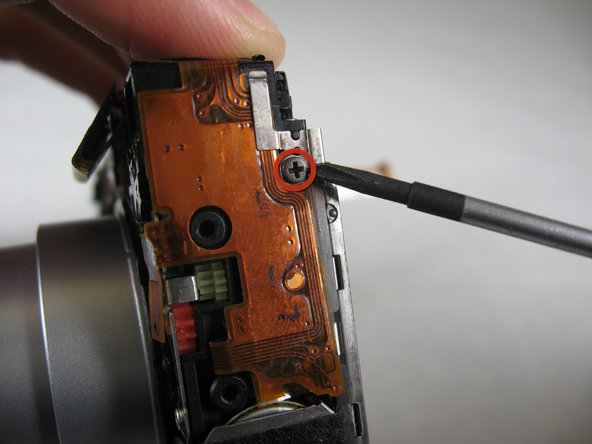
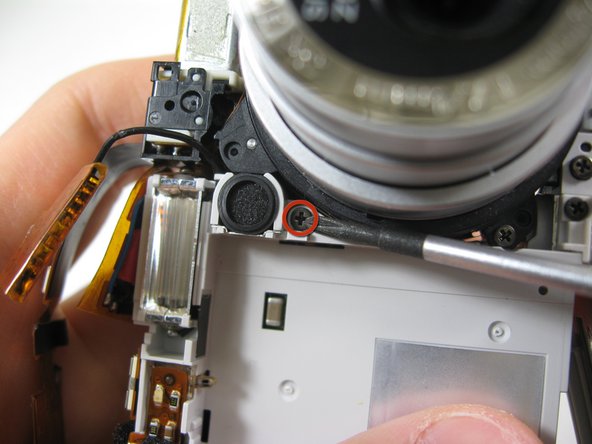
      • Remove indicated screws:

      • Three Black 3.80mm Phillips #00 screws.

      Add Comment

    27. Disassembling Pentax Optio S4i Lens Assembly: step 27, image 1 of 2 Disassembling Pentax Optio S4i Lens Assembly: step 27, image 2 of 2
      • Remove the indicated black 3.40mm Phillips #00 screw on the bottom of the camera.

      • Remove copper leads.

      Add Comment

    28. Disassembling Pentax Optio S4i Lens Assembly: step 28, image 1 of 3 Disassembling Pentax Optio S4i Lens Assembly: step 28, image 2 of 3 Disassembling Pentax Optio S4i Lens Assembly: step 28, image 3 of 3
      • Unscrew the indicated 3.80mm Phillips #00 screw on the back of the camera.

      • Remove screw and bracket.

      Add Comment

    29. Disassembling Pentax Optio S4i Lens Assembly: step 29, image 1 of 1
      • Turn the camera over to the front.

      • In the following step, you will undo the indicated pegs. PROCEED TO THE NEXT STEP.

      Add Comment

    30. Disassembling Pentax Optio S4i Lens Assembly: step 30, image 1 of 3 Disassembling Pentax Optio S4i Lens Assembly: step 30, image 2 of 3 Disassembling Pentax Optio S4i Lens Assembly: step 30, image 3 of 3
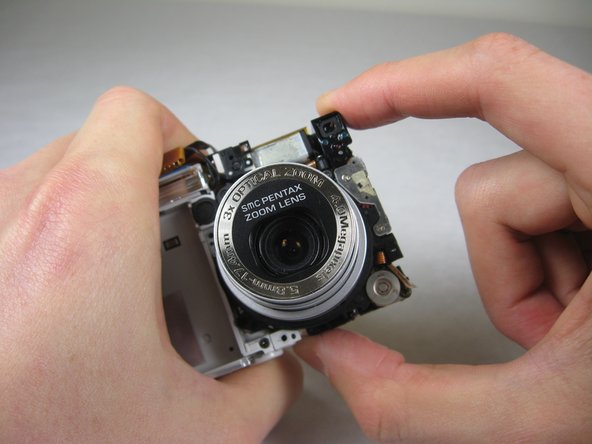
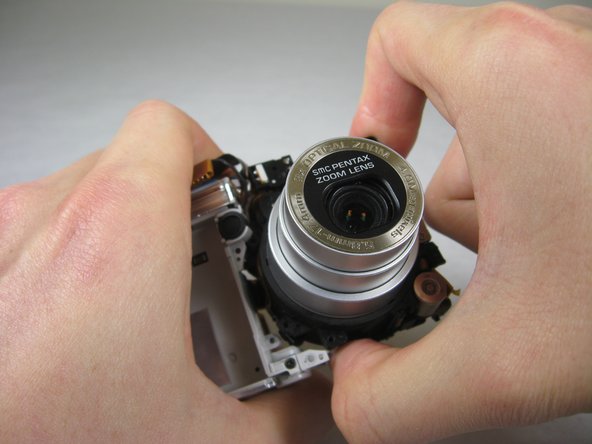
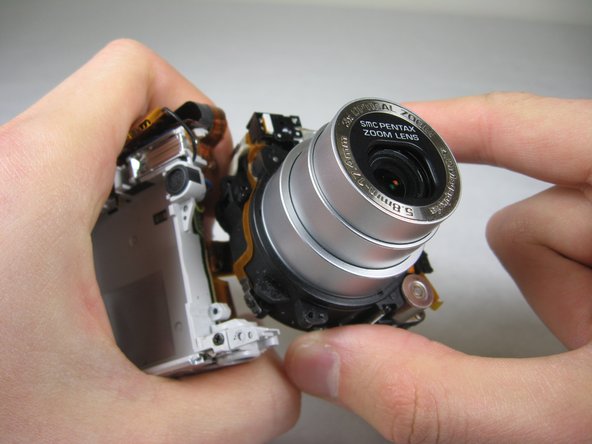
      • Carefully holding the camera, grab the corresponding two points.

      • Carefully twist the lens assembly away from you. You will be turning your hand clockwise.

      • Pull lens assembly out.

      • The lens assembly is attached to the logic board by wire tape.

      Add Comment

Conclusion

To reassemble your device, follow these instructions in reverse order.

Cancel: I did not complete this guide.

System

Member since: 09/24/09

2,562 Guides authored

0 Guide Comments

Add Comment

View Statistics:

Past 24 Hours: 0

Past 7 Days: 0

Past 30 Days: 0

All Time: 25