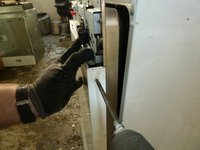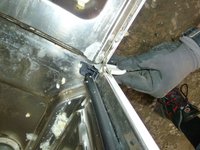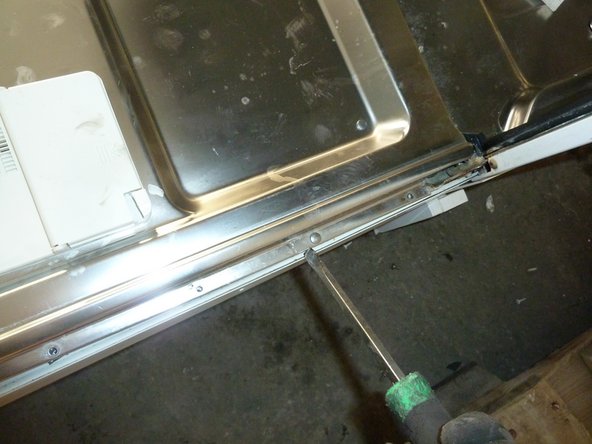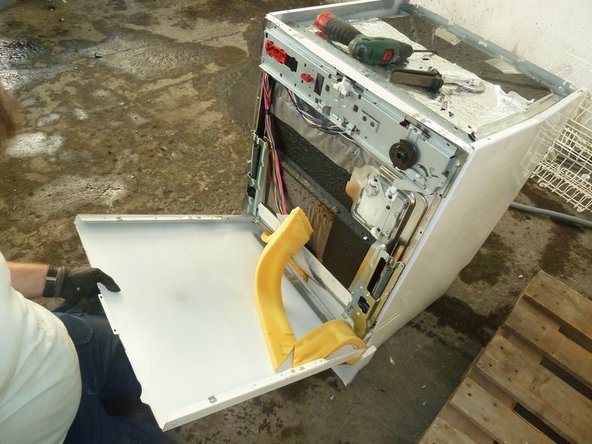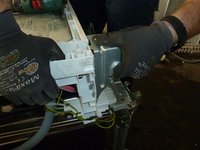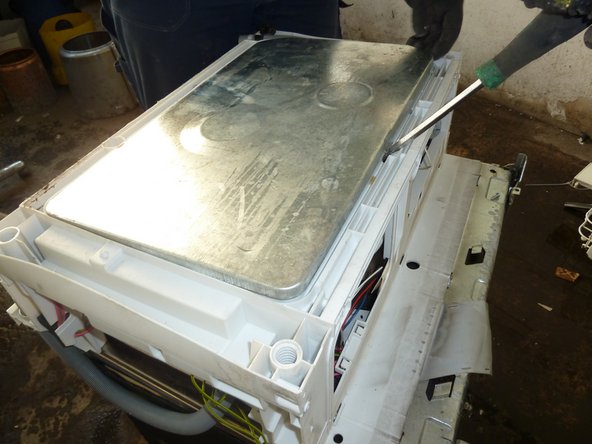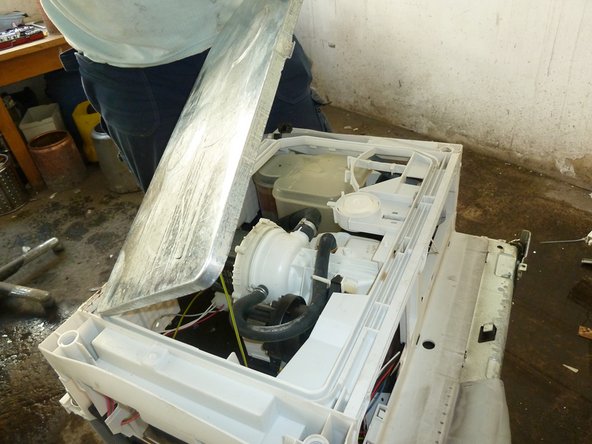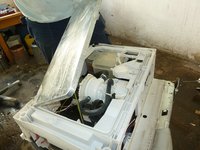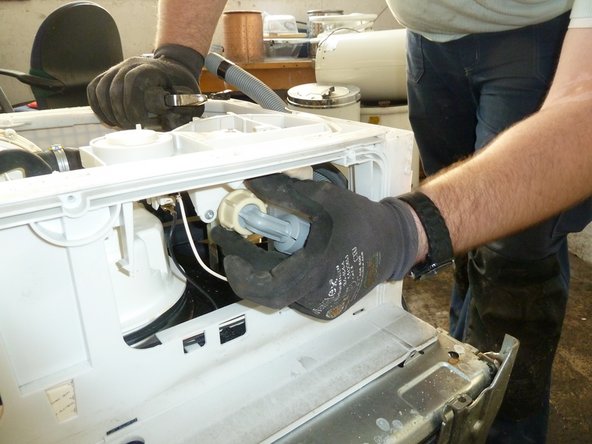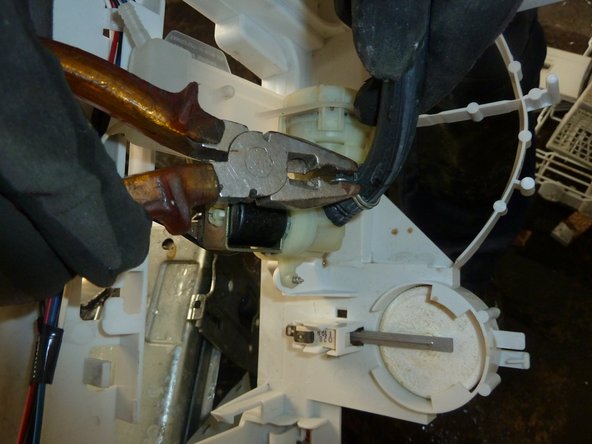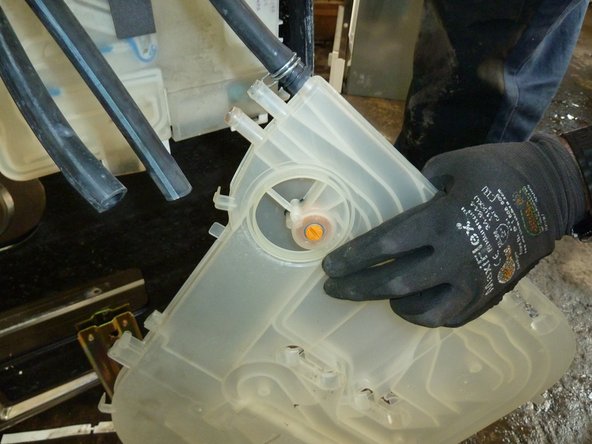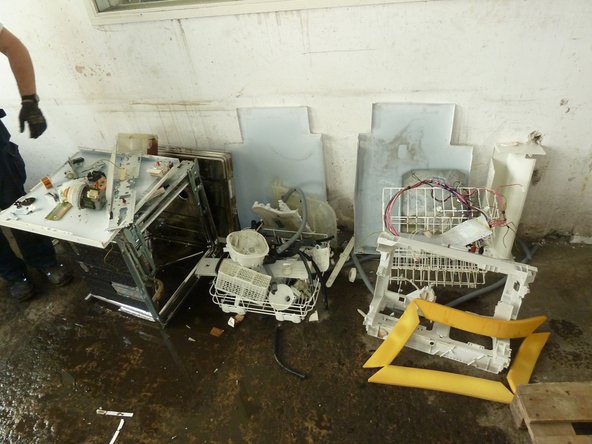
Dish Washing Machine

Views: 240

View statistics:

Past 24 Hours:
0
Past 7 Days:
0
Past 30 Days:
4
All Time:
240
Comments: 0

No one has left comments on this guide. Will you be first?

Go to guide comments
Completed: 0

No one has marked this guide "completed." Will you be the first?

Favorites: 0

No one has favorited (and subscribed to) this guide. Will you be the first?

Time Required: No estimate
Difficulty: Moderate
Dish Washing Machine

Introduction

Go to step 1 ↓
Dismantling and Recycling Centre (DRZ)

Dismantling and Recycling Centre (DRZ)

Katharina Lenz, Vienna / Austria

Health & Safety

Dismantling doesn't include any harmful steps. Nonetheless workers should wear personal protection equipment like gloves, goggles, apron and robust shoes.

Note: This is a general guide for most dish washing machines. As the construction can differ, the dismantling steps mentioned below can vary in their order. However, the described steps show what parts the removal should focus on.

    1. Dish Washing Machine, How to disassemble dish washing machines: step 1, image 1 of 1
      • Cut off the power supply cable, dispose of the plug separately (mixed waste).

      Add Comment

    2. Dish Washing Machine: step 2, image 1 of 1
      • Cut off the water hose (careful – it might still contain water!).

      Add Comment

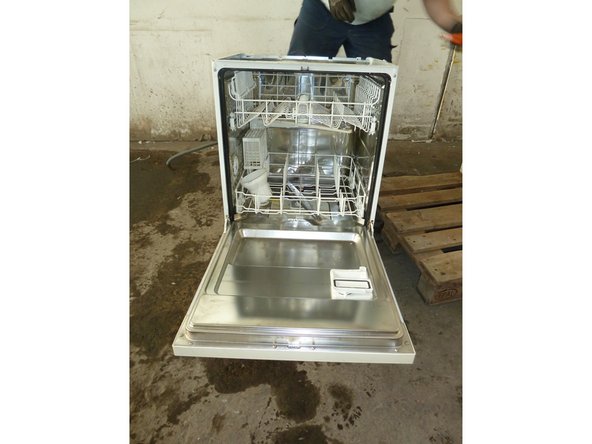
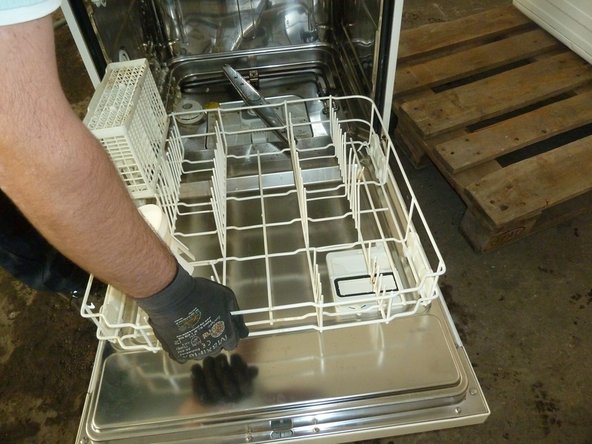
    3. Dish Washing Machine: step 3, image 1 of 2 Dish Washing Machine: step 3, image 2 of 2
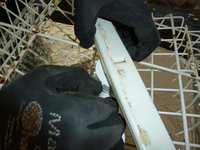
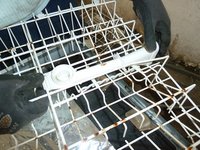
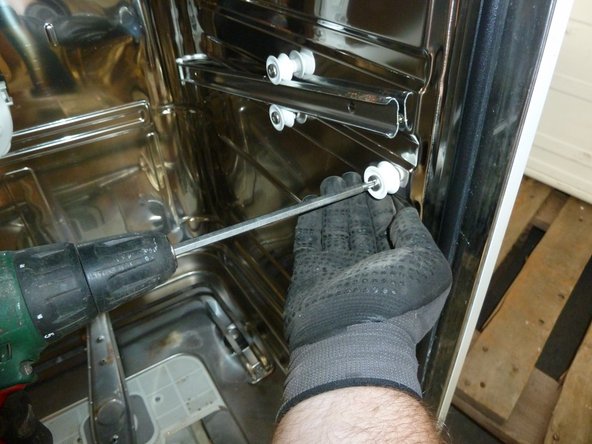
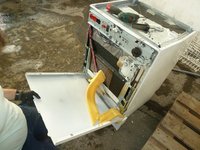
      • Open the front door and remove the lower dish tray.

      Add Comment

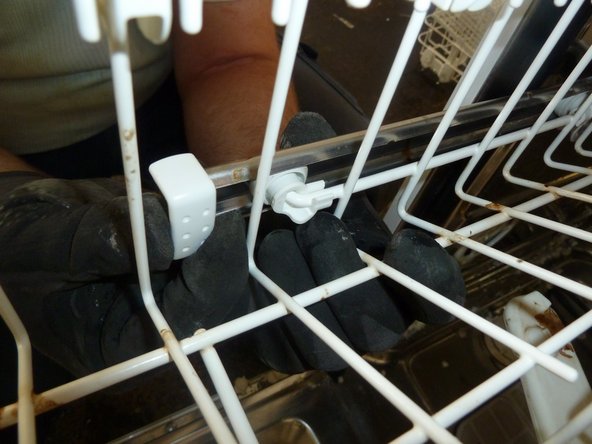
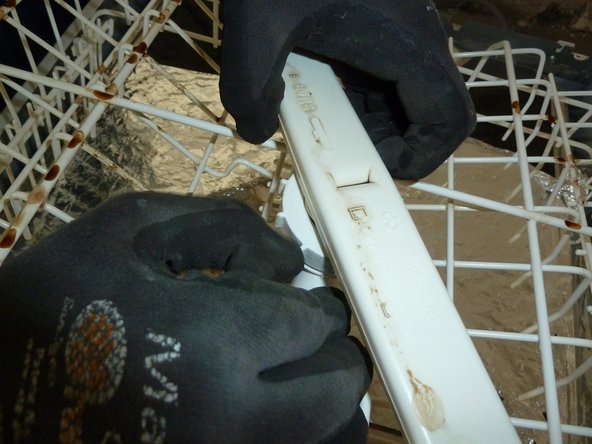
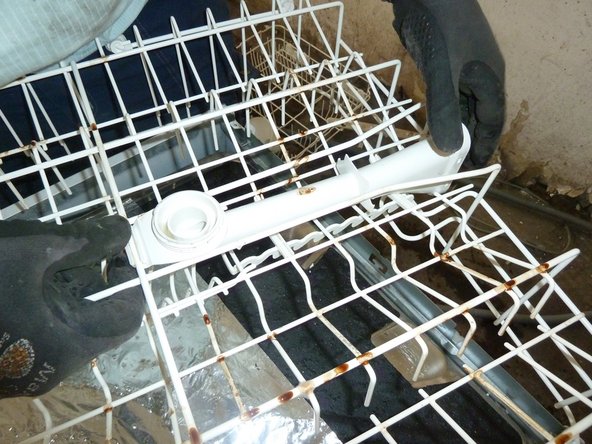
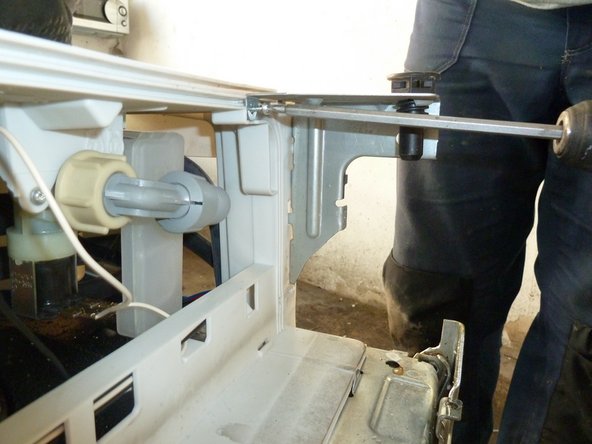
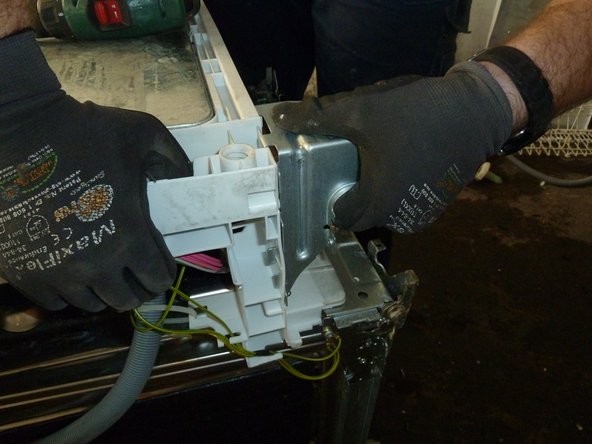
    4. Dish Washing Machine: step 4, image 1 of 3 Dish Washing Machine: step 4, image 2 of 3 Dish Washing Machine: step 4, image 3 of 3
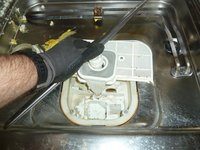
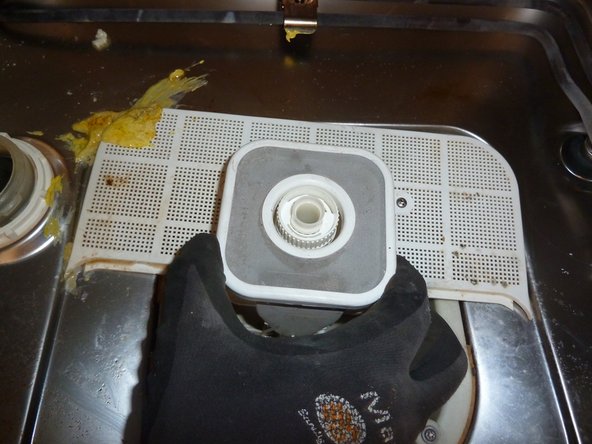
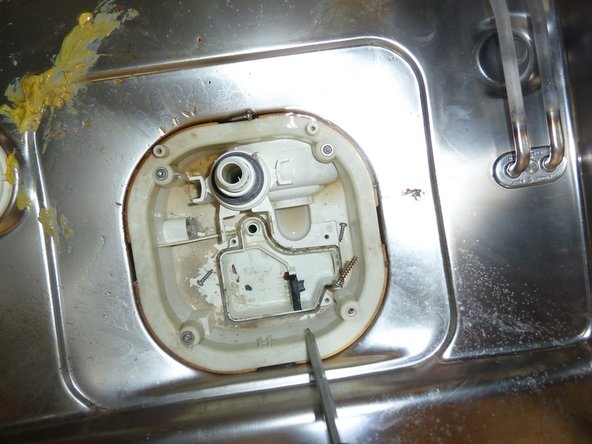
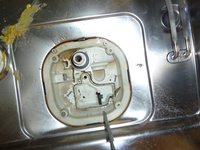
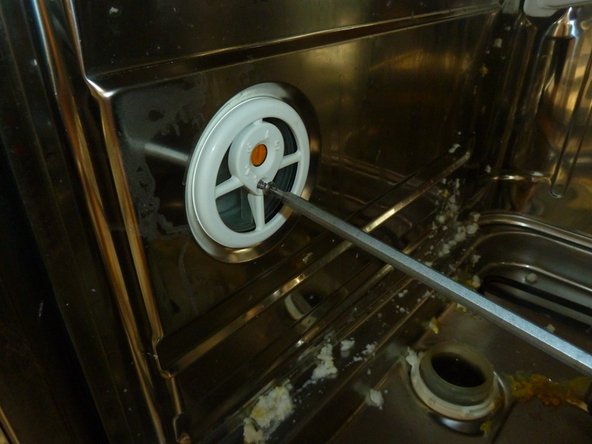
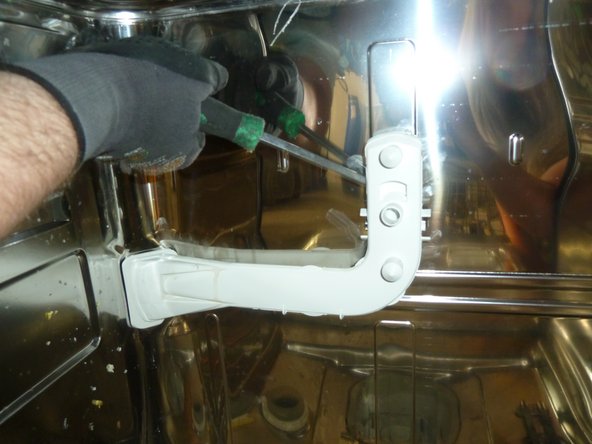
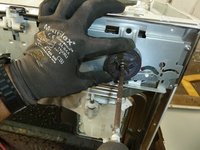
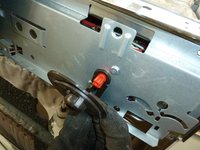
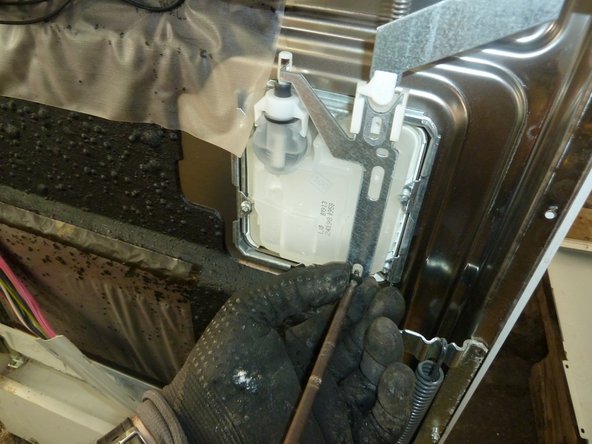
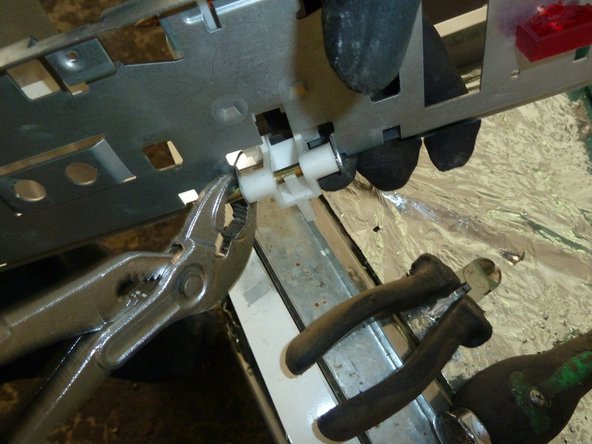
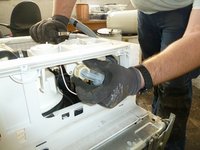
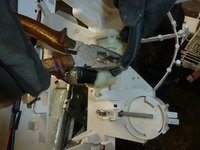
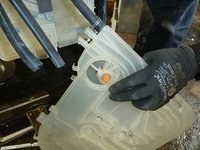
      • Remove the upper dish tray. Unscrew the water dispenser. Unclip the plastic fixture.

      Add Comment

    5. Dish Washing Machine: step 5, image 1 of 1
      • Remove the rinse agent container.

      Add Comment

    6. Dish Washing Machine: step 6, image 1 of 3 Dish Washing Machine: step 6, image 2 of 3 Dish Washing Machine: step 6, image 3 of 3
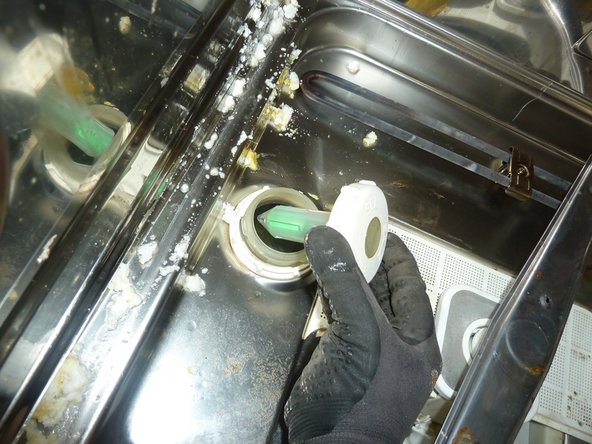
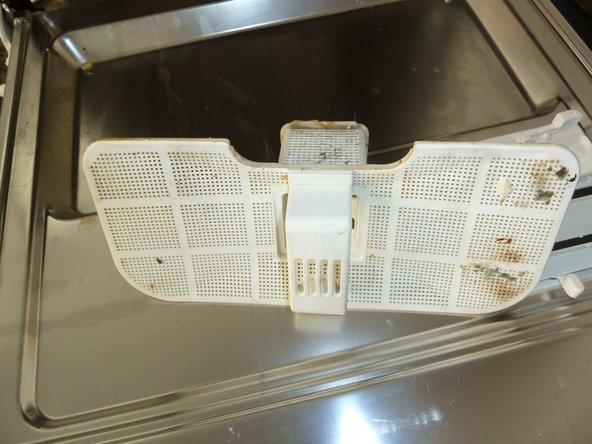
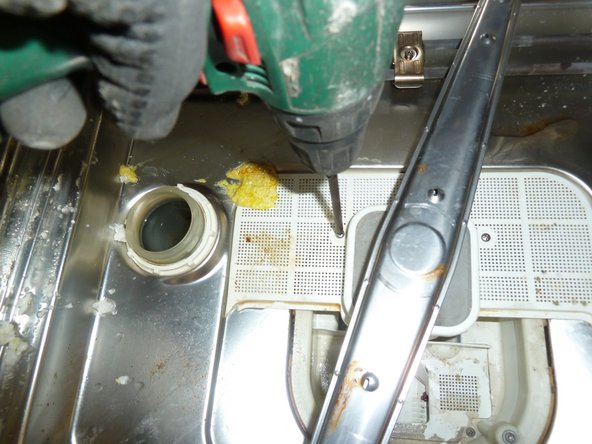
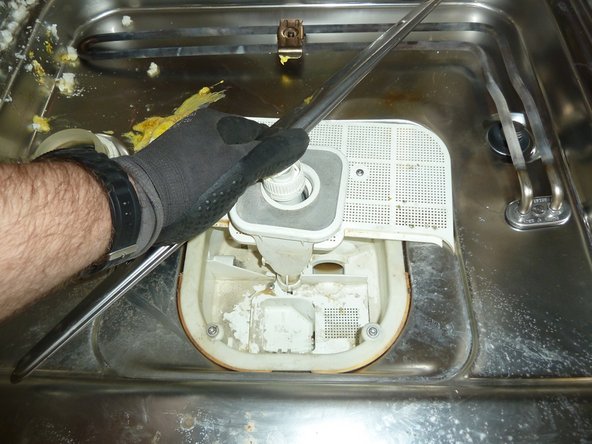
      • Remove plastic filters. Unscrew further filter parts. Remove the water dispenser arm. Pull out the fixture.

      Add Comment

    7. Dish Washing Machine: step 7, image 1 of 2 Dish Washing Machine: step 7, image 2 of 2
      • Pull out the fixture. Unscrew the next fixture parts.

      Add Comment

    8. Dish Washing Machine: step 8, image 1 of 1
      • Unscrew the rails for the dish trays.

      Add Comment

    9. Dish Washing Machine: step 9, image 1 of 1
      • Unscrew and remove any remaining plastic parts in the interior e.g. the valve cover.

      Add Comment

    10. Dish Washing Machine: step 10, image 1 of 1
      • Remove plastic parts such as the injection nozzle with a large screwdriver.

      Add Comment

    11. Dish Washing Machine: step 11, image 1 of 2 Dish Washing Machine: step 11, image 2 of 2
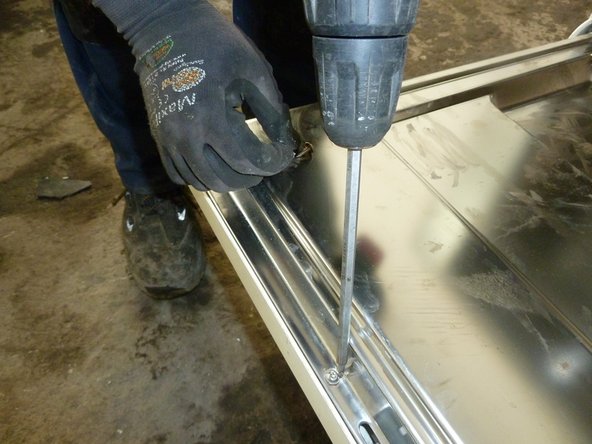
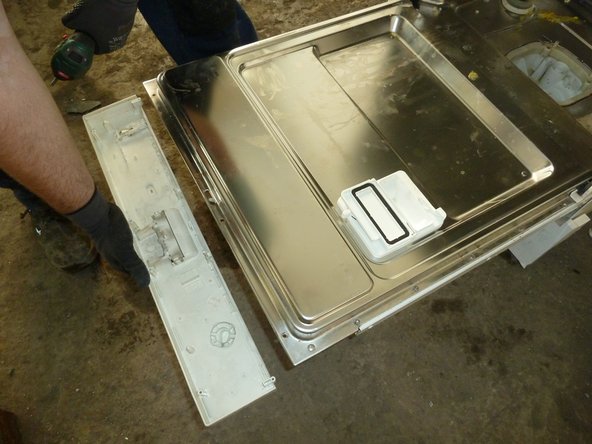
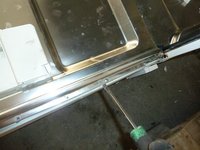
      • Unscrew the stainless steel interior door panel. Remove the front panel.

      Add Comment

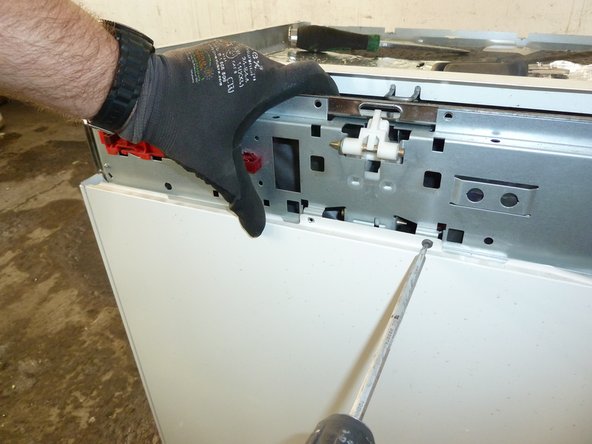
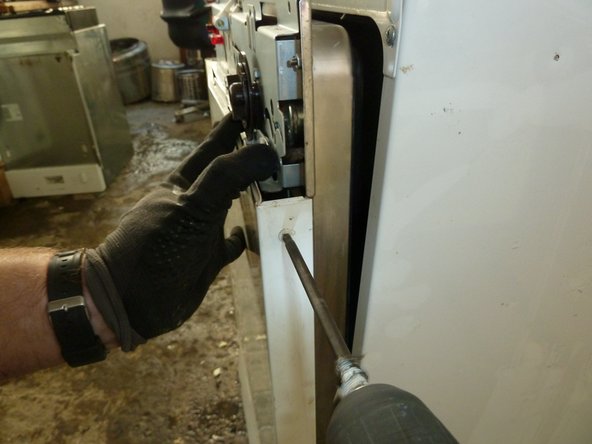
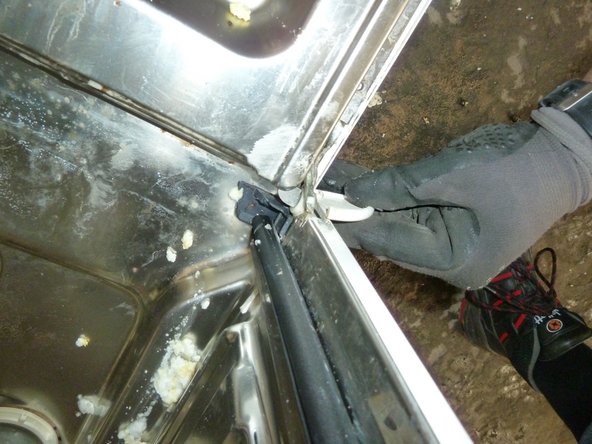
    12. Dish Washing Machine: step 12, image 1 of 3 Dish Washing Machine: step 12, image 2 of 3 Dish Washing Machine: step 12, image 3 of 3
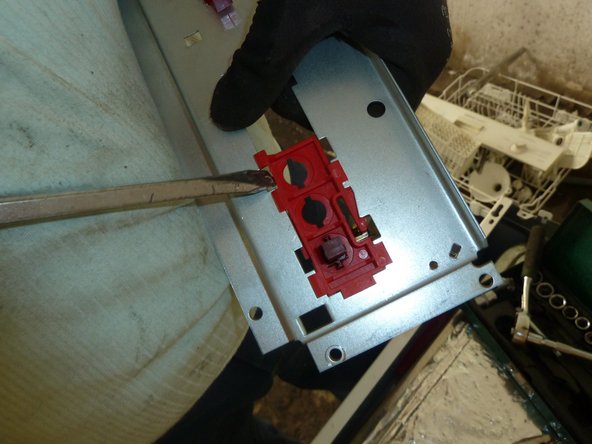
      • Unscrew the remaining front door panel from the outside. Remove any plastic parts protecting the door hinges.

      Add Comment

    13. Dish Washing Machine: step 13, image 1 of 2 Dish Washing Machine: step 13, image 2 of 2
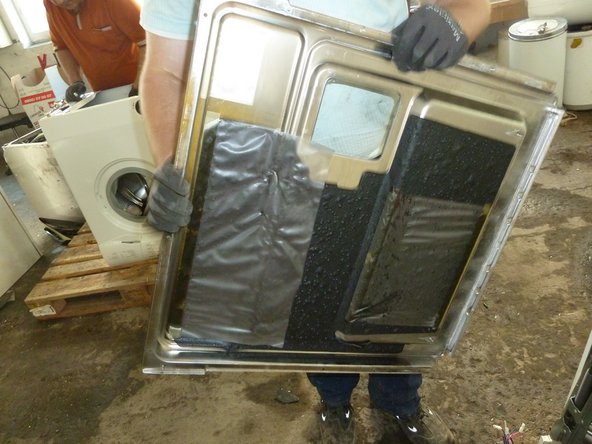
      • Pry off the internal stainless steel sheet. Remove the front sheet and any insulating materials.

      Add Comment

    14. Dish Washing Machine: step 14, image 1 of 2 Dish Washing Machine: step 14, image 2 of 2
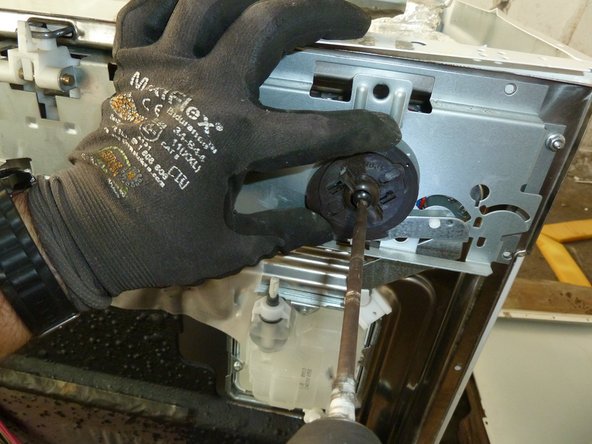
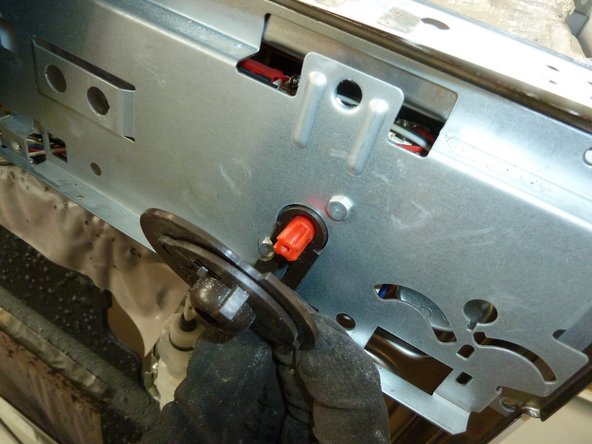
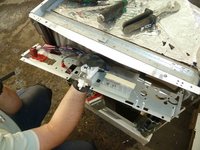
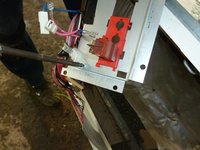
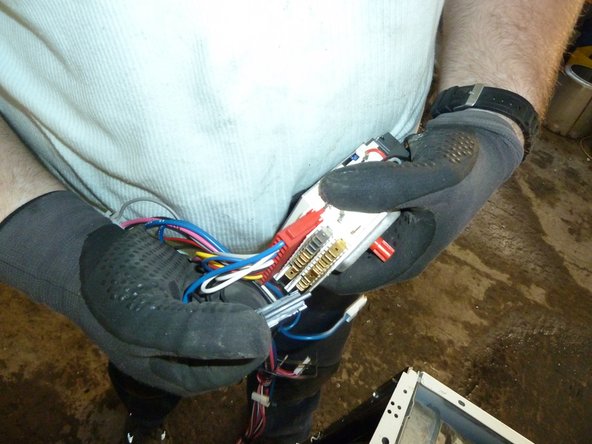
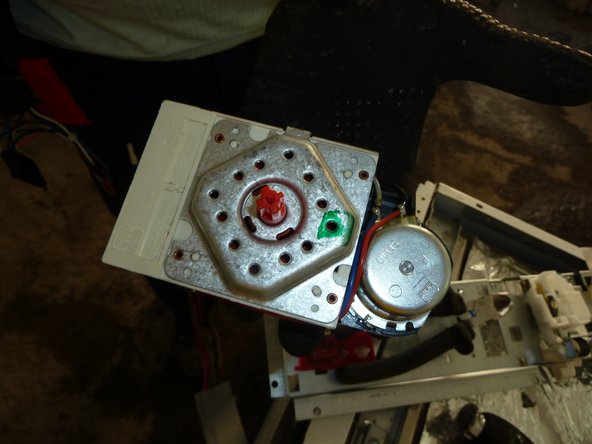
      • Unscrew and remove the program knob.

      Add Comment

    15. Dish Washing Machine: step 15, image 1 of 1
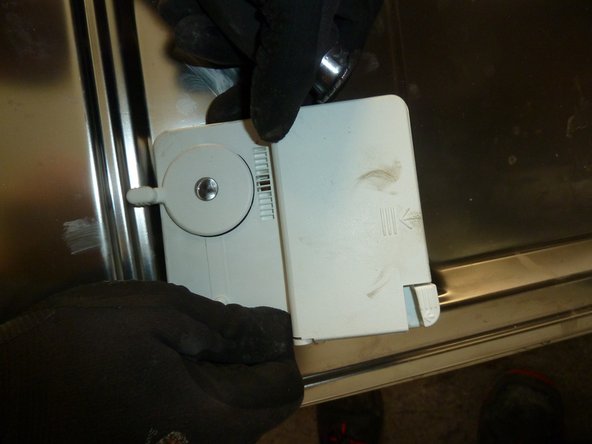
      • Unscrew the dish washing agent dispenser on the outer side of the door.

      Add Comment

    16. Dish Washing Machine: step 16, image 1 of 1
      • Remove the tray for washing agent on the inside of the door.

      Add Comment

    17. Dish Washing Machine: step 17, image 1 of 2 Dish Washing Machine: step 17, image 2 of 2
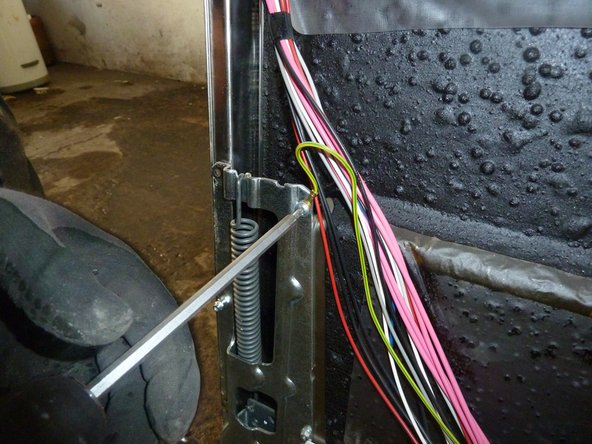
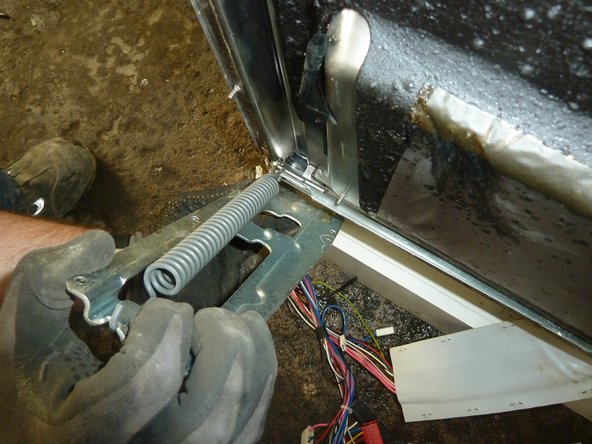
      • Unscrew the door hinges. Remove the hinges with the springs.

      Add Comment

    18. Dish Washing Machine: step 18, image 1 of 3 Dish Washing Machine: step 18, image 2 of 3 Dish Washing Machine: step 18, image 3 of 3
      • Unscrew the front panel.

      • Remove the front panel.

      • Clip off and remove the cables wherever possible.

      Add Comment

    19. Dish Washing Machine: step 19, image 1 of 3 Dish Washing Machine: step 19, image 2 of 3 Dish Washing Machine: step 19, image 3 of 3
      • Remove all parts from the front panel. Undo the door lock.

      Add Comment

    20. Dish Washing Machine: step 20, image 1 of 1
      • Pry off the plastic part of the front panel.

      Add Comment

    21. Dish Washing Machine: step 21, image 1 of 1
      • Remove the front door.

      Add Comment

    22. Dish Washing Machine: step 22, image 1 of 1
      • Peel off the rubber seal.

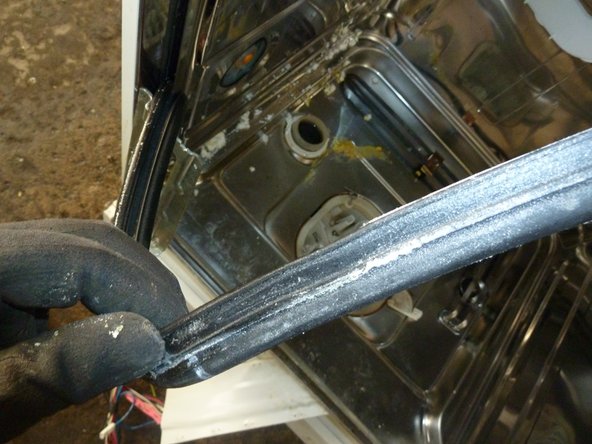
      Add Comment

    23. Dish Washing Machine: step 23, image 1 of 1
      • Remove the screws from the case.

      Add Comment

    24. Dish Washing Machine: step 24, image 1 of 1
      • Turn the dishwasher upside down.

      Add Comment

    25. Dish Washing Machine: step 25, image 1 of 3 Dish Washing Machine: step 25, image 2 of 3 Dish Washing Machine: step 25, image 3 of 3
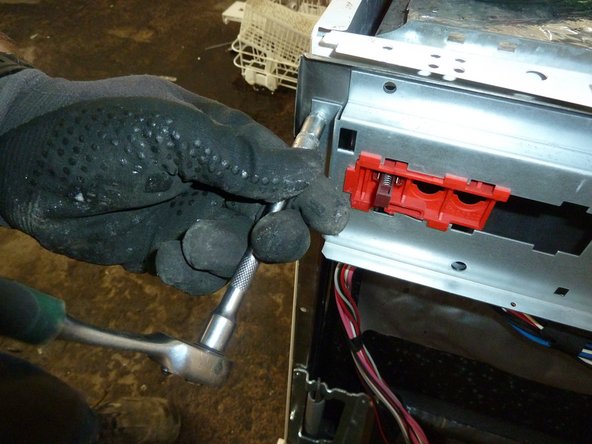
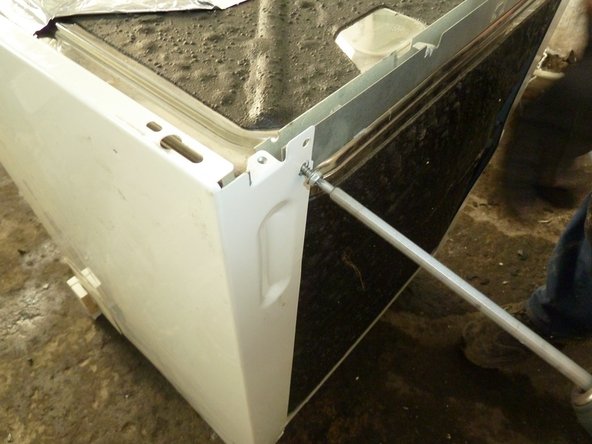
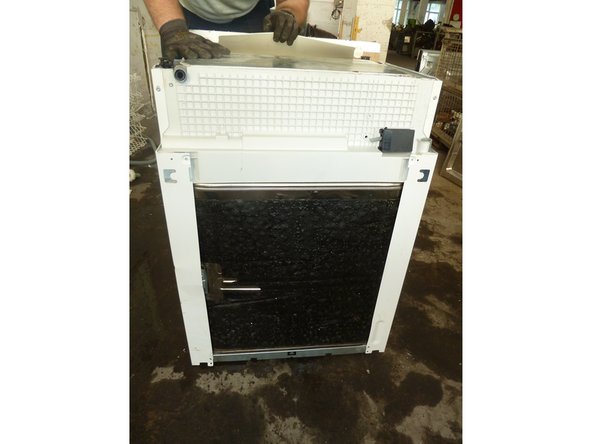
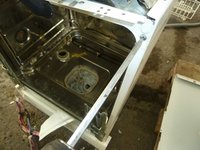
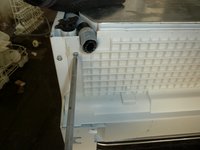
      • Remove the screws on the bottom (now top) front side.

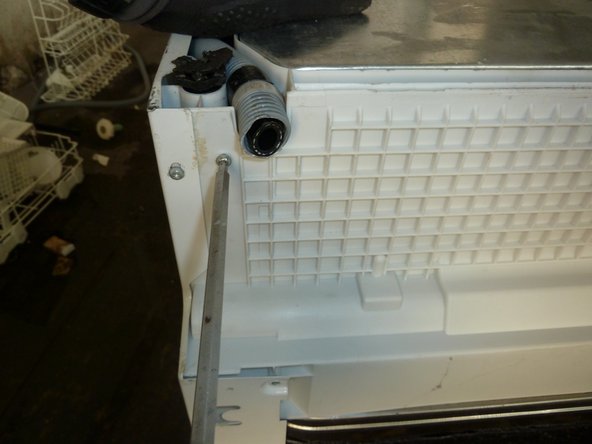
      • Remove the screws on the back side.

      Add Comment

    26. Dish Washing Machine: step 26, image 1 of 3 Dish Washing Machine: step 26, image 2 of 3 Dish Washing Machine: step 26, image 3 of 3
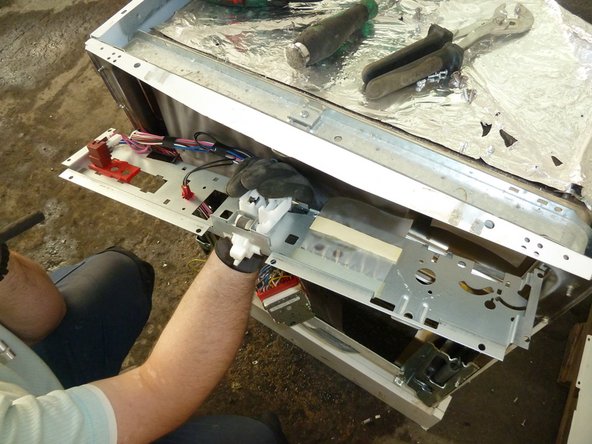
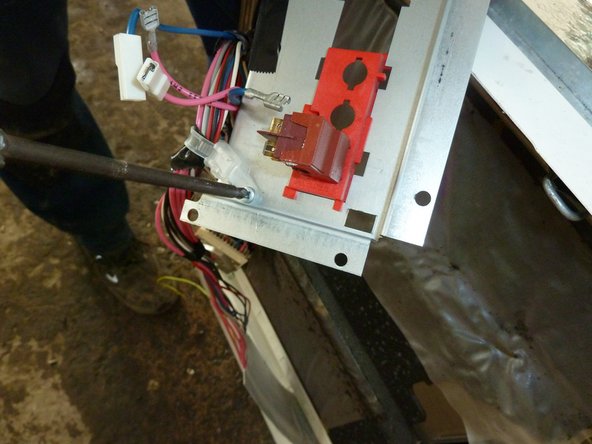
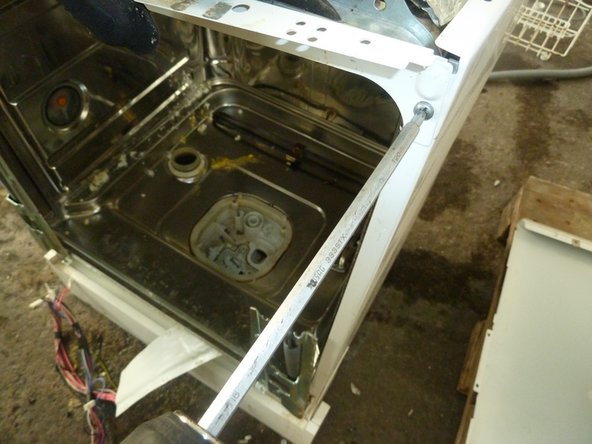
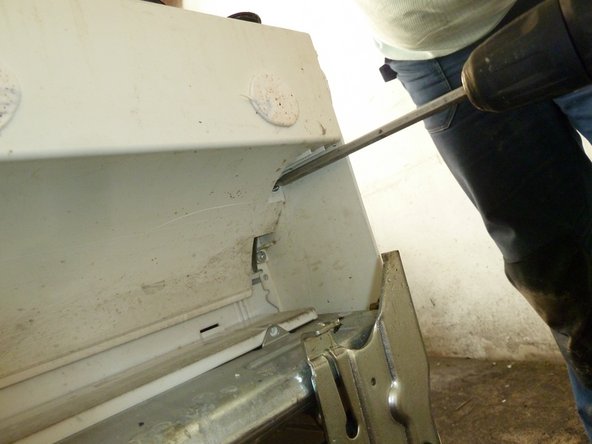
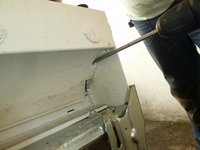
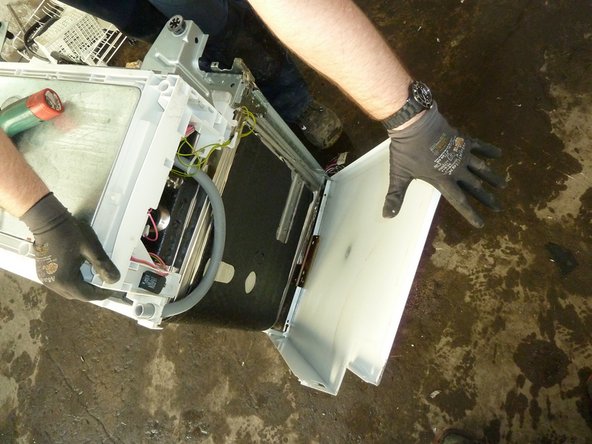
      • Bend open the side of the case.

      • Remove the screws from the mounting bracket.

      • Remove the mounting bracket.

      Add Comment

    27. Dish Washing Machine: step 27, image 1 of 2 Dish Washing Machine: step 27, image 2 of 2
      • Pry open the back cover.

      • Remove the back cover.

      Add Comment

    28. Dish Washing Machine: step 28, image 1 of 3 Dish Washing Machine: step 28, image 2 of 3 Dish Washing Machine: step 28, image 3 of 3
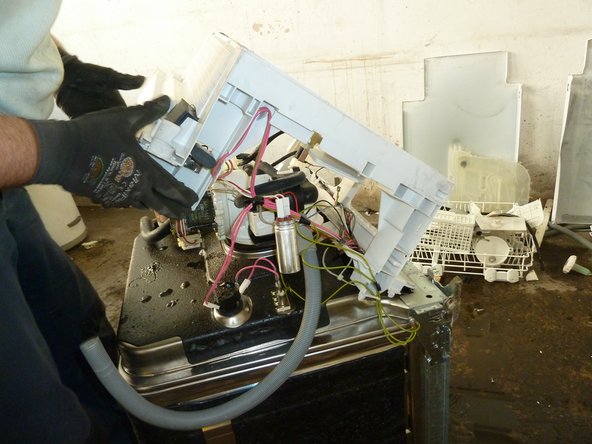
      • Disconnect the hoses.

      • Remove the hoses.

      Add Comment

    29. Dish Washing Machine: step 29, image 1 of 1
      • Take off the plastic frame.

      Add Comment

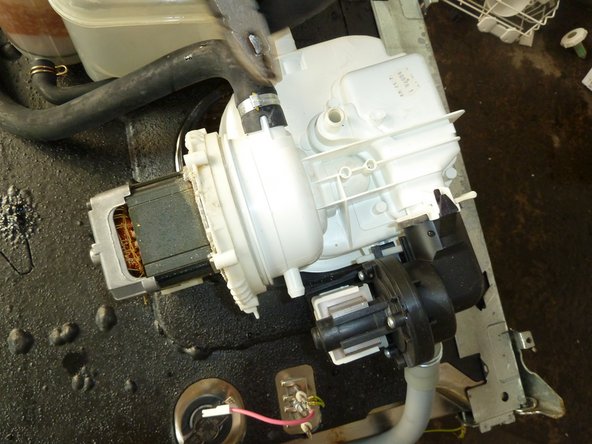
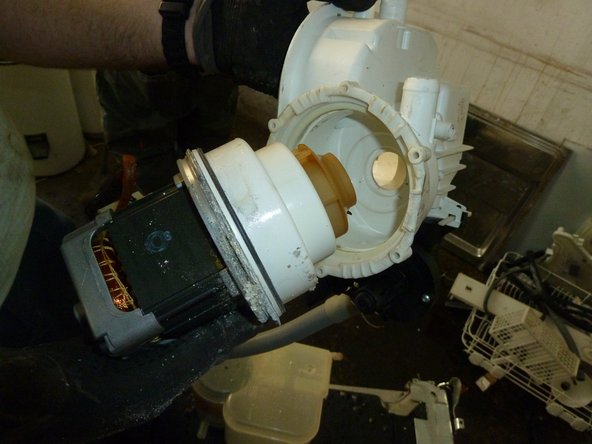
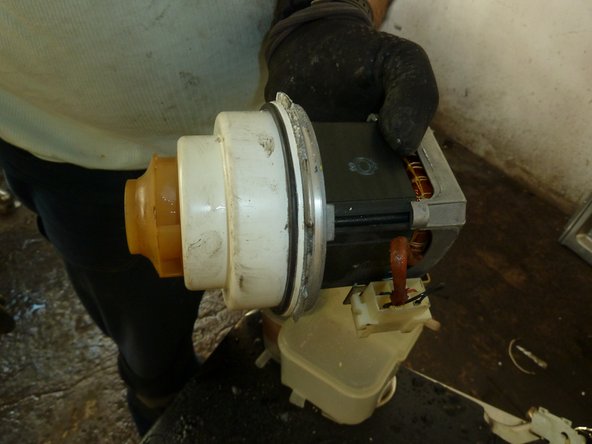
    30. Dish Washing Machine: step 30, image 1 of 3 Dish Washing Machine: step 30, image 2 of 3 Dish Washing Machine: step 30, image 3 of 3
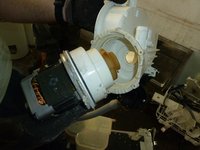
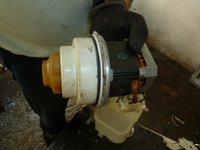
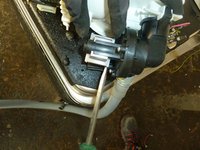
      • Disconnect the hoses from the motor.

      • Take the motor out of its housing.

      Add Comment

    31. Dish Washing Machine: step 31, image 1 of 3 Dish Washing Machine: step 31, image 2 of 3 Dish Washing Machine: step 31, image 3 of 3
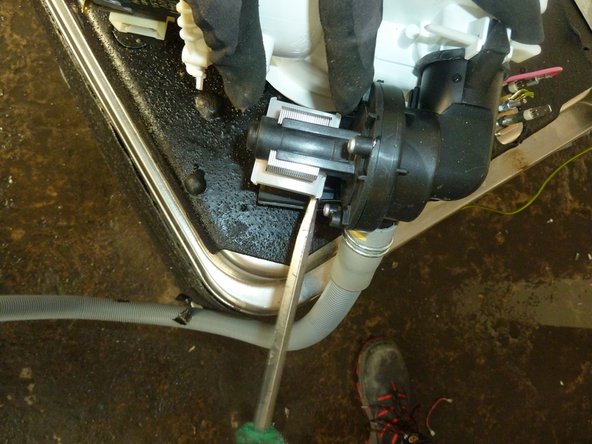
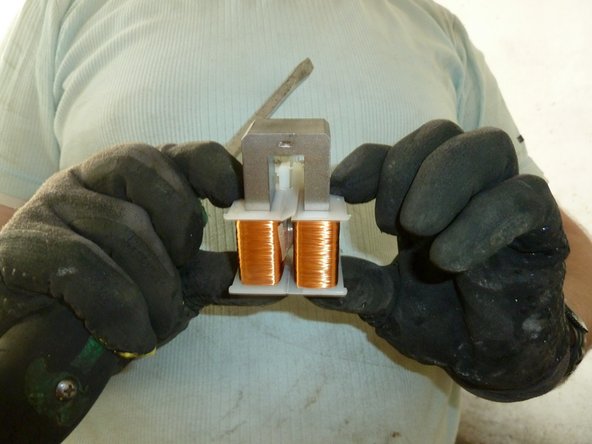
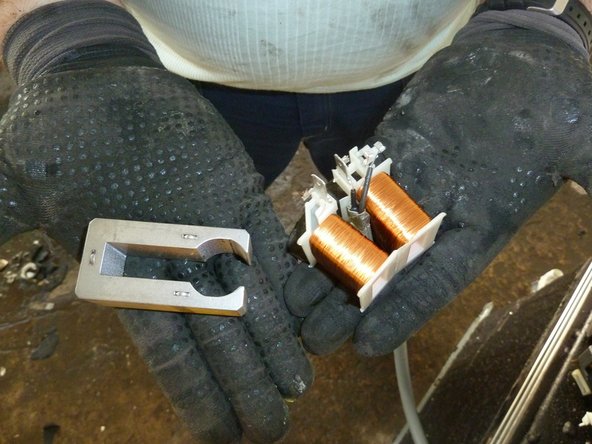
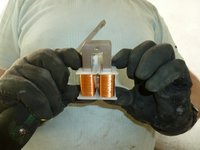
      • Remove the water pump.

      • Take the coil assembly out of the water pump.

      • Seperate the coils from the iron core.

      Add Comment

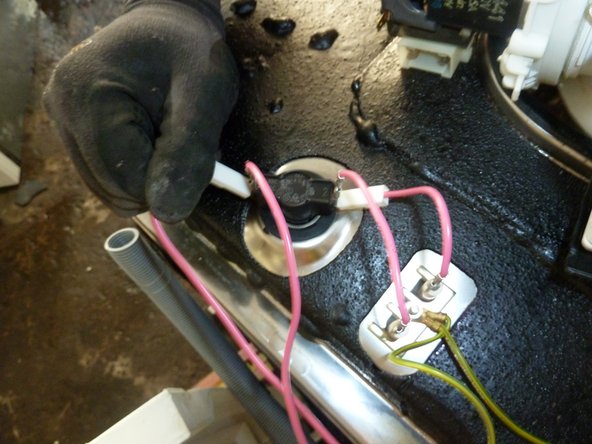
    32. Dish Washing Machine: step 32, image 1 of 1
      • Disconnect all the wires.

      Add Comment

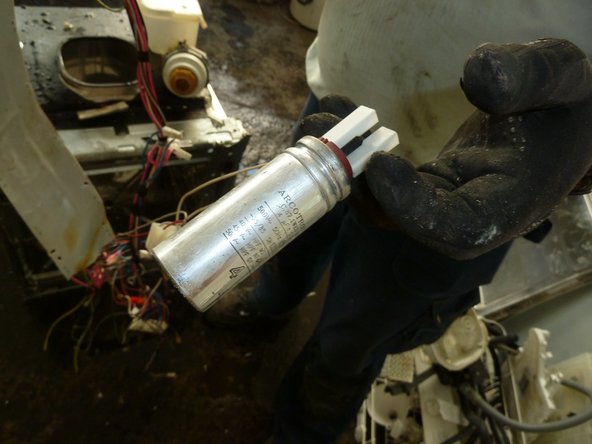
    33. Dish Washing Machine: step 33, image 1 of 1
      • Remove the capacitor.

      Add Comment

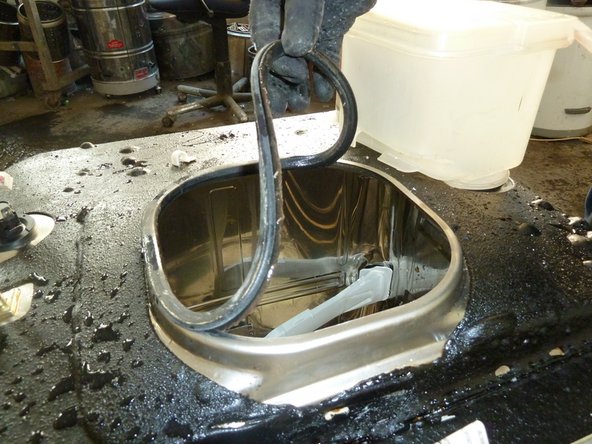
    34. Dish Washing Machine: step 34, image 1 of 1
      • Peel off the rubber seal.

      Add Comment

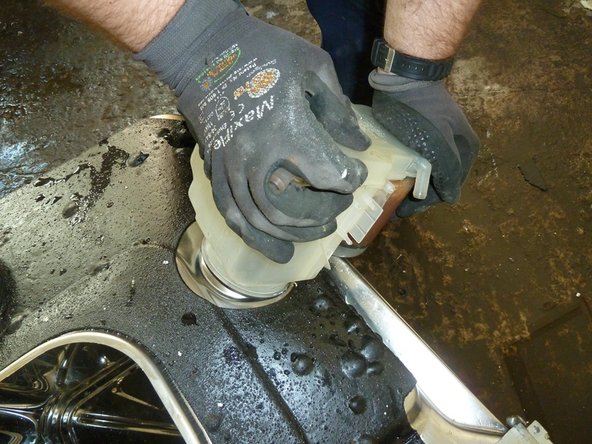
    35. Dish Washing Machine: step 35, image 1 of 1
      • Remove all the plastic parts.

      Add Comment

    36. Dish Washing Machine: step 36, image 1 of 1
      • Separate the remaining materials according to their type and go on with the appropriate data sheet (e.g. aluminium, ferrous metals, plastic, further PWBs, etc.)

      • Make sure the plastic parts are completely free of metal pieces.

      Add Comment

Finish Line

Cancel: I did not complete this guide.

Elisabeth Herbeck

Member since: 09/24/15

10 Guides authored

0 Guide Comments

Add Comment

View Statistics:

Past 24 Hours: 0

Past 7 Days: 0

Past 30 Days: 4

All Time: 240