
DualShock 3 Input Board Replacement

What you need

  1. DualShock 3 Input Board Replacement, DualShock 3 Input Board Replacement: step 1, image 1 of 1
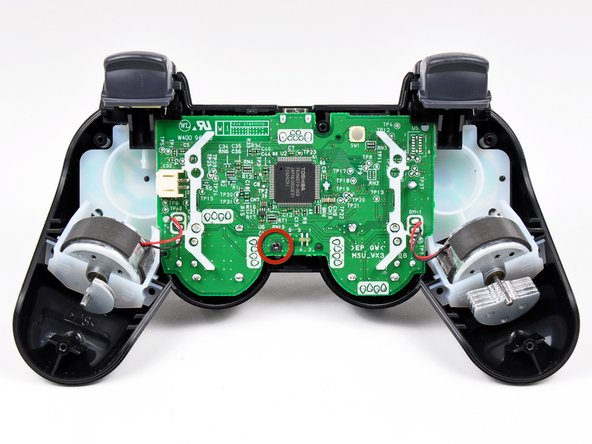
    • Remove the five 7.2 mm Phillips screws securing the rear cover to the controller.

    Add Comment

  2. DualShock 3 Input Board Replacement: step 2, image 1 of 1
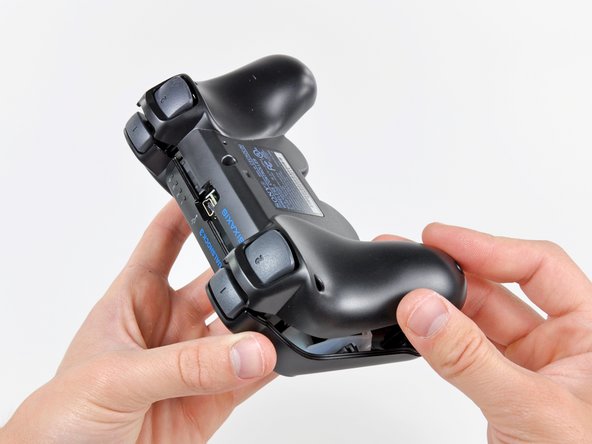
    • Push the center of the rear cover (between the two analog sticks) and slightly lift the lower edge of it away from the rest of the controller.

    Add Comment

  3. DualShock 3 Input Board Replacement: step 3, image 1 of 2 DualShock 3 Input Board Replacement: step 3, image 2 of 2
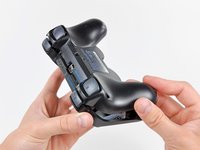
    • Push the rear cover slightly toward the top edge of the controller to clear the front edge of the #2 triggers.

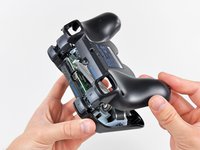
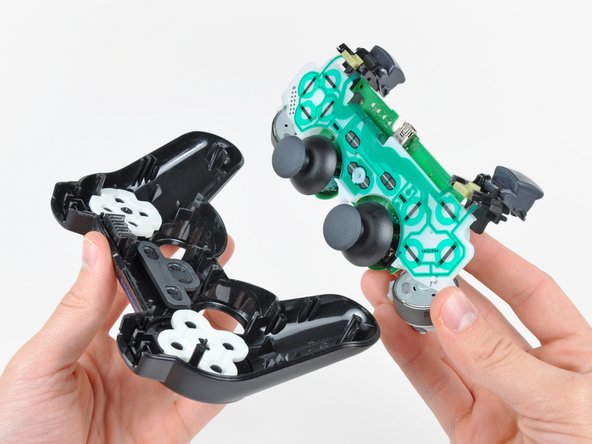
    • Pull the rear cover away from the rest of the controller, being careful not to pop off the #2 triggers.

    • If you happen to accidentally pop off the trigger buttons, we have a trigger button guide to reattach them.

    Add Comment

  4. DualShock 3 Input Board Replacement: step 4, image 1 of 1
    • Lift the battery off the motherboard for enough clearance to access the battery connector.

    Add Comment

  5. DualShock 3 Input Board Replacement: step 5, image 1 of 1
    • Carefully pull the battery connector away from its socket on the motherboard.

    • It may be helpful to use a pair of tweezers or pliers to grab the battery connector when you disconnect it for the first time.

    Add Comment

  6. DualShock 3 Input Board Replacement: step 6, image 1 of 1
    • Remove the single 7.2 mm Phillips screw securing the motherboard to the front cover.

    Add Comment

  7. DualShock 3 Input Board Replacement: step 7, image 1 of 3 DualShock 3 Input Board Replacement: step 7, image 2 of 3 DualShock 3 Input Board Replacement: step 7, image 3 of 3
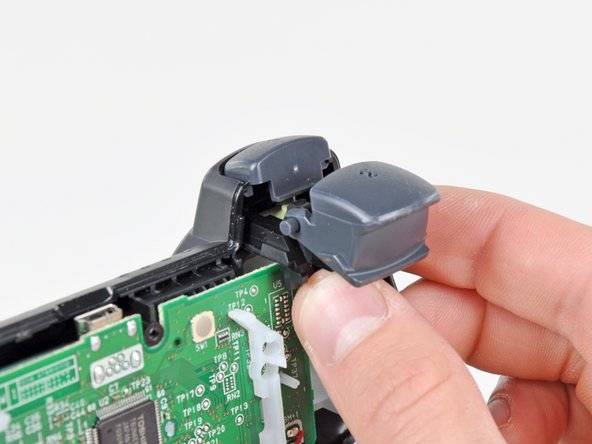
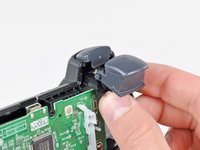
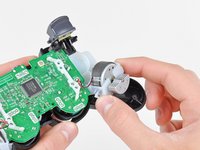
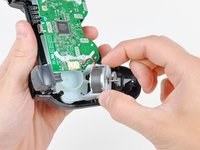
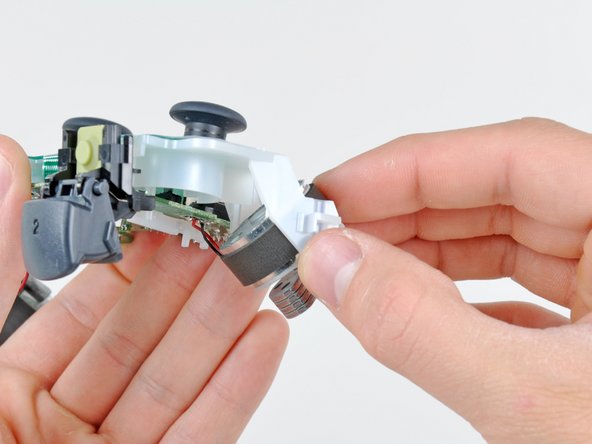
    • Slide the trigger button retainers slightly away from the front cover.

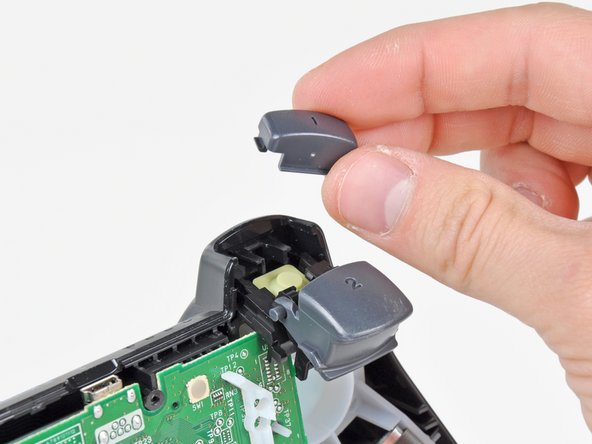
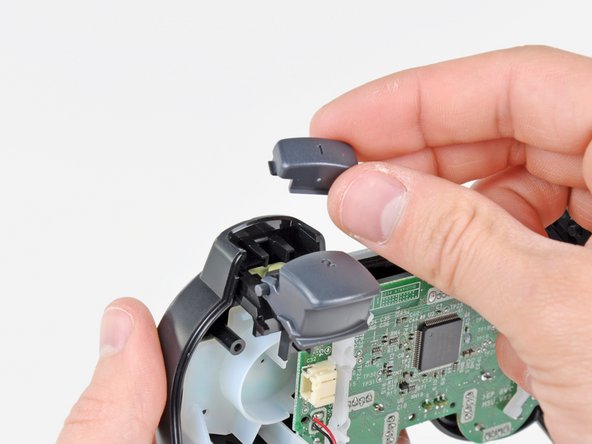
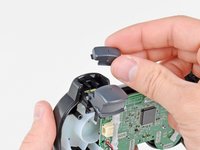
    • Remove the #1 button on both sides.

    Add Comment

  8. DualShock 3 Input Board Replacement: step 8, image 1 of 2 DualShock 3 Input Board Replacement: step 8, image 2 of 2
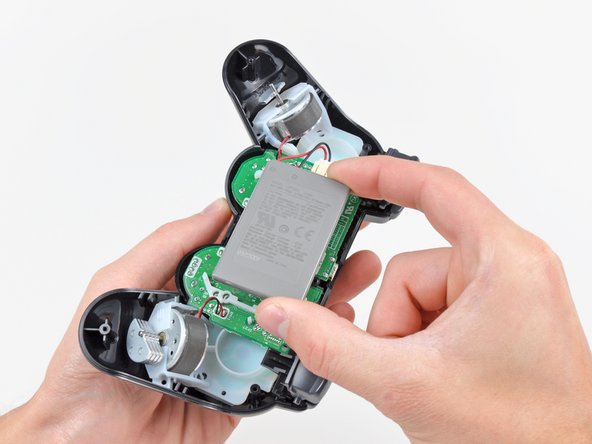
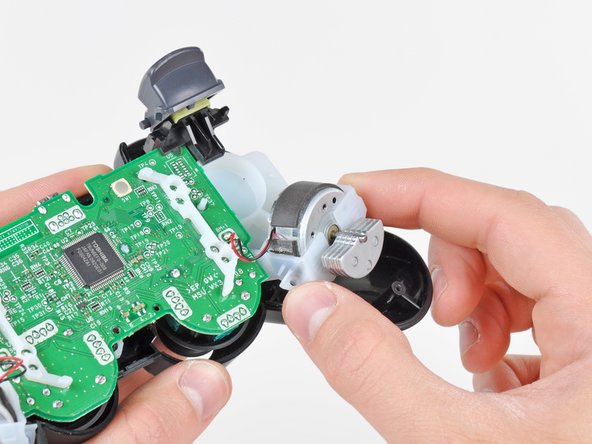
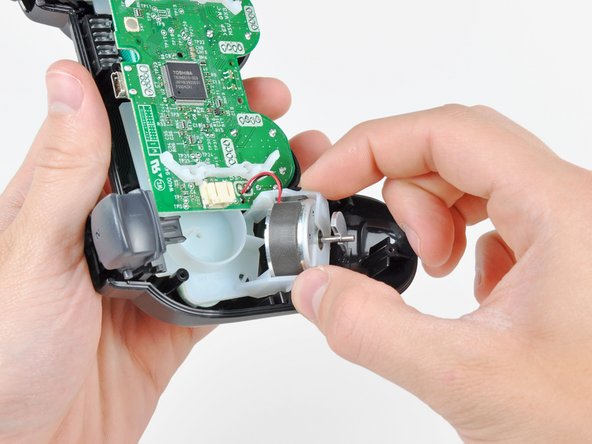
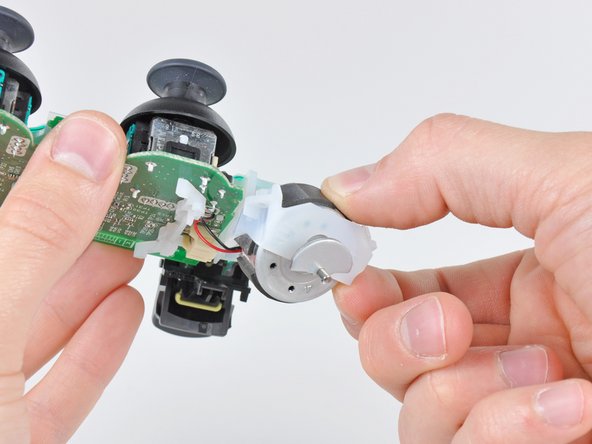
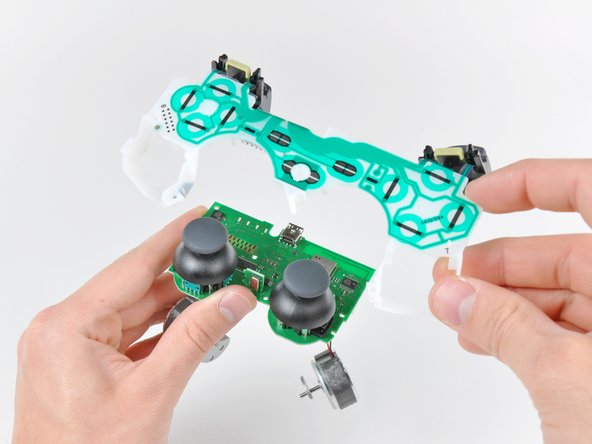
    • Pull the vibration motor retainers away from the front cover to dislodge the motherboard assembly.

    Add Comment

  9. DualShock 3 Input Board Replacement: step 9, image 1 of 1
    • Remove the motherboard assembly from the front cover.

    • When removing the motherboard assembly, try not to tilt the front cover upside down as the buttons and their covers may fall out.

    Add Comment

  10. DualShock 3 Input Board Replacement: step 10, image 1 of 2 DualShock 3 Input Board Replacement: step 10, image 2 of 2
    • Carefully push the two vibration motors out of the input board frame.

    Add Comment

  11. DualShock 3 Input Board Replacement: step 11, image 1 of 1
    • Lift the input board assembly off the motherboard.

    Add Comment

Conclusion

To reassemble your device, follow these instructions in reverse order.

Cancel: I did not complete this guide.

System

Member since: 09/24/09

2,562 Guides authored

0 Guide Comments

Add Comment

View Statistics:

Past 24 Hours: 0

Past 7 Days: 0

Past 30 Days: 1

All Time: 80