Fujitsu LifeBook N3510 Wireless Module Replacement

What you need

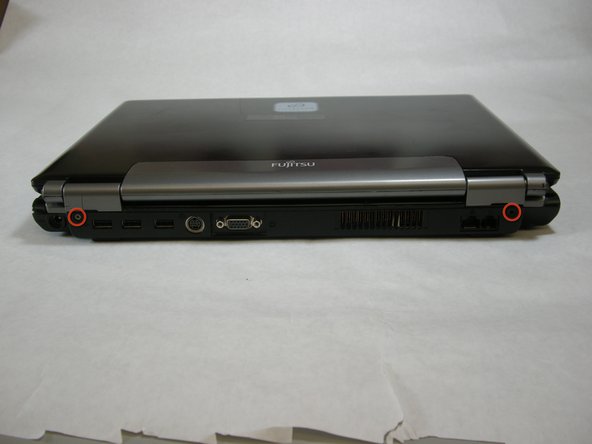
    1. Fujitsu LifeBook N3510 Wireless Module Replacement, Fujitsu LifeBook N3510 Wireless Module Replacement: step 1, image 1 of 1
      • Start by locating the two clips on the bottom of the computer that support the battery.

      Add Comment

    2. Fujitsu LifeBook N3510 Wireless Module Replacement: step 2, image 1 of 1
      • Use your fingers to push the clips inward and then upward.

      • Lift the battery out of the computer.

      Add Comment

    3. Fujitsu LifeBook N3510 Wireless Module Replacement: step 3, image 1 of 3 Fujitsu LifeBook N3510 Wireless Module Replacement: step 3, image 2 of 3 Fujitsu LifeBook N3510 Wireless Module Replacement: step 3, image 3 of 3
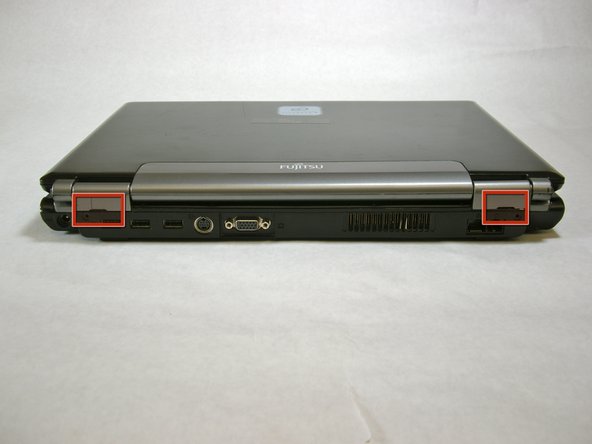
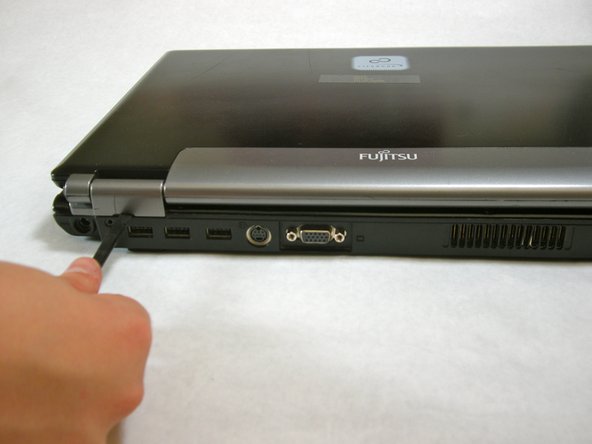
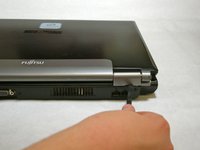
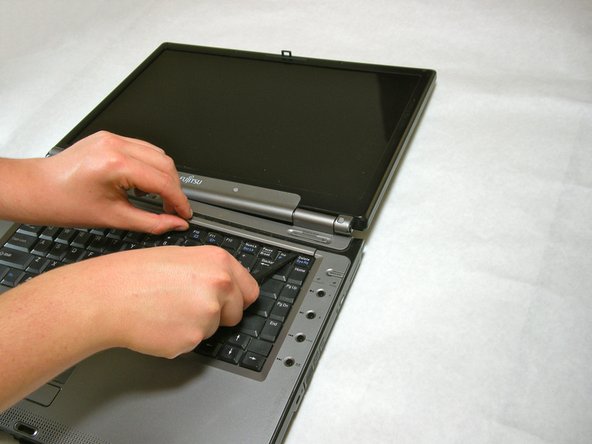
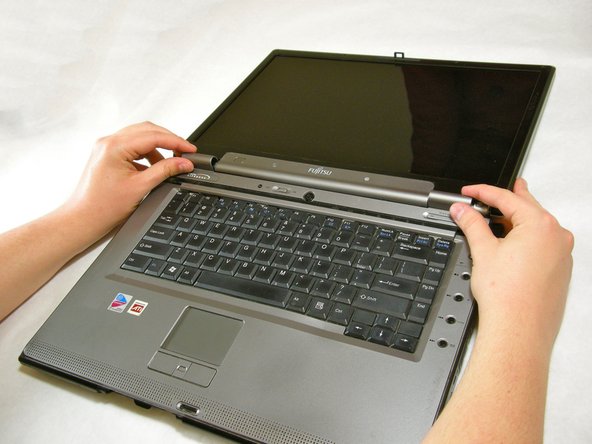
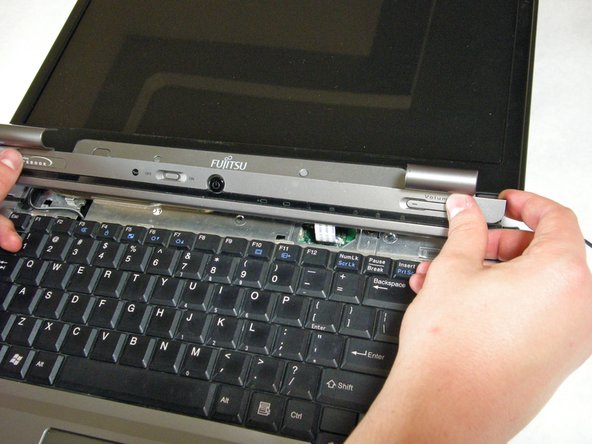
      • Use a spudger to lift the back of the hinge cover on the left and right sides of the computer.

      Add Comment

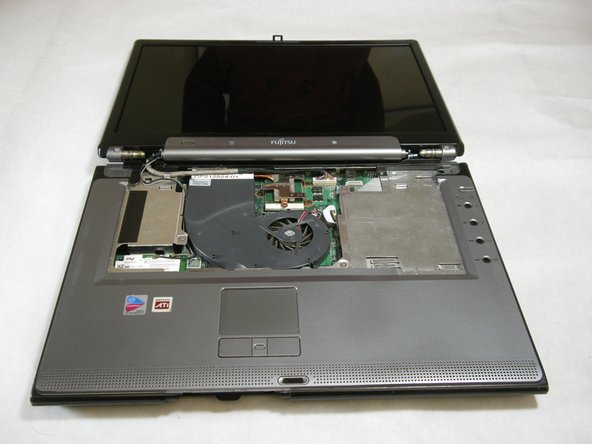
    4. Fujitsu LifeBook N3510 Wireless Module Replacement: step 4, image 1 of 1
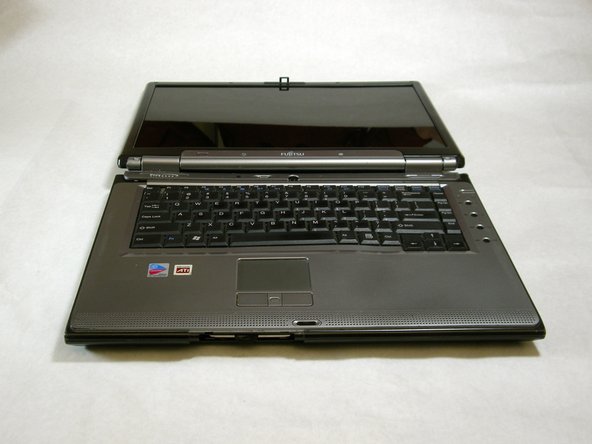
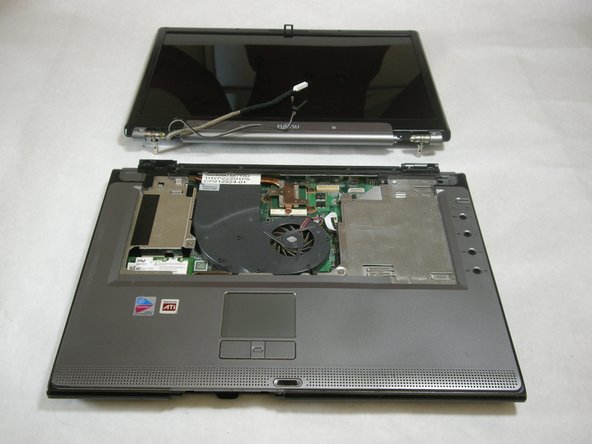
      • Lay the computer flat on a stable surface with the monitor pointing away from you.

      Add Comment

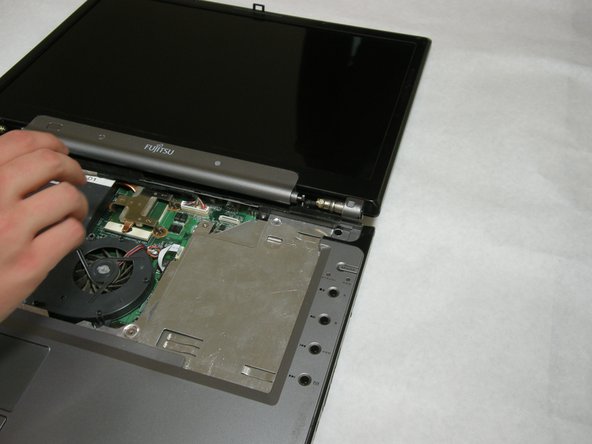
    5. Fujitsu LifeBook N3510 Wireless Module Replacement: step 5, image 1 of 3 Fujitsu LifeBook N3510 Wireless Module Replacement: step 5, image 2 of 3 Fujitsu LifeBook N3510 Wireless Module Replacement: step 5, image 3 of 3
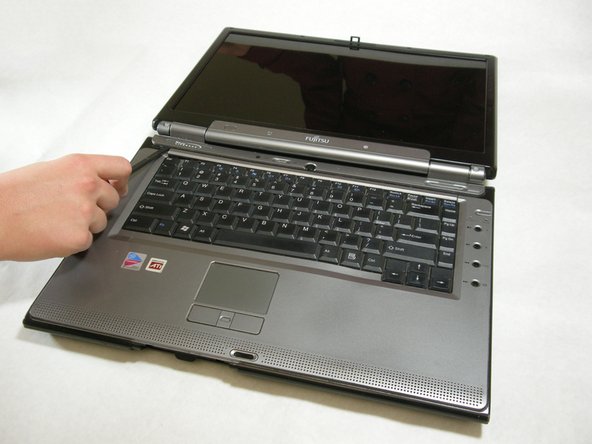
      • Use a spudger to partially lift the hinge cover.

      Add Comment

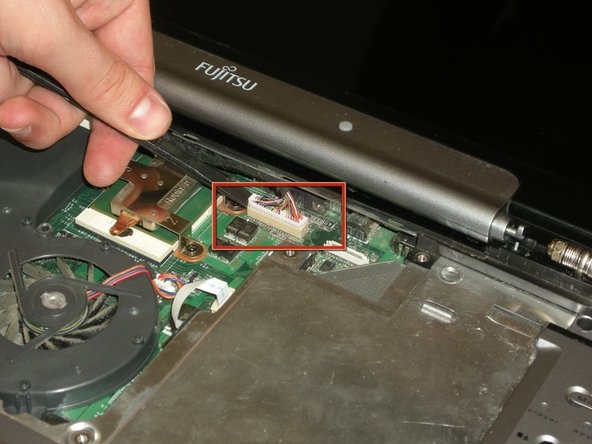
    6. Fujitsu LifeBook N3510 Wireless Module Replacement: step 6, image 1 of 2 Fujitsu LifeBook N3510 Wireless Module Replacement: step 6, image 2 of 2
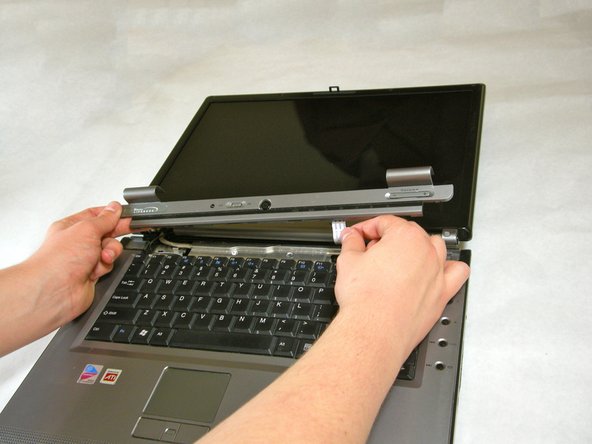
      • The hinge cover has a ribbon cable that is attached to the motherboard. To prevent damage, lift the hinge cover slowly.

      • Lift the hinge cover out of place enough to expose the ribbon cable.

      Add Comment

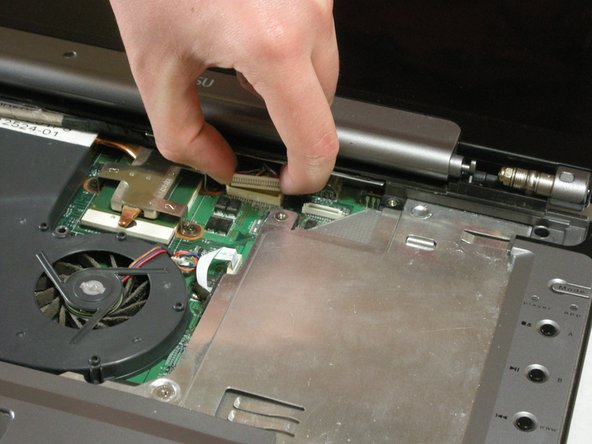
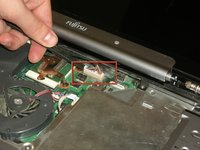
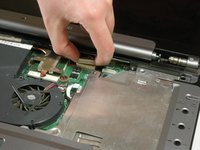
    7. Fujitsu LifeBook N3510 Wireless Module Replacement: step 7, image 1 of 2 Fujitsu LifeBook N3510 Wireless Module Replacement: step 7, image 2 of 2
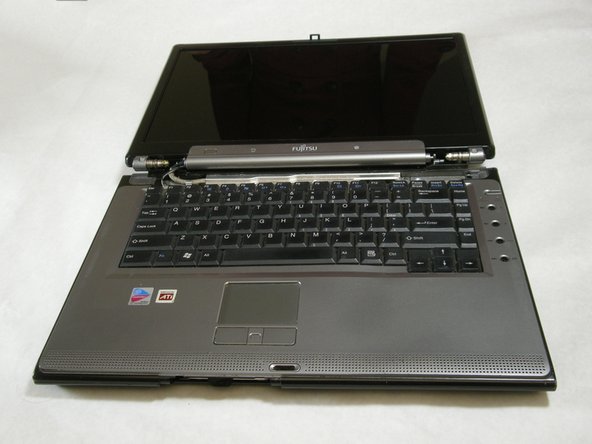
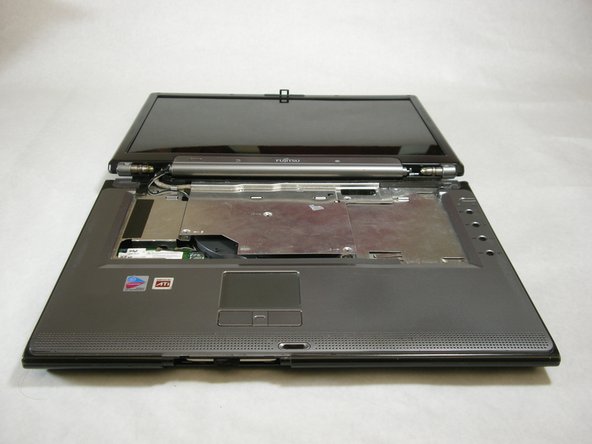
      • Disconnect the ribbon cable from the motherboard and remove the hinge cover from the computer.

      Add Comment

    8. Fujitsu LifeBook N3510 Wireless Module Replacement: step 8, image 1 of 3 Fujitsu LifeBook N3510 Wireless Module Replacement: step 8, image 2 of 3 Fujitsu LifeBook N3510 Wireless Module Replacement: step 8, image 3 of 3
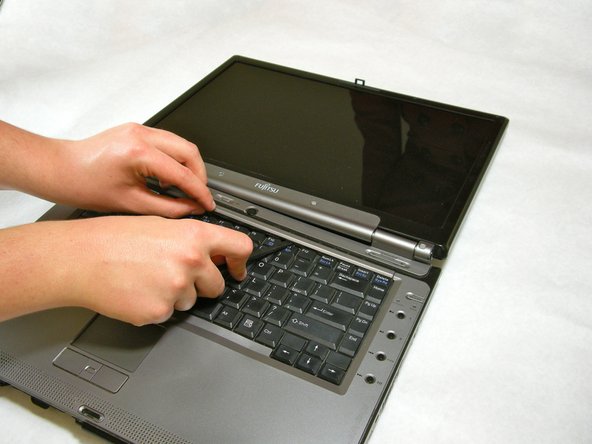
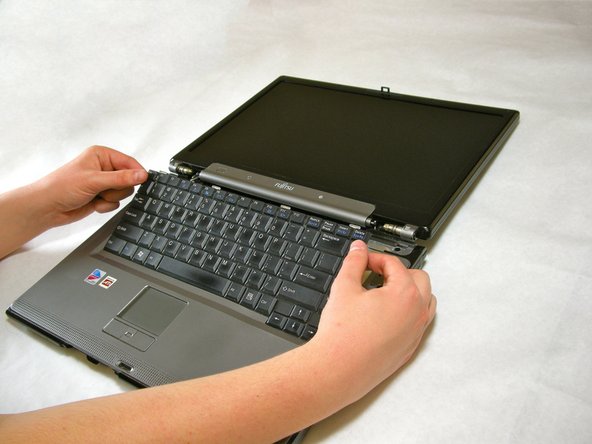
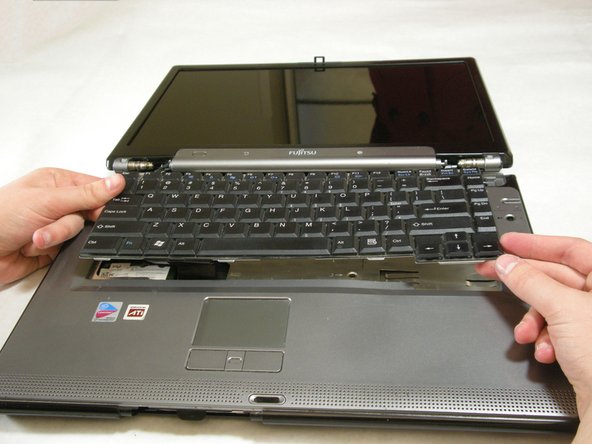
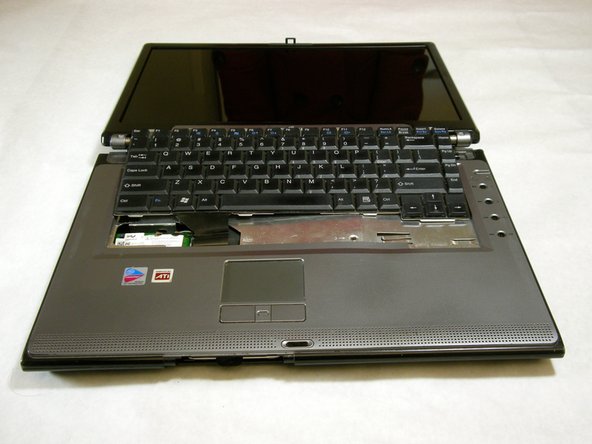
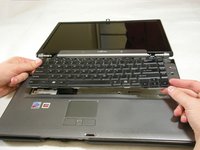
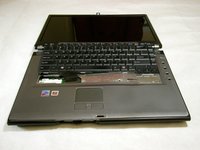
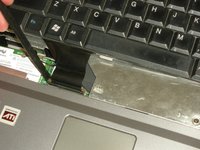
      • The keyboard has a ribbon cable that is attached to the motherboard. To prevent damage, lift keyboard slowly.

      • Lift the keyboard enough to expose the ribbon cable.

      Add Comment

    9. Fujitsu LifeBook N3510 Wireless Module Replacement: step 9, image 1 of 2 Fujitsu LifeBook N3510 Wireless Module Replacement: step 9, image 2 of 2
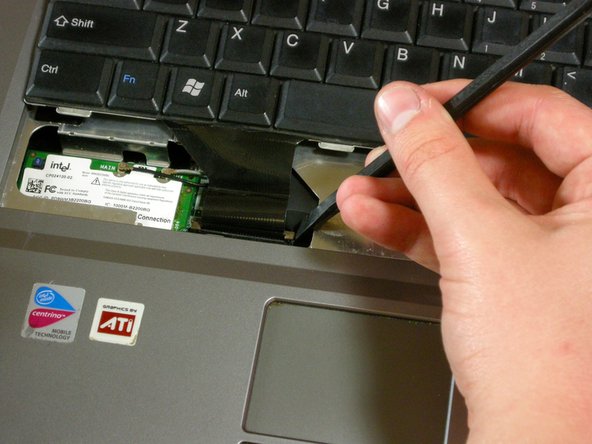
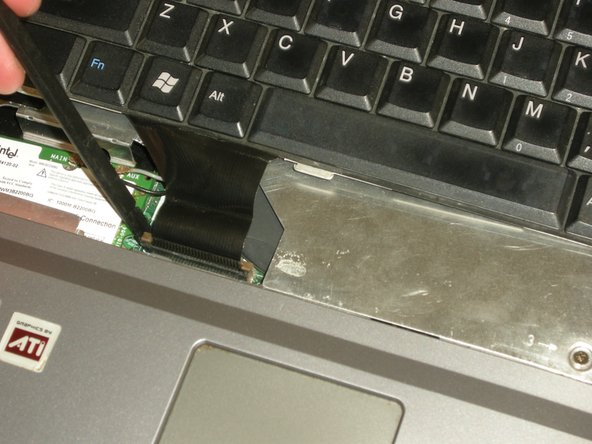
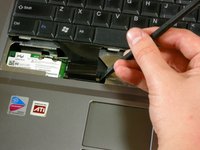
      • Use a spudger to release the ribbon cable from the motherboard.

      Add Comment

    10. Fujitsu LifeBook N3510 Wireless Module Replacement: step 10, image 1 of 2 Fujitsu LifeBook N3510 Wireless Module Replacement: step 10, image 2 of 2
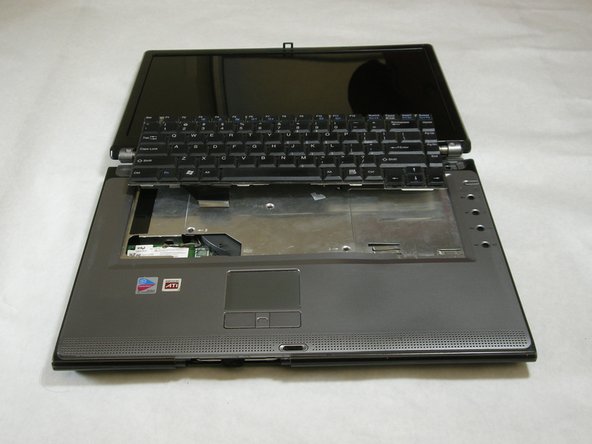
      • Carefully remove the keyboard after the ribbon has been detached.

      Add Comment

    11. Fujitsu LifeBook N3510 Wireless Module Replacement: step 11, image 1 of 1
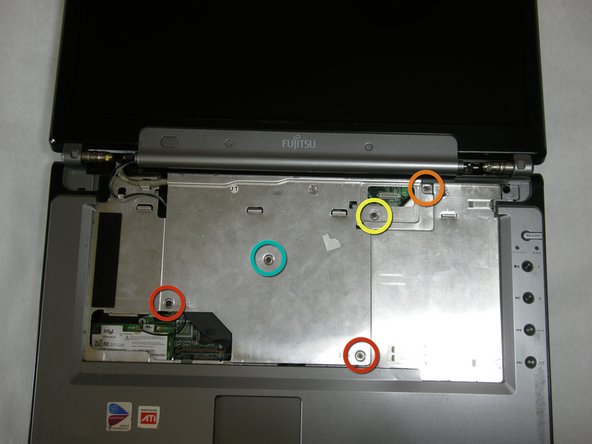
      • Remove the following screws, all labeled "3."

      • Two 8.63mm screws.

      • One 7.65mm screw.

      • One 5.74mm screw.

      • Remove the following screw, labeled "15."

      • One 17.81mm screw.

      Add Comment

    12. Fujitsu LifeBook N3510 Wireless Module Replacement: step 12, image 1 of 3 Fujitsu LifeBook N3510 Wireless Module Replacement: step 12, image 2 of 3 Fujitsu LifeBook N3510 Wireless Module Replacement: step 12, image 3 of 3
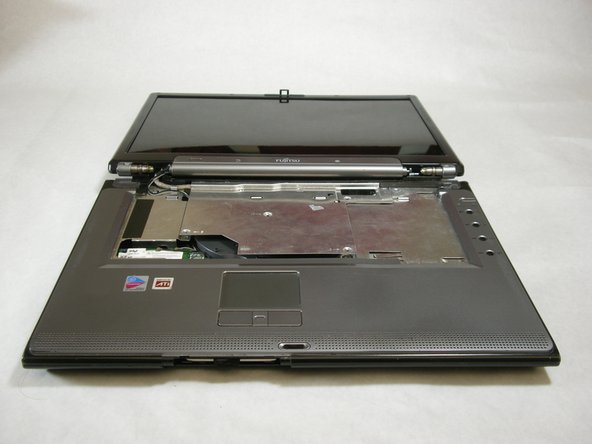
      • Lift the cover with fingers and remove.

      Add Comment

    13. Fujitsu LifeBook N3510 Wireless Module Replacement: step 13, image 1 of 1
      • Remove labeled screws.

      Add Comment

    14. Fujitsu LifeBook N3510 Wireless Module Replacement: step 14, image 1 of 1
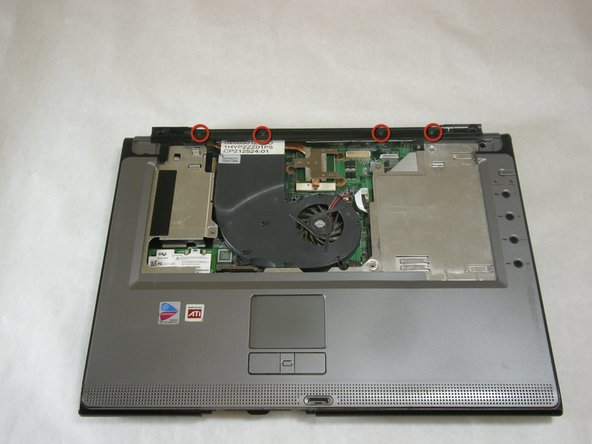
      • Remove the screws from the bottom of the hinge as shown in the image.

      Add Comment

    15. Fujitsu LifeBook N3510 Wireless Module Replacement: step 15, image 1 of 3 Fujitsu LifeBook N3510 Wireless Module Replacement: step 15, image 2 of 3 Fujitsu LifeBook N3510 Wireless Module Replacement: step 15, image 3 of 3
      • Use a spudger to detach and remove cables from the motherboard.

      Add Comment

    16. Fujitsu LifeBook N3510 Wireless Module Replacement: step 16, image 1 of 3 Fujitsu LifeBook N3510 Wireless Module Replacement: step 16, image 2 of 3 Fujitsu LifeBook N3510 Wireless Module Replacement: step 16, image 3 of 3
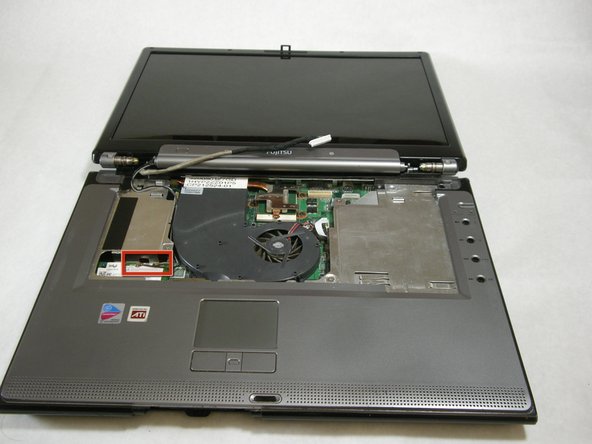
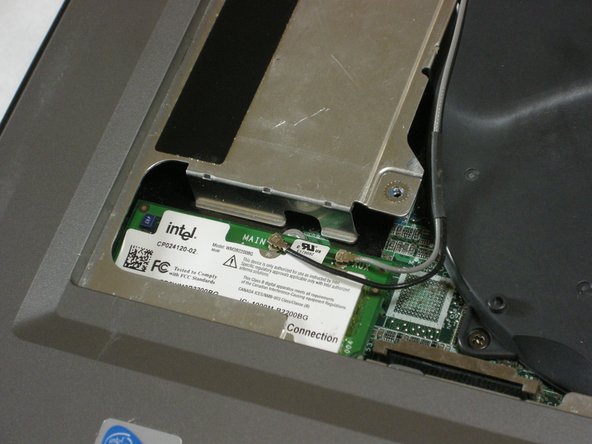
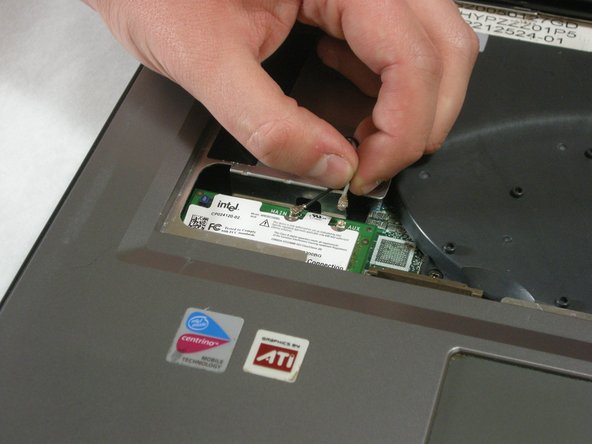
      • Unplug shown cables from the wireless module.

      Add Comment

    17. Fujitsu LifeBook N3510 Wireless Module Replacement: step 17, image 1 of 3 Fujitsu LifeBook N3510 Wireless Module Replacement: step 17, image 2 of 3 Fujitsu LifeBook N3510 Wireless Module Replacement: step 17, image 3 of 3
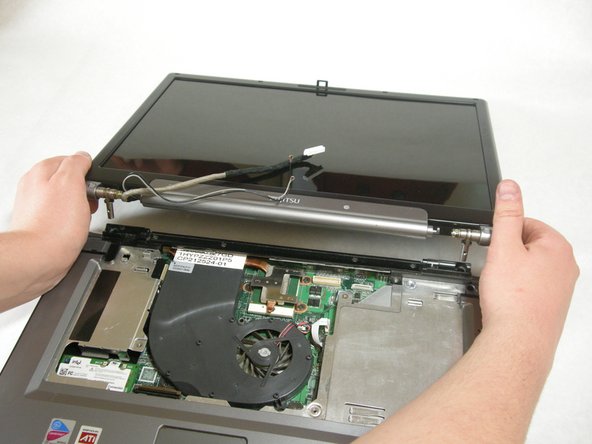
      • Position hands as shown and hold down the body of the computer. Proceed to lift the display up.

      Add Comment

    18. Fujitsu LifeBook N3510 Wireless Module Replacement: step 18, image 1 of 1
      • Remove the 4 labeled screws.

      Add Comment

    19. Fujitsu LifeBook N3510 Wireless Module Replacement: step 19, image 1 of 1
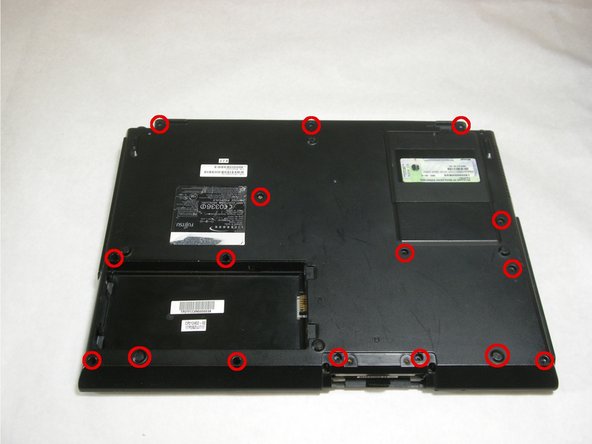
      • Remove screws from bottom of laptop as shown in the picture.

      Add Comment

    20. Fujitsu LifeBook N3510 Wireless Module Replacement: step 20, image 1 of 1
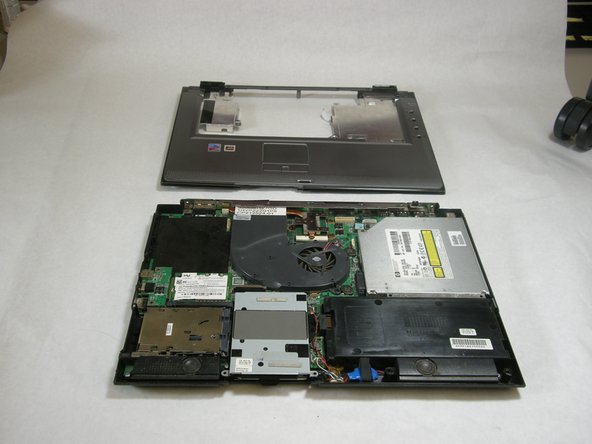
      • Lift the palm rest cover from the base of the laptop.

      • You may use spudger if needed, lift from the front corners as shown.

      Add Comment

    21. Fujitsu LifeBook N3510 Wireless Module Replacement: step 21, image 1 of 1
      • Great job! You have successfully removed the old palm rest cover.

      Add Comment

    22. Fujitsu LifeBook N3510 Wireless Module Replacement: step 22, image 1 of 3 Fujitsu LifeBook N3510 Wireless Module Replacement: step 22, image 2 of 3 Fujitsu LifeBook N3510 Wireless Module Replacement: step 22, image 3 of 3
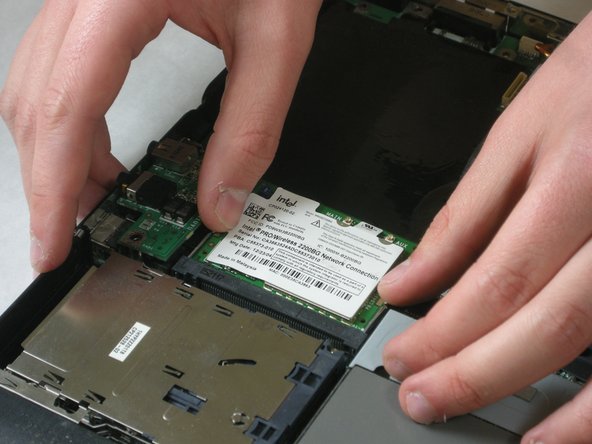
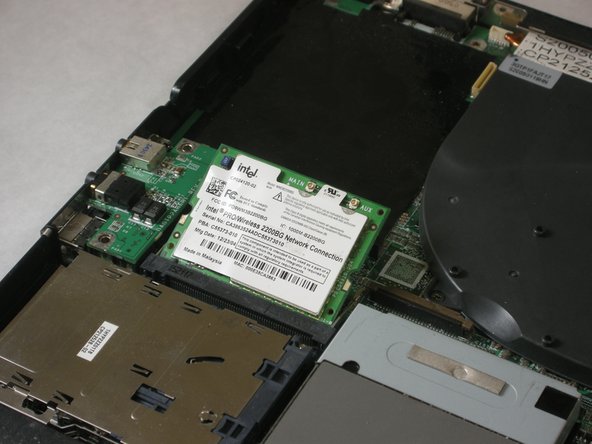
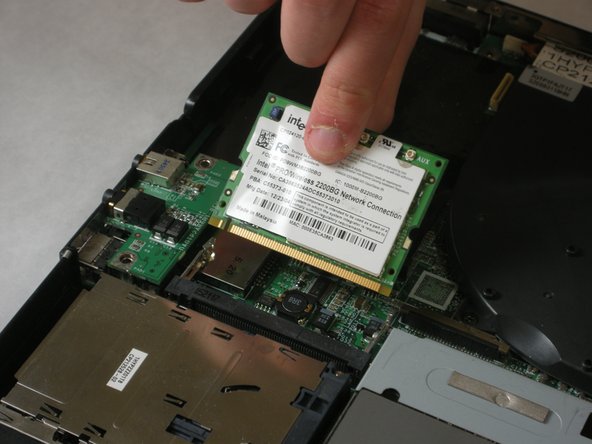
      • Push securing clips outward, the wireless module will pop out.

      • Remove the wireless module.

      Add Comment

    23. Fujitsu LifeBook N3510 Wireless Module Replacement: step 23, image 1 of 1
      • A picture of the removed wireless module is shown to the left.

      Add Comment

Conclusion

To reassemble your device, follow these instructions in reverse order.

Cancel: I did not complete this guide.

System

Member since: 09/24/09

2,562 Guides authored

0 Guide Comments

Add Comment

View Statistics:

Past 24 Hours: 0

Past 7 Days: 0

Past 30 Days: 2

All Time: 17