/

Game Boy Advance Back Panel Replacement

What you need

  1. Game Boy Advance Back Panel Replacement, Game Boy Advance Back Panel Replacement: step 1, image 1 of 3 Game Boy Advance Back Panel Replacement, Game Boy Advance Back Panel Replacement: step 1, image 2 of 3 Game Boy Advance Back Panel Replacement, Game Boy Advance Back Panel Replacement: step 1, image 3 of 3
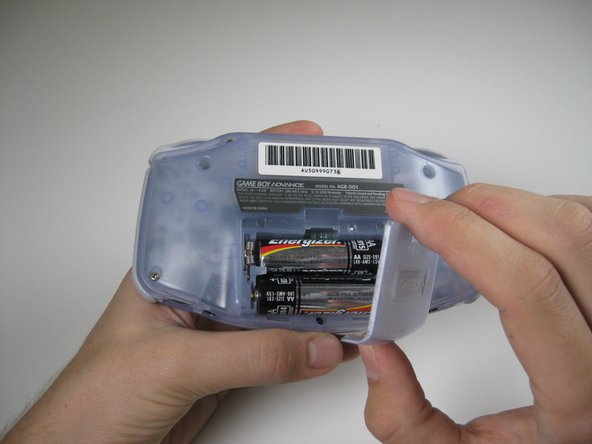
    • Take the battery cover off by releasing the locking tab and hinging the cover away.

  2. Game Boy Advance Back Panel Replacement: step 2, image 1 of 1
    • Remove the six back panel screws using a Tri-wing Screwdriver.

  3. Game Boy Advance Back Panel Replacement: step 3, image 1 of 1
    • Remove bottom back panel screw with a Phillips #1 screw driver.

  4. Game Boy Advance Back Panel Replacement: step 4, image 1 of 1
    • Remove the back panel by pulling away with one hand and the front secured in the other hand.

    • Removal of the back panel may cause shoulder buttons and side panels to come loose and fall off.

Conclusion

To reassemble your device, follow these instructions in reverse order.

System

Member since: 09/24/09

2,562 Guides authored

0 Comments

Add Comment

View Statistics:

Past 24 Hours: 0

Past 7 Days: 0

Past 30 Days: 0

All Time: 2