/

Game Boy Advance Shoulder Button and Side Panels Replacement

What you need

  1. Game Boy Advance Shoulder Button and Side Panels Replacement, Game Boy Advance Shoulder Button and Side Panels Replacement: step 1, image 1 of 3 Game Boy Advance Shoulder Button and Side Panels Replacement, Game Boy Advance Shoulder Button and Side Panels Replacement: step 1, image 2 of 3 Game Boy Advance Shoulder Button and Side Panels Replacement, Game Boy Advance Shoulder Button and Side Panels Replacement: step 1, image 3 of 3
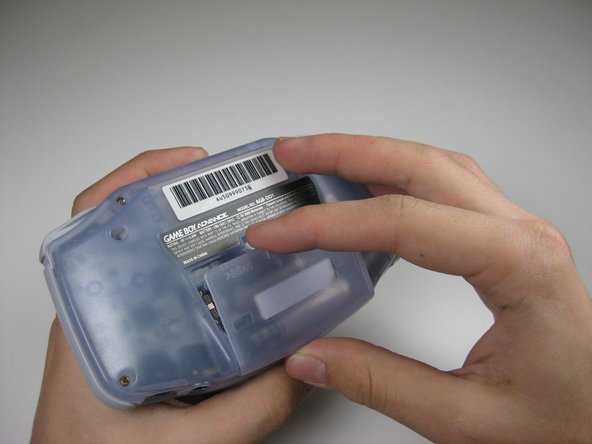
    • Take the battery cover off by releasing the locking tab and hinging the cover away.

  2. Game Boy Advance Shoulder Button and Side Panels Replacement: step 2, image 1 of 1
    • Remove the six back panel screws using a Tri-wing Screwdriver.

  3. Game Boy Advance Shoulder Button and Side Panels Replacement: step 3, image 1 of 1
    • Remove bottom back panel screw with a Phillips #1 screw driver.

  4. Game Boy Advance Shoulder Button and Side Panels Replacement: step 4, image 1 of 1
    • Remove the back panel by pulling away with one hand and the front secured in the other hand.

    • Removal of the back panel may cause shoulder buttons and side panels to come loose and fall off.

  5. Game Boy Advance Shoulder Button and Side Panels Replacement: step 5, image 1 of 2 Game Boy Advance Shoulder Button and Side Panels Replacement: step 5, image 2 of 2
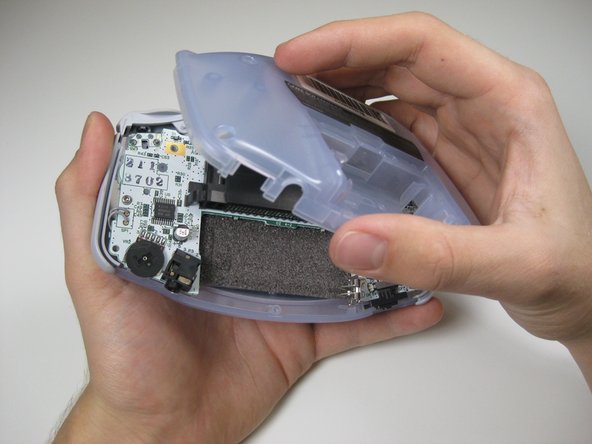
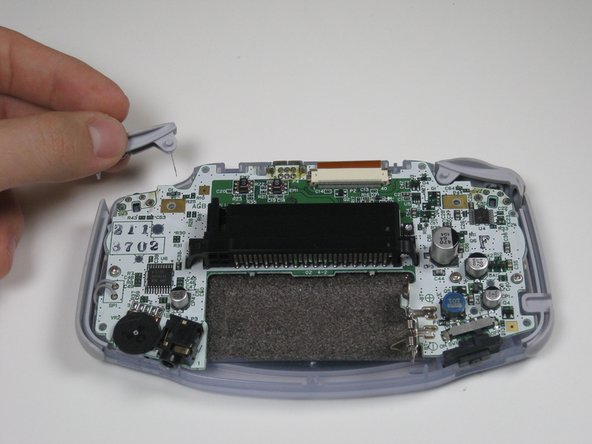
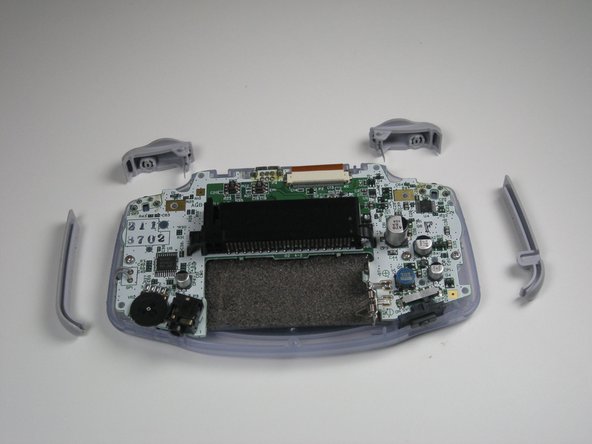
    • Remove left and right triggers by lifting and pulling them away from the system.

    • Do the same for side panels

    • For finicky or jammed triggers only. Adjust and correct triggers and reassemble. Most jammed triggers are caused by buttons misplaced or jammed in its enclosure.

Conclusion

To reassemble your device, follow these instructions in reverse order.

System

Member since: 09/24/09

2,562 Guides authored

0 Comments

Add Comment

View Statistics:

Past 24 Hours: 0

Past 7 Days: 0

Past 30 Days: 0

All Time: 3