/

Game Boy Advance Speakers Replacement

What you need

  1. Game Boy Advance Speakers Replacement, Game Boy Advance Speakers Replacement: step 1, image 1 of 3 Game Boy Advance Speakers Replacement, Game Boy Advance Speakers Replacement: step 1, image 2 of 3 Game Boy Advance Speakers Replacement, Game Boy Advance Speakers Replacement: step 1, image 3 of 3
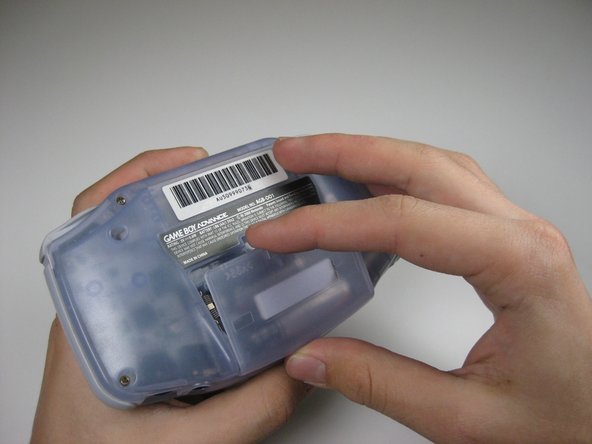
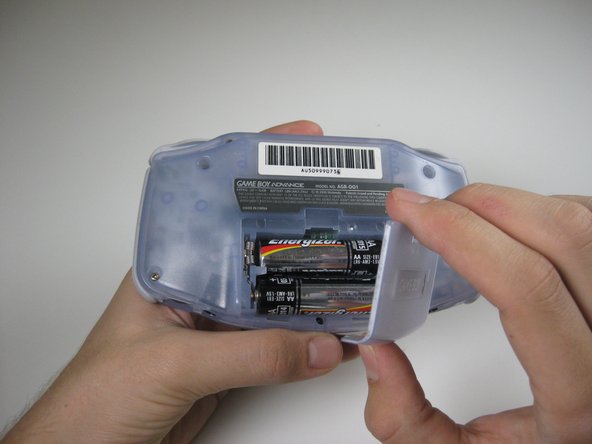
    • Take the battery cover off by releasing the locking tab and hinging the cover away.

  2. Game Boy Advance Speakers Replacement: step 2, image 1 of 1
    • Remove the six back panel screws using a Tri-wing Screwdriver.

  3. Game Boy Advance Speakers Replacement: step 3, image 1 of 1
    • Remove bottom back panel screw with a Phillips #1 screw driver.

  4. Game Boy Advance Speakers Replacement: step 4, image 1 of 1
    • Remove the back panel by pulling away with one hand and the front secured in the other hand.

    • Removal of the back panel may cause shoulder buttons and side panels to come loose and fall off.

  5. Game Boy Advance Speakers Replacement: step 5, image 1 of 2 Game Boy Advance Speakers Replacement: step 5, image 2 of 2
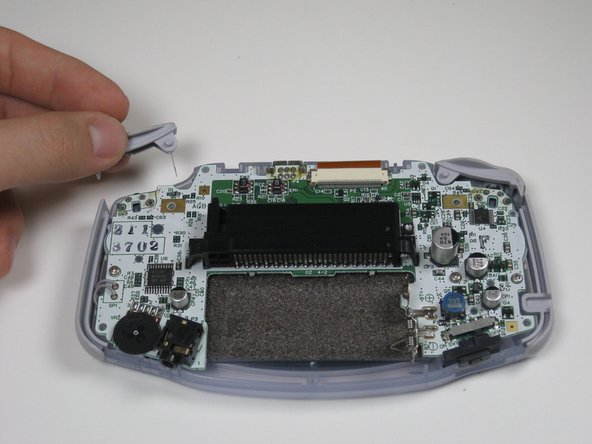
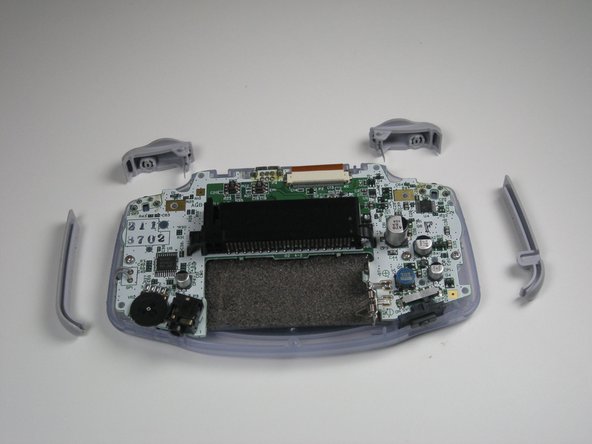
    • Remove left and right triggers by lifting and pulling them away from the system.

    • Do the same for side panels

    • For finicky or jammed triggers only. Adjust and correct triggers and reassemble. Most jammed triggers are caused by buttons misplaced or jammed in its enclosure.

  6. Game Boy Advance Speakers Replacement: step 6, image 1 of 1
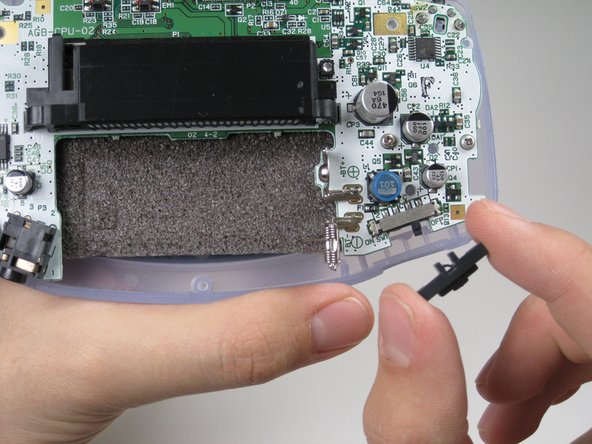
    • Remove the gray On/Off Switch by pulling up and away from the unit. Replace with another switch if necessary.

  7. Game Boy Advance Speakers Replacement: step 7, image 1 of 3 Game Boy Advance Speakers Replacement: step 7, image 2 of 3 Game Boy Advance Speakers Replacement: step 7, image 3 of 3
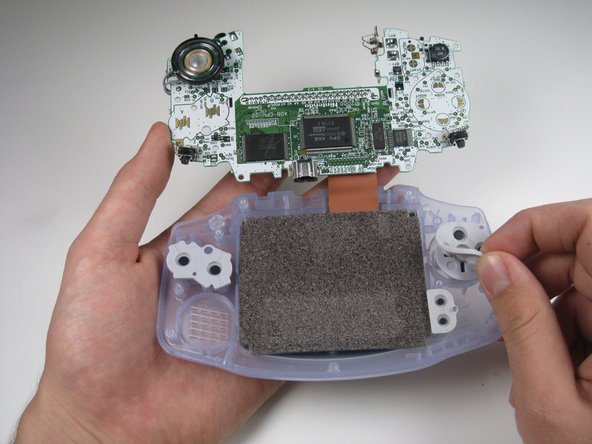
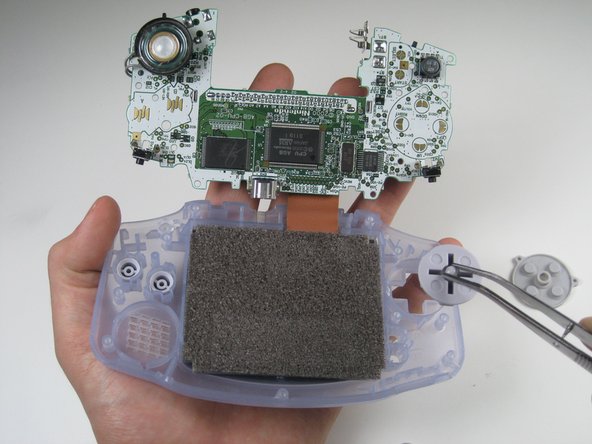
    • Remove the rubber button pads from their pockets.

    • Remove the plastic buttons and the D-pad from beneath the rubber pads with tweezers or by hand.
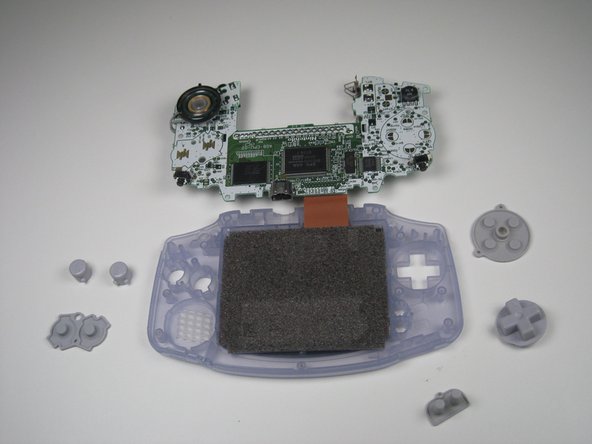
  8. Game Boy Advance Speakers Replacement: step 8, image 1 of 3 Game Boy Advance Speakers Replacement: step 8, image 2 of 3 Game Boy Advance Speakers Replacement: step 8, image 3 of 3
    • Using the tweezers, gently pull the ribbon from the logic board.

  9. Game Boy Advance Speakers Replacement: step 9, image 1 of 3 Game Boy Advance Speakers Replacement: step 9, image 2 of 3 Game Boy Advance Speakers Replacement: step 9, image 3 of 3
    • Slightly move the speaker to the right and desolder the two wires from the logic board.

    • Beware of over heating the soldering kit will damage the logic board.

Finish Line

System

Member since: 09/24/09

2,562 Guides authored

0 Comments

Add Comment

View Statistics:

Past 24 Hours: 0

Past 7 Days: 0

Past 30 Days: 0

All Time: 5