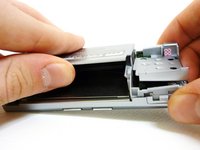
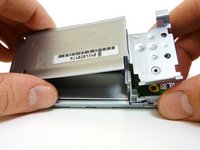
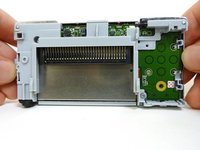
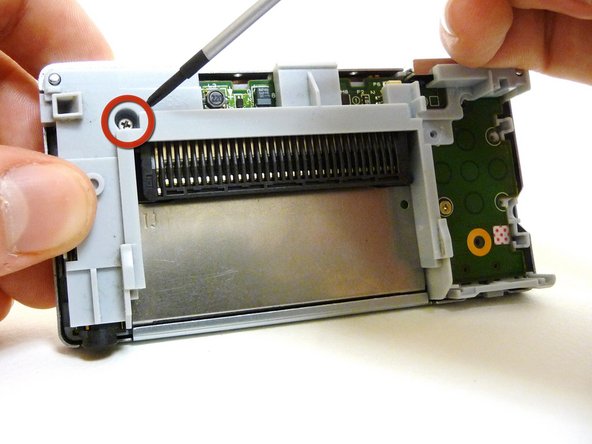
Game Boy Micro LCD Screen Replacement

What you need

    1. Game Boy Micro LCD Screen Replacement, Game Boy Micro LCD Screen Replacement: step 1, image 1 of 3 Game Boy Micro LCD Screen Replacement, Game Boy Micro LCD Screen Replacement: step 1, image 2 of 3 Game Boy Micro LCD Screen Replacement, Game Boy Micro LCD Screen Replacement: step 1, image 3 of 3
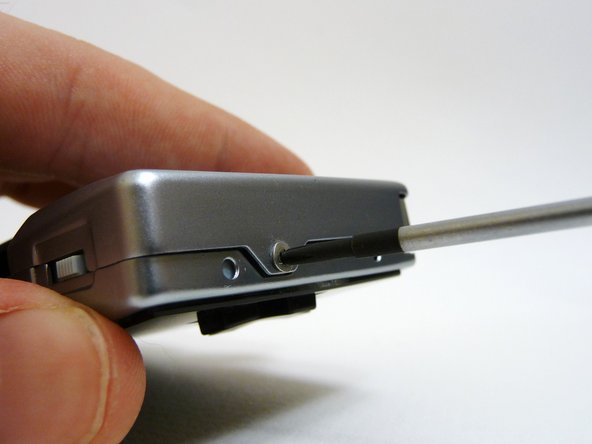
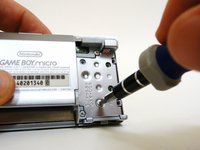
      • Remove the Phillips #00 screw on the side of the Game Boy closest to the directional pad.

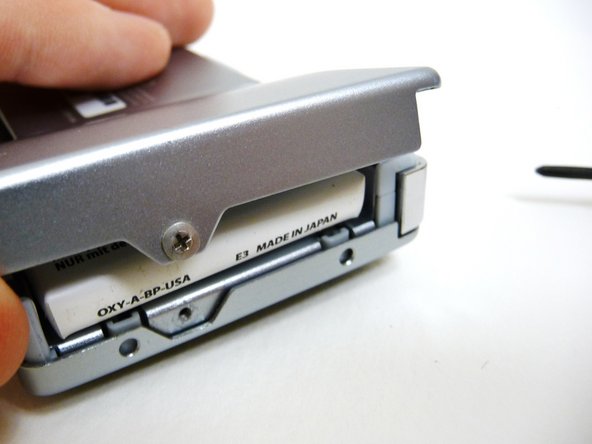
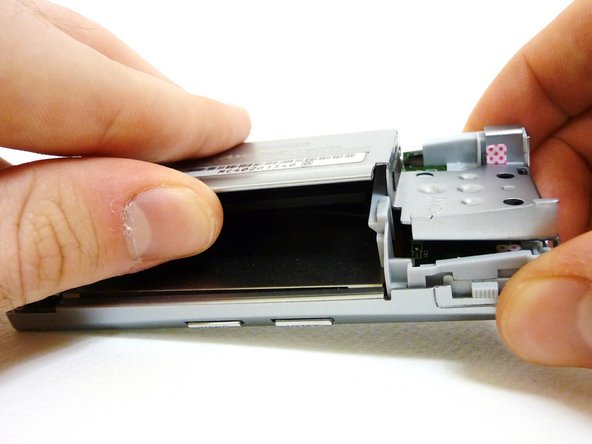
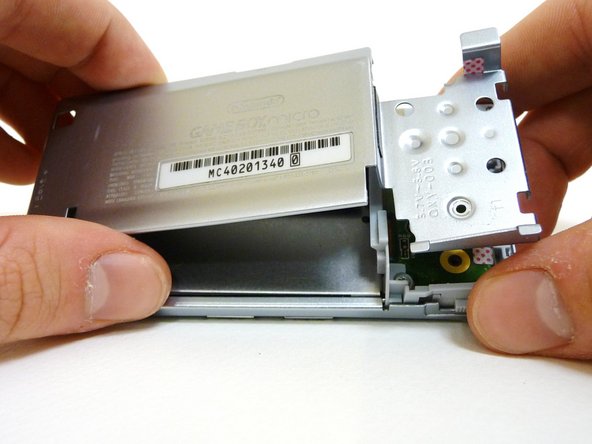
      • Once the screw has been loosened, lift the cover off the back of the device.

      Add Comment

    2. Game Boy Micro LCD Screen Replacement: step 2, image 1 of 3 Game Boy Micro LCD Screen Replacement: step 2, image 2 of 3 Game Boy Micro LCD Screen Replacement: step 2, image 3 of 3
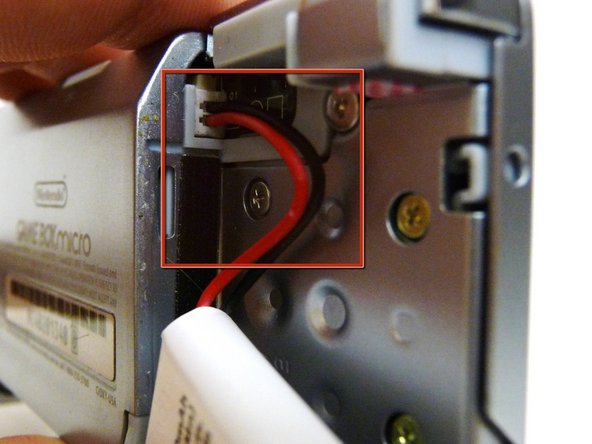
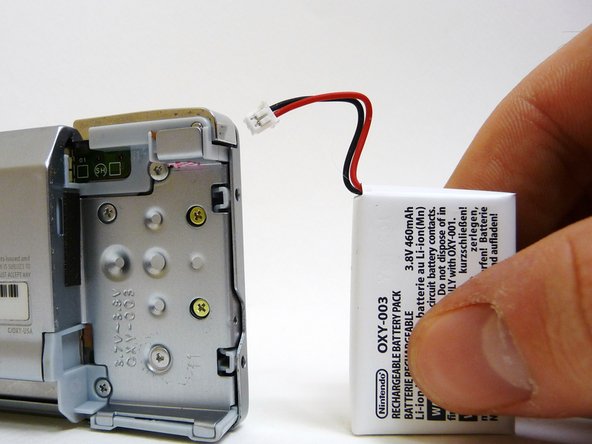
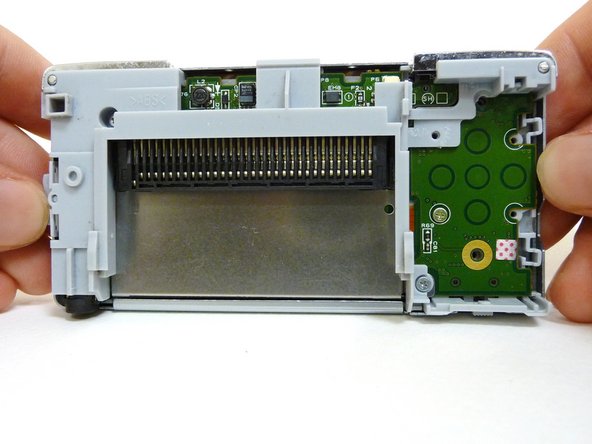
      • Once the back cover is removed, you should see that the battery is connected to the device by two wires and a plastic connector.

      • Gently grab the wires.

      Add Comment

    3. Game Boy Micro LCD Screen Replacement: step 3, image 1 of 2 Game Boy Micro LCD Screen Replacement: step 3, image 2 of 2
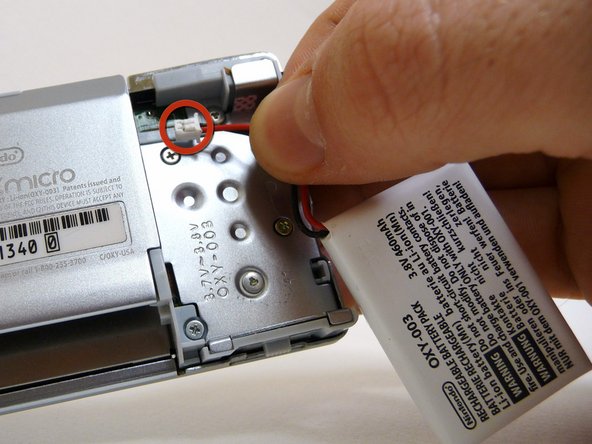
      • Carefully pull the wires until the connector comes out of the device.

      • Be careful! Don't pull too hard, or you may rip the wires out from the connector.

      • When putting the battery back into the device, make sure the connector is put in exactly the way it came out.

      Add Comment

    4. Game Boy Micro LCD Screen Replacement: step 4, image 1 of 2 Game Boy Micro LCD Screen Replacement: step 4, image 2 of 2
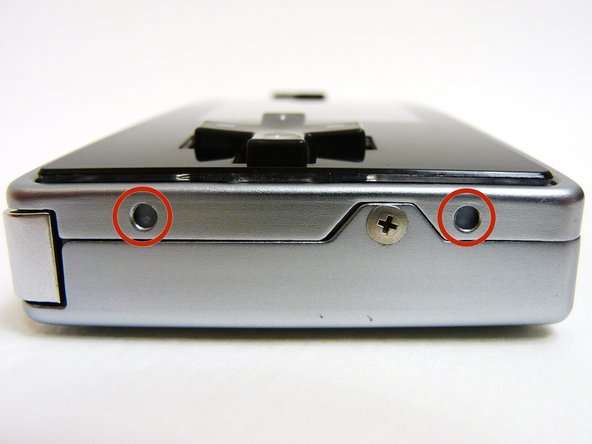
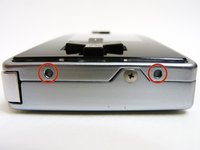
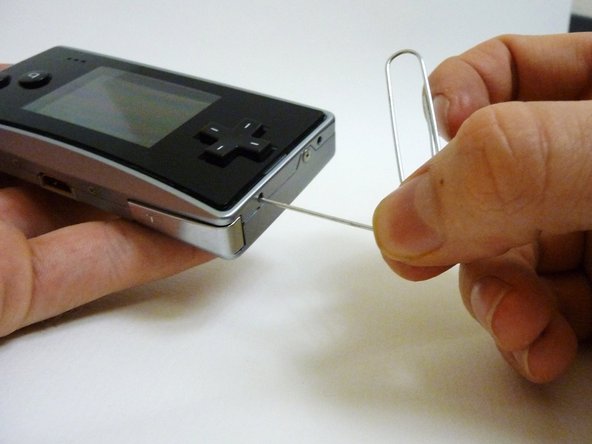
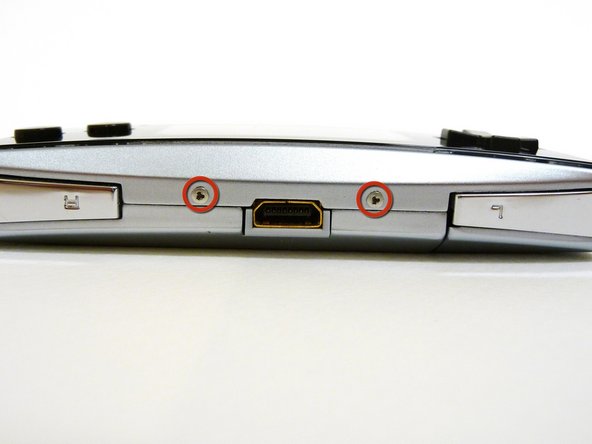
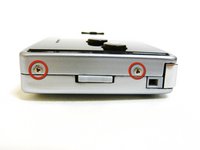
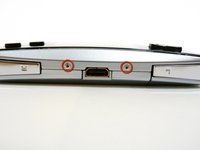
      • Locate the two circular holes on the side of the Game Boy nearest to the directional pad.

      Add Comment

    5. Game Boy Micro LCD Screen Replacement: step 5, image 1 of 3 Game Boy Micro LCD Screen Replacement: step 5, image 2 of 3 Game Boy Micro LCD Screen Replacement: step 5, image 3 of 3
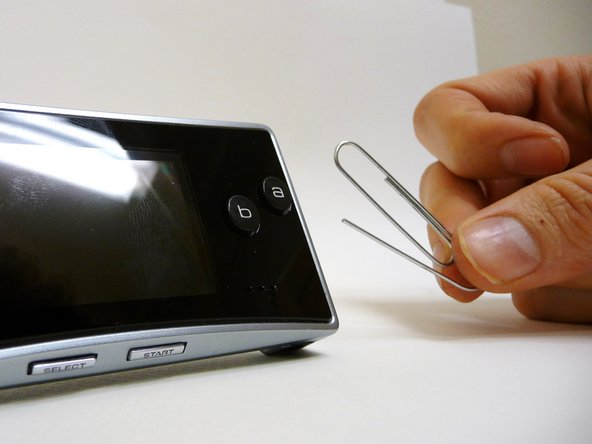
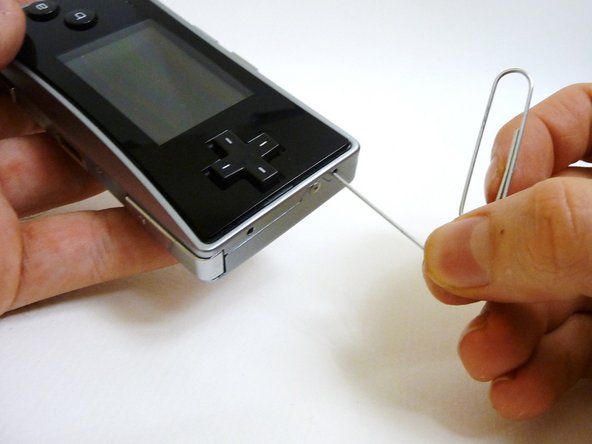
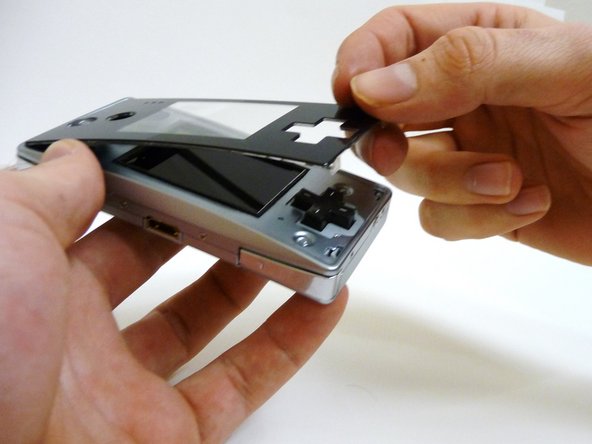
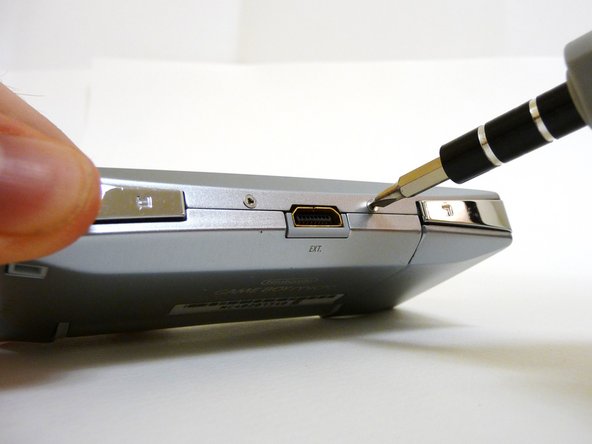
      • Straighten the end of a paper clip and push it into each of the circular holes.

      • You may hear a faint click afterwards.

      • Use the paper clip to lever the faceplate off from the unit.

      Add Comment

    6. Game Boy Micro LCD Screen Replacement: step 6, image 1 of 3 Game Boy Micro LCD Screen Replacement: step 6, image 2 of 3 Game Boy Micro LCD Screen Replacement: step 6, image 3 of 3
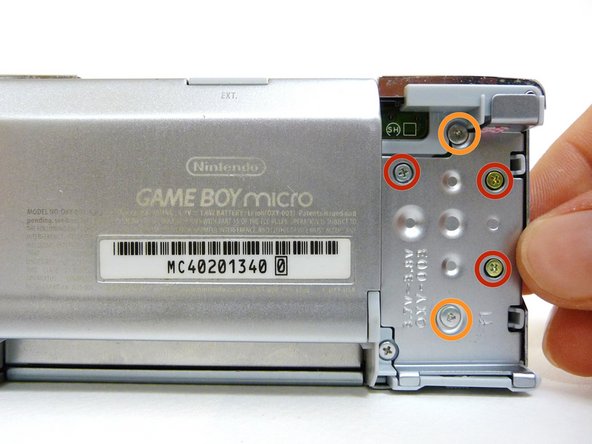
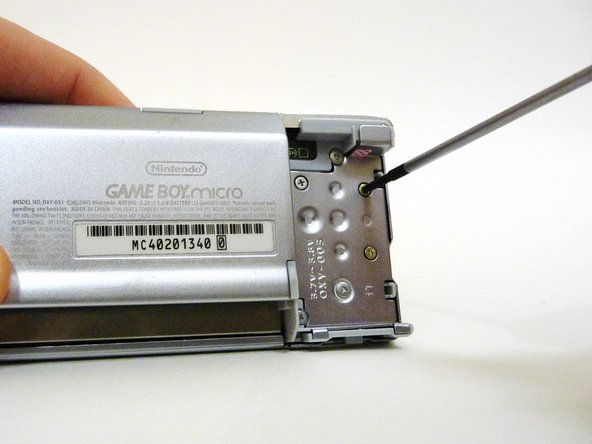
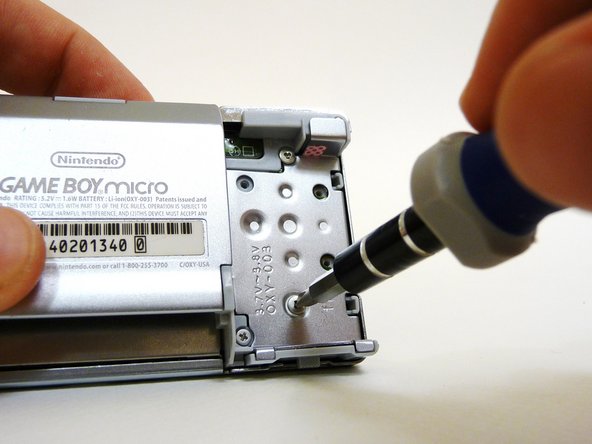
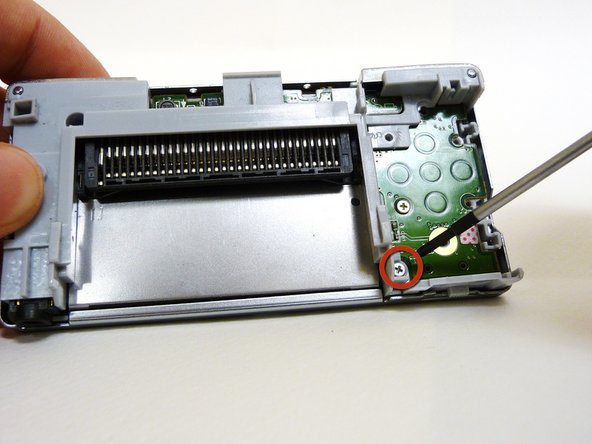
      • Remove the two tri-wing screws on the top of the Game Boy and the two screws next to the volume/contrast switch.

      Add Comment

    7. Game Boy Micro LCD Screen Replacement: step 7, image 1 of 3 Game Boy Micro LCD Screen Replacement: step 7, image 2 of 3 Game Boy Micro LCD Screen Replacement: step 7, image 3 of 3
      • Remove the three Phillips #00 screws.

      • Remove the two tri-wing screws.

      Add Comment

    8. Game Boy Micro LCD Screen Replacement: step 8, image 1 of 3 Game Boy Micro LCD Screen Replacement: step 8, image 2 of 3 Game Boy Micro LCD Screen Replacement: step 8, image 3 of 3
      • Lift the back cover off of the Game Boy.

      Add Comment

    9. Game Boy Micro LCD Screen Replacement: step 9, image 1 of 3 Game Boy Micro LCD Screen Replacement: step 9, image 2 of 3 Game Boy Micro LCD Screen Replacement: step 9, image 3 of 3
      • Remove the two Phillips #00 screws from the plastic frame.

      • As you are pulling off the plastic frame, the shoulder buttons and the volume switch may fall out of the device.

      • Underneath each shoulder button is a small spring. Do not lose them.

      Add Comment

    10. Game Boy Micro LCD Screen Replacement: step 10, image 1 of 2 Game Boy Micro LCD Screen Replacement: step 10, image 2 of 2
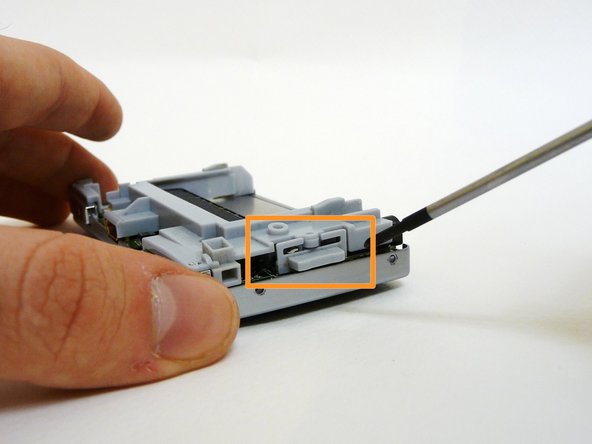
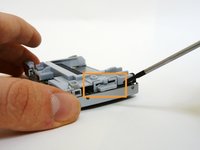
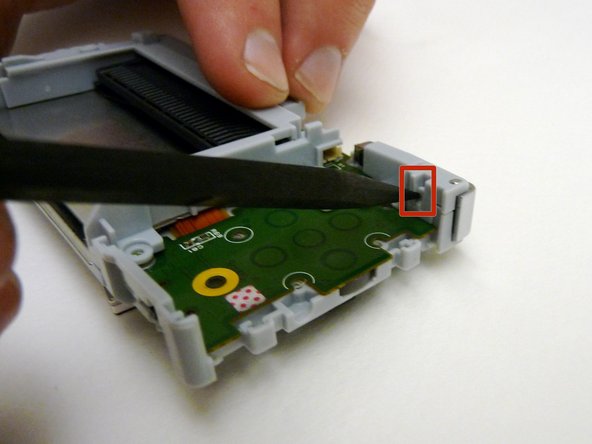
      • With a spudger, depress the small clip on the lower right corner of the plastic guard.

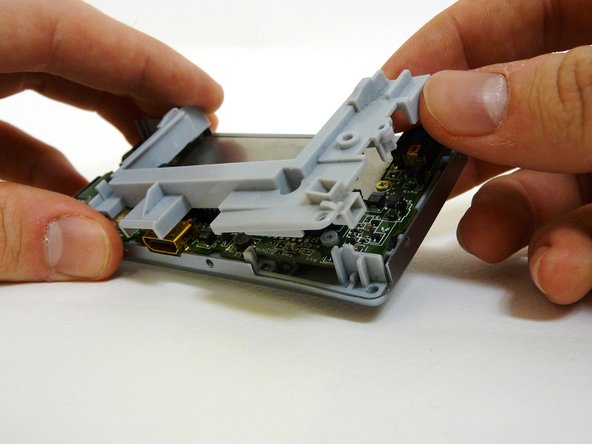
      • Grab the edges of the plastic frame and lift the frame off the motherboard.

      Add Comment

    11. Game Boy Micro LCD Screen Replacement: step 11, image 1 of 1
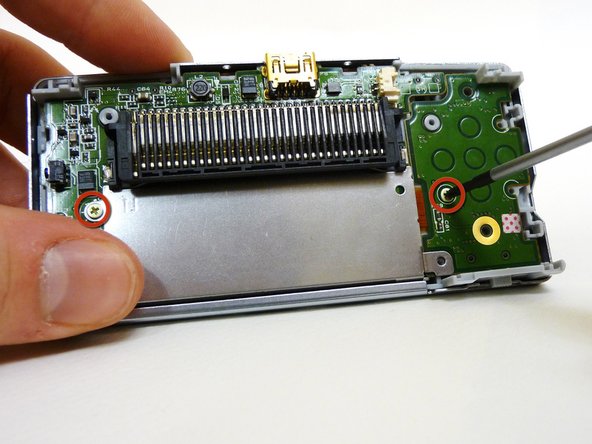
      • Remove the two gold Phillips #00 screws from the motherboard.

      Add Comment

    12. Game Boy Micro LCD Screen Replacement: step 12, image 1 of 2 Game Boy Micro LCD Screen Replacement: step 12, image 2 of 2
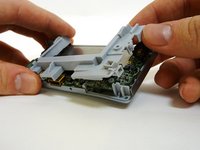
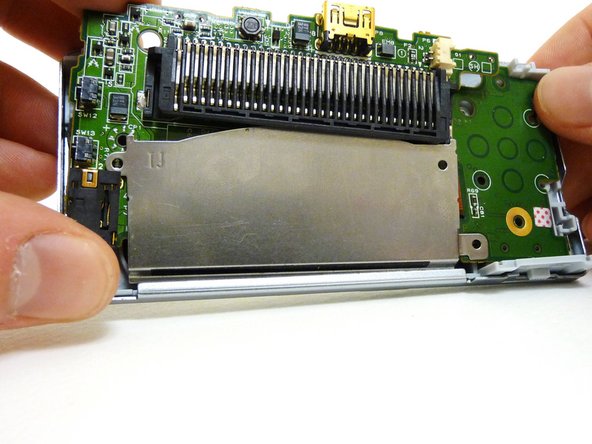
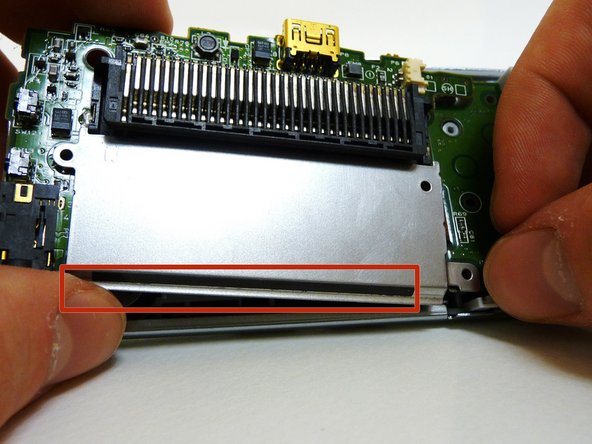
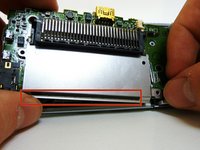
      • With one hand, gently slide the top left end of the motherboard up and out of the front case.

      • With your other hand, pull out the EMI shield until the tab comes out of the front case.

      • Once the tab is pulled out from the bottom, slide the EMI shield down and out of the device.

      Add Comment

    13. Game Boy Micro LCD Screen Replacement: step 13, image 1 of 3 Game Boy Micro LCD Screen Replacement: step 13, image 2 of 3 Game Boy Micro LCD Screen Replacement: step 13, image 3 of 3
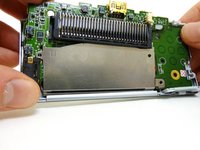
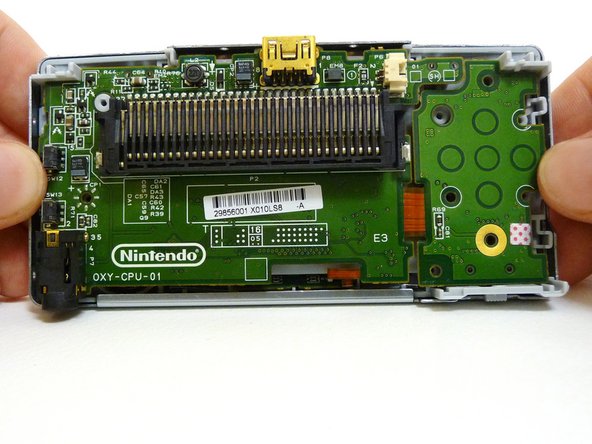
      • The entire motherboard is now accessible.

      • Take extreme care when working with the motherboard to avoid damaging the device and its components.

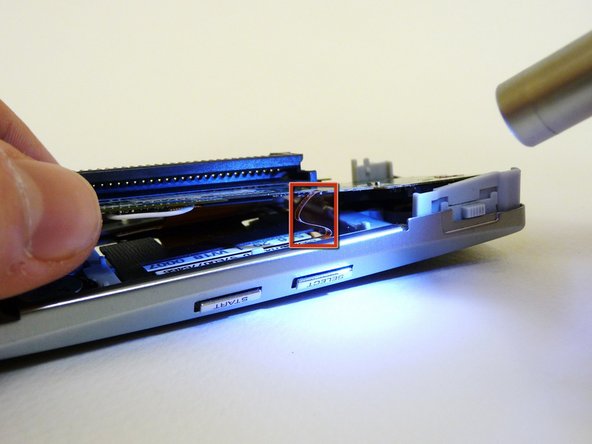
      • A small ribbon cable connects the start and select buttons to the motherboard. It can rip very easily, so do not pull on it.

      • Lift the motherboard and the front plastic cover assembly off of the front case.

      • Once the front case is removed, the plastic on/off switch will fall out of place.

      Add Comment

    14. Game Boy Micro LCD Screen Replacement: step 14, image 1 of 3 Game Boy Micro LCD Screen Replacement: step 14, image 2 of 3 Game Boy Micro LCD Screen Replacement: step 14, image 3 of 3
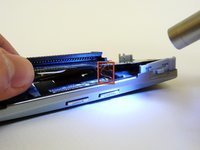
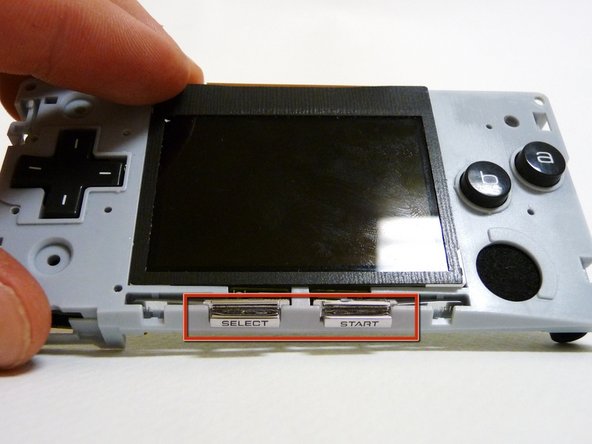
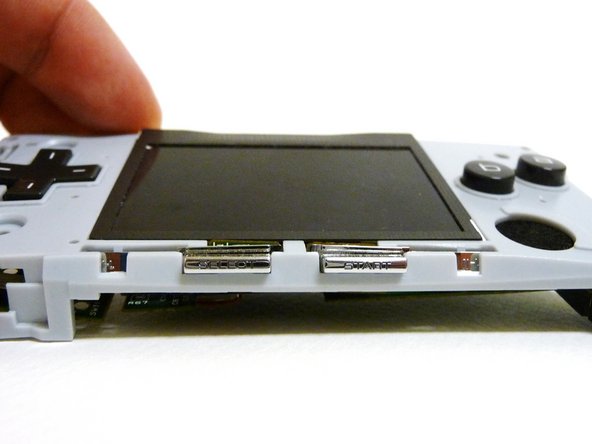
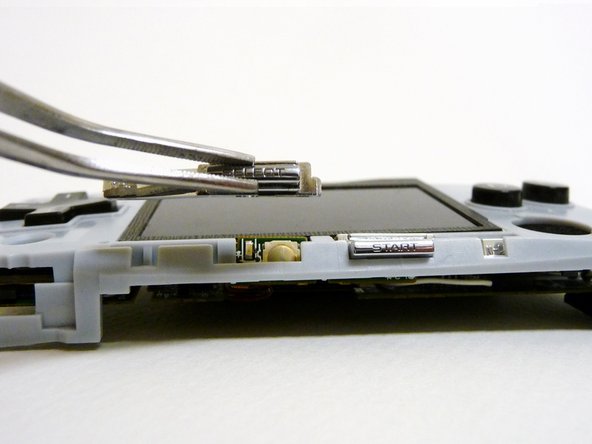
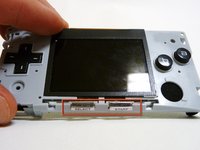
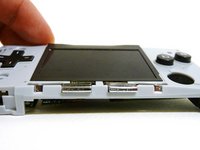
      • When you remove the motherboard from the front case, the start and select buttons may fall out.

      • If the buttons do not fall out, remove them with a pair of tweezers.

      Add Comment

    15. Game Boy Micro LCD Screen Replacement: step 15, image 1 of 3 Game Boy Micro LCD Screen Replacement: step 15, image 2 of 3 Game Boy Micro LCD Screen Replacement: step 15, image 3 of 3
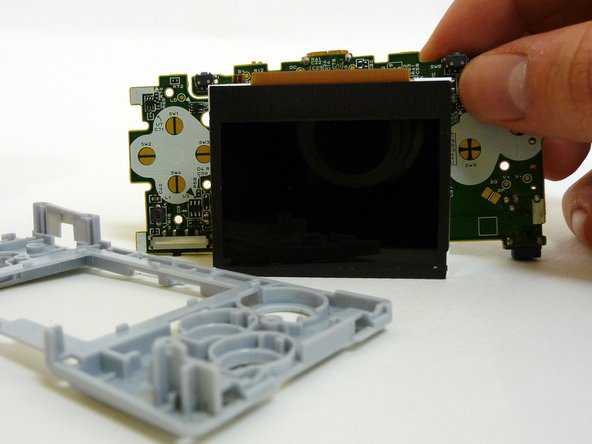
      • Without the front case, you will be left with the motherboard and the plastic mount. The LCD screen is attached to the motherboard by a ribbon and can fall off the plastic mount.

      • Using metal tweezers, grab the start/select board and slide it out gently.

      Add Comment

    16. Game Boy Micro LCD Screen Replacement: step 16, image 1 of 2 Game Boy Micro LCD Screen Replacement: step 16, image 2 of 2
      • Lift the entire motherboard assembly off the plastic guard.

      • Take caution not to damage any of the gold ribbon cables on the motherboard.

      • The LCD screen is the only thing connecting the motherboard and plastic guard.

      Add Comment

    17. Game Boy Micro LCD Screen Replacement: step 17, image 1 of 2 Game Boy Micro LCD Screen Replacement: step 17, image 2 of 2
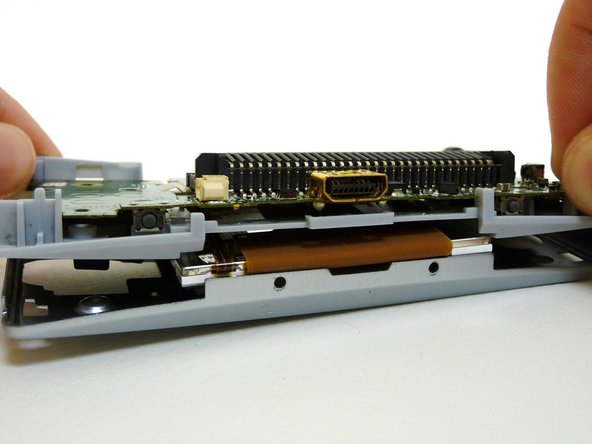
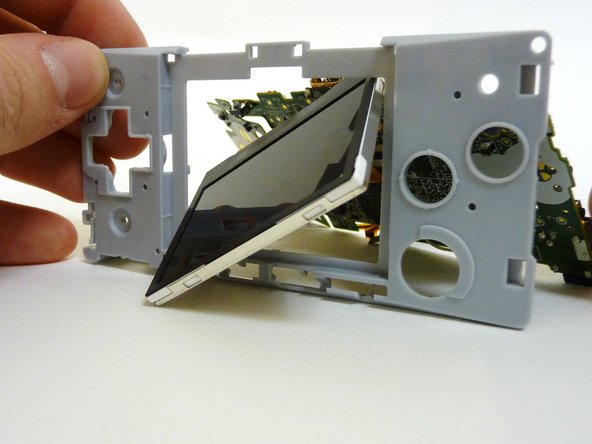
      • To remove the LCD screen, carefully angle it until it is diagonal to the square hole in the plastic guard and slide it out.

      • It is now possible to remove the entire motherboard assembly from the plastic guard.

      Add Comment

    18. Game Boy Micro LCD Screen Replacement: step 18, image 1 of 3 Game Boy Micro LCD Screen Replacement: step 18, image 2 of 3 Game Boy Micro LCD Screen Replacement: step 18, image 3 of 3
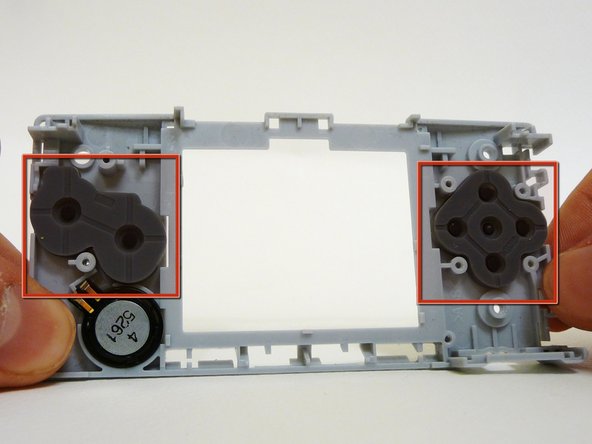
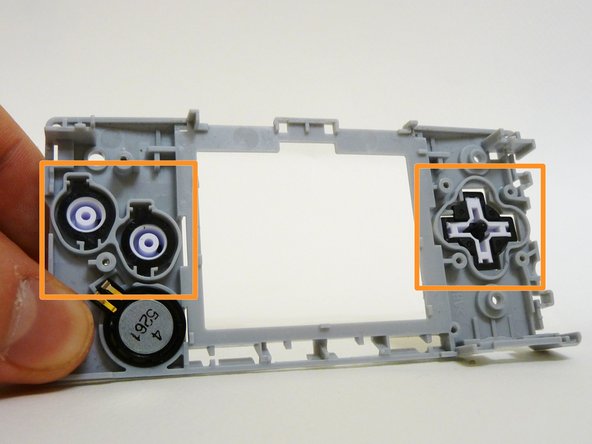
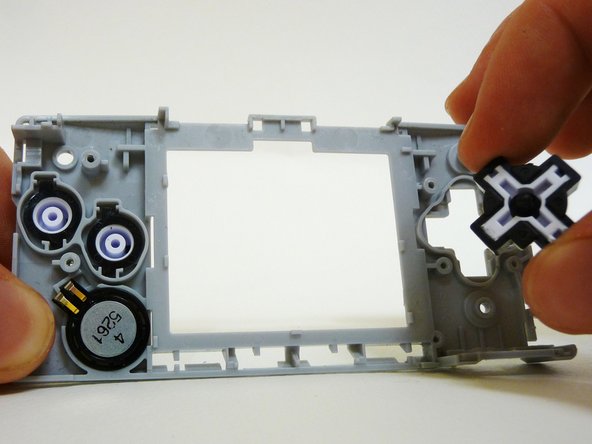
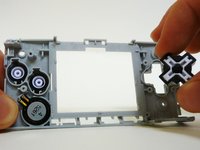
      • On the plastic guard, there are two rubber pads that cover the buttons. Remove them.

      • These pads rest on the motherboard and sometimes stick to it. If they do, peel them off.

      • With the rubber pads off, you may use your fingers to remove the buttons to clean or replace them.

      • When returning the buttons to the guard, they have to be put back in exactly the way they were pulled out.

      Add Comment

    19. Game Boy Micro LCD Screen Replacement: step 19, image 1 of 3 Game Boy Micro LCD Screen Replacement: step 19, image 2 of 3 Game Boy Micro LCD Screen Replacement: step 19, image 3 of 3
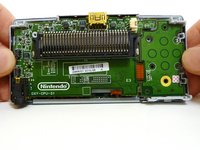
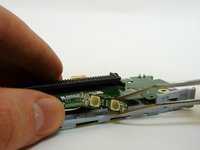
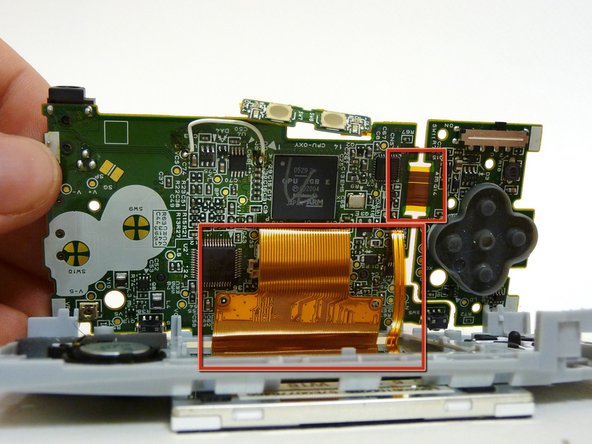
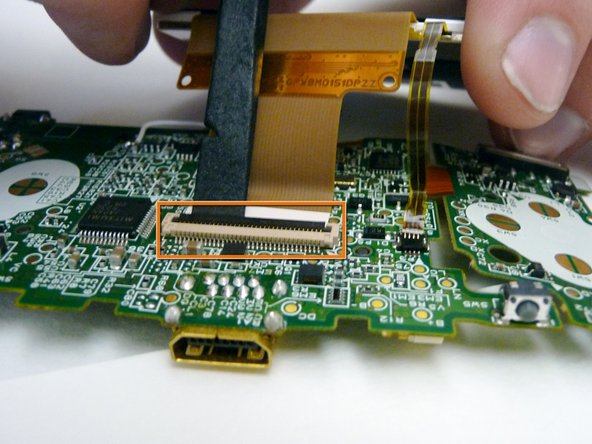
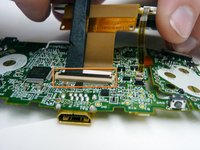
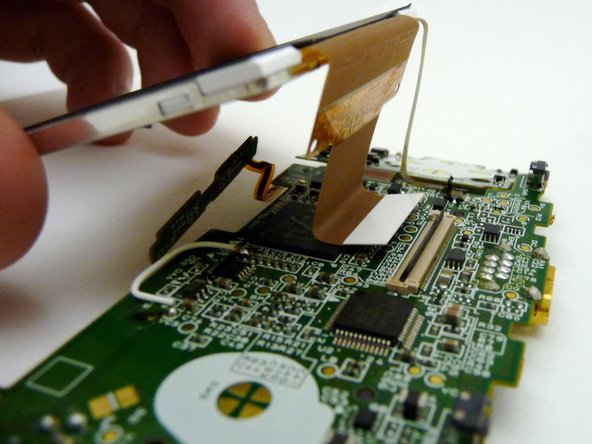
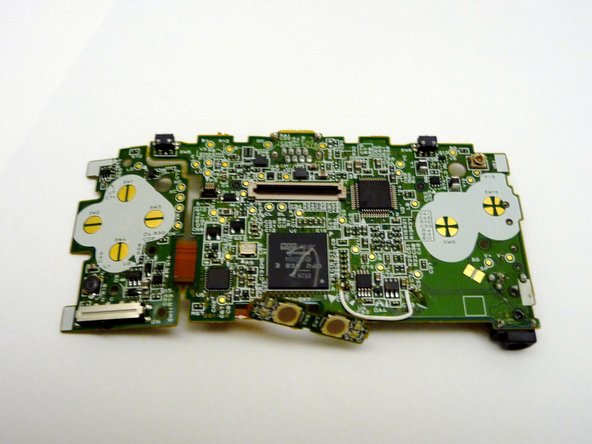
      • The LCD screen is connected to the motherboard by two ribbon cables.

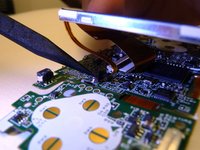
      • Use a plastic spudger to disconnect the LCD's ZIF connector.

      Add Comment

    20. Game Boy Micro LCD Screen Replacement: step 20, image 1 of 3 Game Boy Micro LCD Screen Replacement: step 20, image 2 of 3 Game Boy Micro LCD Screen Replacement: step 20, image 3 of 3
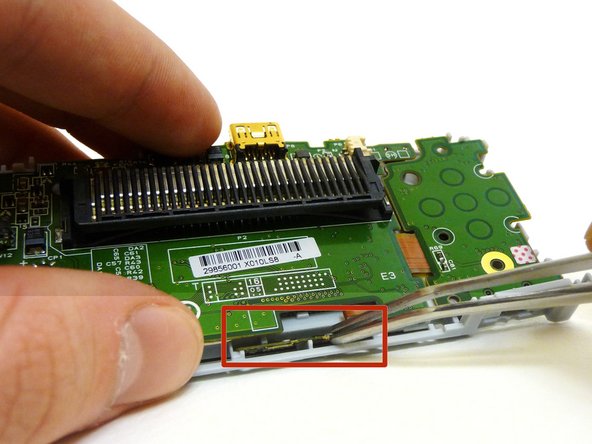
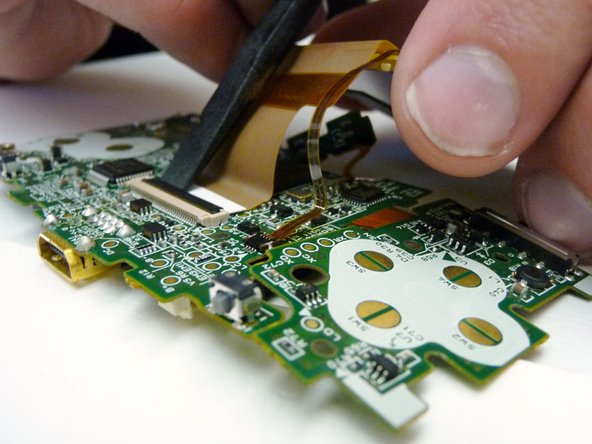
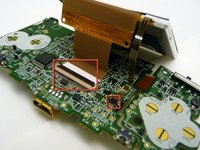
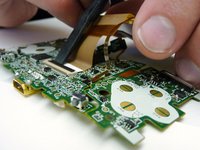
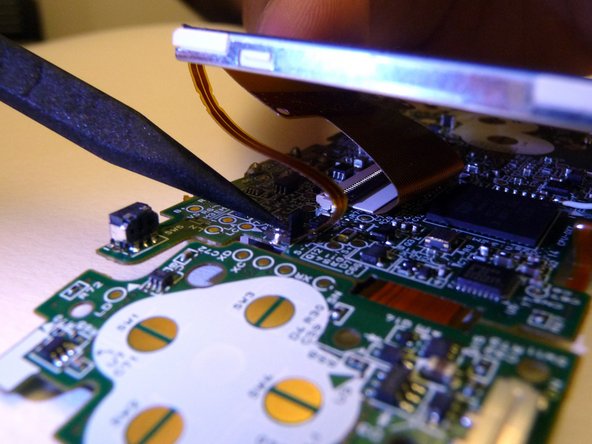
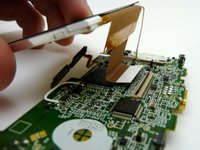
      • Use the tip of the spudger to lift the small, black tab holding the thin ribbon.

      • With both tabs lifted, pull the ribbons off the motherboard and remove the LCD screen.

      Add Comment

    21. Game Boy Micro LCD Screen Replacement: step 21, image 1 of 2 Game Boy Micro LCD Screen Replacement: step 21, image 2 of 2
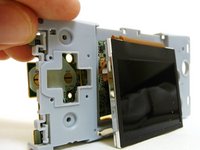
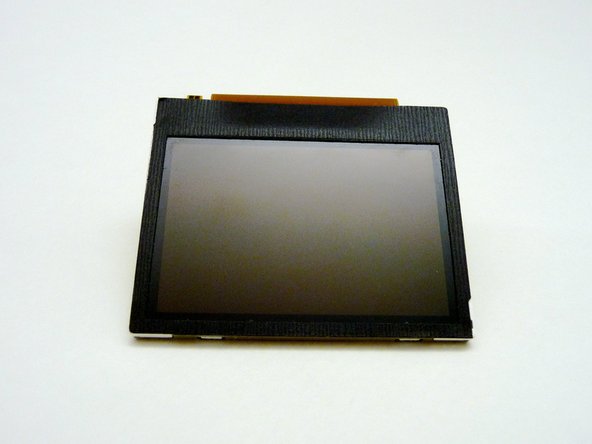
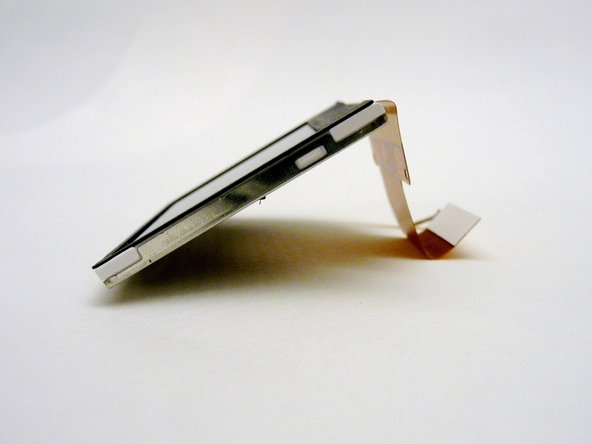
      • The LCD can now be cleaned or replaced.

      Add Comment

Conclusion

To reassemble your device, follow these instructions in reverse order.

Cancel: I did not complete this guide.

System

Member since: 09/24/09

2,562 Guides authored

0 Guide Comments

Add Comment

View Statistics:

Past 24 Hours: 0

Past 7 Days: 0

Past 30 Days: 2

All Time: 37