/

Gateway SA1 Hard Drive Replacement

What you need

  1. Gateway SA1 Hard Drive Replacement, Gateway SA1 Hard Drive Replacement: step 1, image 1 of 1
    • Move the latch to the right of the battery to unlocked.

  2. Gateway SA1 Hard Drive Replacement: step 2, image 1 of 1
    • Slide the latch on the left directly below the battery to unlock and pull out the battery as shown.

    • The latch must be held in position to remove the battery.

  3. Gateway SA1 Hard Drive Replacement: step 3, image 1 of 1
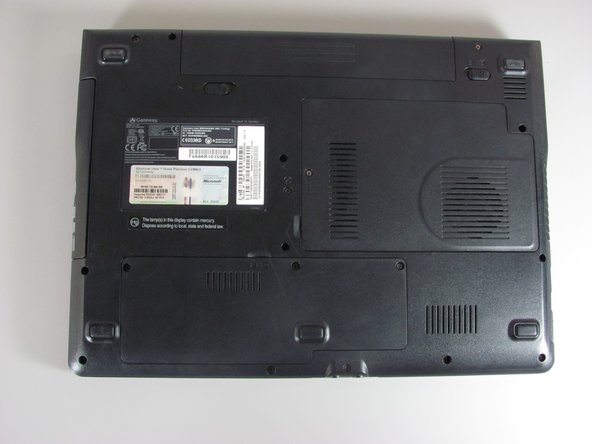
    • Before you begin, it's recommended that you back up all your computer's information on the original hard drive. Also, verify the laptop is off and all cables are disconnected.

    • Turn the laptop over so the bottom is facing up.

  4. Gateway SA1 Hard Drive Replacement: step 4, image 1 of 2 Gateway SA1 Hard Drive Replacement: step 4, image 2 of 2
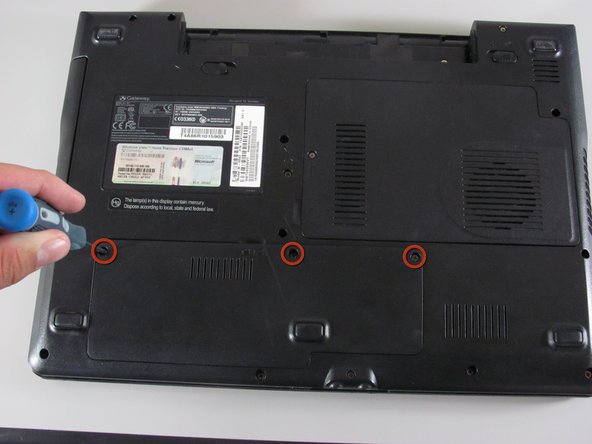
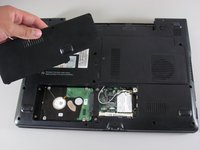
    • Loosen the three Philips cover screws that secure the hard drive.

    • These screws cannot be fully removed from the hard drive cover.

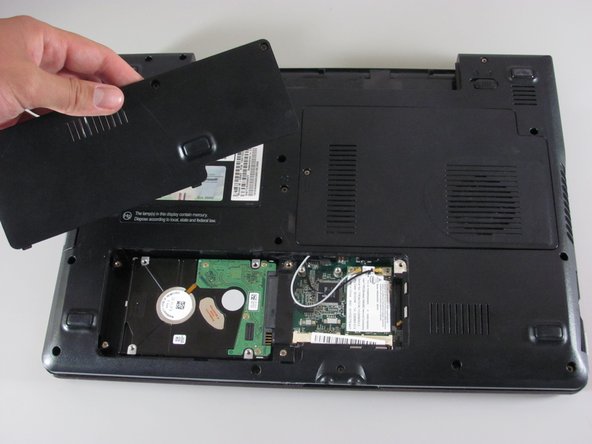
    • Use the spudger to lift and to remove the hard drive cover.

  5. Gateway SA1 Hard Drive Replacement: step 5, image 1 of 2 Gateway SA1 Hard Drive Replacement: step 5, image 2 of 2
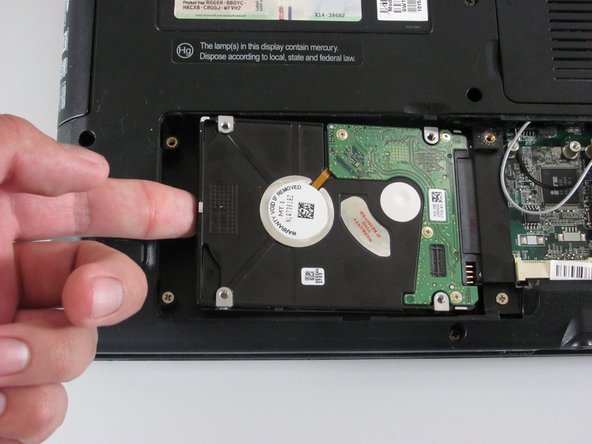
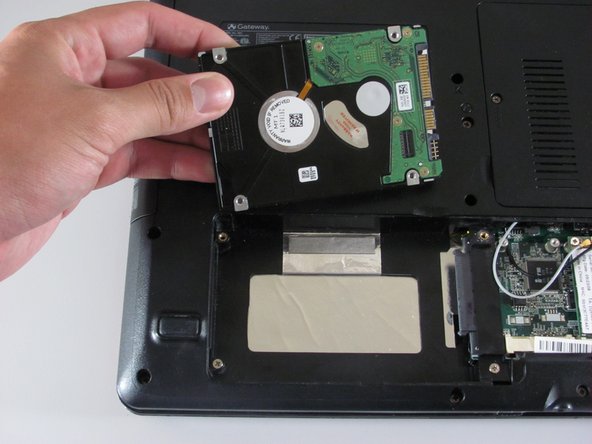
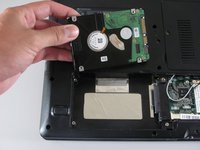
    • Slide the original hard drive to the left and lift it to remove.

    • Insert the new hard drive.

Conclusion

To reassemble your device, follow these instructions in reverse order.

System

Member since: 09/24/09

2,562 Guides authored

0 Comments

Add Comment

View Statistics:

Past 24 Hours: 0

Past 7 Days: 0

Past 30 Days: 0

All Time: 3