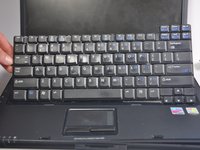
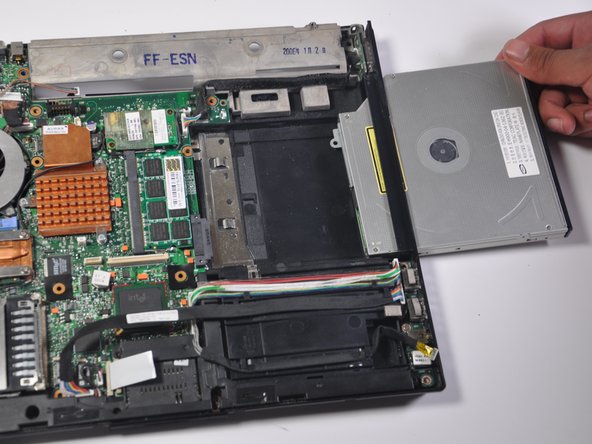
/

HP Compaq NC6120 CD Drive Replacement

What you need

  1. HP Compaq NC6120 CD Drive Replacement, HP Compaq NC6120 CD Drive Replacement: step 1, image 1 of 3 HP Compaq NC6120 CD Drive Replacement, HP Compaq NC6120 CD Drive Replacement: step 1, image 2 of 3 HP Compaq NC6120 CD Drive Replacement, HP Compaq NC6120 CD Drive Replacement: step 1, image 3 of 3
    • Flip laptop so the backside is facing upwards.

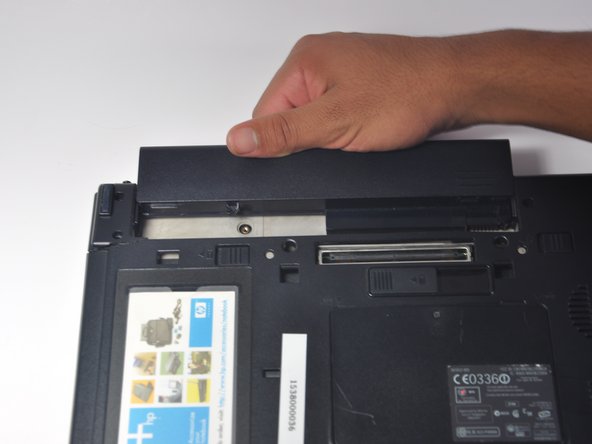
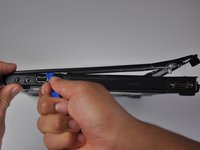
    • Pull the two plastic switches at the top of the backside of the computer outwards, and remove the battery.

  2. HP Compaq NC6120 CD Drive Replacement: step 2, image 1 of 2 HP Compaq NC6120 CD Drive Replacement: step 2, image 2 of 2
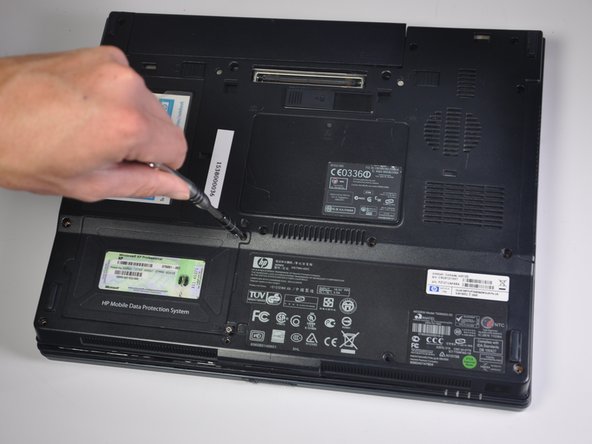
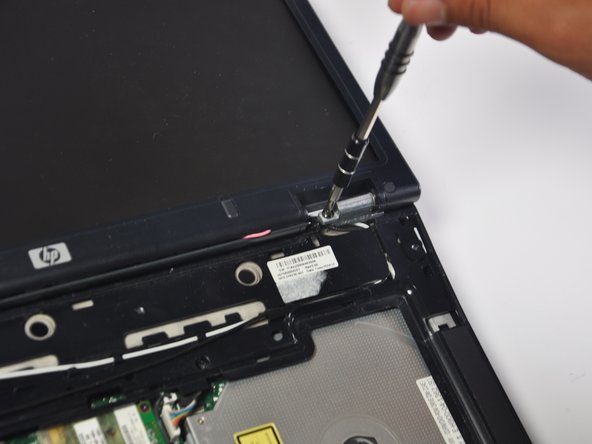
    • Remove all 13 screws from the back panel of the computer, the 2 torx screws under the battery, the 2 under the ram memory panel as well as the four screws at the hinge of the computer (also attaching the back panel to the rest of the computer). All screws are 9.8mm 3.0 flatheads except for the two under the battery witch are T9 torx.

  3. HP Compaq NC6120 CD Drive Replacement: step 3, image 1 of 2 HP Compaq NC6120 CD Drive Replacement: step 3, image 2 of 2
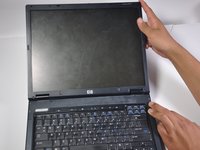
    • Open up the laptop so that the screen is facing towards you. Push the monitor back until it is flat, parallel to the keyboard.

  4. HP Compaq NC6120 CD Drive Replacement: step 4, image 1 of 2 HP Compaq NC6120 CD Drive Replacement: step 4, image 2 of 2
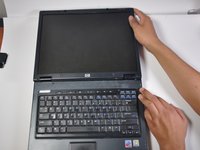
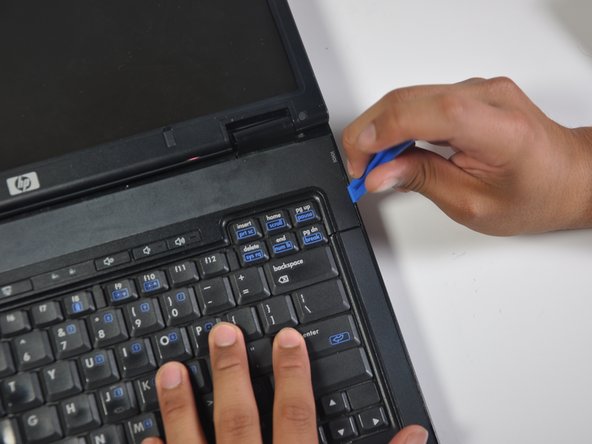
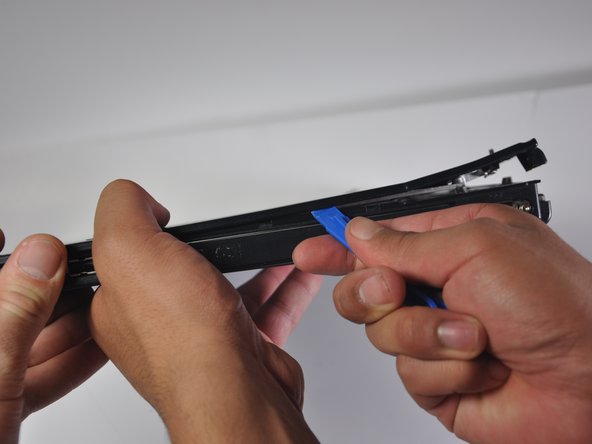
    • Using a plastic spudger, remove the plastic panel located between the keyboard and monitor. It should pop off easily with the spudger and can then be pulled away.

  5. HP Compaq NC6120 CD Drive Replacement: step 5, image 1 of 2 HP Compaq NC6120 CD Drive Replacement: step 5, image 2 of 2
    • Remove the white cable attached to the just-removed plastic panel from the motherboard.

  6. HP Compaq NC6120 CD Drive Replacement: step 6, image 1 of 2 HP Compaq NC6120 CD Drive Replacement: step 6, image 2 of 2
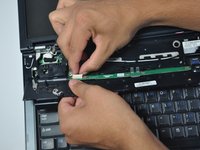
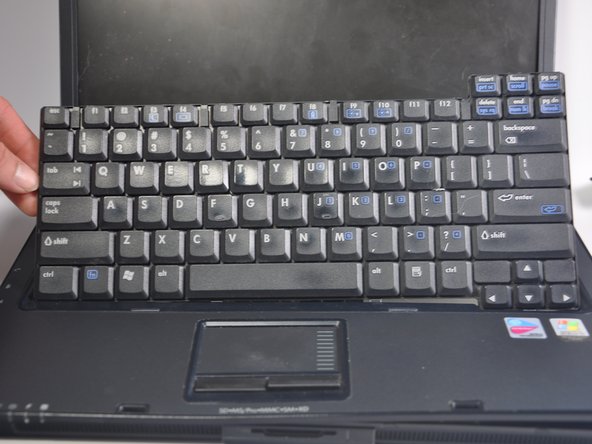
    • Flip the keyboard away from the monitor, rotating it so that the keys are face down on the mousepad. Remove the black cord at the bottom of the keyboard that connects it to the motherboard. The keyboard is now free and can be removed.

  7. HP Compaq NC6120 CD Drive Replacement: step 7, image 1 of 3 HP Compaq NC6120 CD Drive Replacement: step 7, image 2 of 3 HP Compaq NC6120 CD Drive Replacement: step 7, image 3 of 3
    • Remove the two 9.8mm 3.0 flathead screws, there is one at each of the hinges.

  8. HP Compaq NC6120 CD Drive Replacement: step 8, image 1 of 3 HP Compaq NC6120 CD Drive Replacement: step 8, image 2 of 3 HP Compaq NC6120 CD Drive Replacement: step 8, image 3 of 3
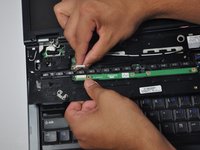
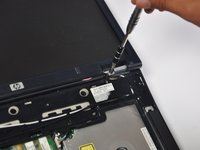
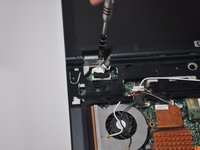
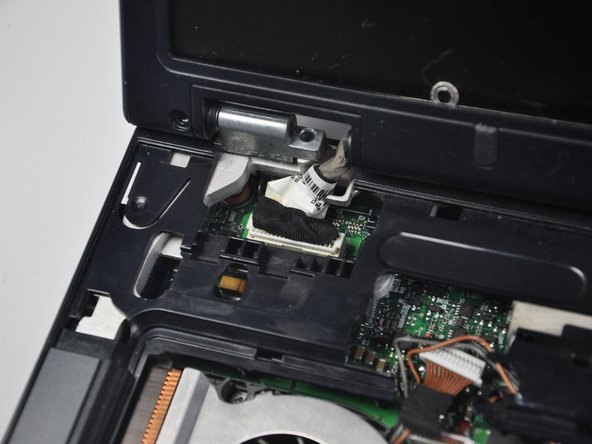
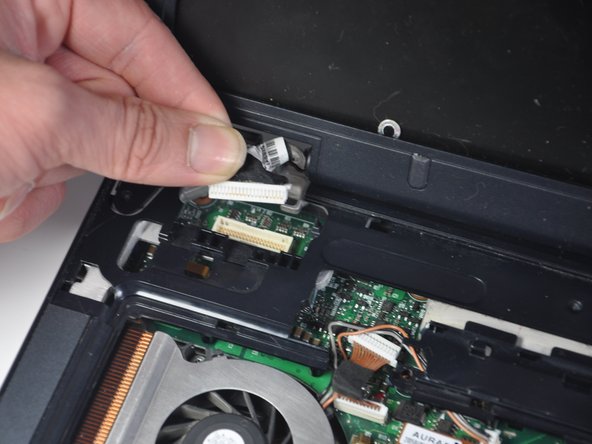
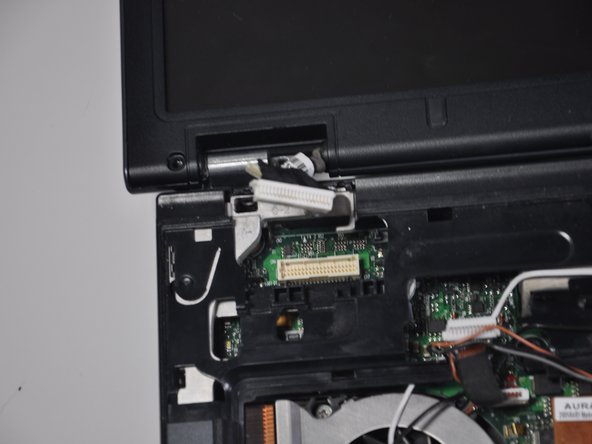
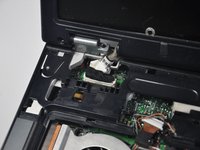
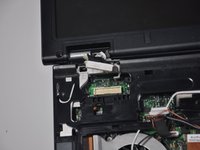
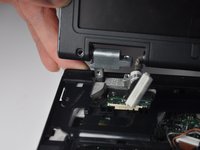
    • Unplug the black cable with rectangular white plastic head from the motherboard. It is located at the top left of the motherboard, directly below the left hinge.

  9. HP Compaq NC6120 CD Drive Replacement: step 9, image 1 of 2 HP Compaq NC6120 CD Drive Replacement: step 9, image 2 of 2
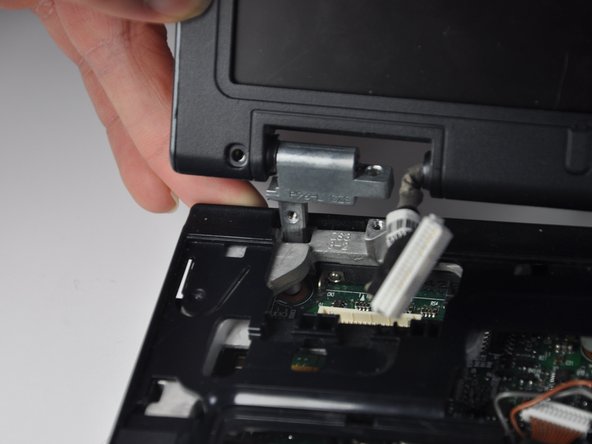
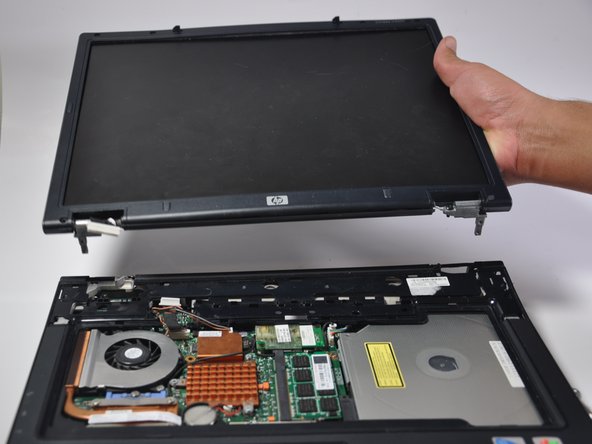
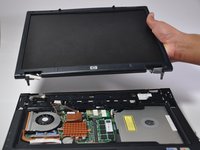
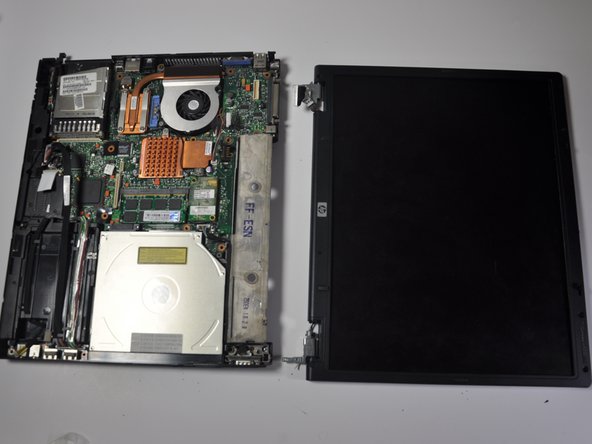
    • Pull the monitor directly upwards from where it lay. The two metal hinges should easily slide out of their holes and the monitor will be disconnected from the motherboard.

  10. HP Compaq NC6120 CD Drive Replacement: step 10, image 1 of 3 HP Compaq NC6120 CD Drive Replacement: step 10, image 2 of 3 HP Compaq NC6120 CD Drive Replacement: step 10, image 3 of 3
    • Using a spudger, pry the black plastic panel (with mousepad) off of the motherboard.

  11. HP Compaq NC6120 CD Drive Replacement: step 11, image 1 of 3 HP Compaq NC6120 CD Drive Replacement: step 11, image 2 of 3 HP Compaq NC6120 CD Drive Replacement: step 11, image 3 of 3
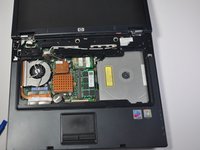
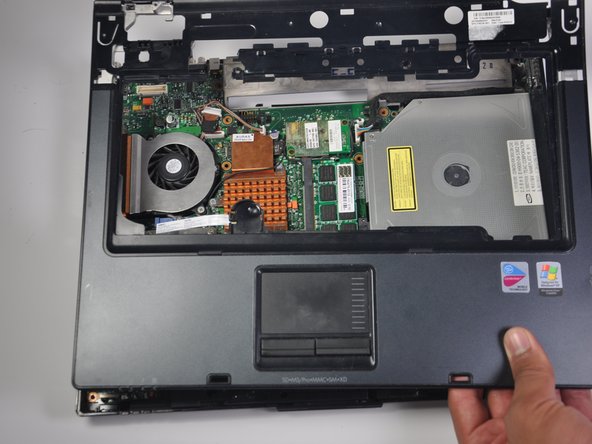
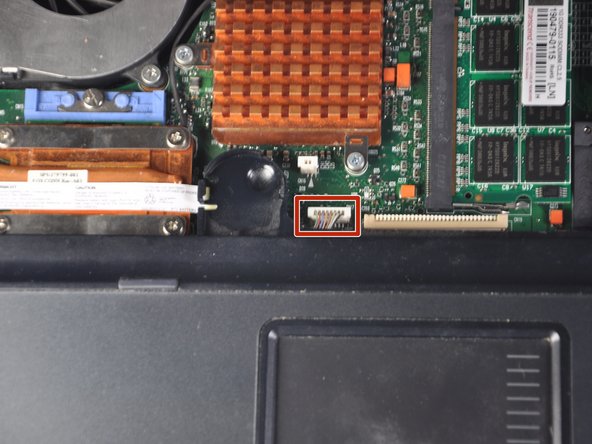
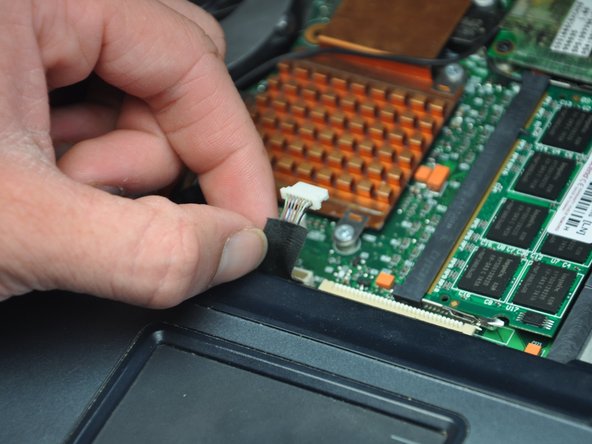
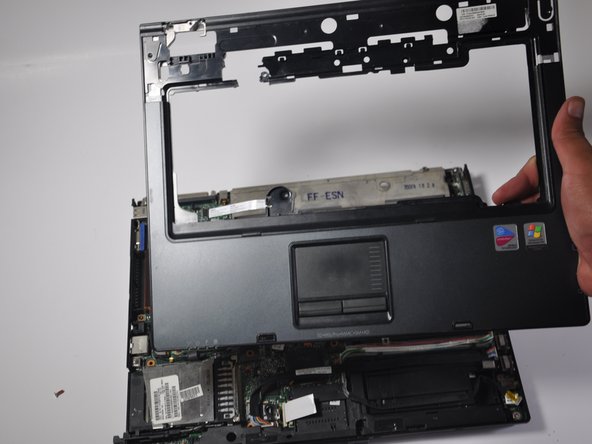
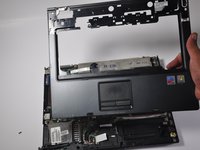
    • Unplug the white cord connecting the mousepad to the motherboard from the motherboard, and pull off the entire plastic panel.

  12. HP Compaq NC6120 CD Drive Replacement: step 12, image 1 of 1
    • Refer to the case disassembly guide.

  13. HP Compaq NC6120 CD Drive Replacement: step 13, image 1 of 1
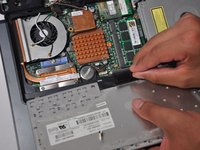
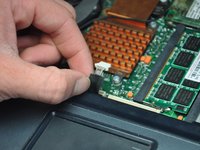
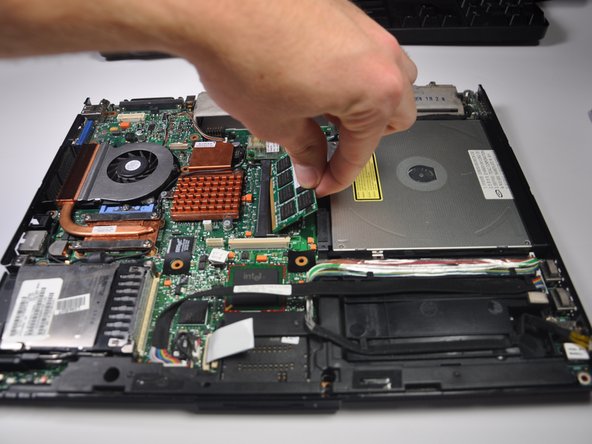
    • Recommended: First, remove the second RAM chip, in the center of the motherboard. The chip is rectangular, with black squares and a "transcend" label on it.

  14. HP Compaq NC6120 CD Drive Replacement: step 14, image 1 of 1
    • To remove the chip, locate the two metal clips on the top and bottom of the chip. Clamp them in towards the RAM chip and hold.

  15. HP Compaq NC6120 CD Drive Replacement: step 15, image 1 of 1
    • Remove the chip by lifting up the side closest to the cd drive first.

  16. HP Compaq NC6120 CD Drive Replacement: step 16, image 1 of 1
    • Slide the CD drive out to the right.

Conclusion

To reassemble your device, follow these instructions in reverse order.

System

Member since: 09/24/09

2,562 Guides authored

0 Comments

Add Comment

View Statistics:

Past 24 Hours: 0

Past 7 Days: 0

Past 30 Days: 0

All Time: 5