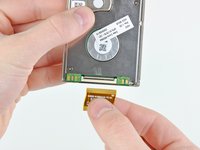
HP Mini 1000 Hard Drive Replacement

What you need

  1. HP Mini 1000 Hard Drive Replacement, HP Mini 1000 Hard Drive Replacement: step 1, image 1 of 2 HP Mini 1000 Hard Drive Replacement, HP Mini 1000 Hard Drive Replacement: step 1, image 2 of 2
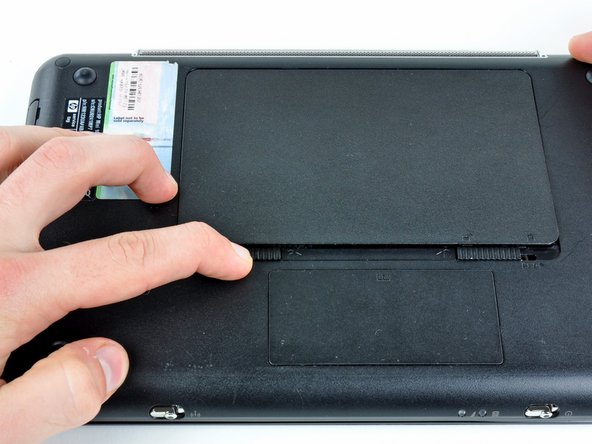
    • With the case closed, place the Mini 1000 top-side down on a flat surface.

    • Push both of the battery release latches toward each other.

    Add Comment

  2. HP Mini 1000 Hard Drive Replacement: step 2, image 1 of 1
    • Lift the battery out of the Mini 1000 from the edge closest to the release latches.

    Add Comment

  3. HP Mini 1000 Hard Drive Replacement: step 3, image 1 of 1
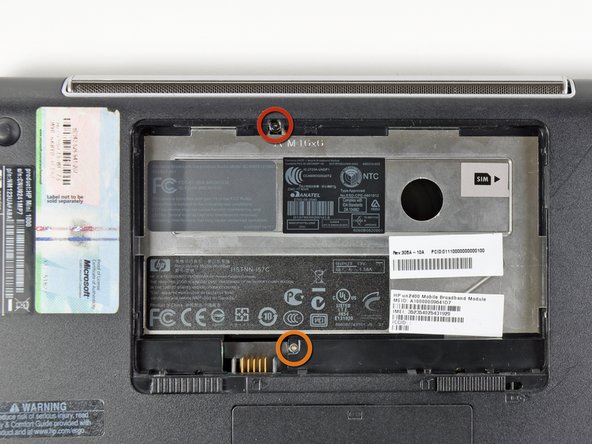
    • Remove the following two screws:

    • One 6 mm Phillips screw

    • One 4 mm Phillips screw

    Add Comment

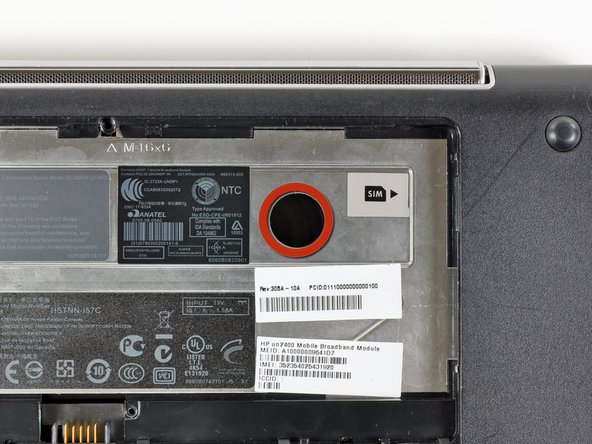
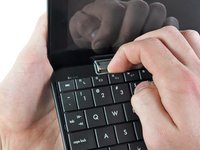
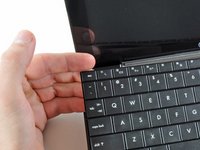
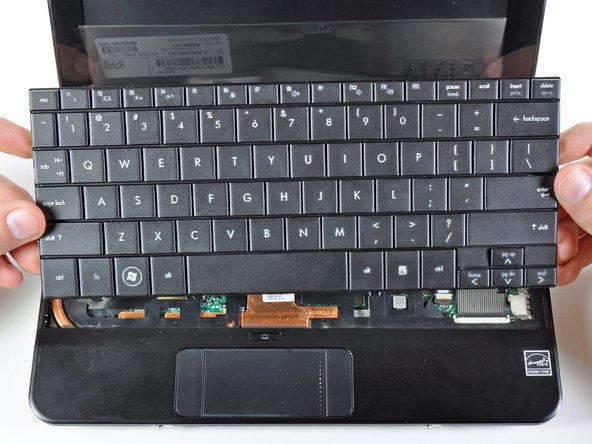
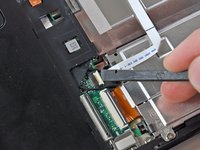
  4. HP Mini 1000 Hard Drive Replacement: step 4, image 1 of 3 HP Mini 1000 Hard Drive Replacement: step 4, image 2 of 3 HP Mini 1000 Hard Drive Replacement: step 4, image 3 of 3
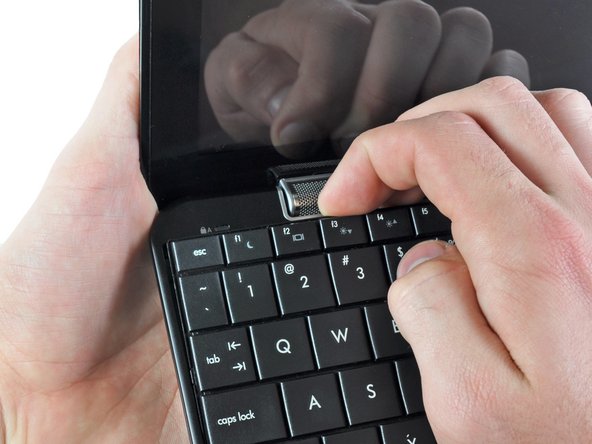
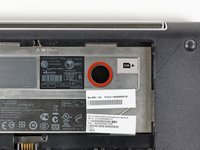
    • To facilitate the removal of the keyboard, it is recommended to push the keyboard outwards with one hand through the opening (highlighted in the third picture) located on the backside of the Mini 1000.

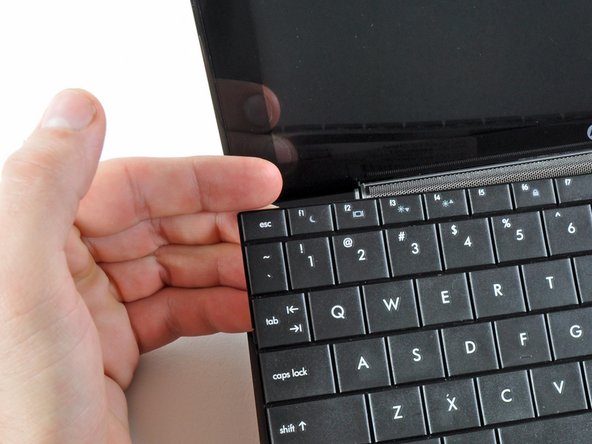
    • While pushing through the opening with one hand, grasp the left upper edge with the other hand and slightly pull the keyboard towards you.

    • Once an opening has been established, grasp the keyboard and slowly lift it upwards along the upper perimeter of the top edge.

    Add Comment

  5. HP Mini 1000 Hard Drive Replacement: step 5, image 1 of 1
    • Lift the keyboard out of the upper case, minding the cable that is still connecting it to the motherboard.

    Add Comment

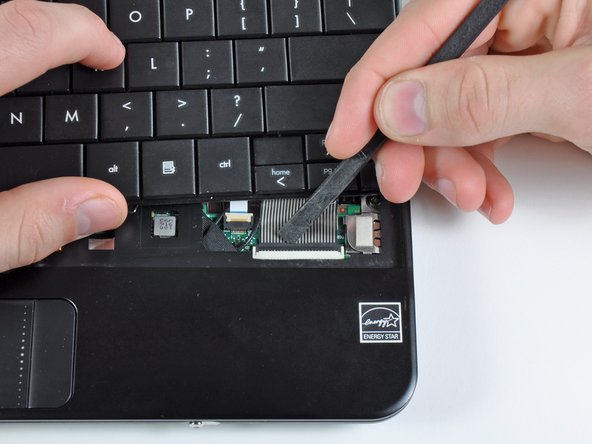
  6. HP Mini 1000 Hard Drive Replacement: step 6, image 1 of 1
    • Use your fingernail or the flat end of a spudger to flip up the retaining flap on the keyboard cable ZIF socket.

    • Be sure you are prying up on the retaining flap, not the socket itself.

    • Pull the cable out of its socket and remove the keyboard.

    Add Comment

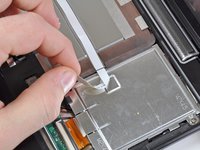
  7. HP Mini 1000 Hard Drive Replacement: step 7, image 1 of 2 HP Mini 1000 Hard Drive Replacement: step 7, image 2 of 2
    • Use your fingernail or the flat end of a spudger to flip up the retaining flap on the SIM card ribbon cable ZIF socket.

    • Be sure you are prying up on the retaining flap, not the socket itself.

    • Pull the SIM card ribbon cable out of its socket and peel it off the top of the hard drive enclosure.

    Add Comment

  8. HP Mini 1000 Hard Drive Replacement: step 8, image 1 of 1
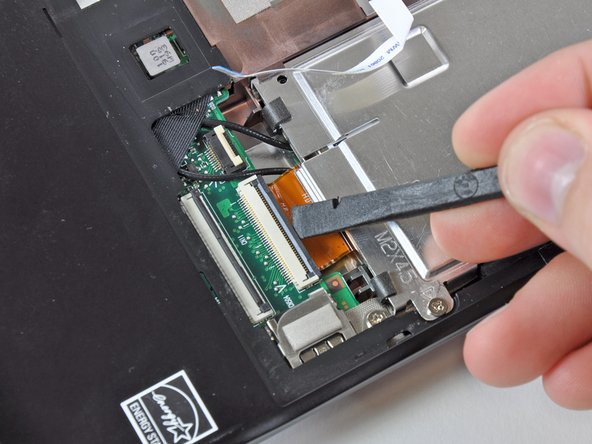
    • Use your fingernail or the flat end of a spudger to flip up the retaining flap on the hard drive cable ZIF socket.

    • Be sure you are prying up on the retaining flap, not the socket itself.

    Add Comment

  9. HP Mini 1000 Hard Drive Replacement: step 9, image 1 of 1
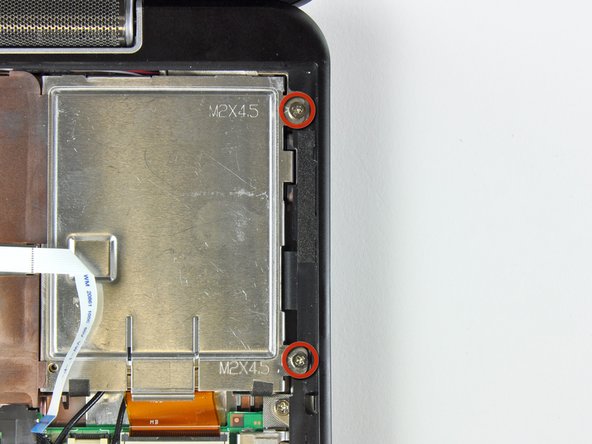
    • Remove the two 4.5 mm Phillips screws securing the hard drive to the lower case.

    Add Comment

  10. HP Mini 1000 Hard Drive Replacement: step 10, image 1 of 2 HP Mini 1000 Hard Drive Replacement: step 10, image 2 of 2
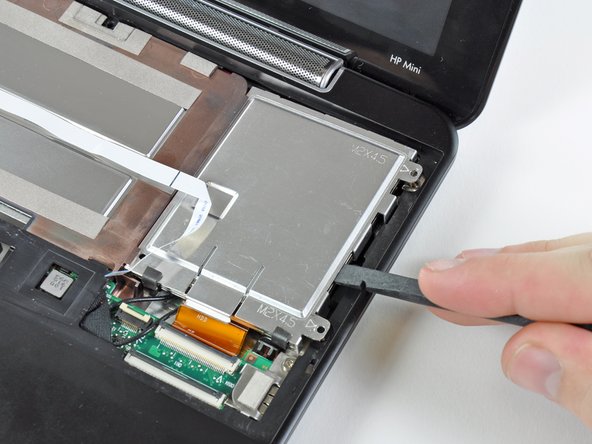
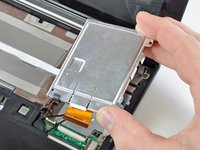
    • Lift the hard drive up and out of the lower case, being careful not to damage its cable in the process.

    Add Comment

  11. HP Mini 1000 Hard Drive Replacement: step 11, image 1 of 2 HP Mini 1000 Hard Drive Replacement: step 11, image 2 of 2
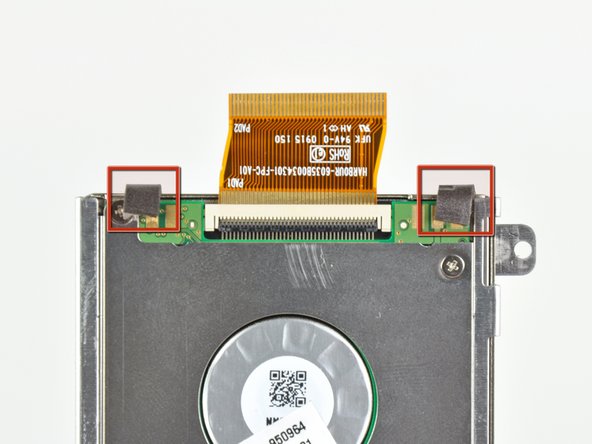
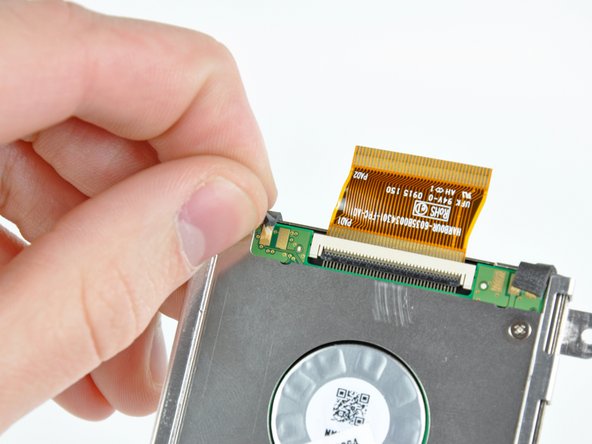
    • Carefully peel up the two foam bumpers from the ends stuck to the bottom of the hard drive.

    • It is not necessary to peel these bumpers off the hard drive enclosure.

    Add Comment

  12. HP Mini 1000 Hard Drive Replacement: step 12, image 1 of 2 HP Mini 1000 Hard Drive Replacement: step 12, image 2 of 2
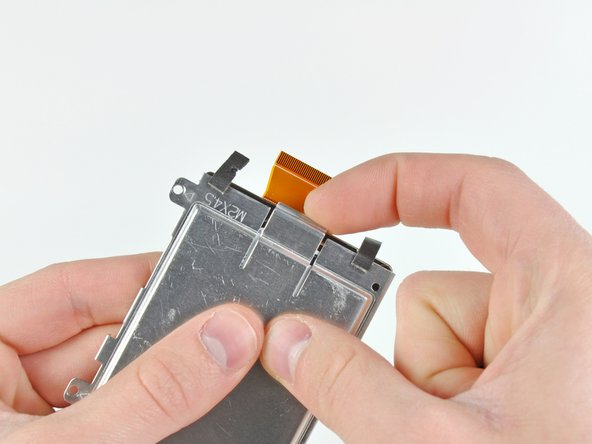
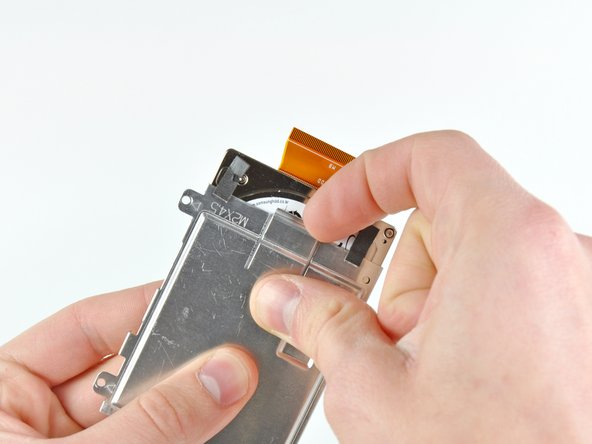
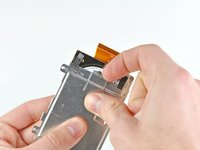
    • Lift up the center retaining tab on the hard drive enclosure and simultaneously push the hard drive out through the open end of the enclosure.

    Add Comment

  13. HP Mini 1000 Hard Drive Replacement: step 13, image 1 of 2 HP Mini 1000 Hard Drive Replacement: step 13, image 2 of 2
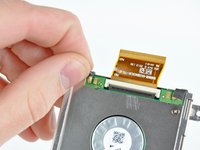
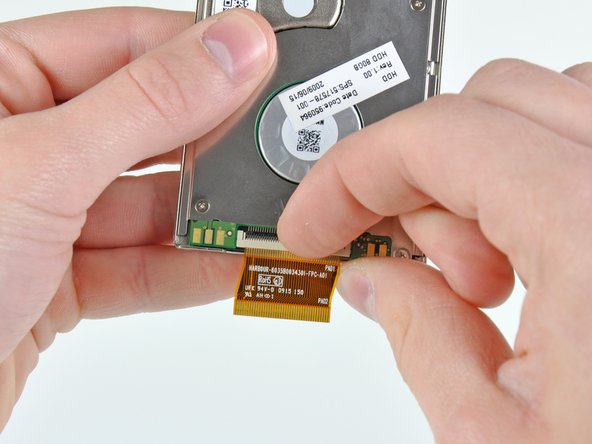
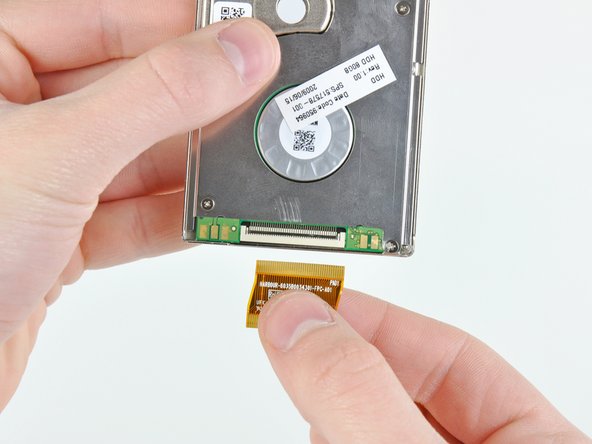
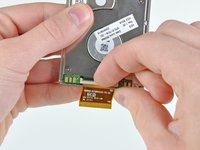
    • Use your fingernail or the flat end of a spudger to flip up the retaining flap on the hard drive cable ZIF socket.

    • Be sure you are prying up on the retaining flap, not the socket itself.

    • Pull the hard drive cable out of its socket.

    • Hard drive remains.

    Add Comment

Conclusion

To reassemble your device, follow these instructions in reverse order.

Cancel: I did not complete this guide.

System

Member since: 09/24/09

2,562 Guides authored

0 Guide Comments

Add Comment

View Statistics:

Past 24 Hours: 0

Past 7 Days: 0

Past 30 Days: 2

All Time: 28