
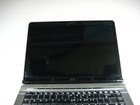
HP Pavilion dv6000 LCD Screen Replacement

Last updated on Sep 17, 2016
Views: 10
View statistics:
- Past 24 Hours:
- 0
- Past 7 Days:
- 0
- Past 30 Days:
- 2
- All Time:
- 10
Comments: 0
No one has left comments on this guide. Will you be first?
Go to guide commentsCompleted: 0 1
No one has marked this guide "completed." Will you be the first?
1 person has marked this guide "completed." It's you — great job!
Favorites: 0 1
No one has favorited (and subscribed to) this guide. Will you be the first?
1 person has favorited (and subscribed to) this guide — and that's you!
Introduction
Go to step 1 ↓Replace the LCD in your HP Pavilion dv6000.
What you need
-
-
-
Remove rubber screw covers from the LCD screen. The top covers pop off with a fingernail but the two on the bottom may require a screwdriver or flat tool.
-
Remove the six 7.15mm screws underneath the stoppers. There are four on top and two on bottom.
-
-
-
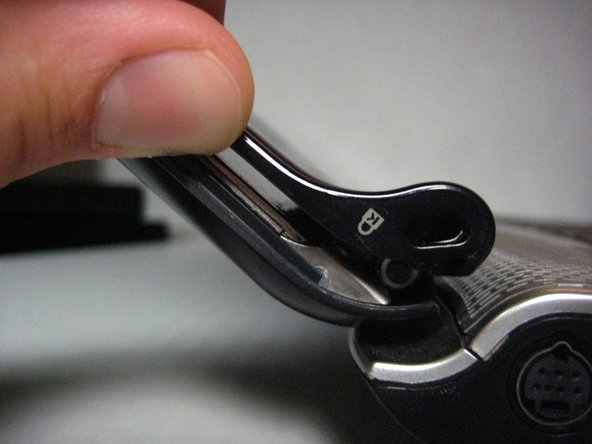
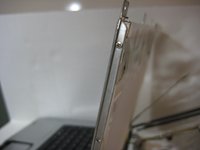
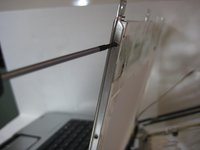
Press the tabs on the sides of the screen in and pop the plastic off. Careful, the plastic is very flimsy and may break.
-
-
-
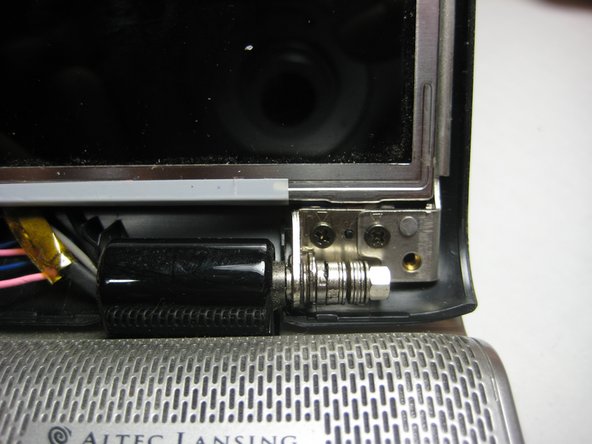
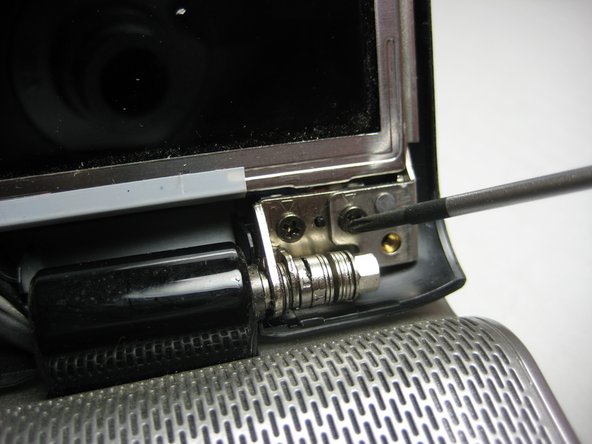
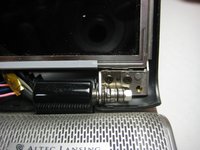
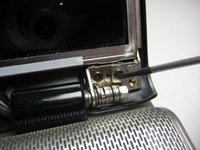
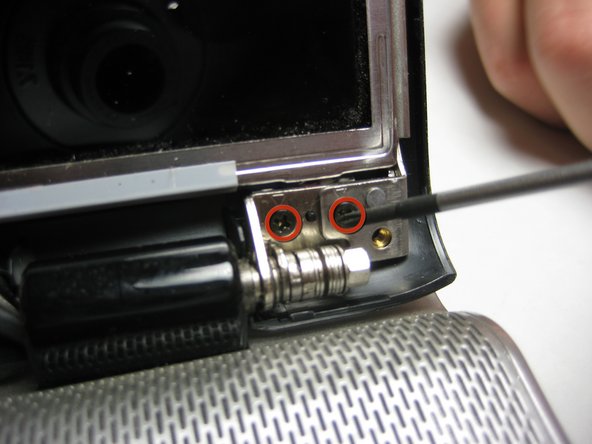
Remove the two screws (5.8mm) on either side of the LCD near the hinge. Remove the screws on the outermost side first.
-
-
-
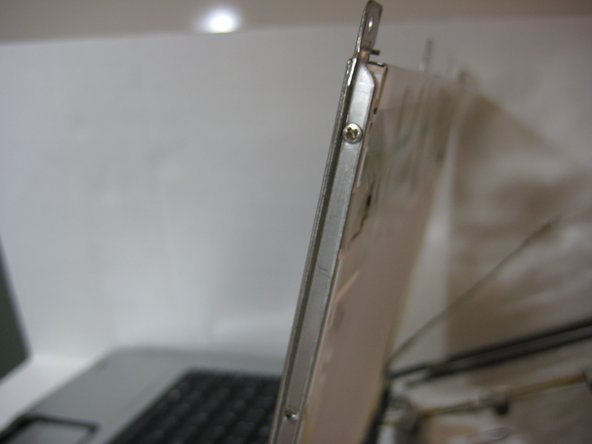
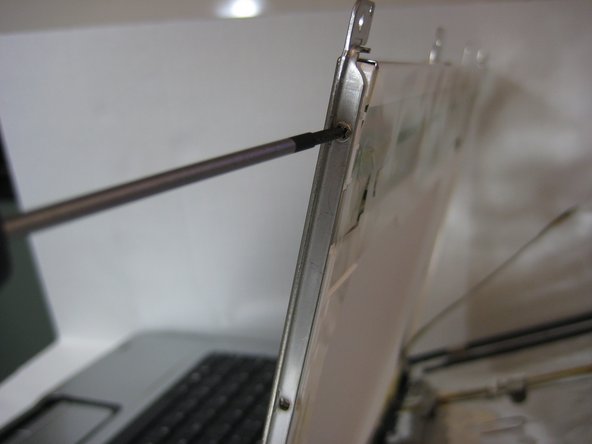
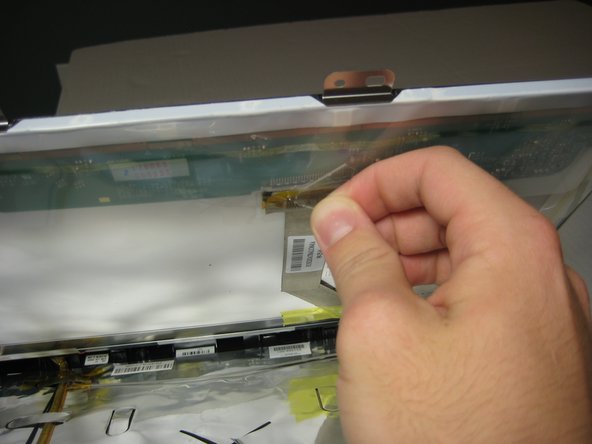
Hold on to the LCD screen to prevent it from falling over and remove the two 3.58mm screws on the sides at the bottom.
-
-




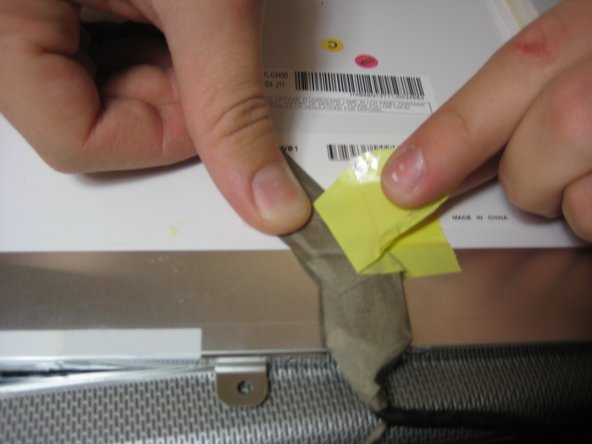
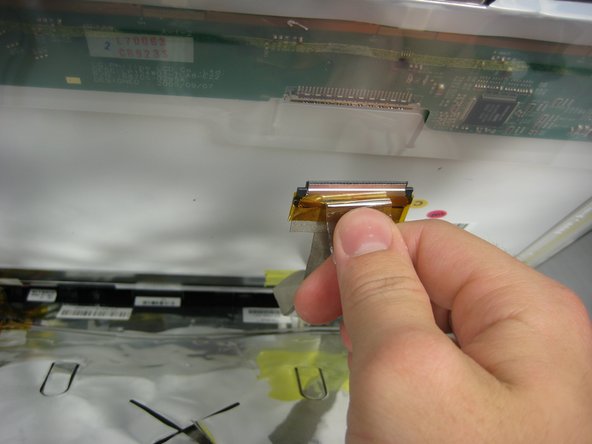
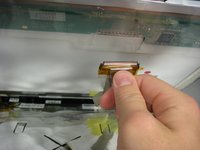
To reassemble your device, follow these instructions in reverse order.

