
What you need
-
-
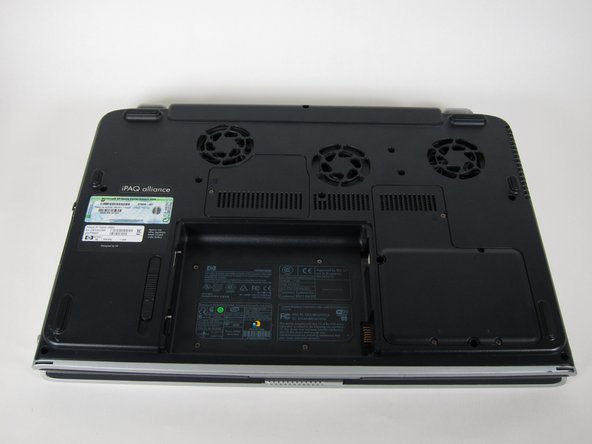
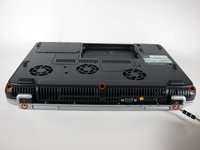
Unscrew the four 8mm Philips screws marked with an icon resembling a stacks of discs.
-
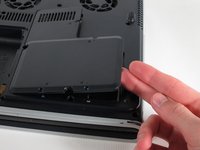
Lift the cover from the right to remove it.
-
-
-
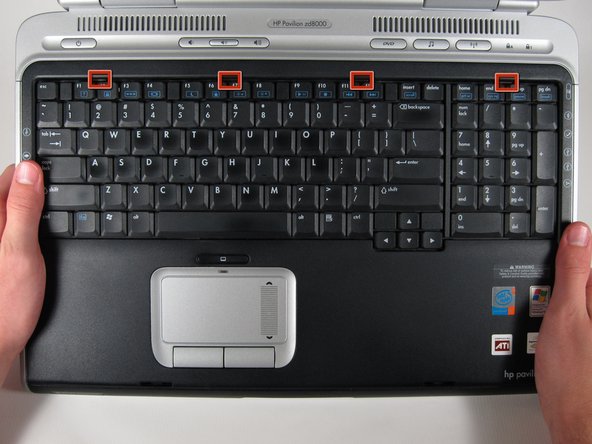
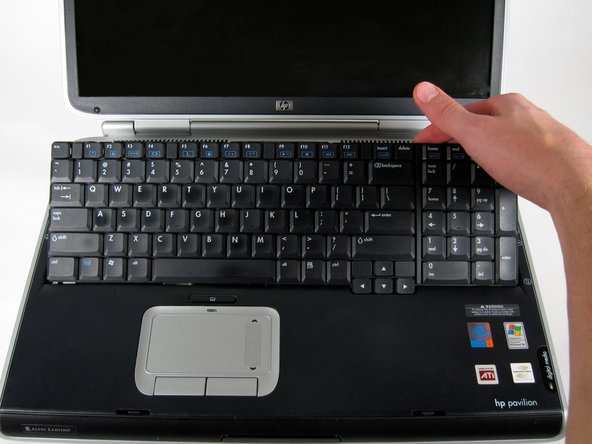
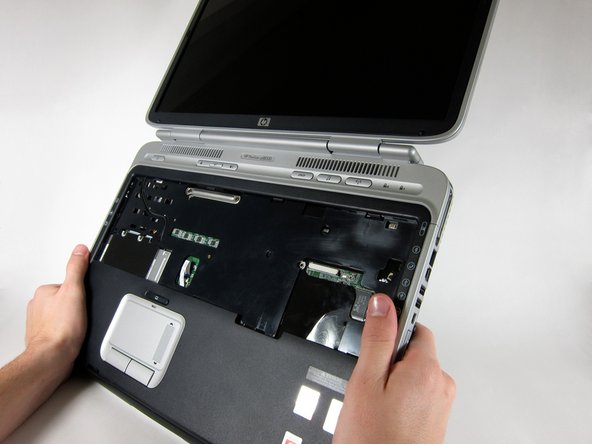
Flip the laptop over and open the screen.
-
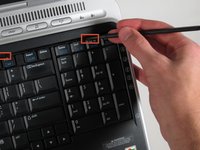
Push up on the four latches located at the top of the keyboard with the spudger to release them.
-
-
-
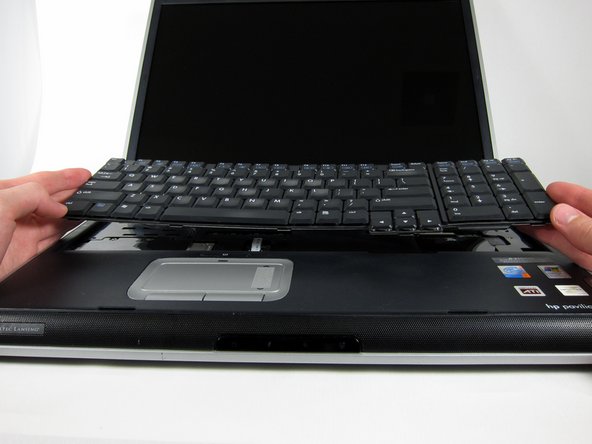
Lift the top of the keyboard towards you. Then, while keeping the keyboard at an angle, lift it towards the display.
-
-
-
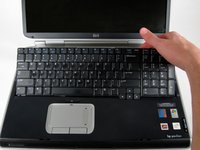
Rotate the keyboard so that the bottom is visible.
-
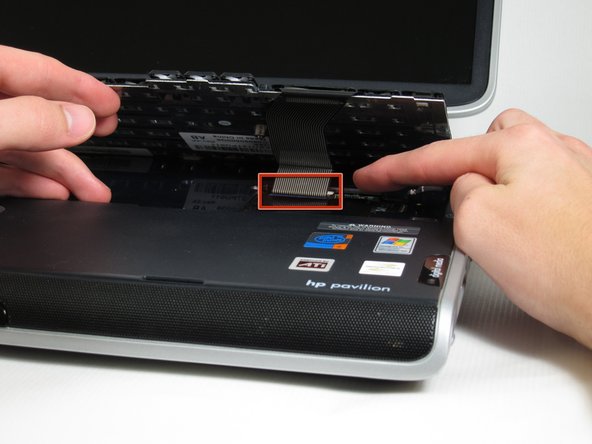
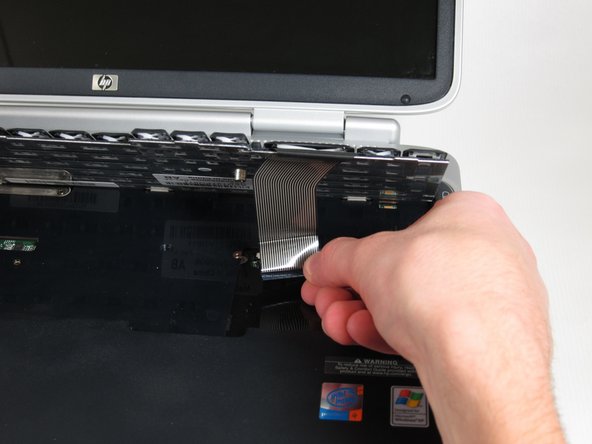
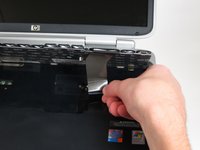
With the keyboard lifted, locate the blue-striped tab on the underside of the black ribbon cable.
-
Pull the tab towards you to release the keyboard from the laptop.
-
-
-
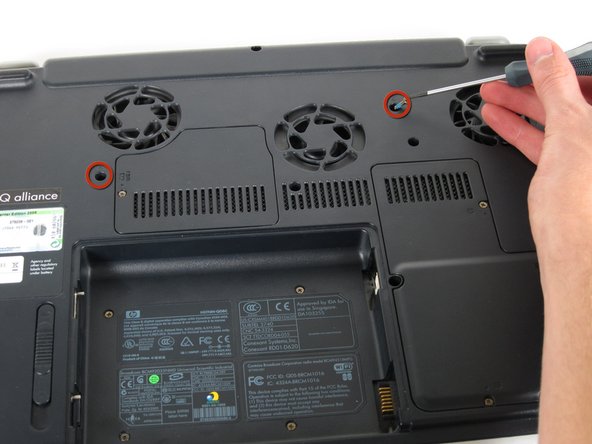
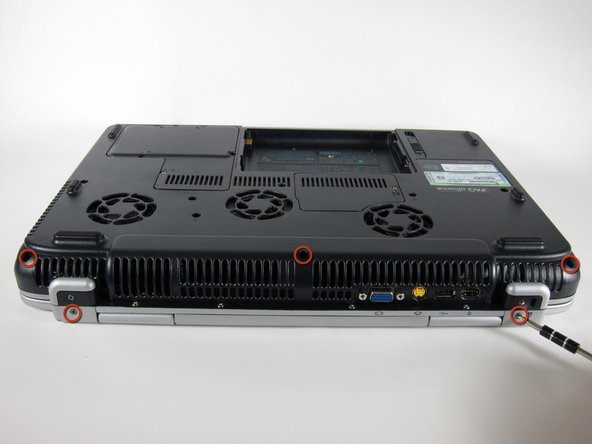
Place the laptop face-down and rotate it 180 degrees so the vents are facing you.
-
Remove the five 8mm Philips screws. Three are on the black base and two are near the hinges.
-
-
-
Rotate it so the display is on your right and the keyboard is on your left.
-
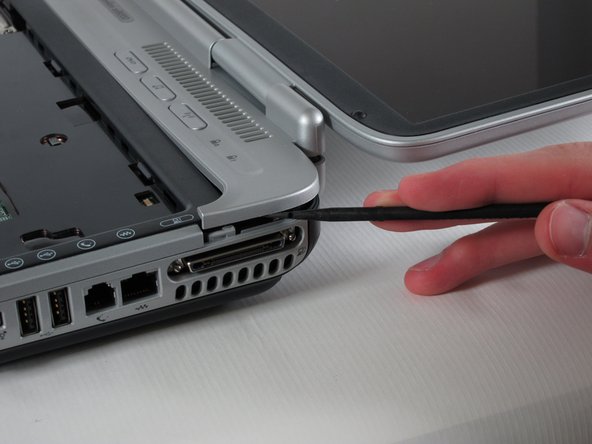
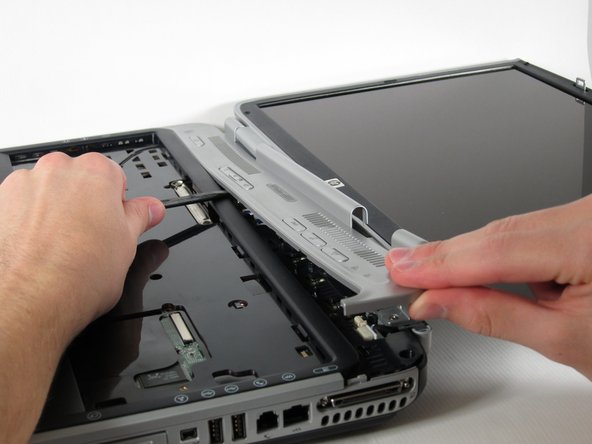
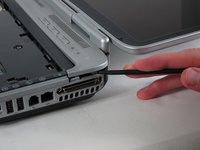
Lift the switch cover carefully from one end while sliding the spudger between the switch cover and the laptop to separate them.
-
The switch cover should easily separate from the laptop as you run the spudger through.
-
-
-
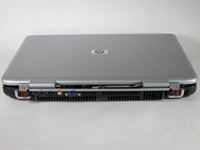
Close the lid and rotate the laptop so that the vents are facing you.
-
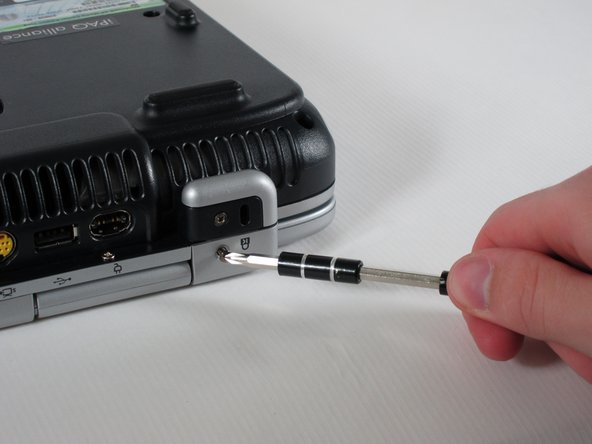
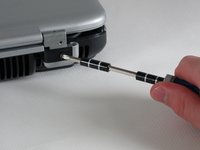
Unscrew the two 8mm Philips screws below the hinges.
-
-
-
Carefully rotate the laptop 90 degrees counter-clockwise and open the screen.
-
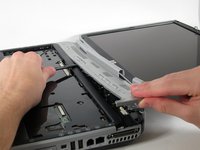
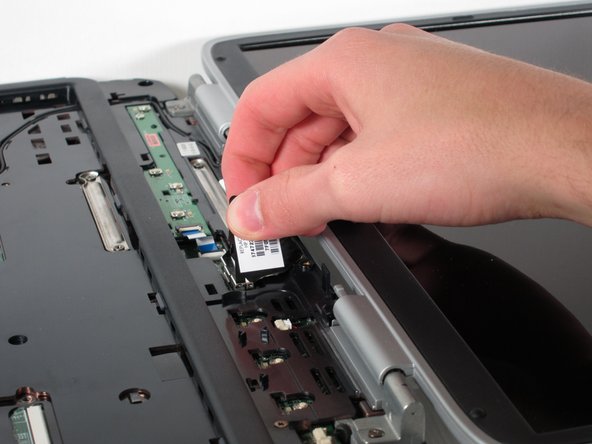
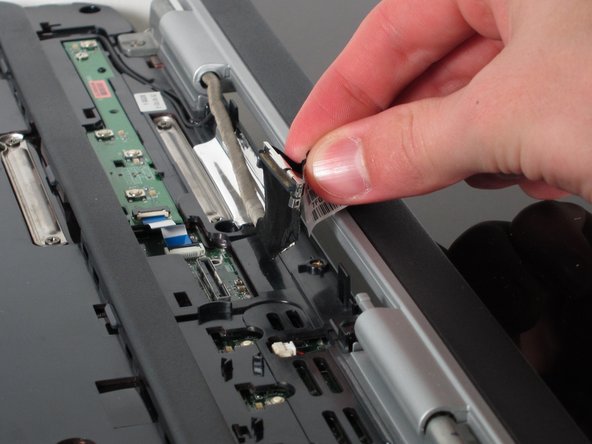
Pull on the black tab with the HP service sticker to unplug the display from the motherboard.
-
-
-
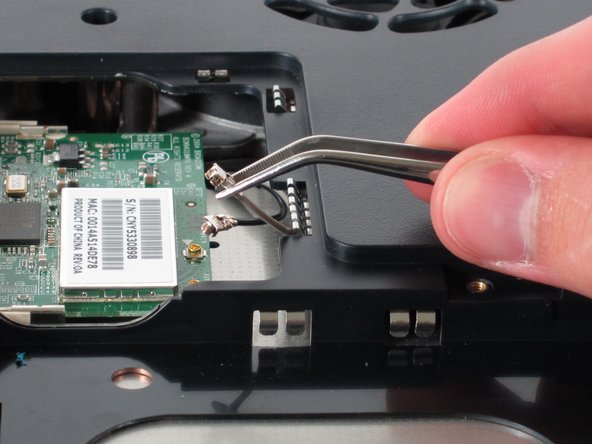
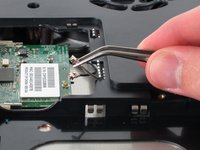
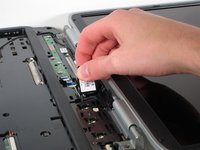
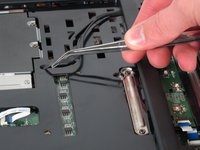
Using tweezers, remove the black cable from the hole leading to the WiFi enclosure.
-
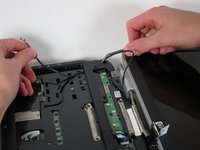
Pull gently to remove the black and grey cables from the case.
-
-
-
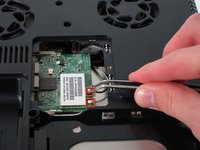
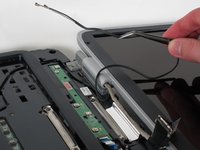
Using tweezers, pull the black cable towards the display and through the hole in the casing.
-
-
-
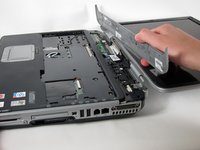
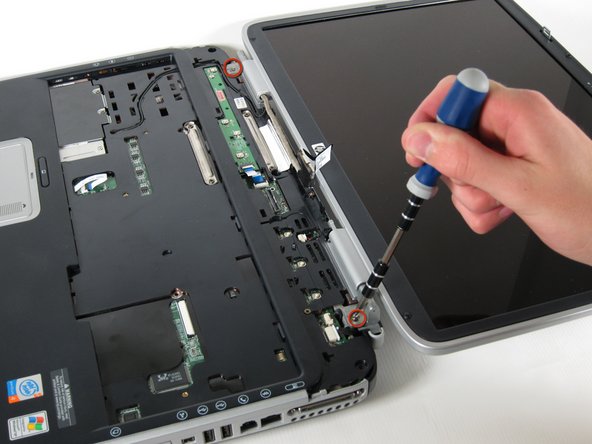
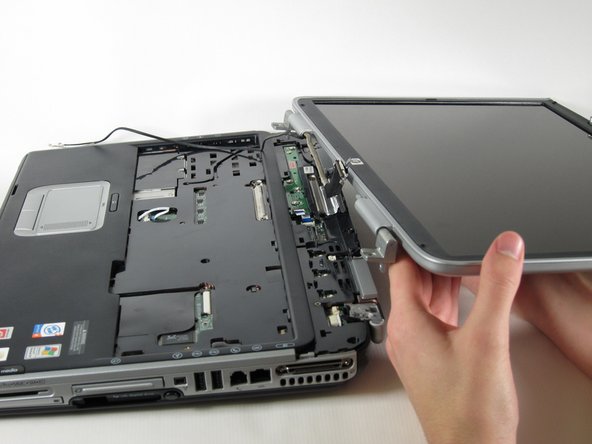
Unscrew the two 8mm Philips screws that attach the hinge to the laptop's display.
-
Lift the screen upwards to detach it from the laptop.
-


To reassemble your device, follow these instructions in reverse order.
